Galleries: A | B | B-2 | C | D-E | F | G | H | I-L | M | N-R | S | T-V | W-Z
More of our Subscribers’ amazing aircraft: G
Check out my Facebook page.
Alexander P.
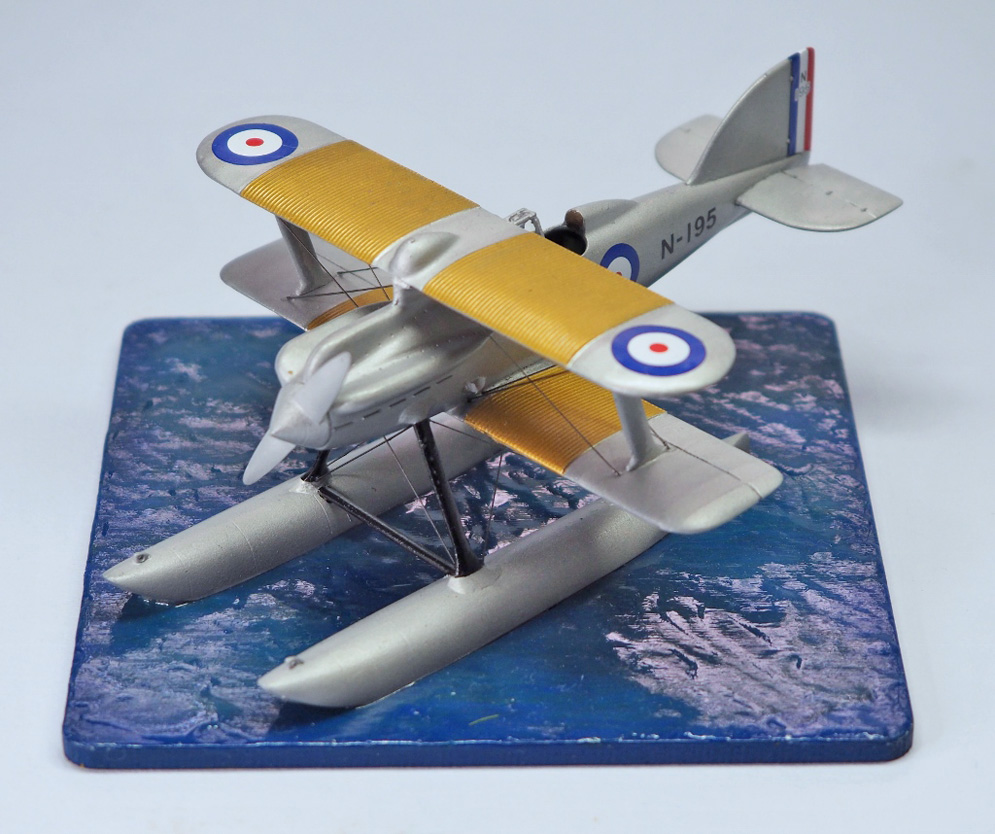
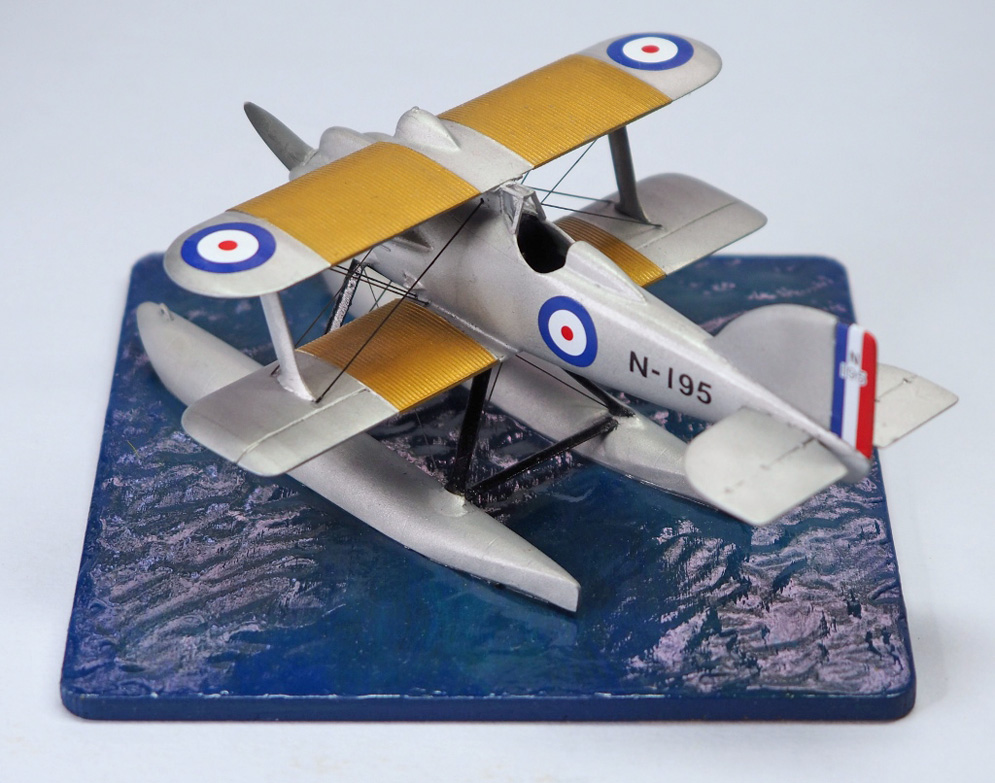
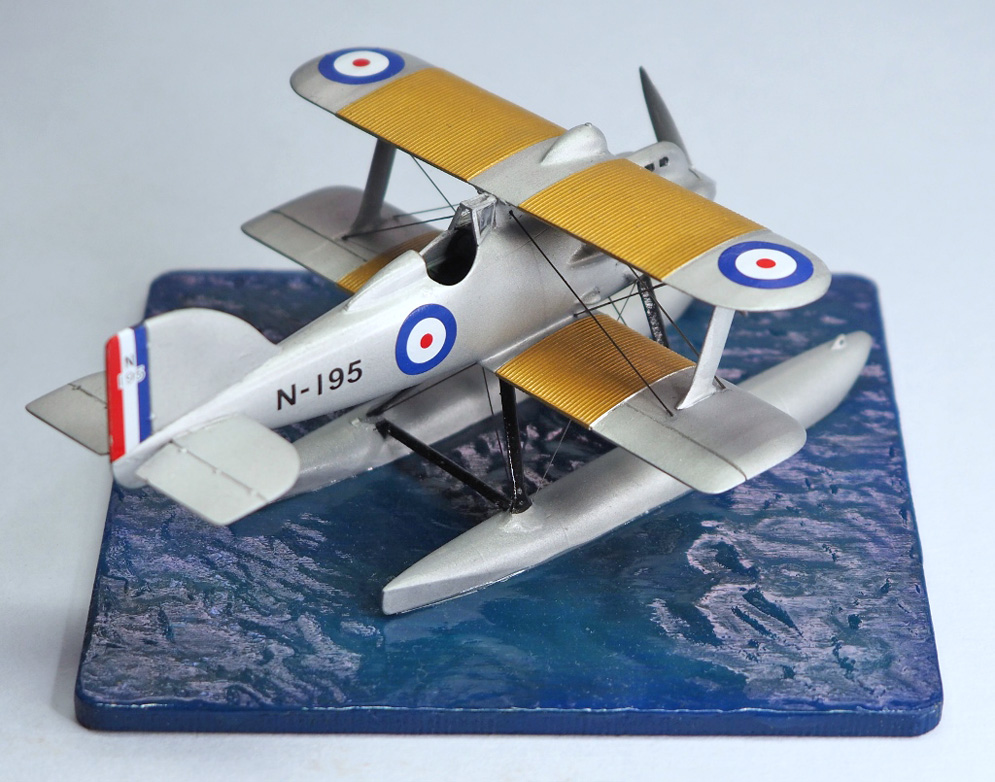
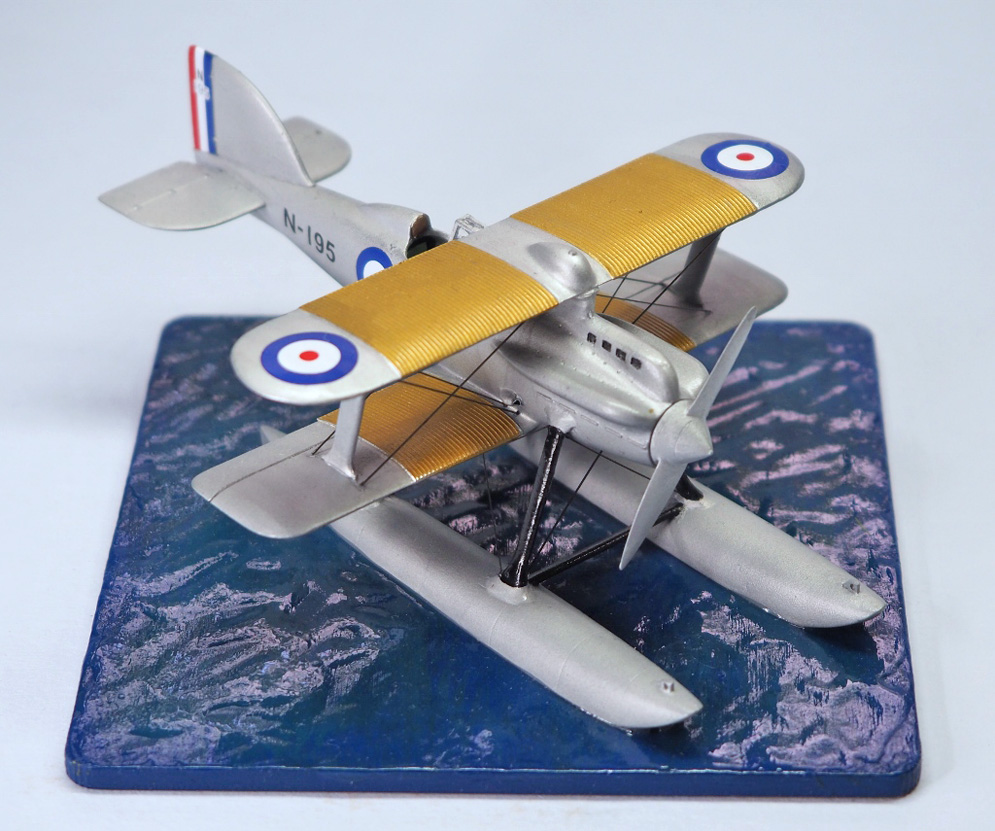
This is a resin kit and except for cutting down the floats is built straight from the box.
The Gloster IIIb was a modified version of the Gloster IIIa that finished second place in the 1925 Schneider Trophy. The design was obsolete by the time of the 1927 trophy and the IIIb never took part in the race and was used instead for pilot training.
Andrew E.
I certainly enjoyed this one, having read through your build in SMN I knew it was going to be trouble free. The only issue I had was with the main decals which I found too thick and needing repeated doses of Micro Sol to settle them down. The tail flash broke up and I had to ask Airfix for a replacement.
Airfix, in my opinion, are right up there with the very best that our hobby has to offer. They seem to be filling in the gaps with 1:48 scale 50’s 60’s and 70’s British jets. So Airfix let’s have a Scimitar next and please, please a 1:350 scale WWII HMS Ark Royal, that would make my day.
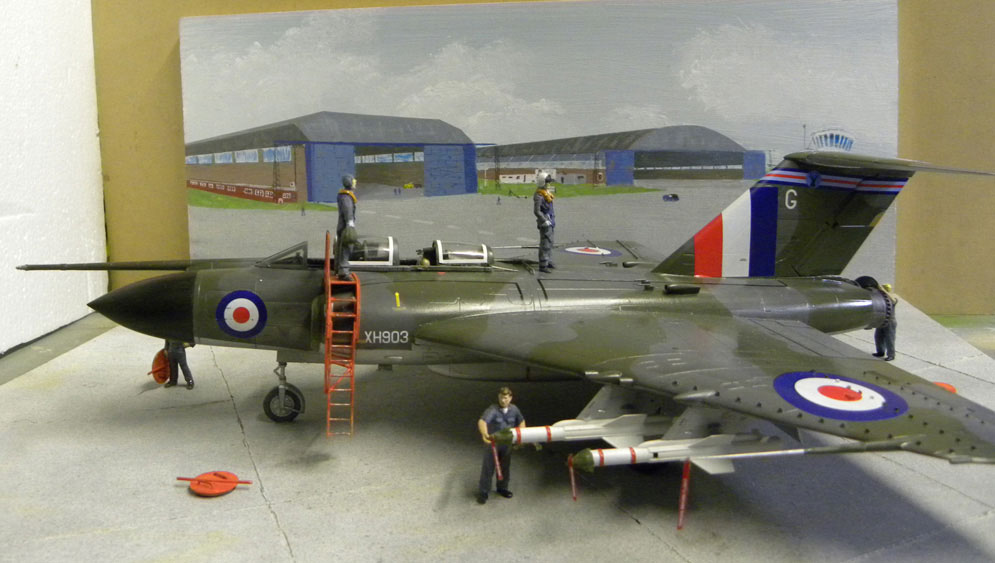
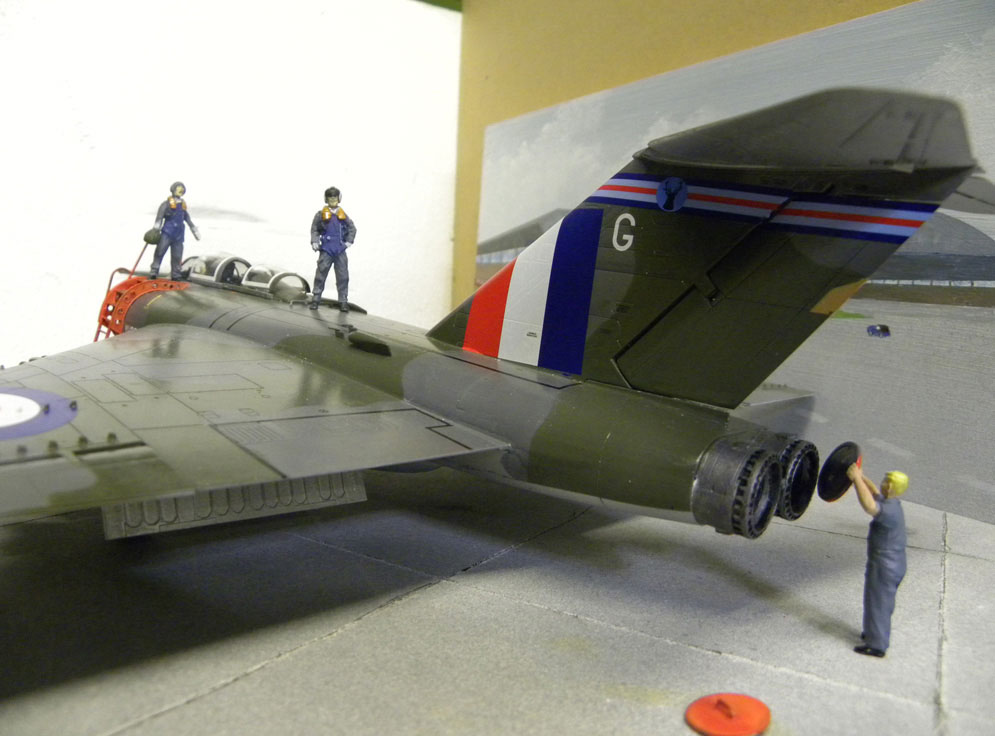
The kit is finished in a mix of Gunze and Tamiya paints, with Alclad II Laquer on the underside.


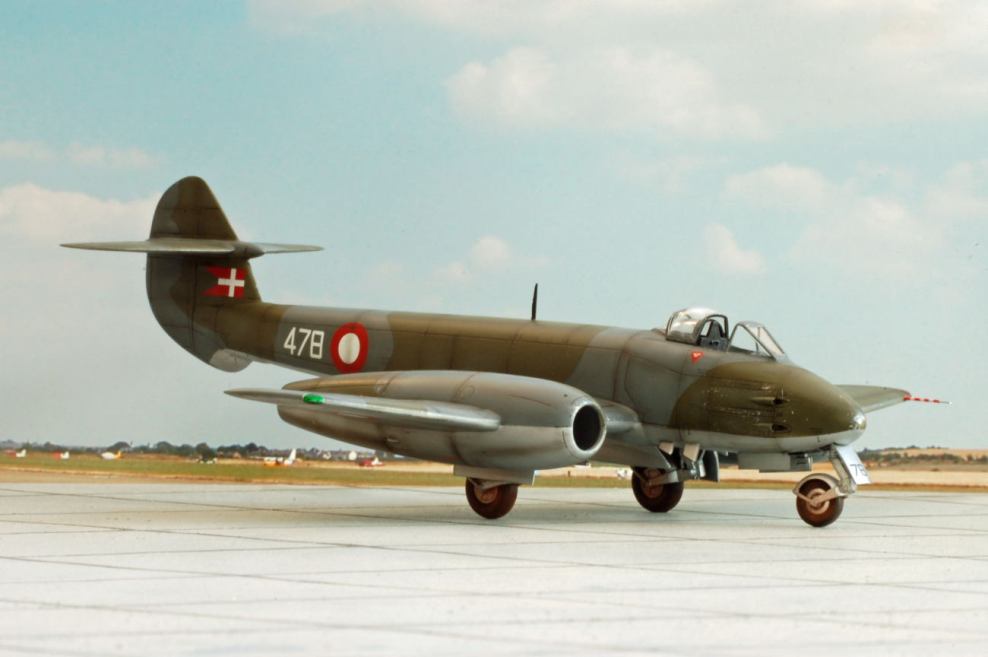
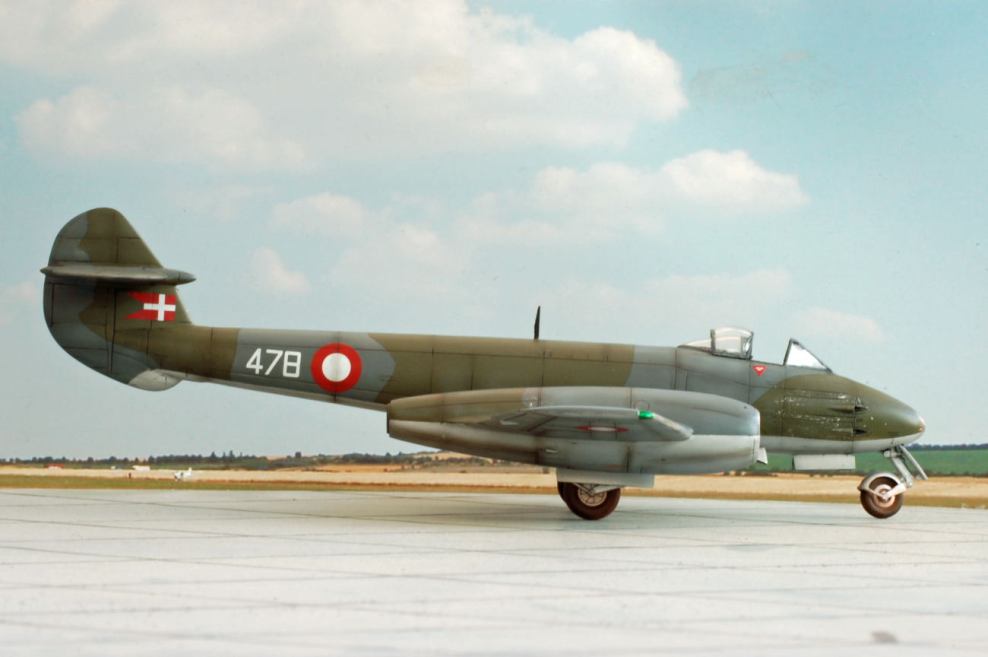
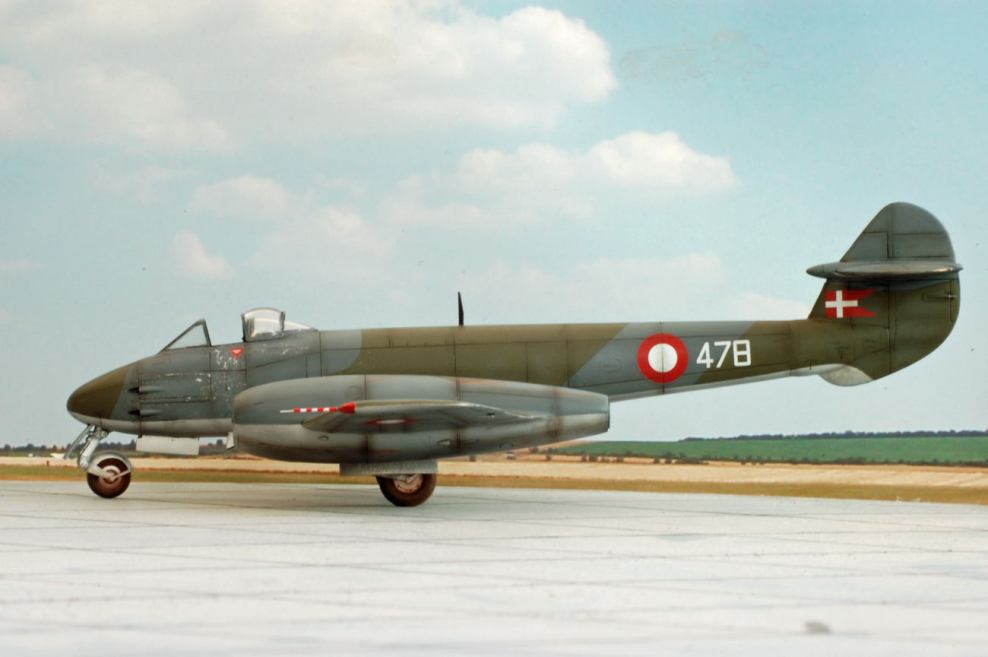
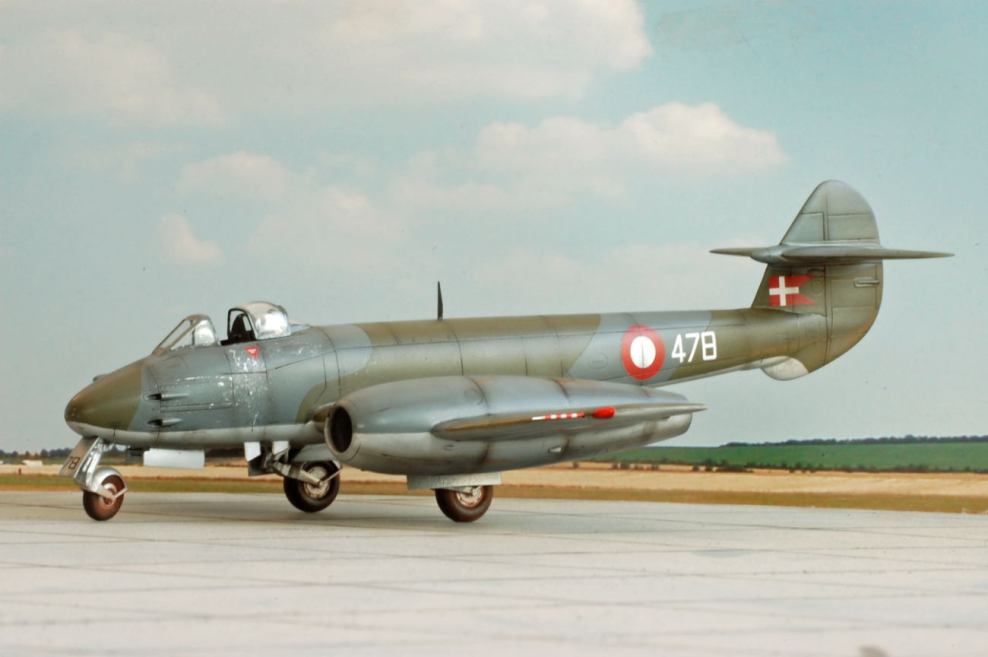
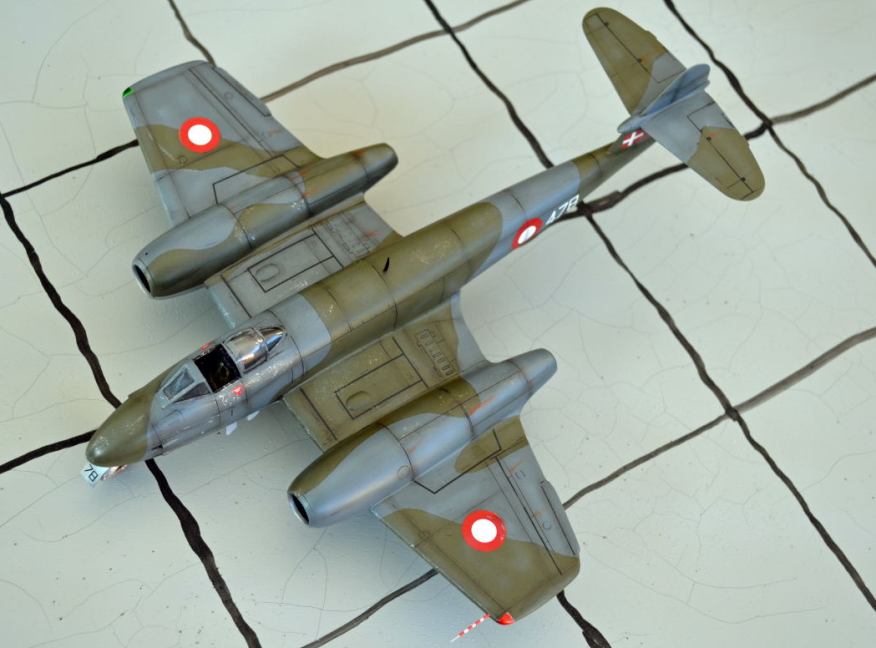
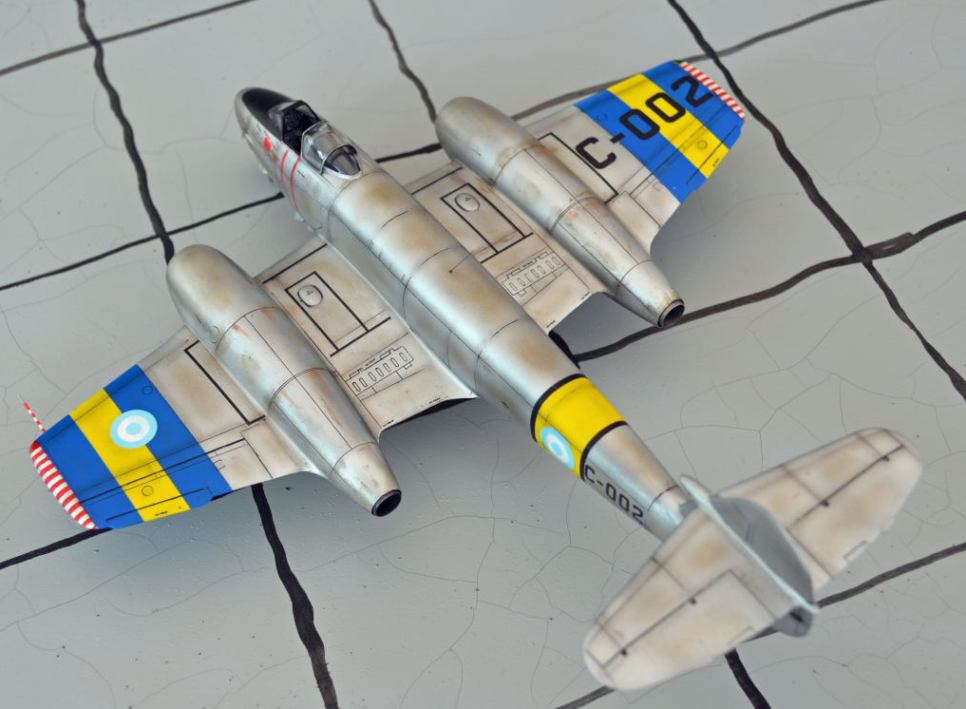
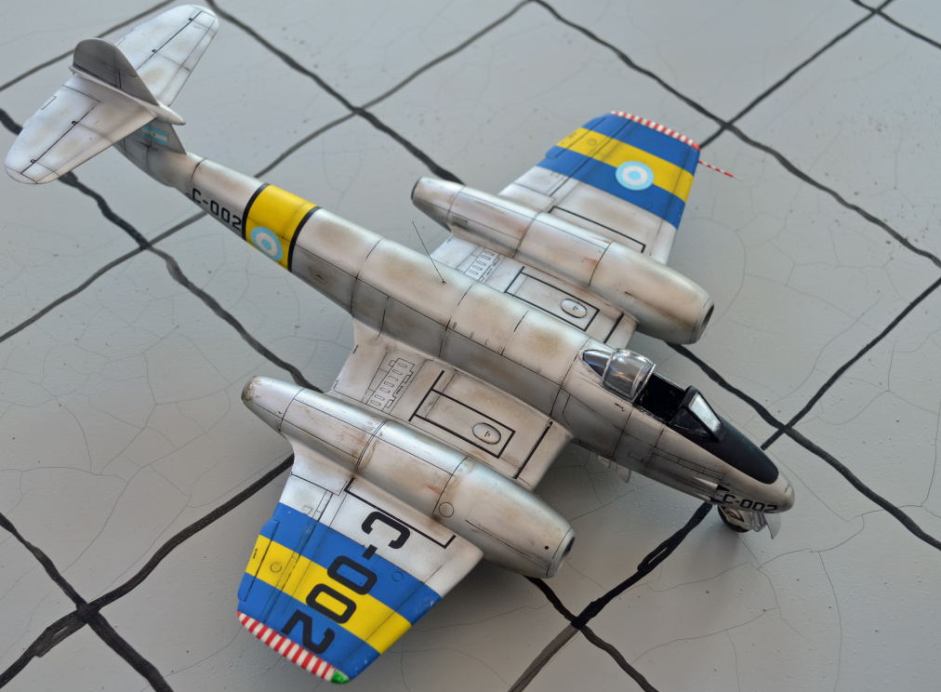
Gloster Meteor Mk. IV Danish Air Force, from the early fifties.
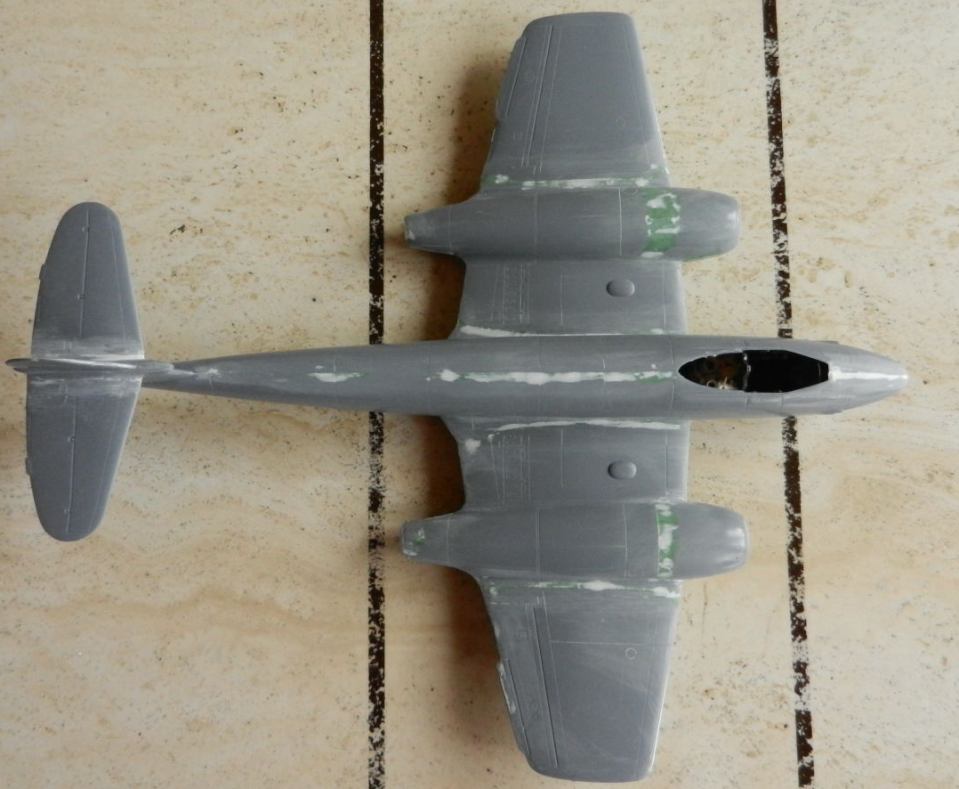
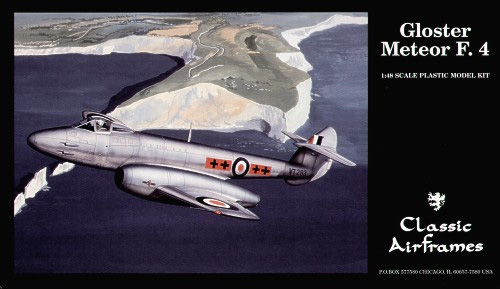
The kit is from Classic Airframes, a typical short run kit with basic plastic parts, injected canopy and a good selection resin parts for the engines and especially for the cockpit. It requires the average amount of putty and sanding, see the photo. Decals are out of the kit. AND: DO NOT forget some massive weight in the nose!
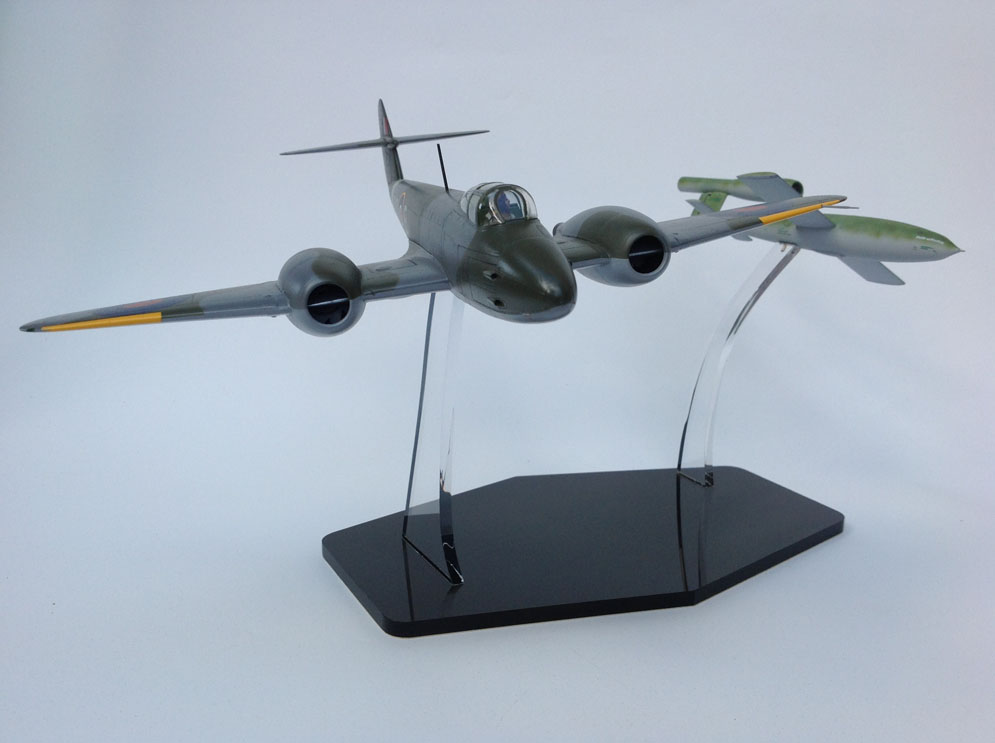
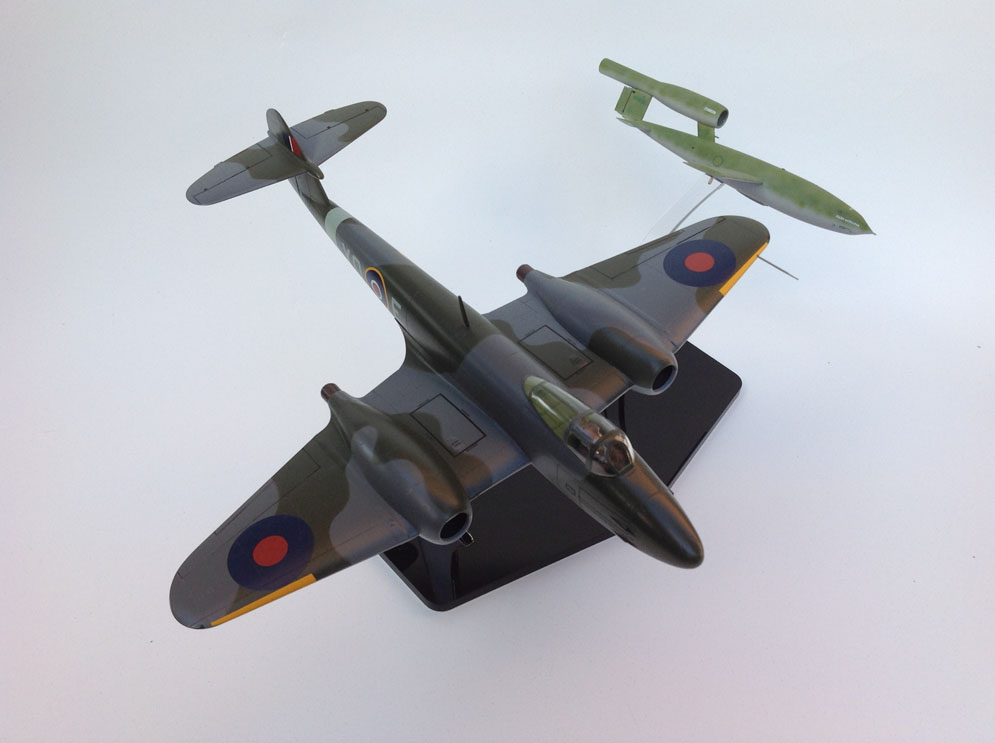
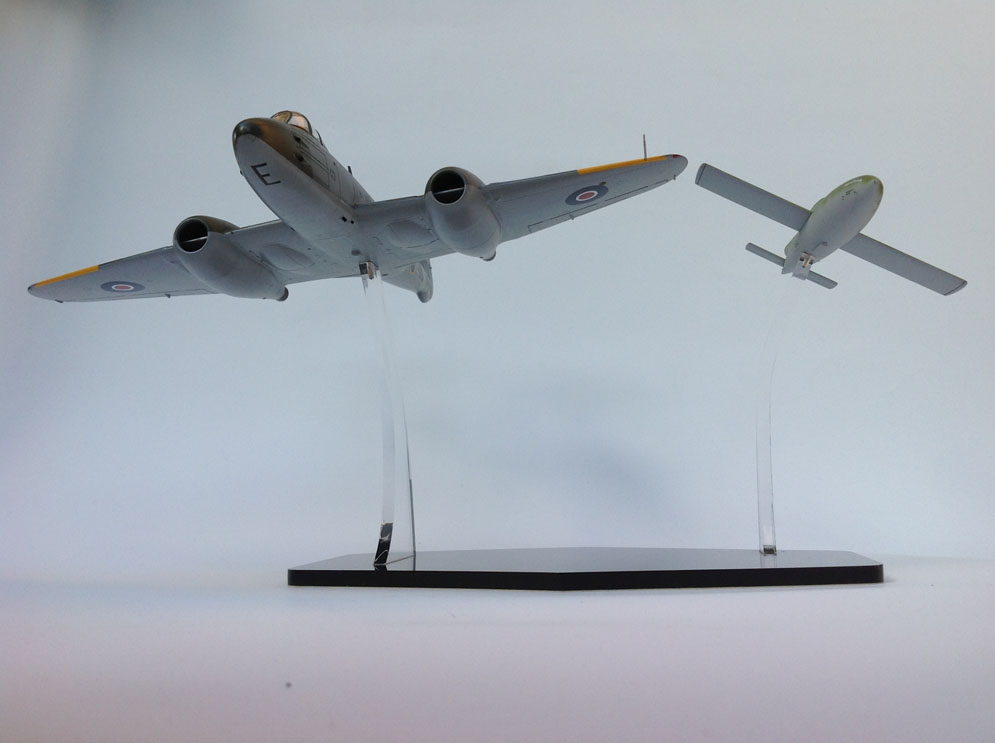
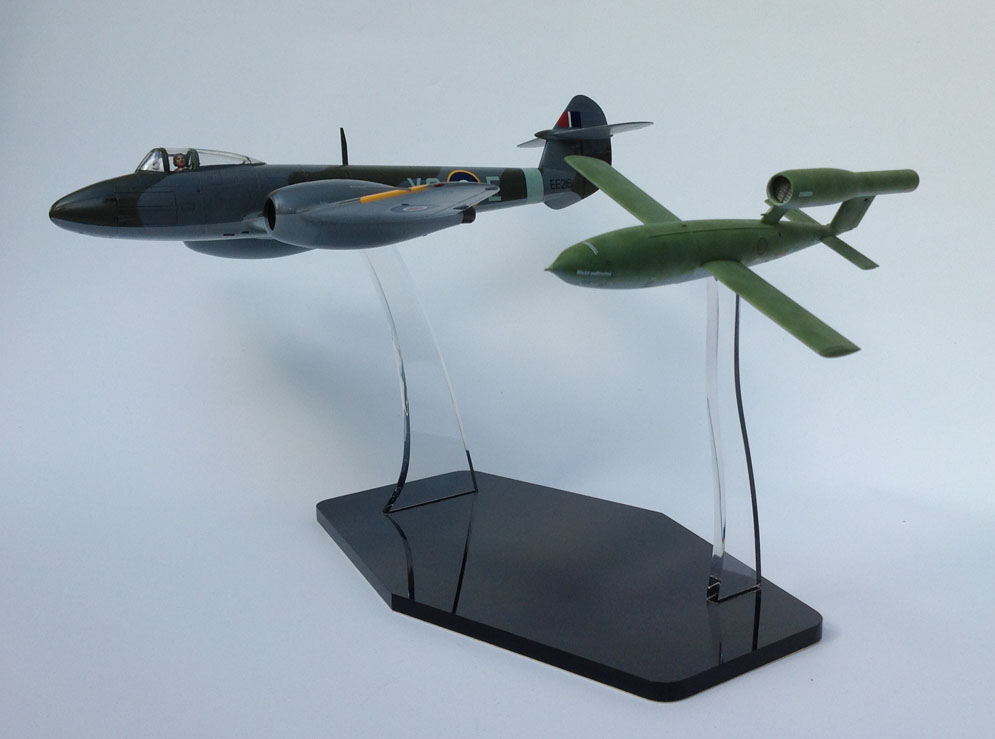
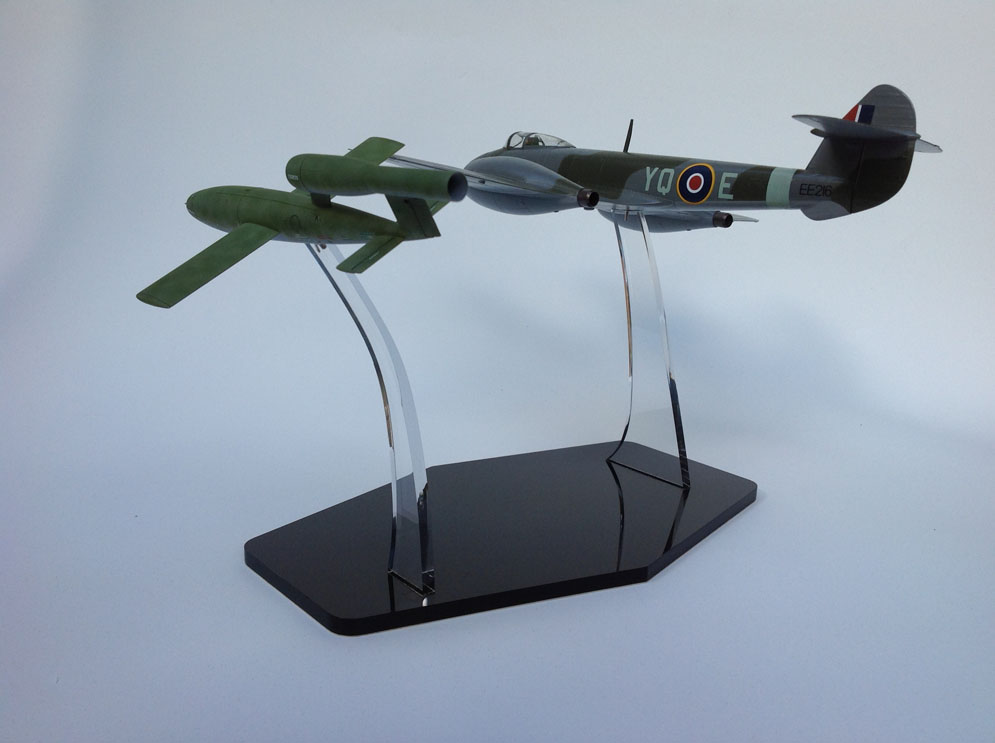
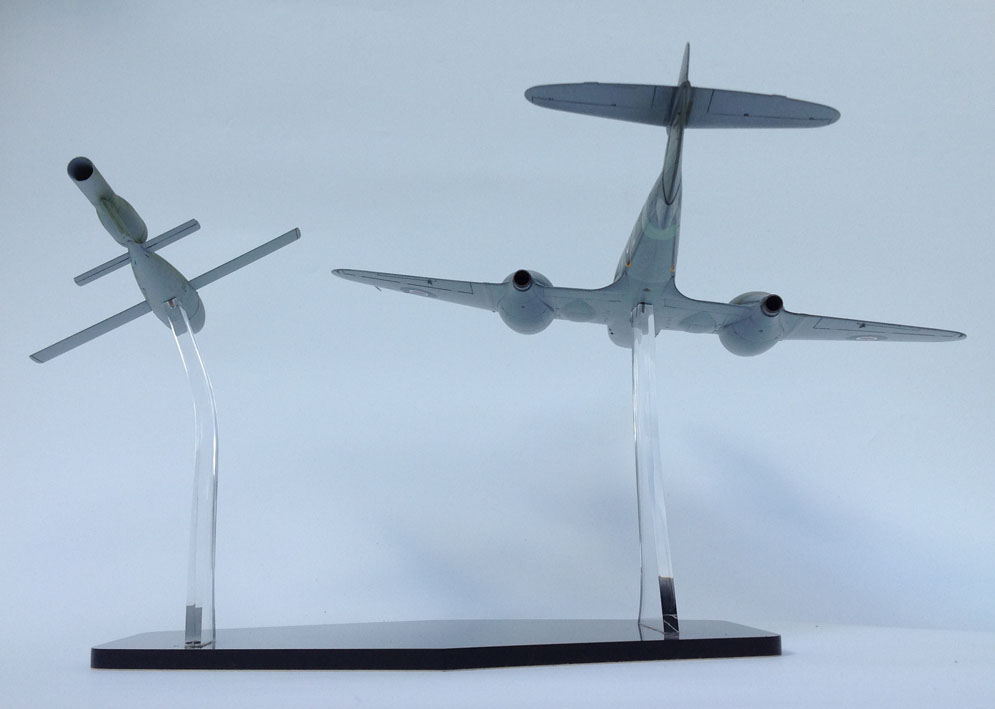
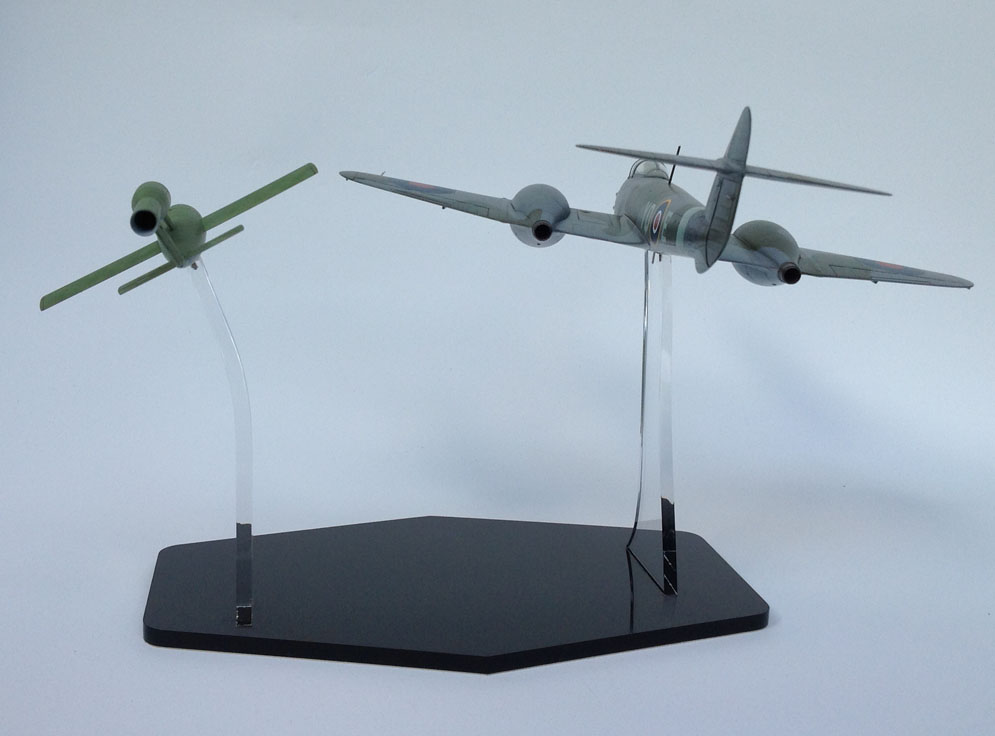
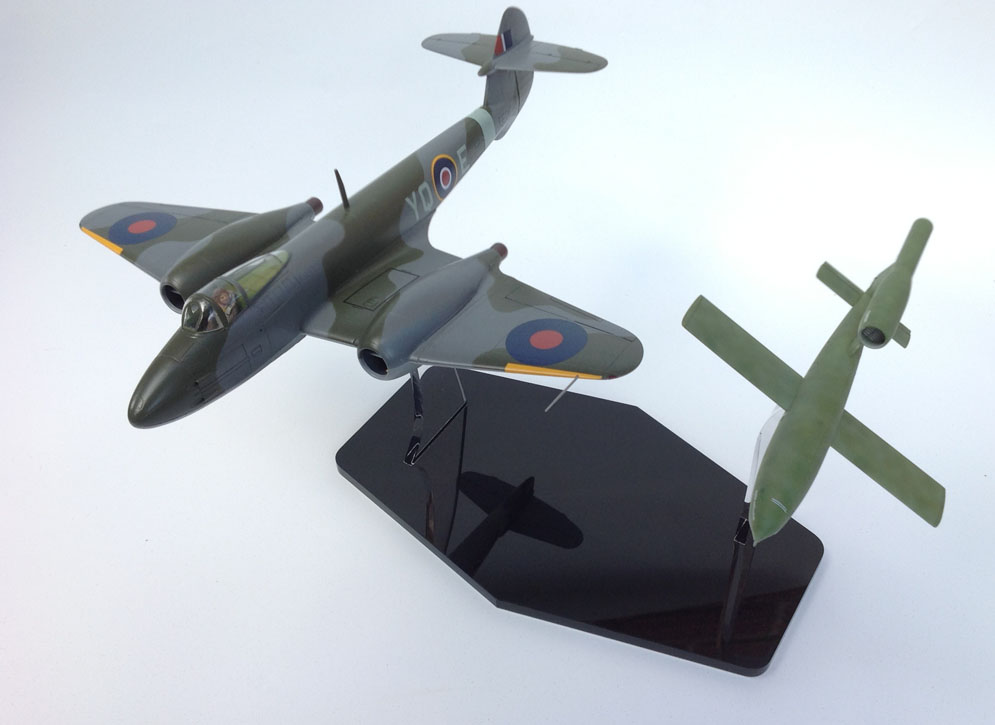
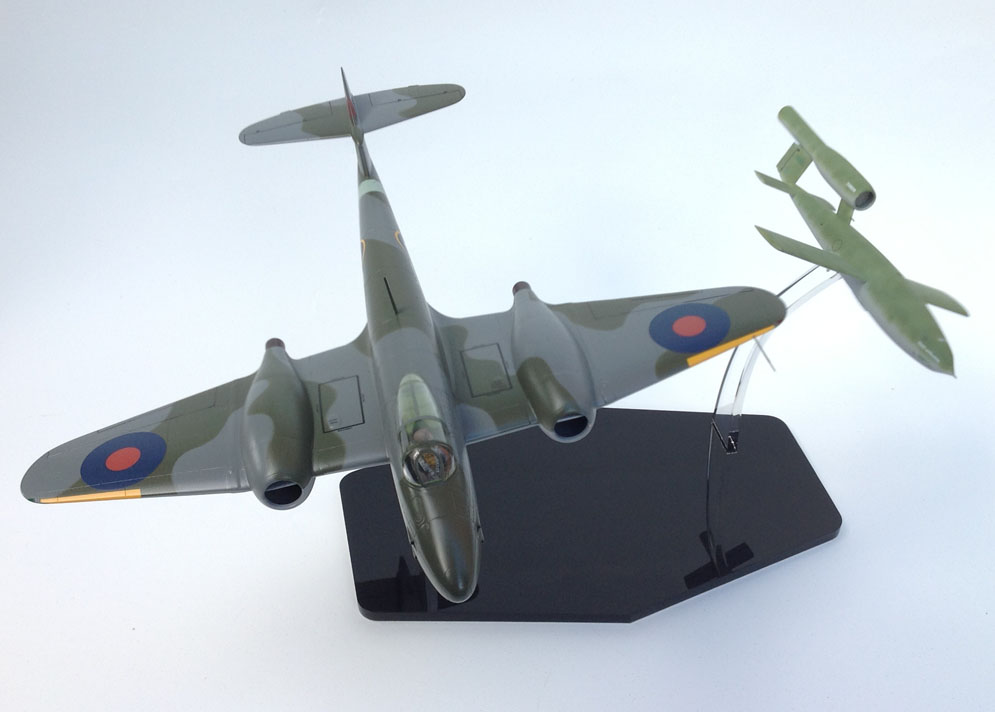
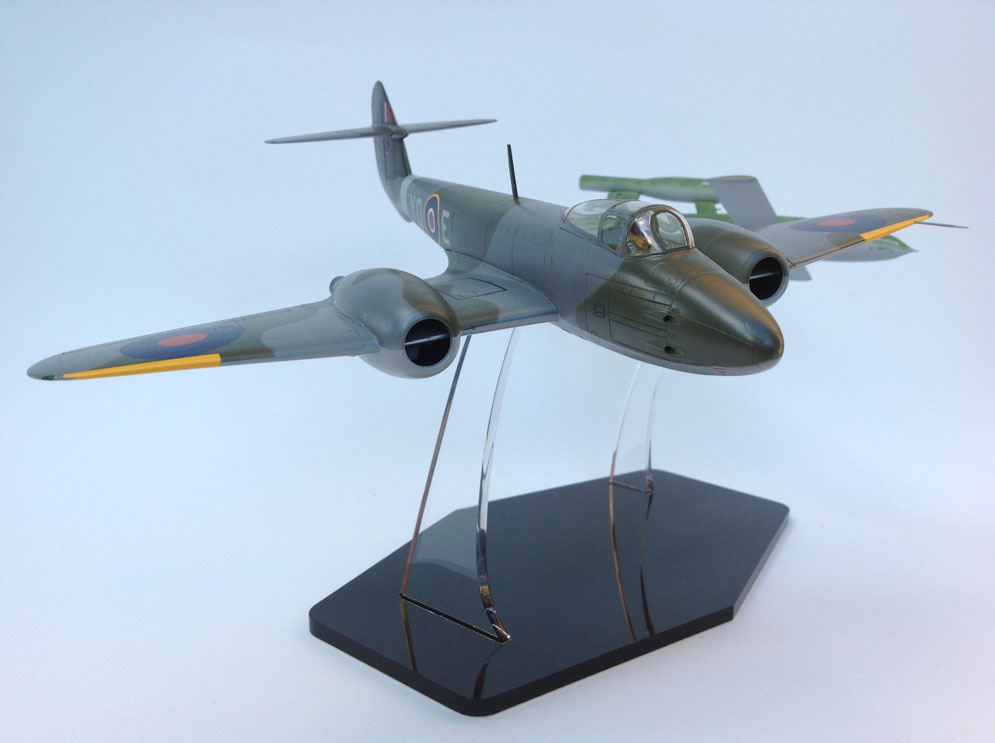
Both models are built straight from the box. The only alteration is to the pilot, his head was removed, and turned to look over his left shoulder. I added a section of Milliput in the area at which the models would be mounted to the stand for extra support.
Both models were painted with Aeromaster acrylics. I used rolled Blu-Tack to achieve the camouflage on the Meteor. The V1 Flying bomb was sprayed free hand. The models were then sprayed with Aeromaster Gloss Varnish in preparation for the decals which came with the kits.
I made a base of Perspex, attached the two supports after bending them to the desired angle using a heat gun. The models were mounted after drilling a hole and using part of a cocktail stick to attach the models.
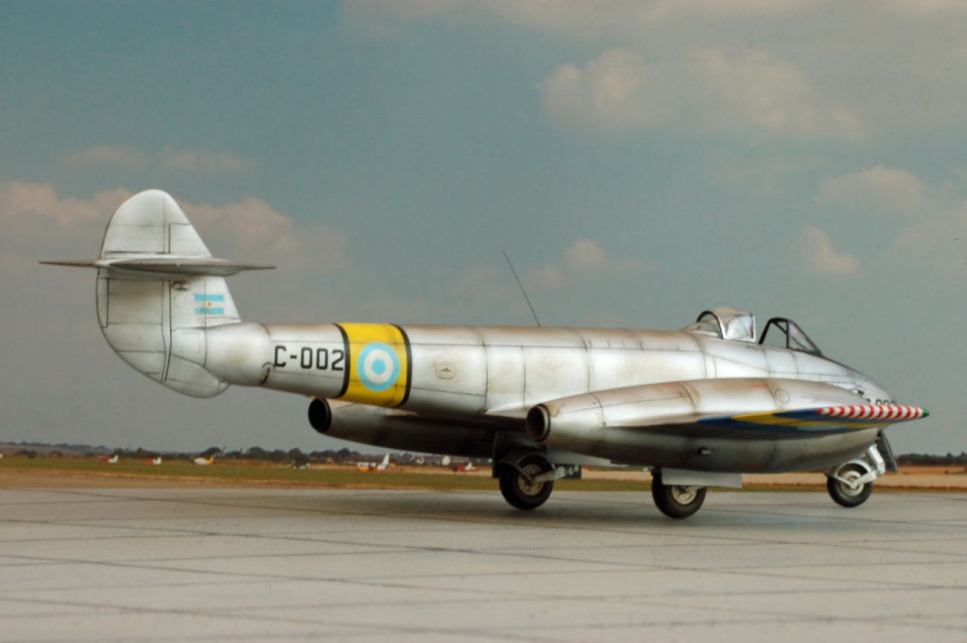
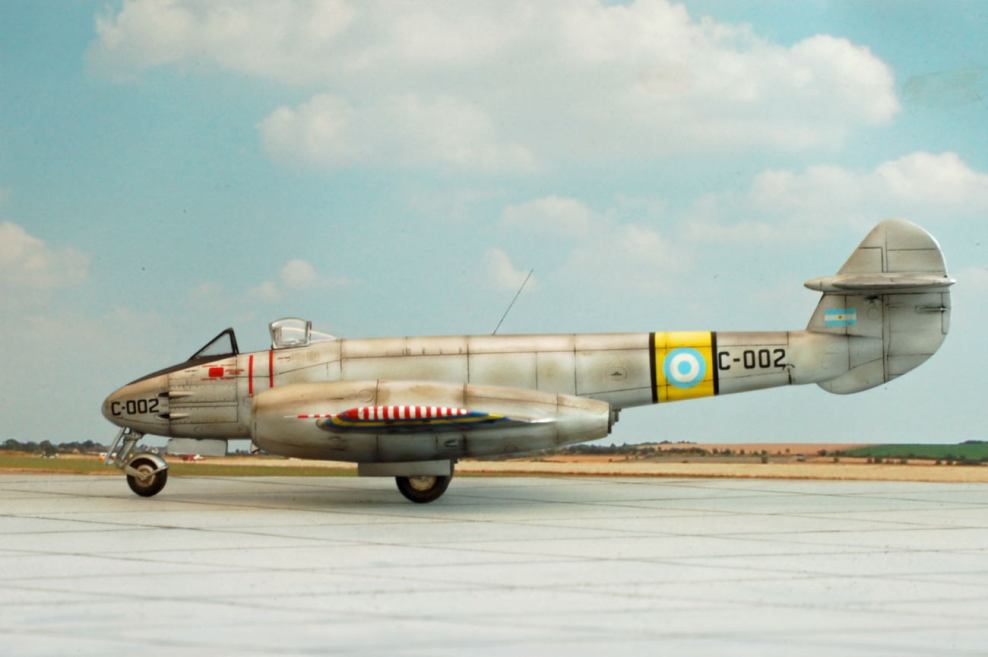
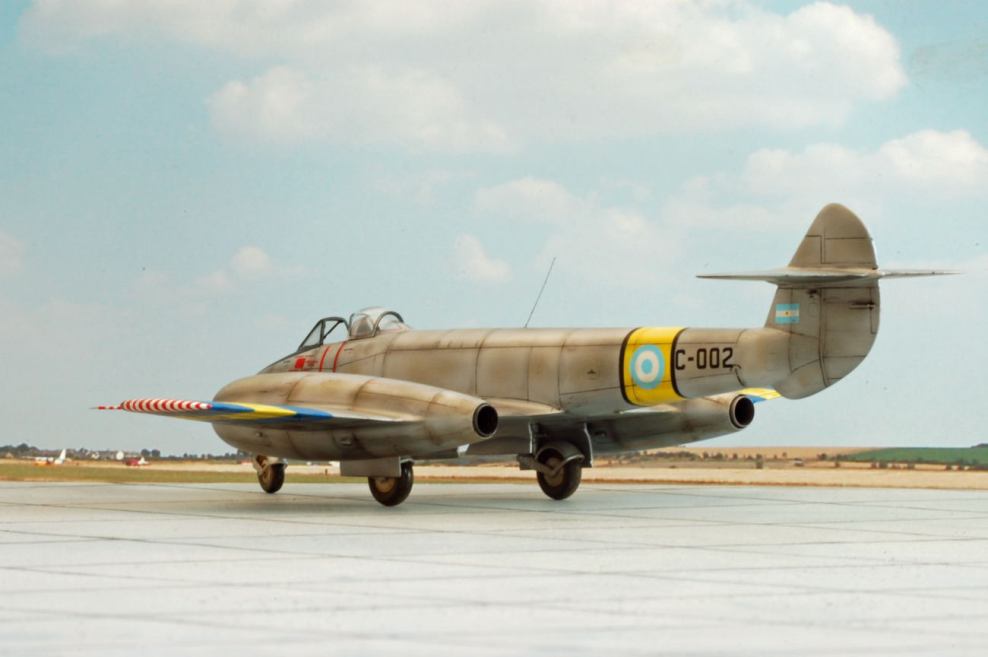
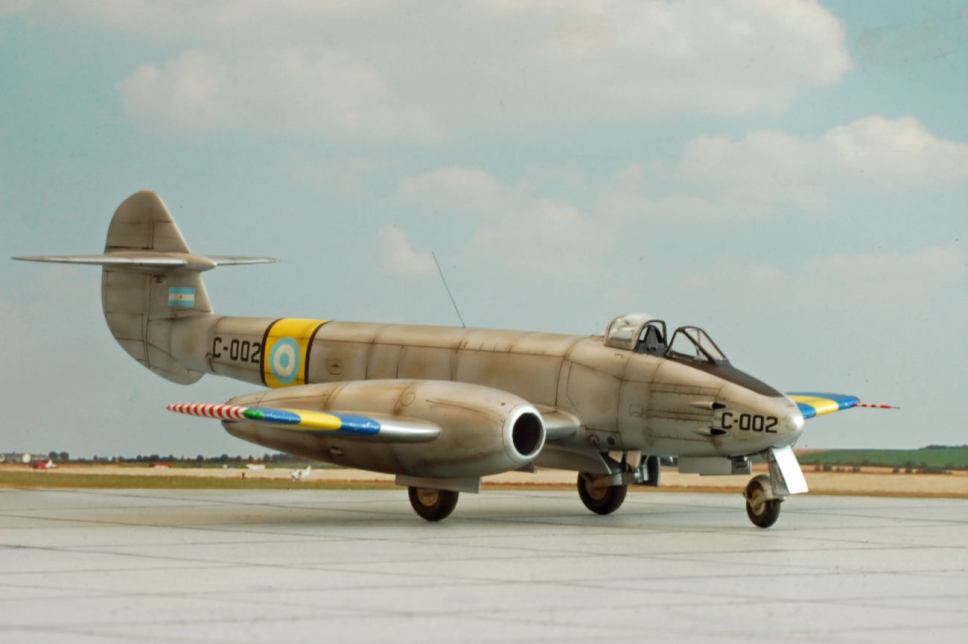
Julian Shawyer


The resin cockpit out of the box is very good and besides the fitting problems the build is straightforward.
For this bird I used Aztec decals for Argentinean Meteors.
All the best, Jürgen J.


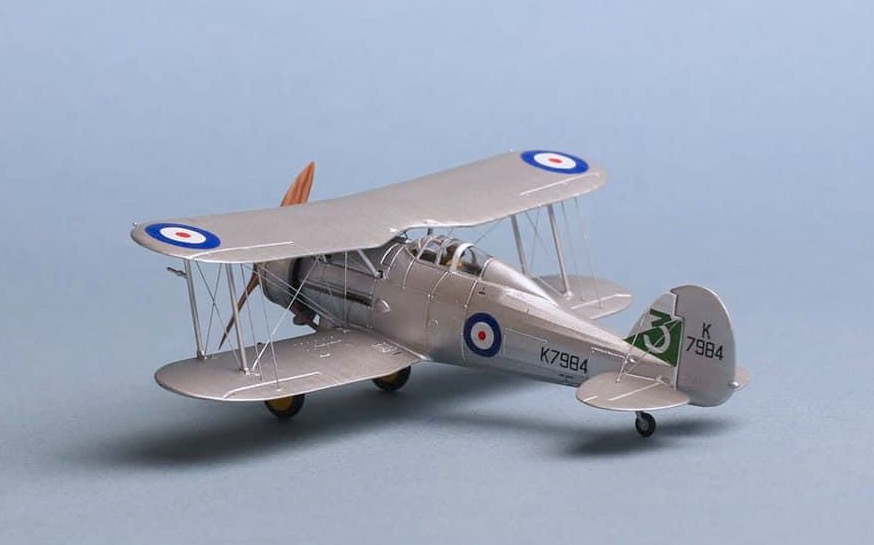
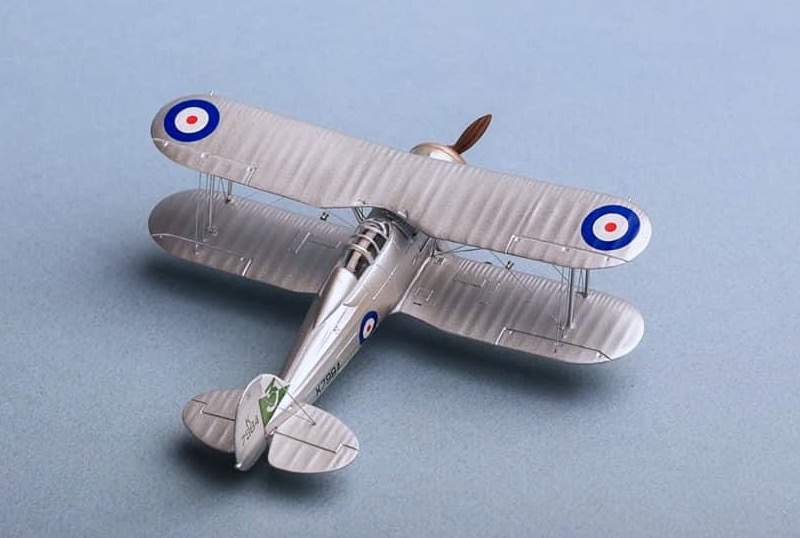
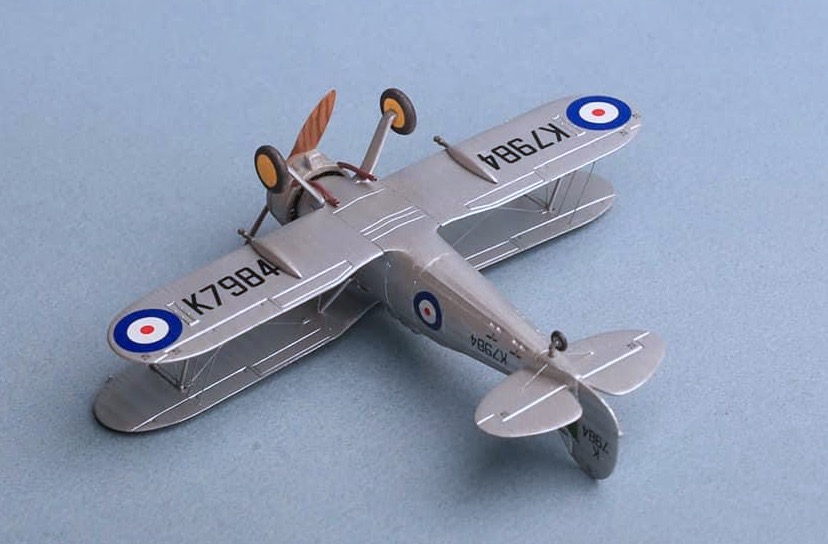
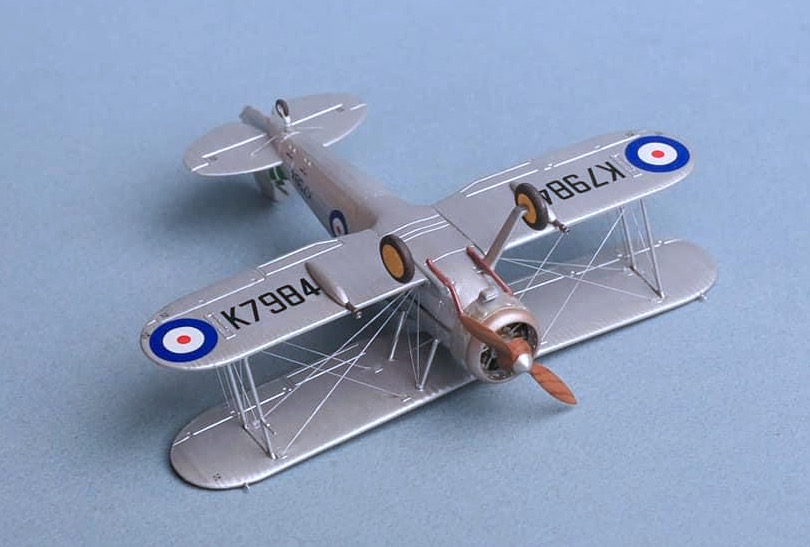
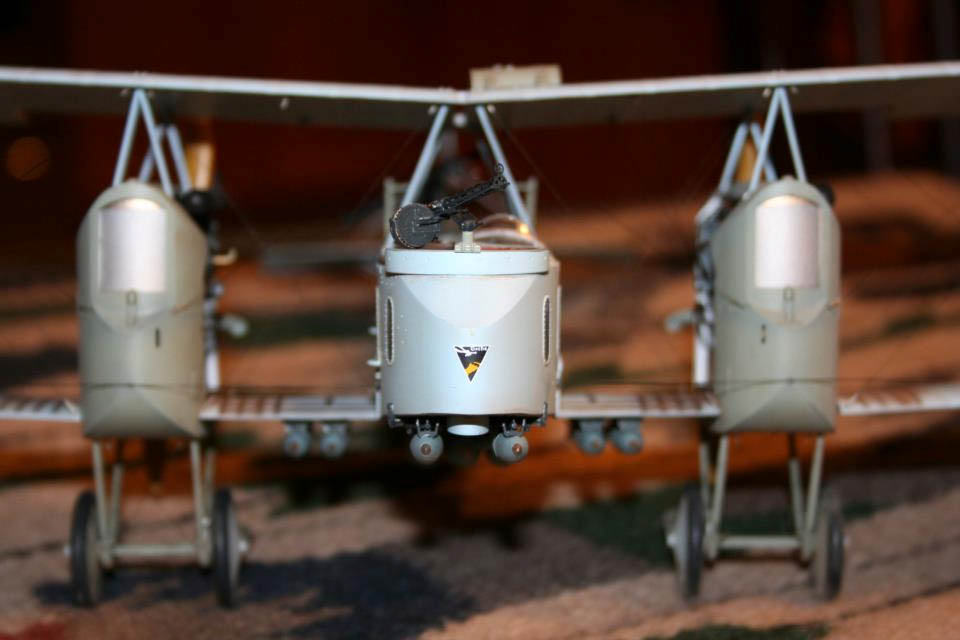
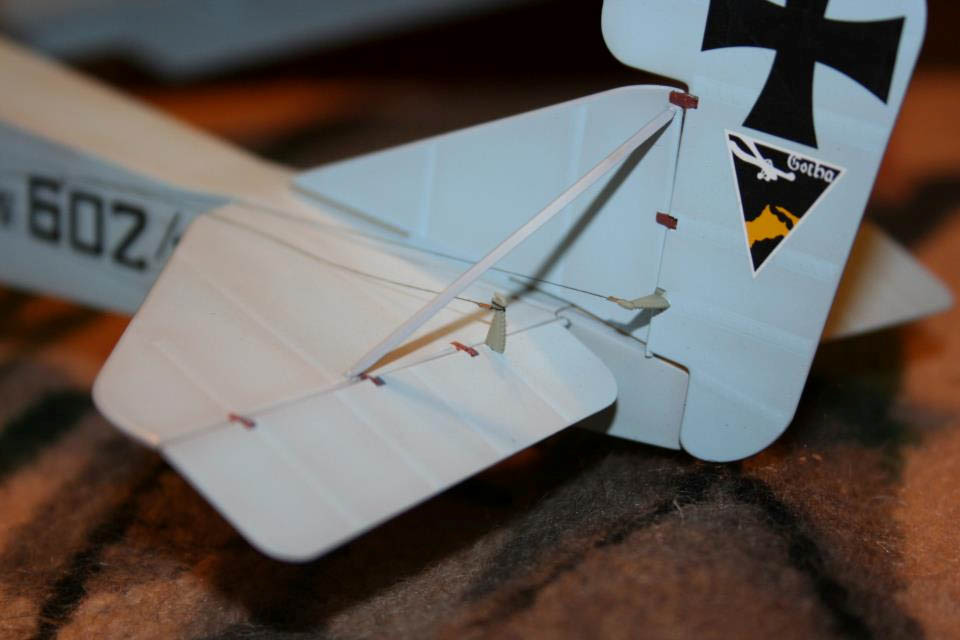
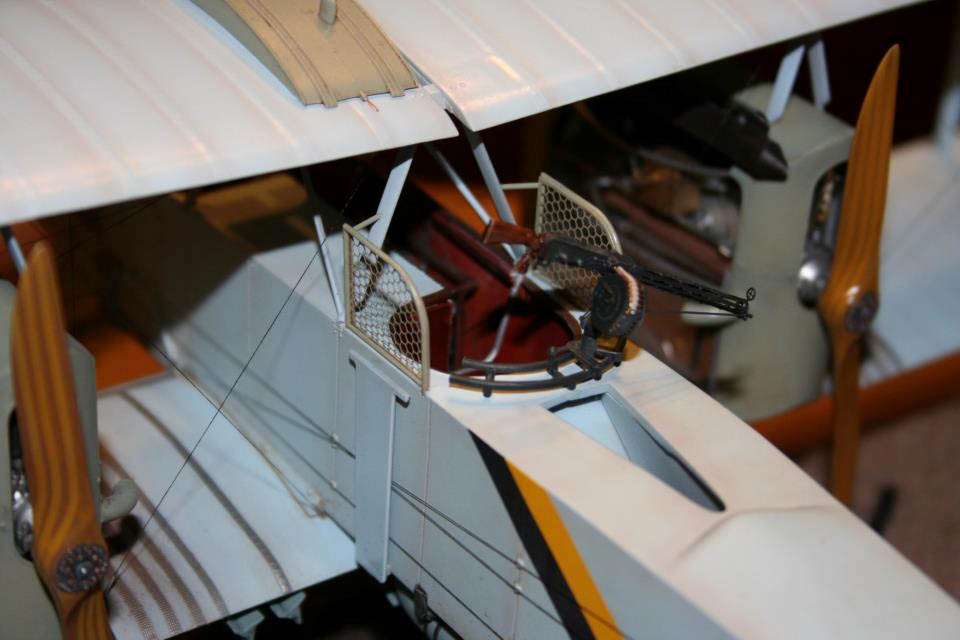
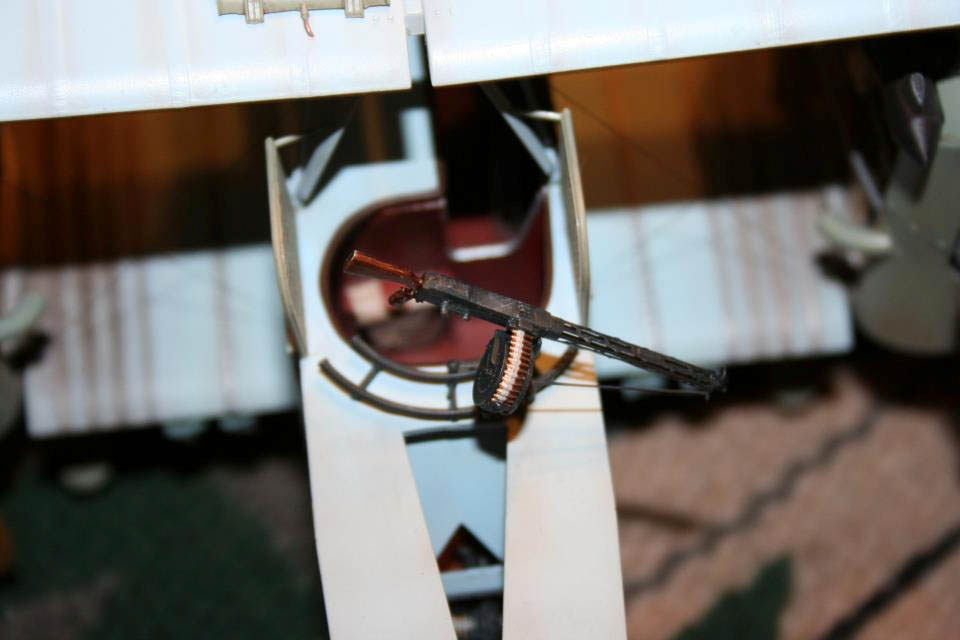
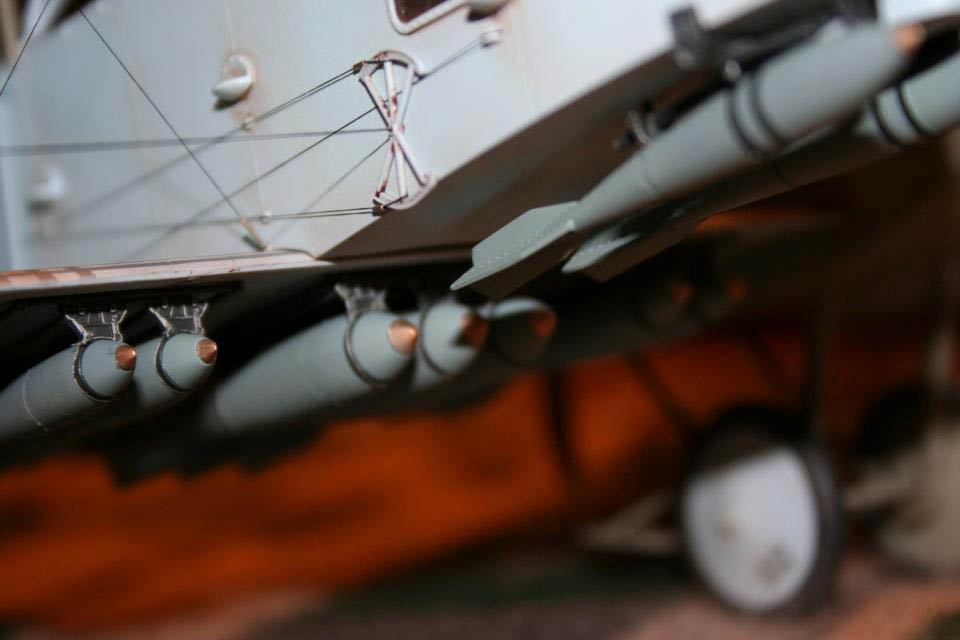
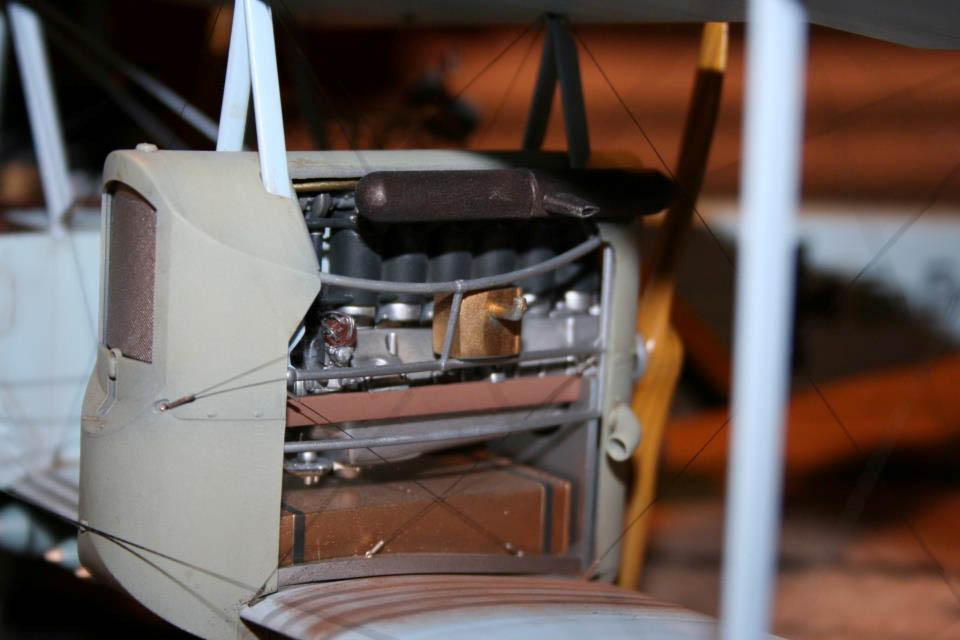
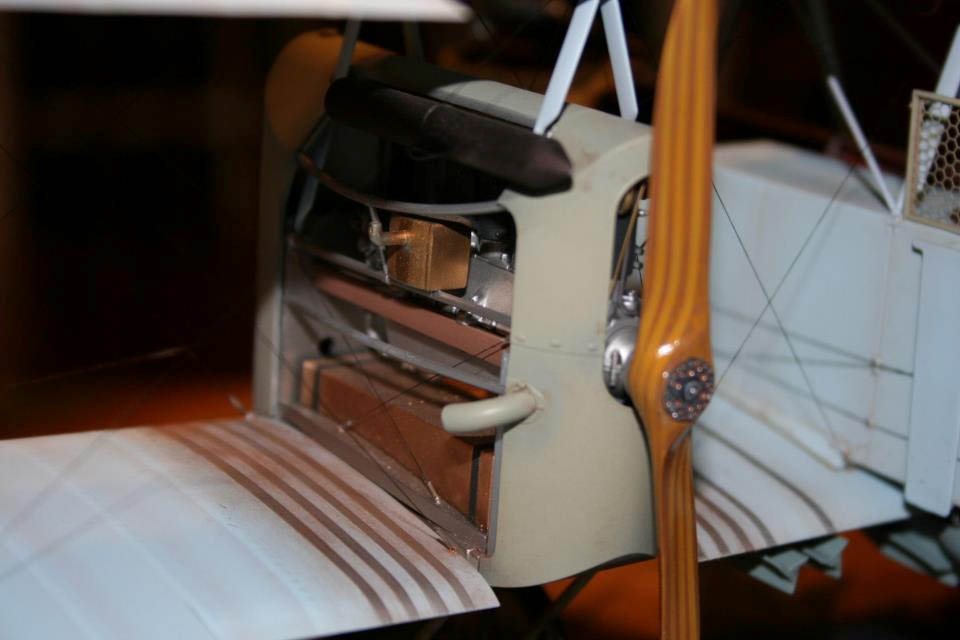
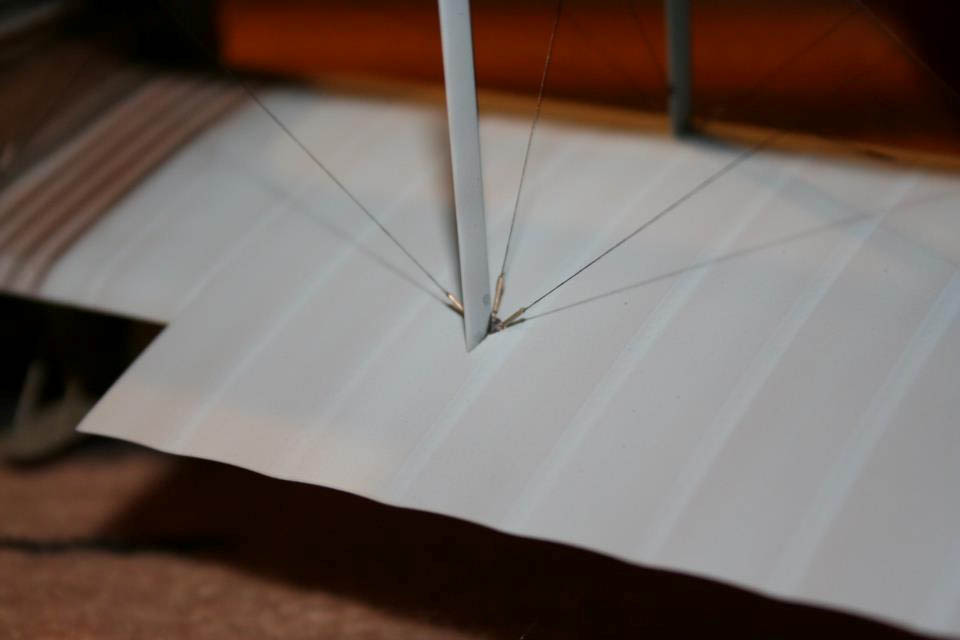
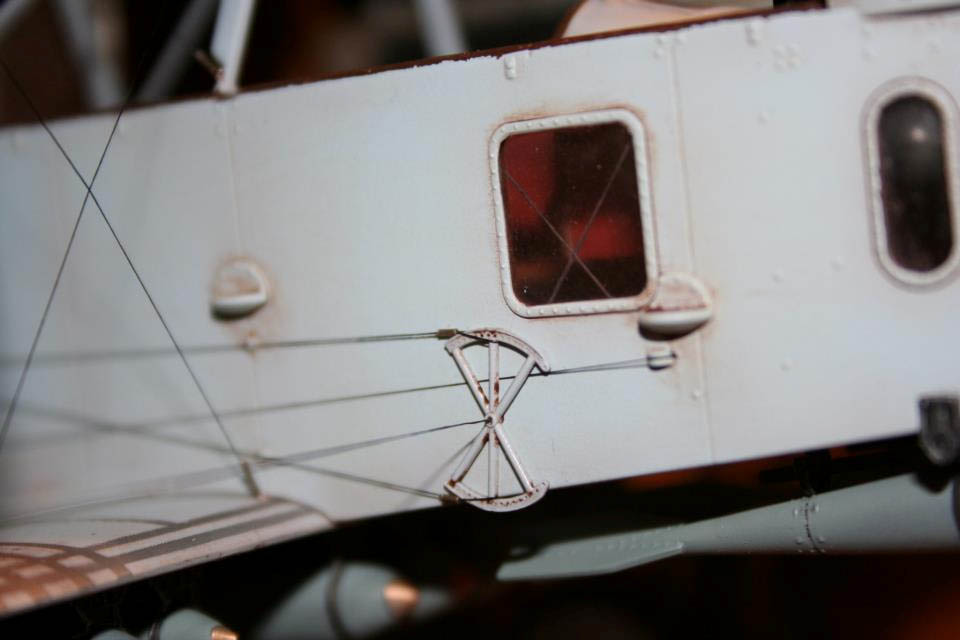
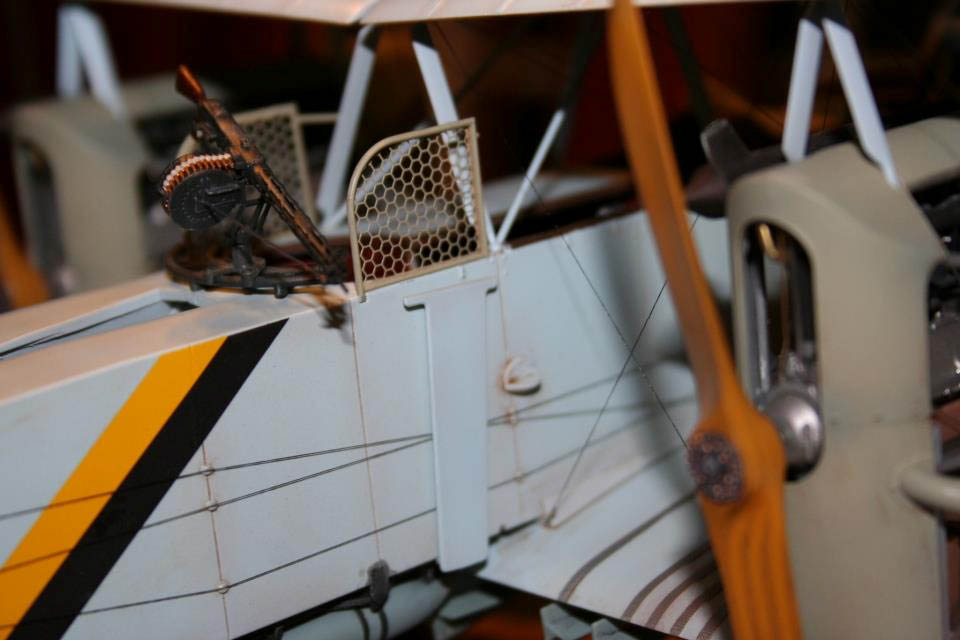
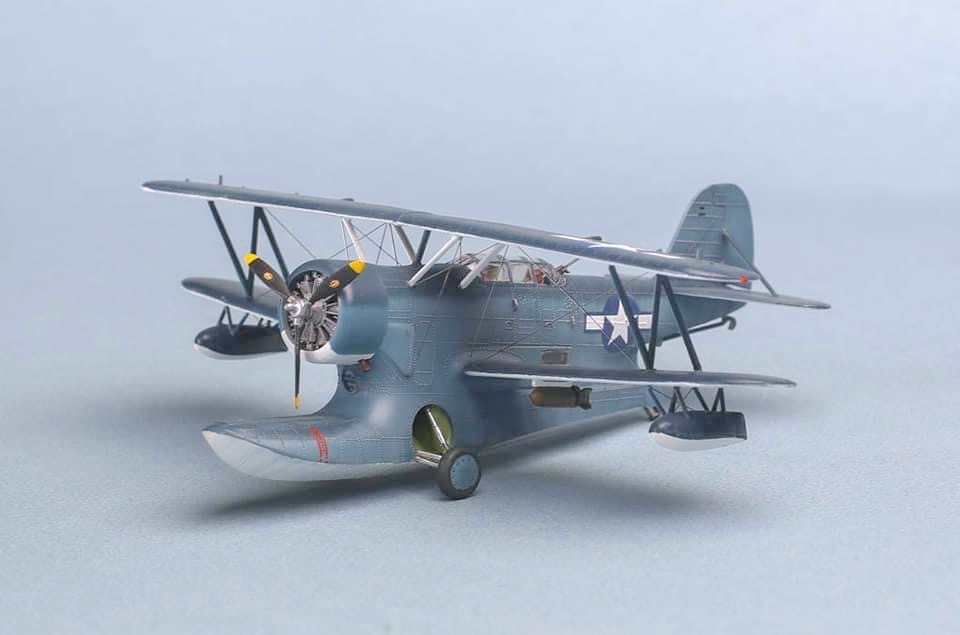
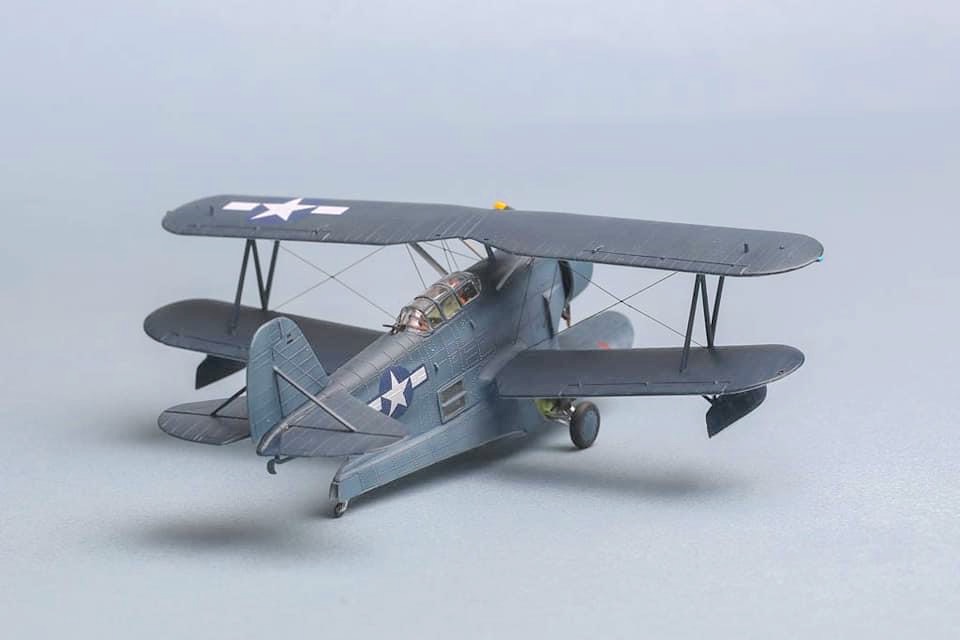
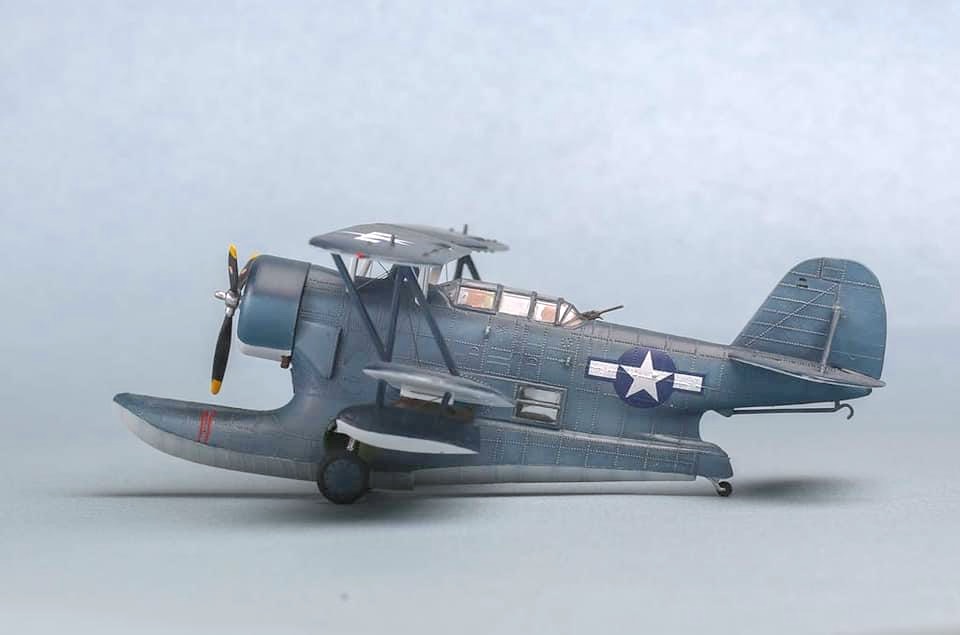
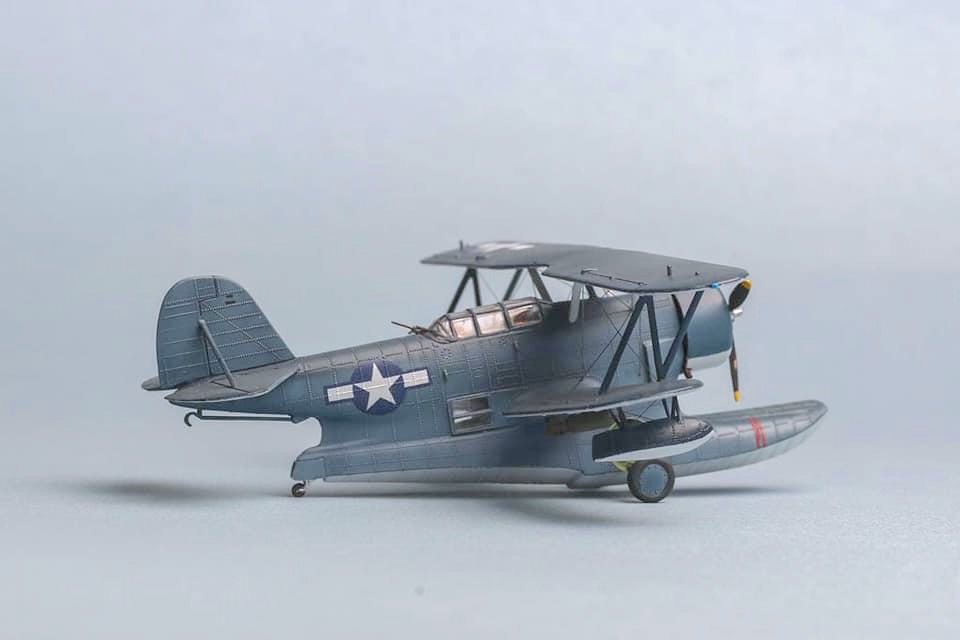
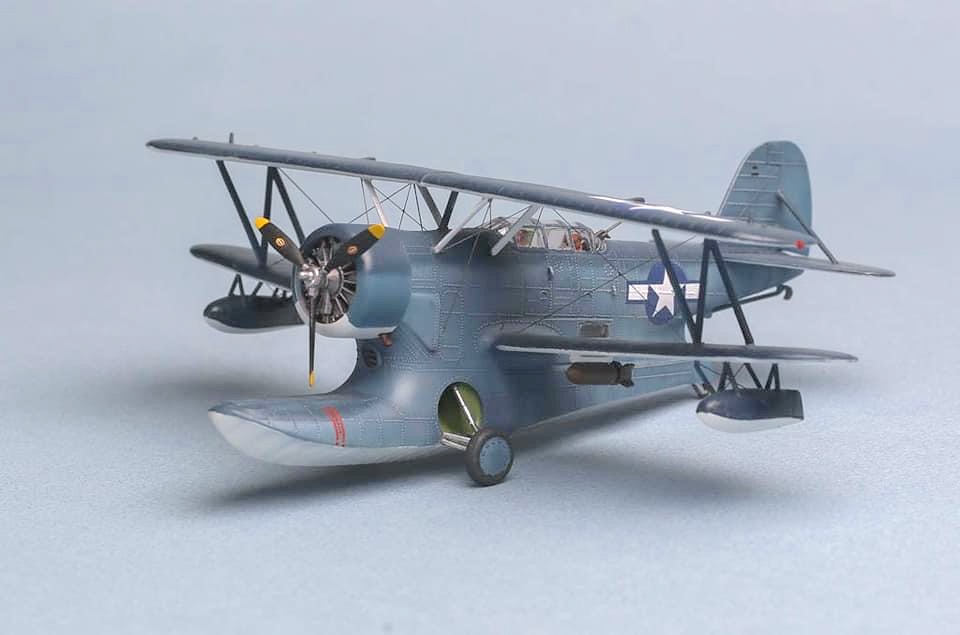
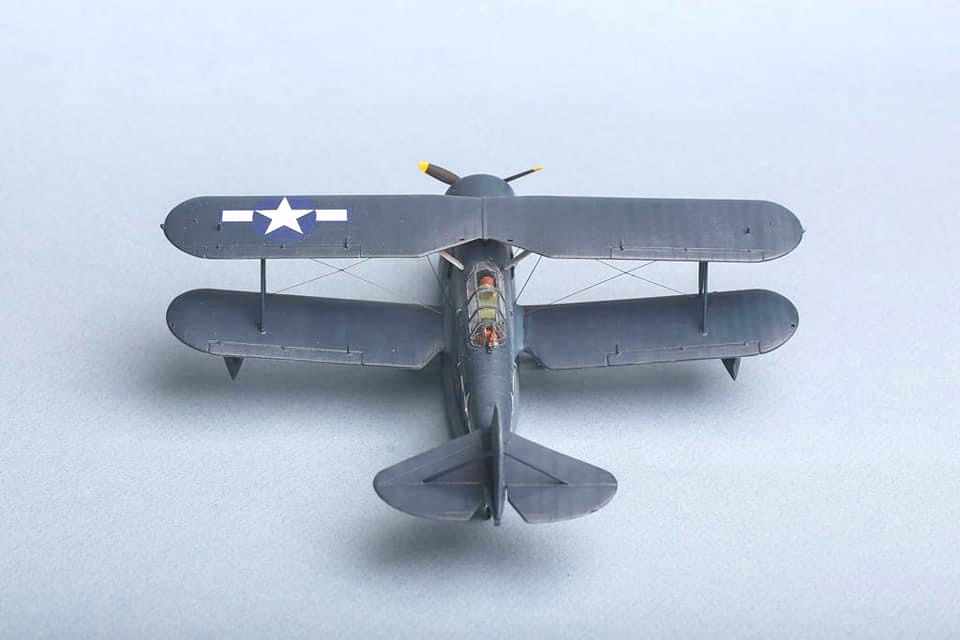
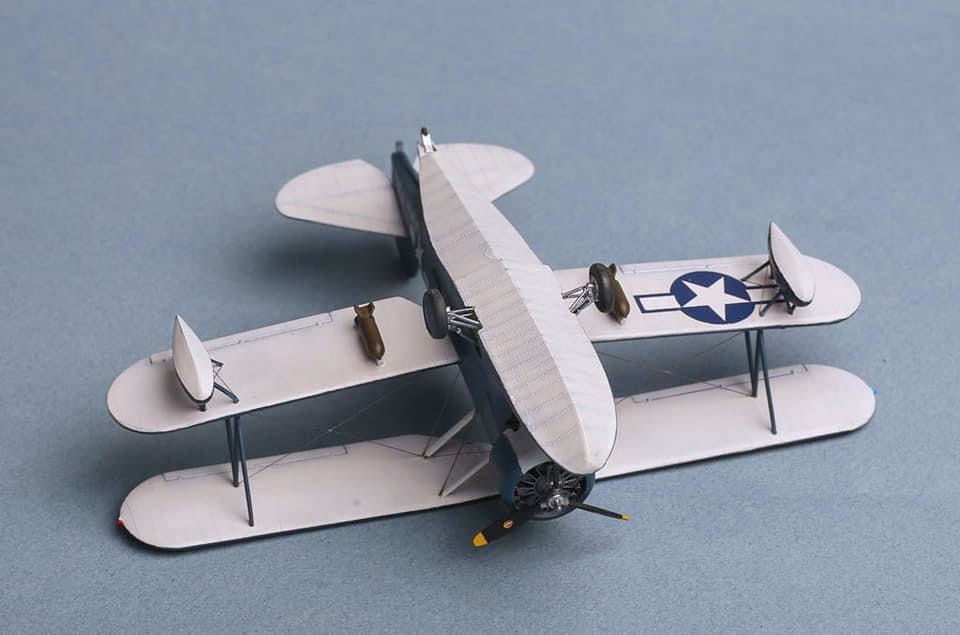
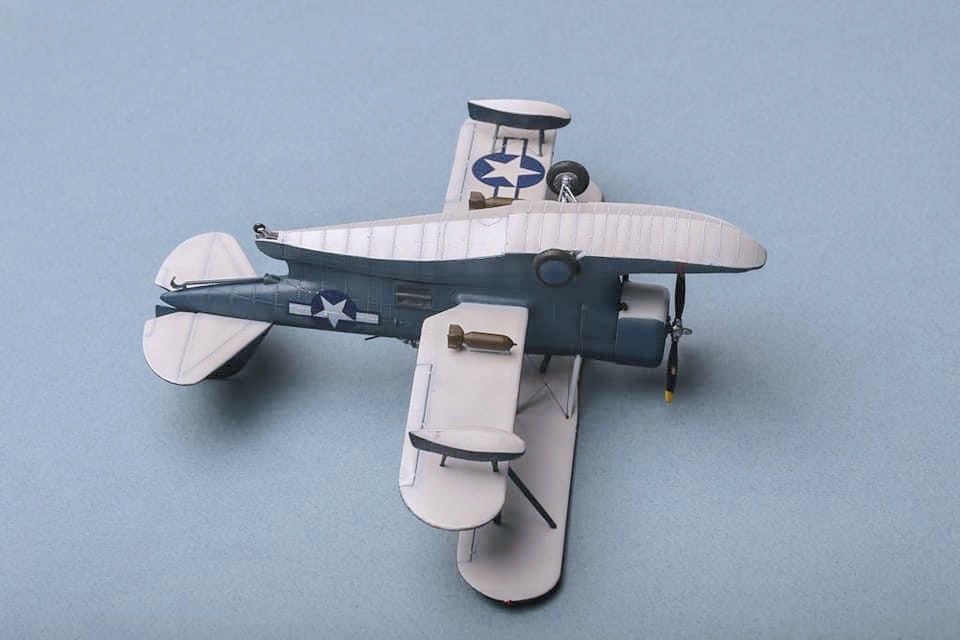
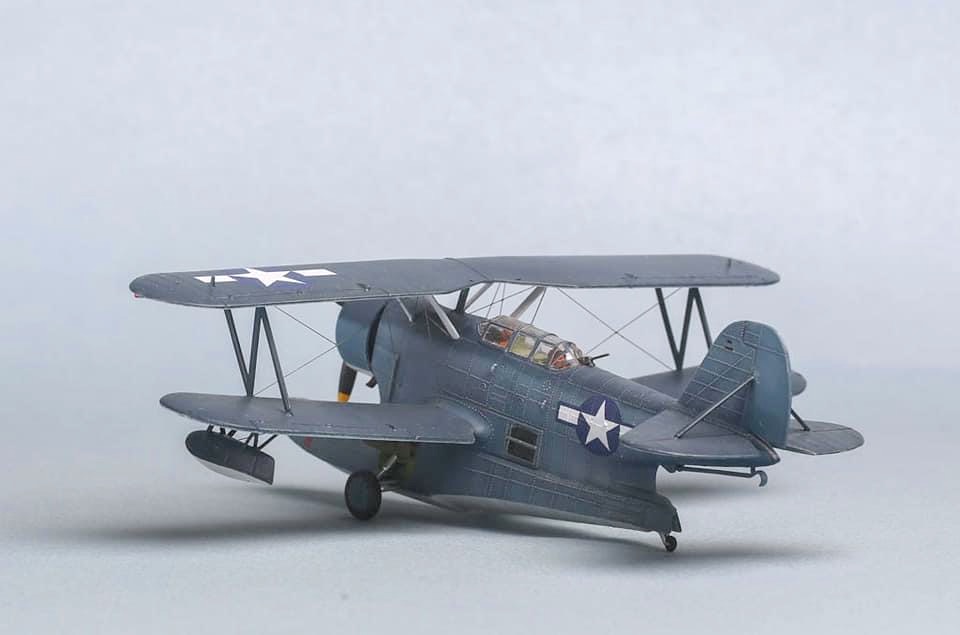
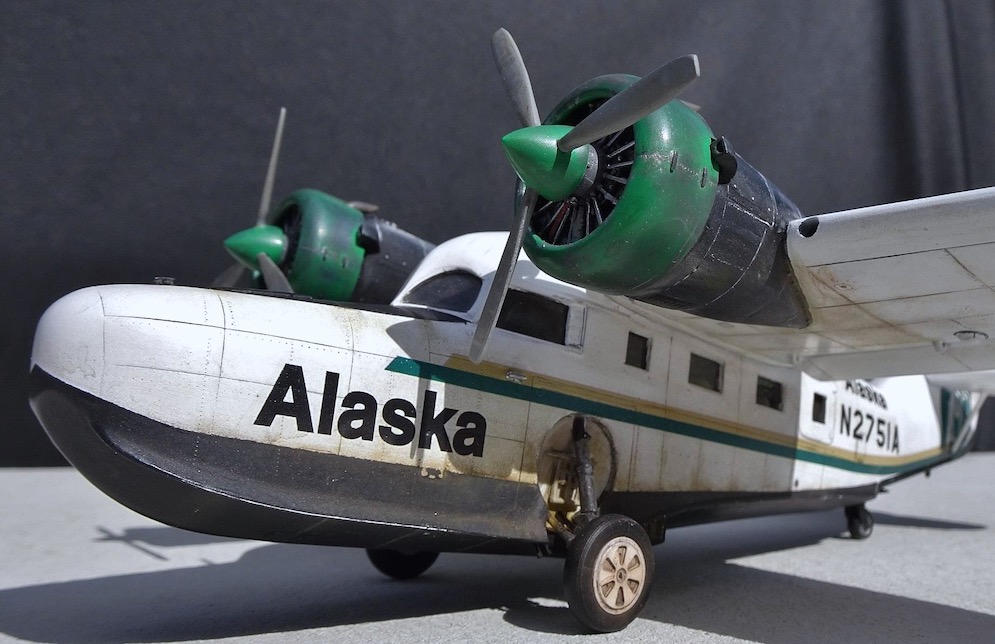
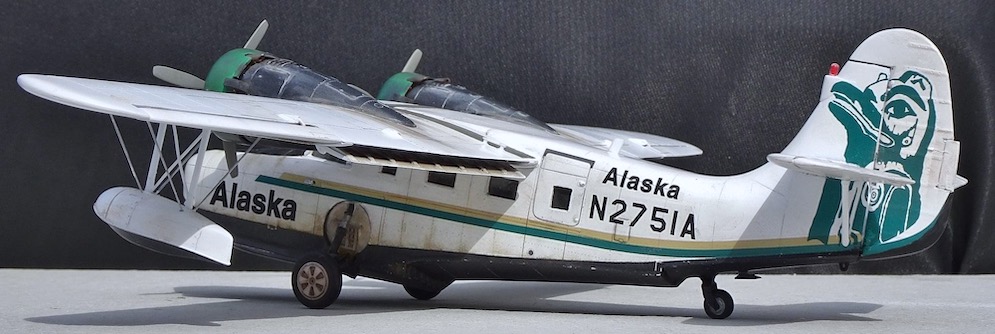
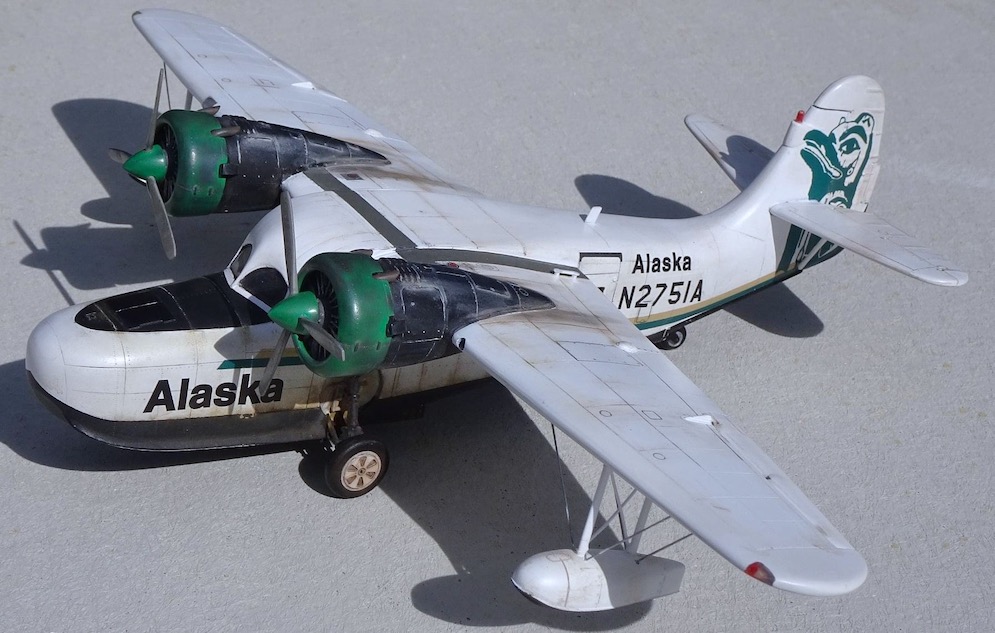
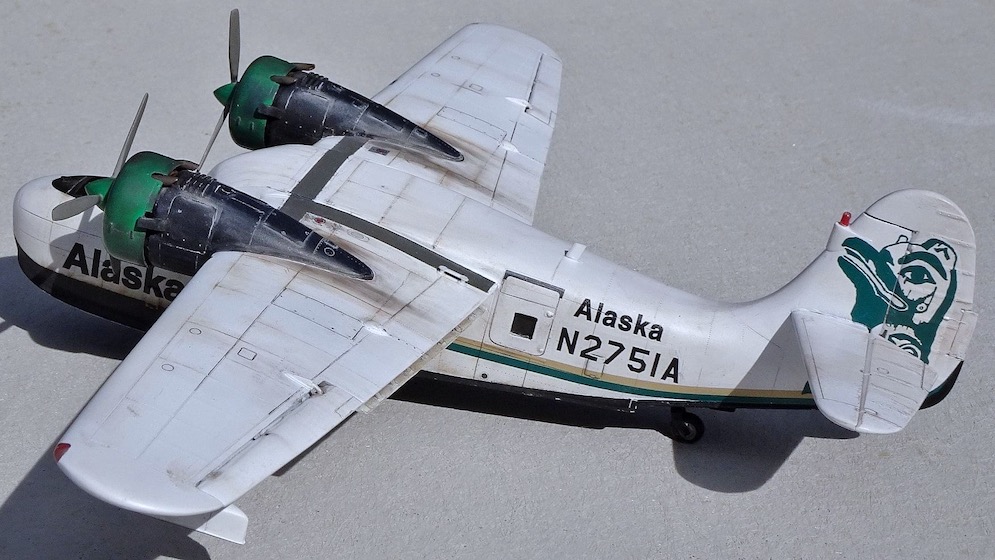
The build is mostly out of box; the few additions were aluminum spark plugs from RB Motion, spark plug wires, and rigging. For the rigging I used Albion Alloys .5mm ID nickel tubing for the turnbuckles, 34-gauge wire for eyebolts, and Griffiths Ultra-Sheer fly-tying line for the wires. For paint, I went with Gunze-Sanyo Mr. Color, with a mixture of about 90% white to 10% dark blue.
Jim C.

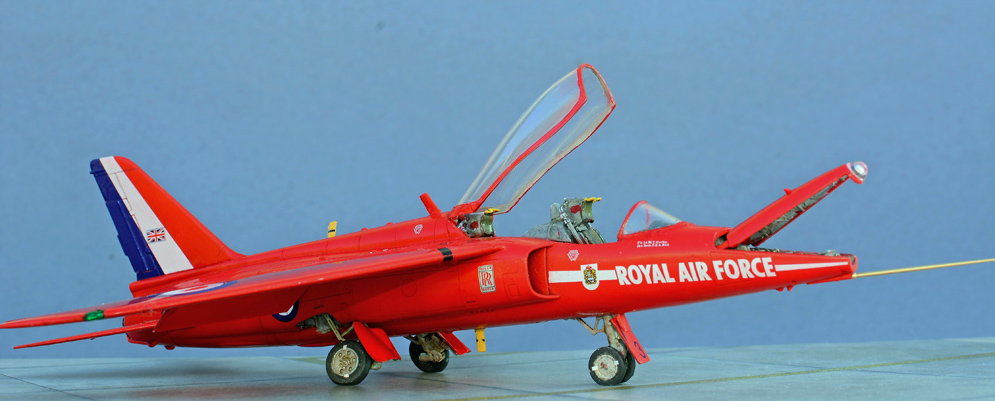
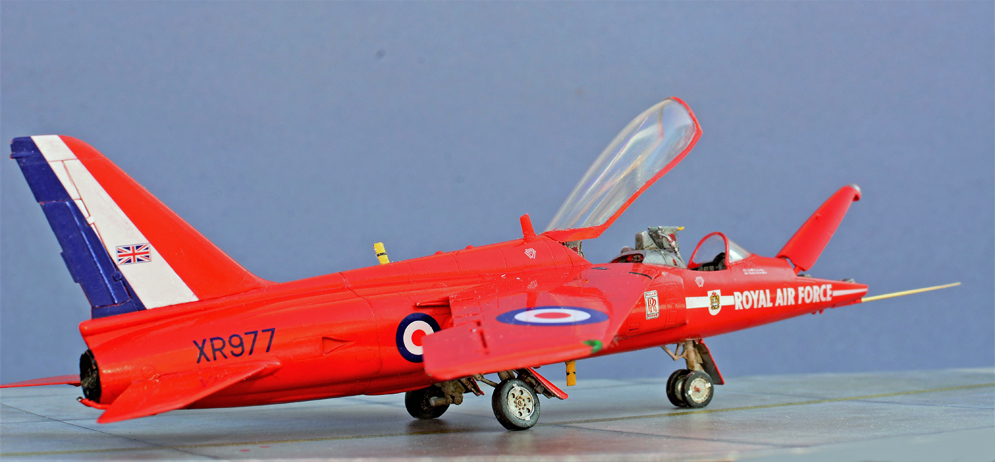
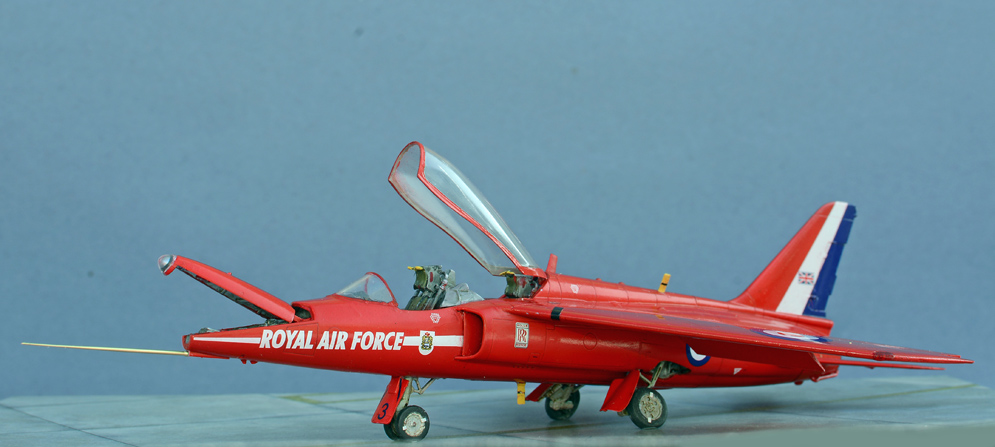
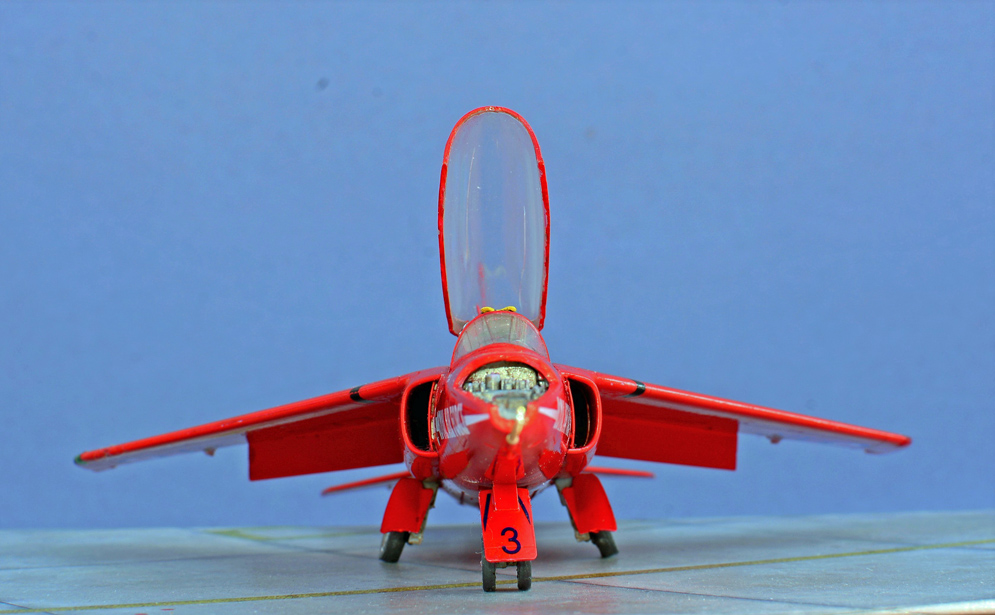
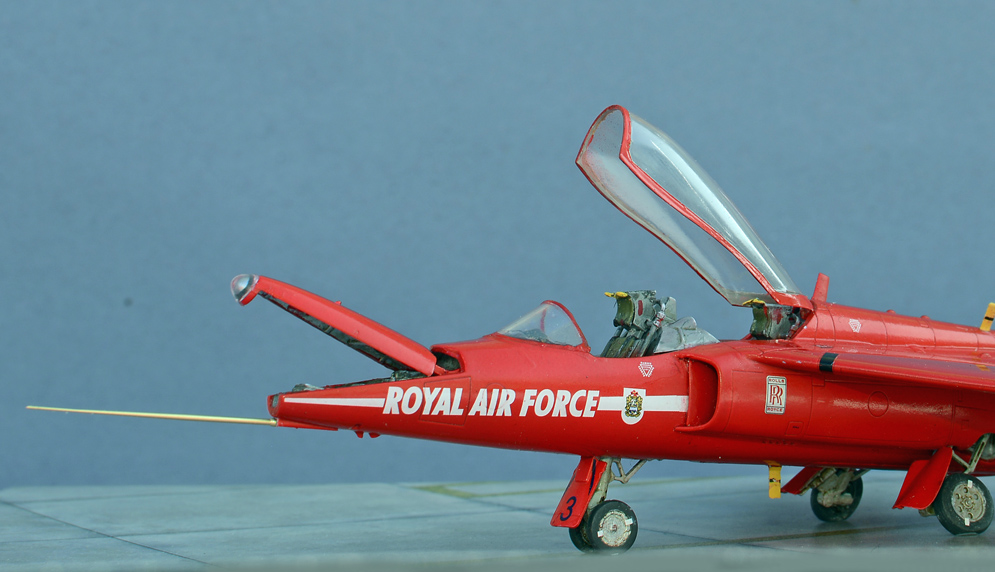
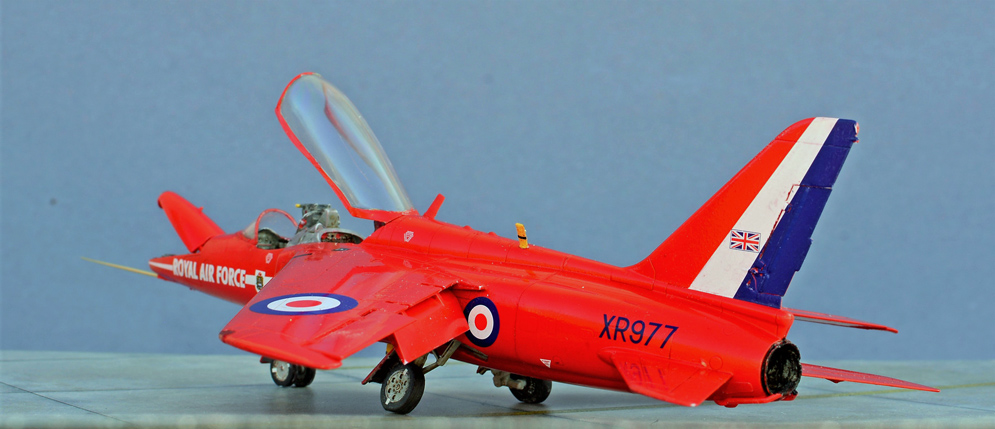
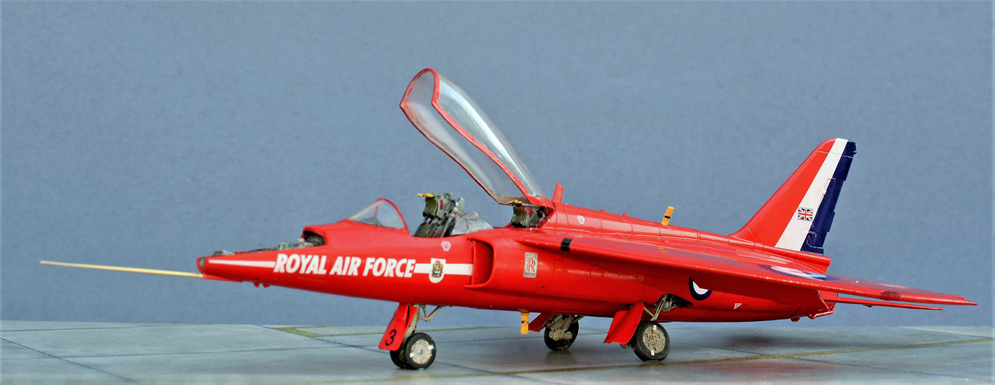
I wanted to make one in the Red Arrow scheme so set about doing that over the hols, got to the point of putting the kit decals on and disaster struck, the decals started disintegrating as I applied them! Long story short, which involved paint stripper for plastic(!), I got to the point of painting it again and decided I should contact Hannants to order some of their Red Arrow Signal Red Xtracrylix paint. Whilst on the phone, the guy at Hannants said that they also had the Airfix 1:48 Gnat on a special deal, so Mr Impulsive said pop one in with the paint!
A start was made and I was most impressed with the fit of all the parts and soon got to the stage of trying out the Xtracrylix Red Arrows Red acrylic paint on the Gnat (The Hawk by this time had gone a different route and was now all black in the RAF St Athan Dragon scheme!).
Despite all the internet paint experts, the Xtracrylix paint thinned with Tamiya thinners and some flow enhancer added went on fine, but I was disappointed with the colour, it being more of a rusty orange/red and not the bright red it should be. Anyway it made a good undercoat and Vallejo Ferrari Red was loaded into the Iwata and you can see the results in the photographs.
I added a Master metal pitot tube which really adds to the model and am very pleased with the overall fit , finish and presence of the model. This spurred me on to the Tucano and you’ll find that elsewhere in the SMN SG.
Stuart M.

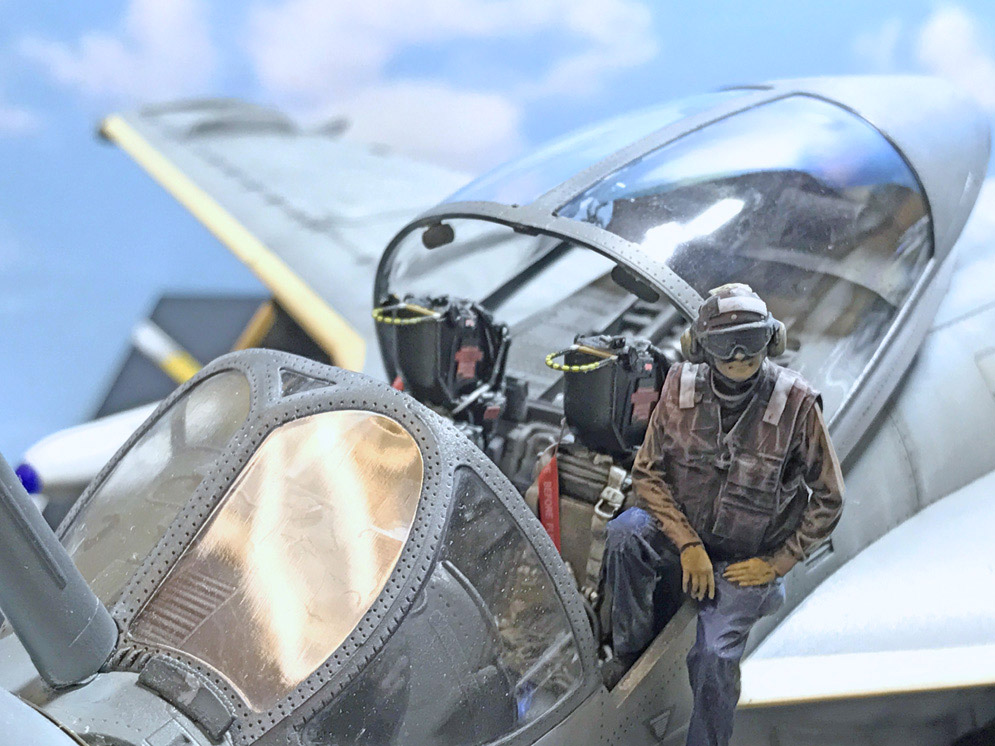
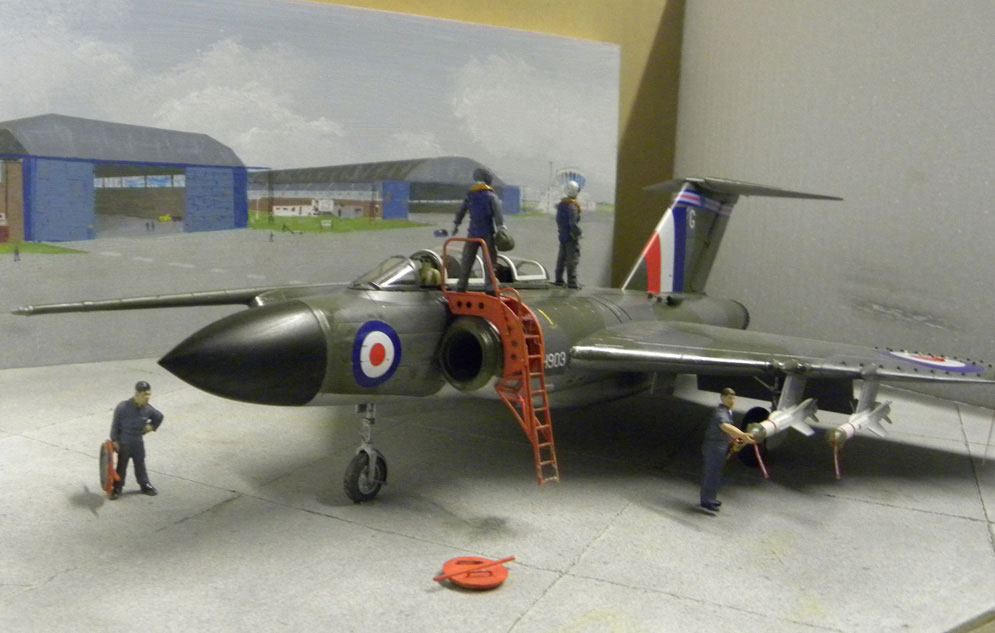
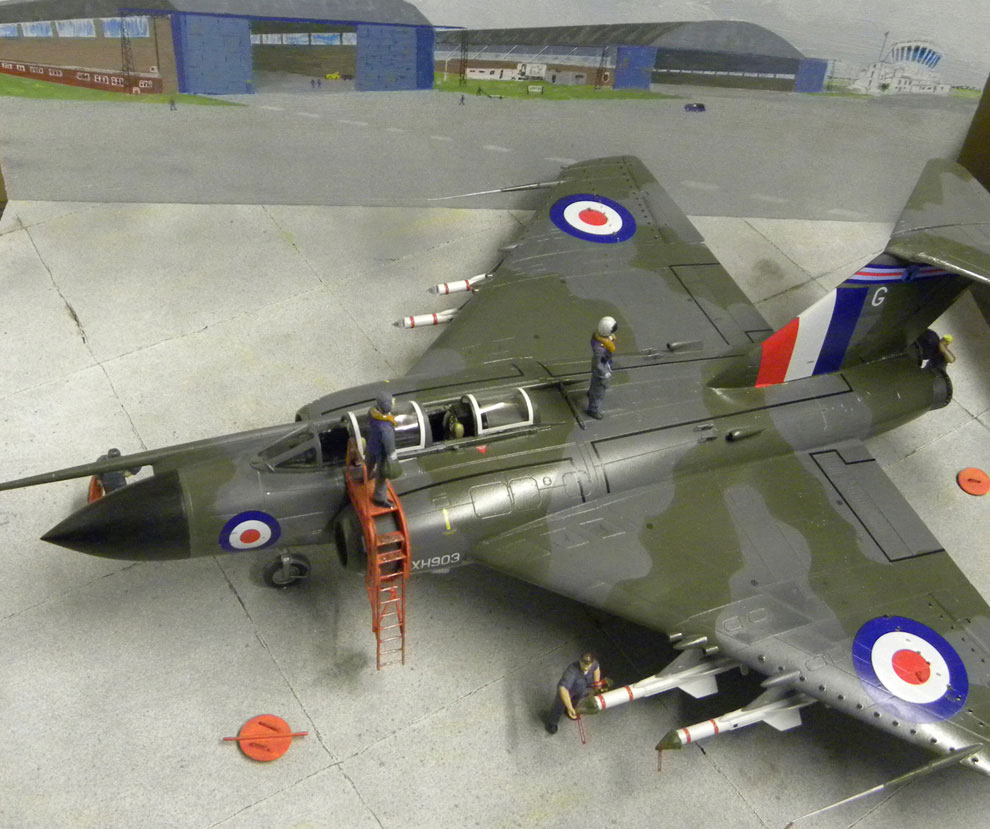
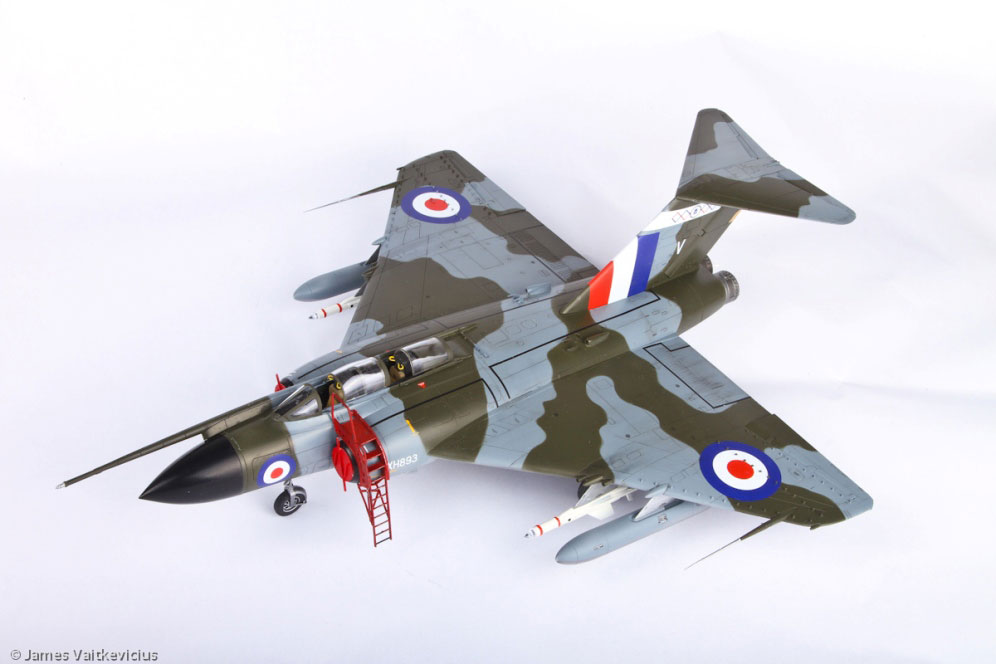
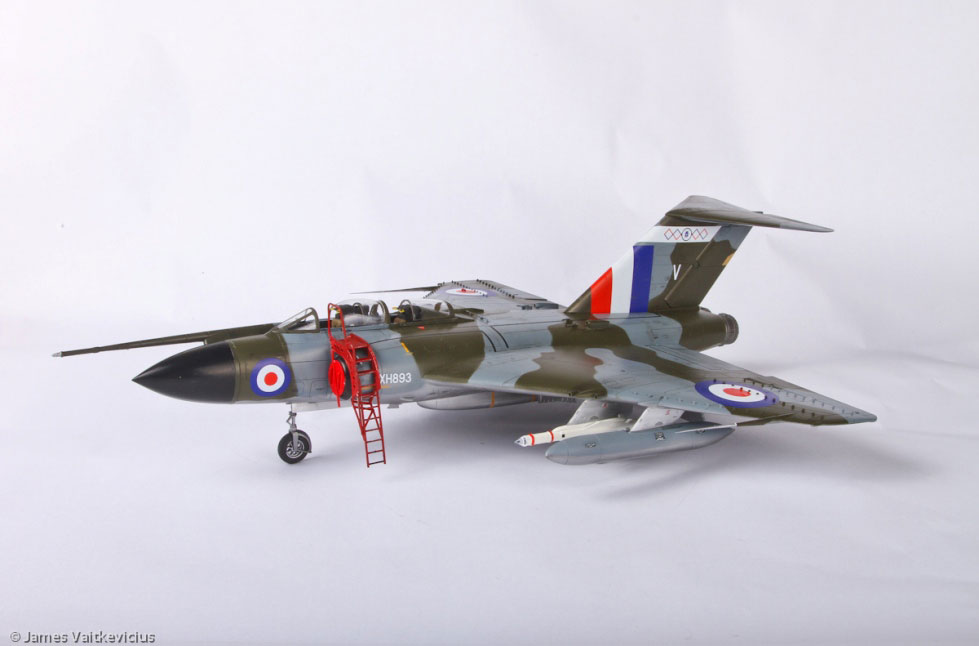
The cockpit has the Eduard PE added, with a few other bits of Eduard to enhance the other bland items.
All the figures are from Reedoak (amazing figures) and the base is scratch built, using Flightpath tie downs.
All painted using a combination of Mr Hobby, Tamiya, and Vallejo Air.
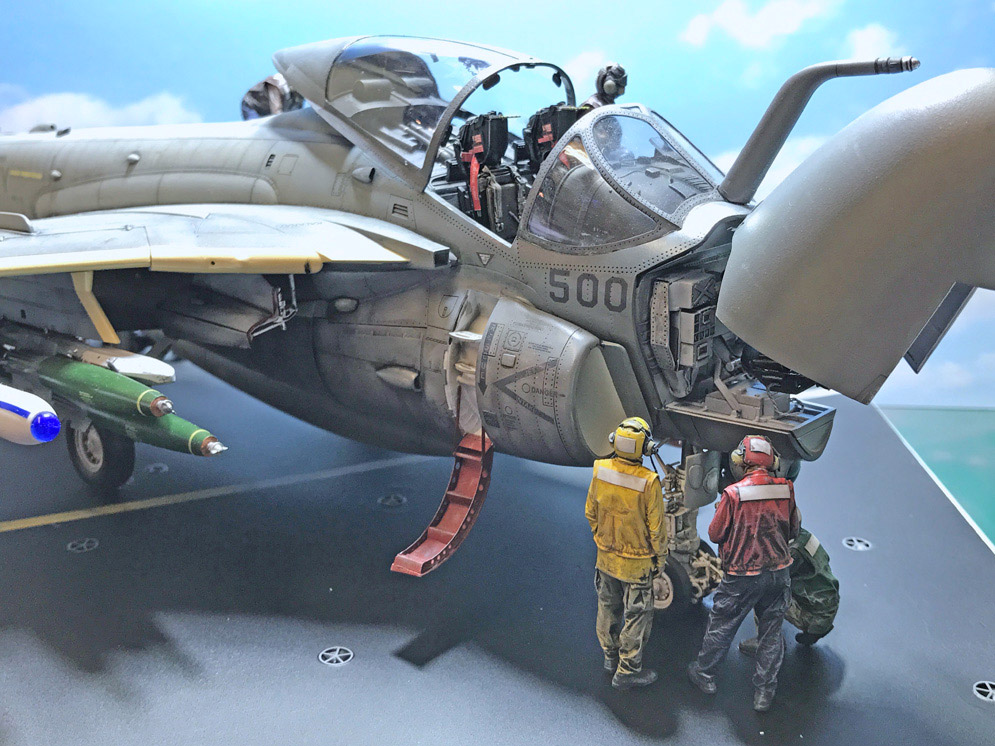
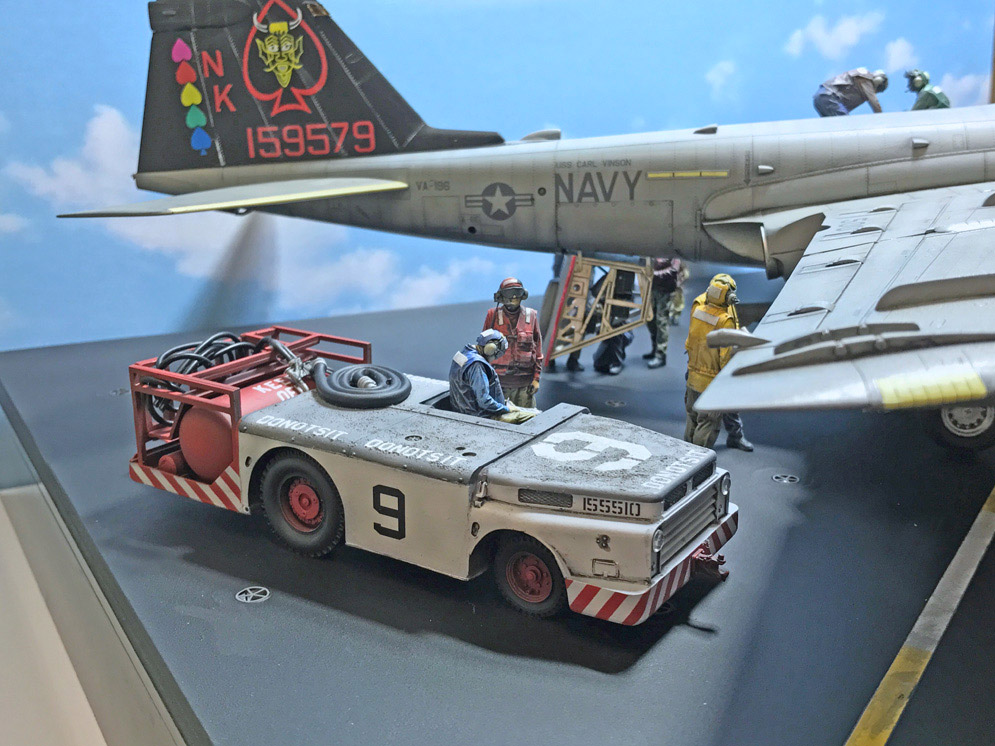
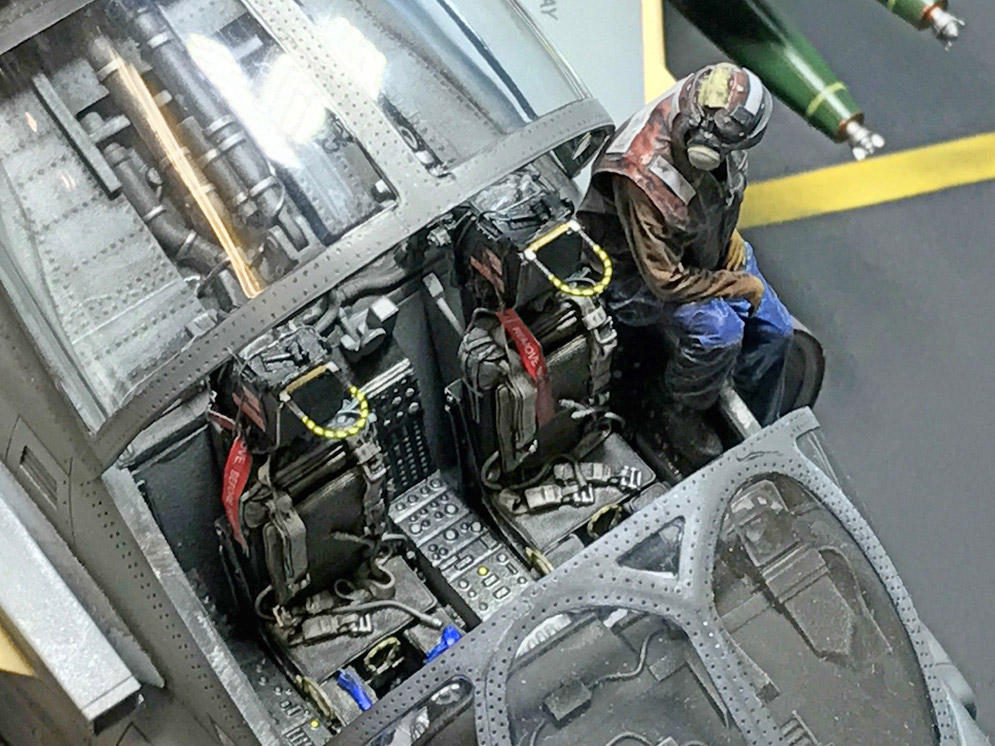
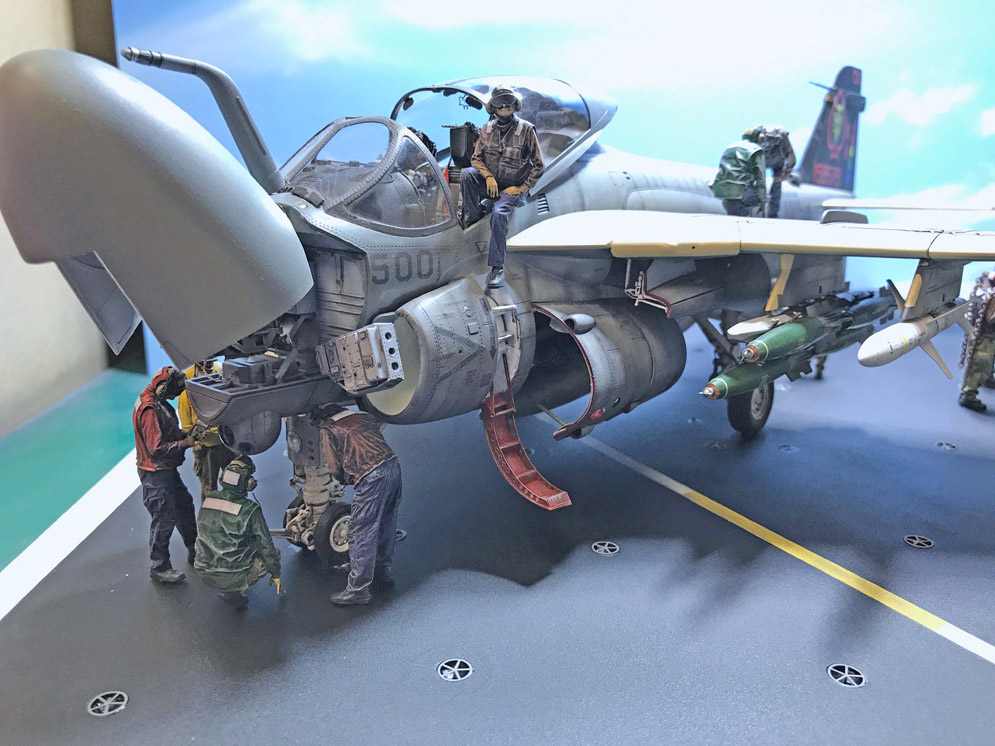
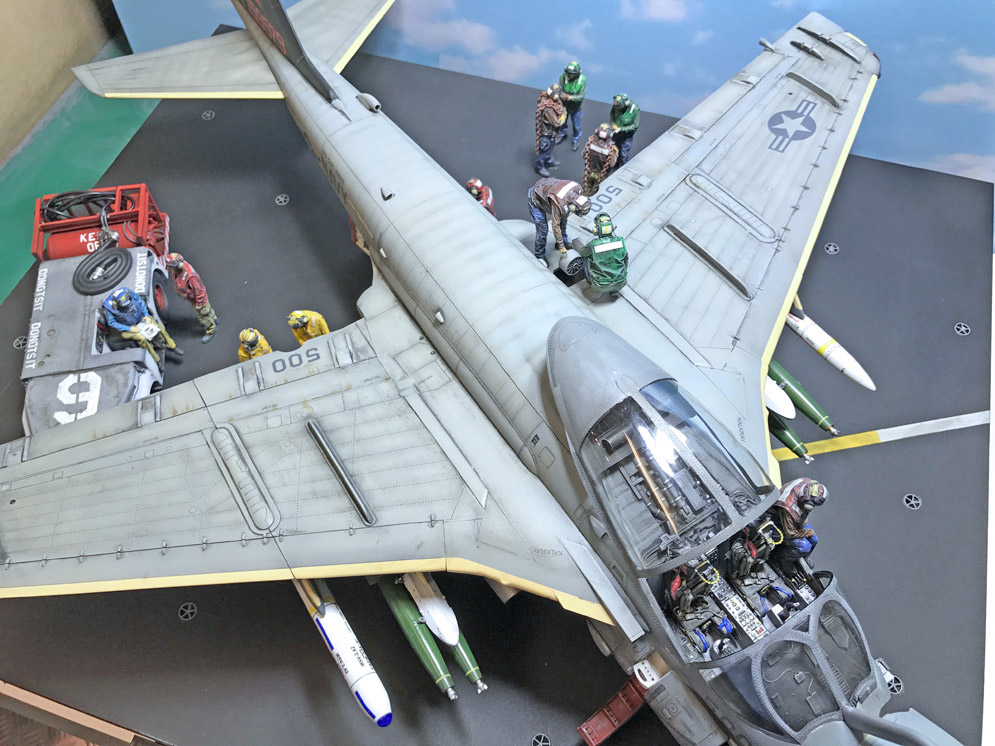
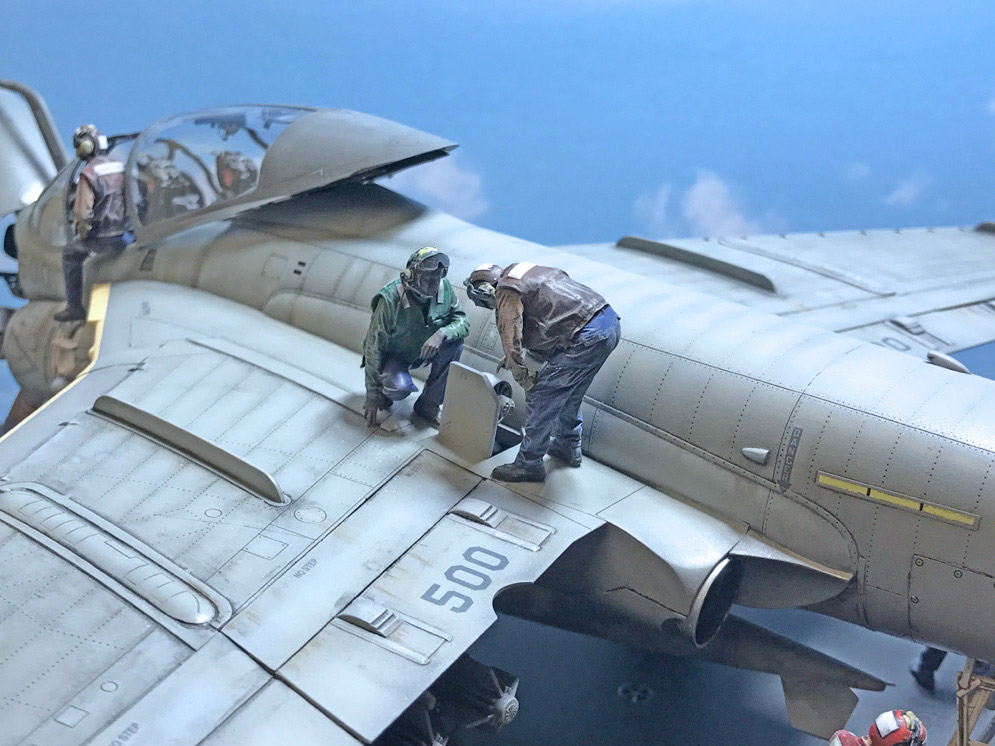
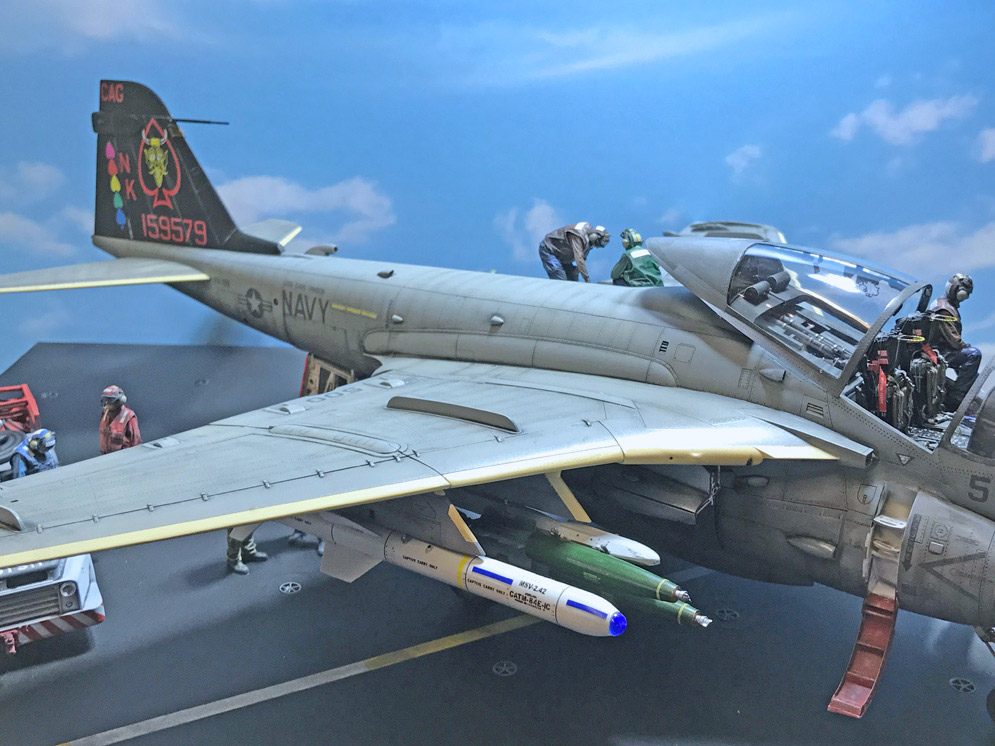
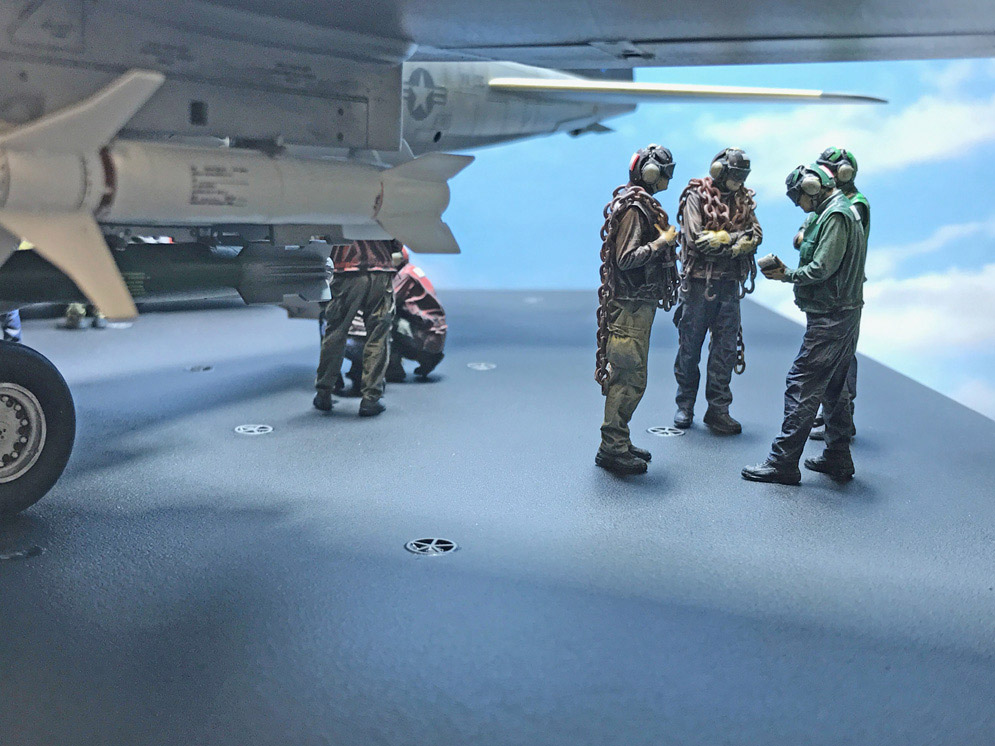
Mike T.


 It’s been a while since I posted a Navy plane here. I finally finished one this weekend.
This time it’s the wonderful Hobbyboss 1:48 A-6 Intruder.
I detailed the cockpit a bit and the undercarriage. The rest is straight from the box apart from 2 Wolfpack resin seats.
Paint used is Hataka red line acrylic paint set US Navy Hi viz over an Alclad black primer. Clear coats used in between and final coat is Alclad Aquagloss.
Decals came from an aftermarket set from Impact Decals.
Hope you like it!
René VDH.
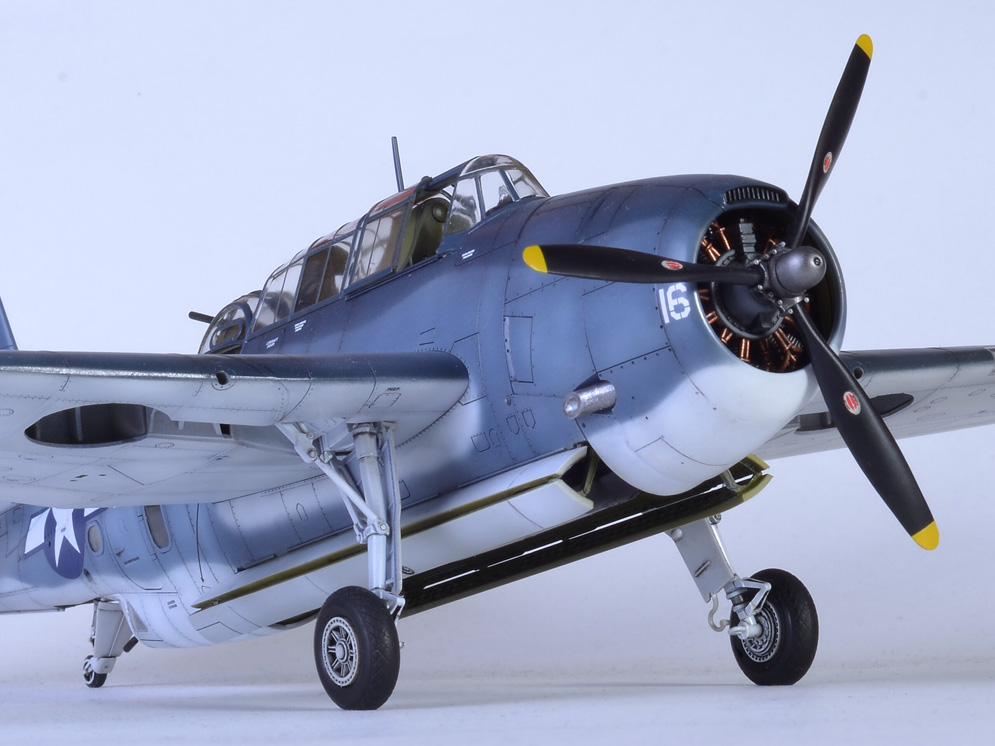

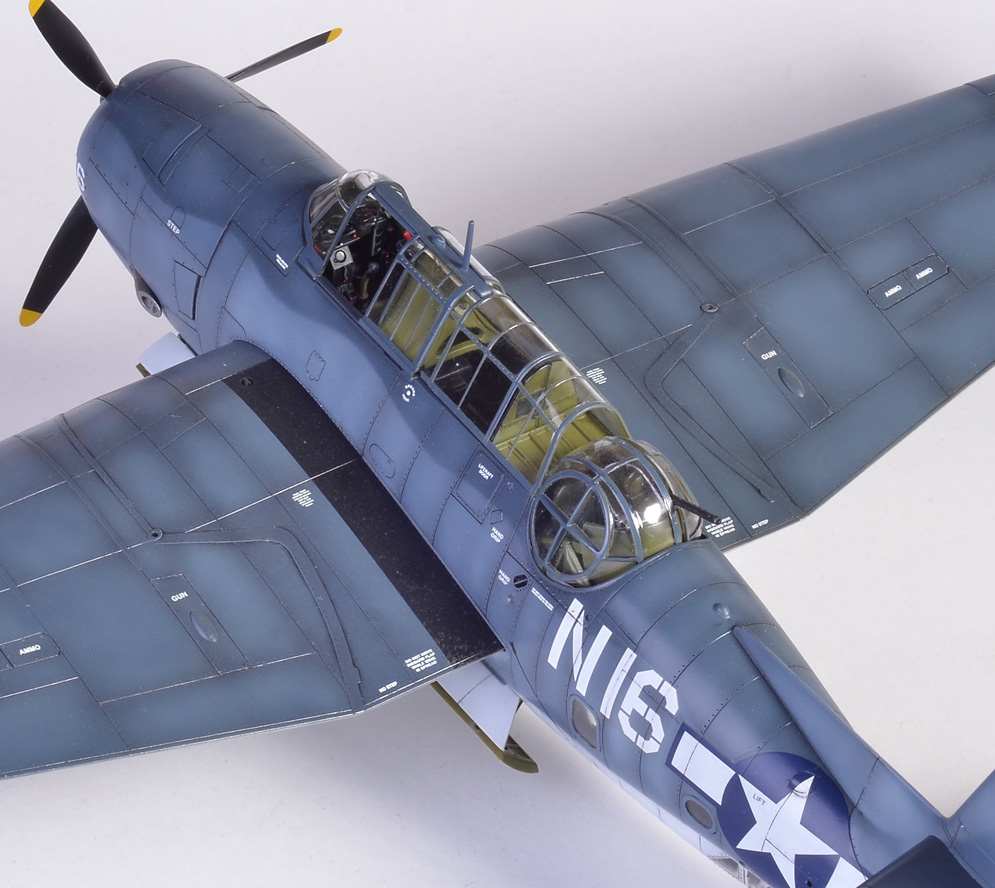
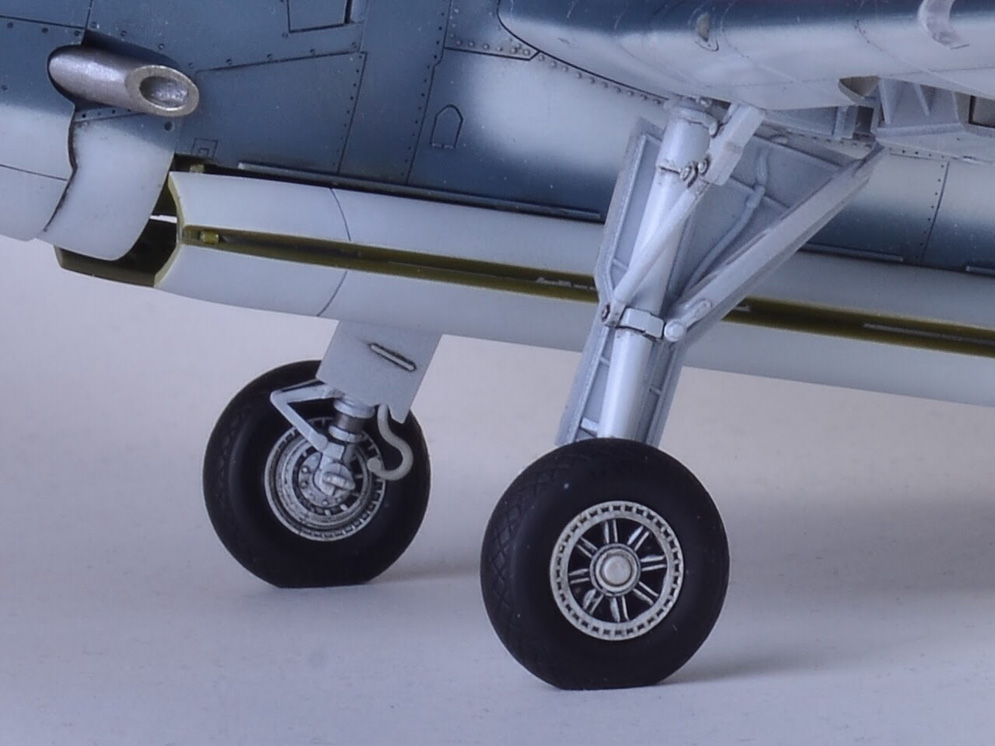
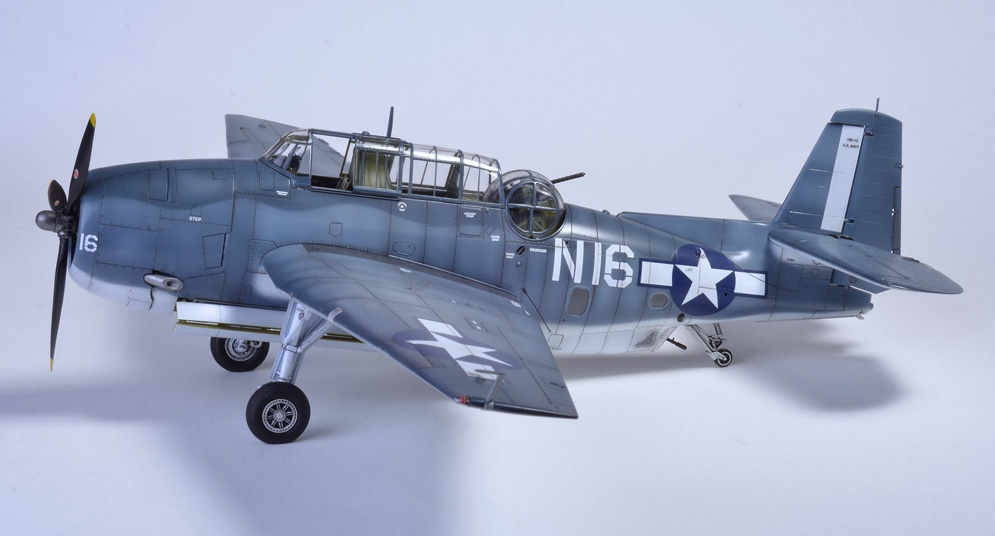
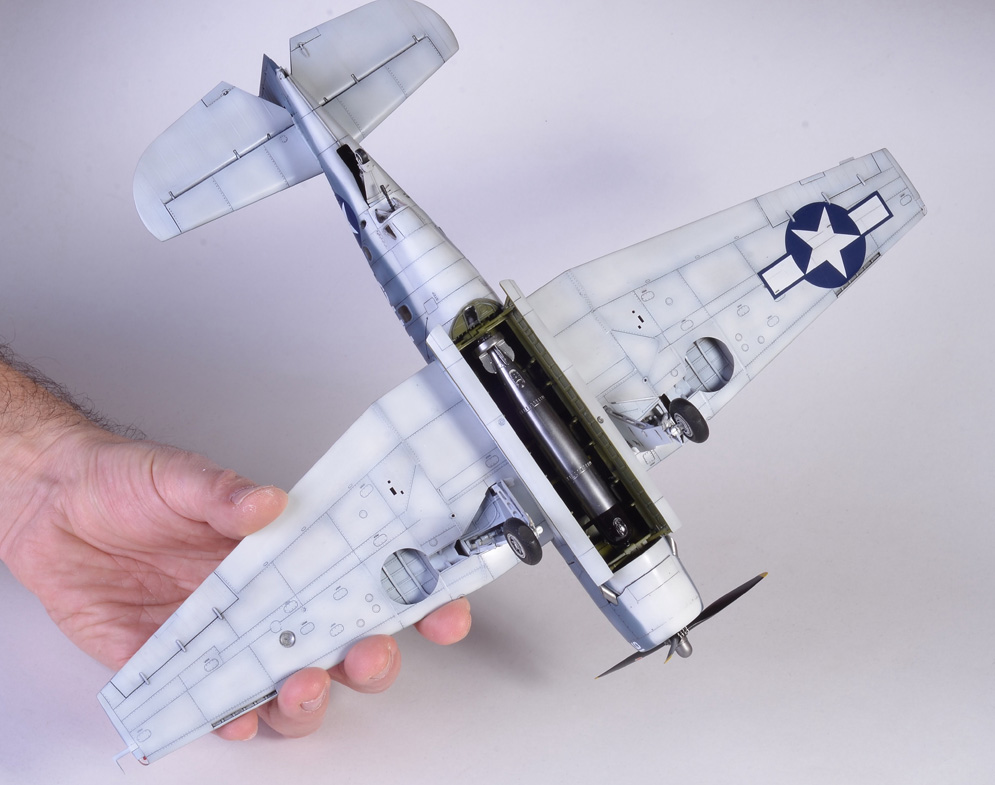
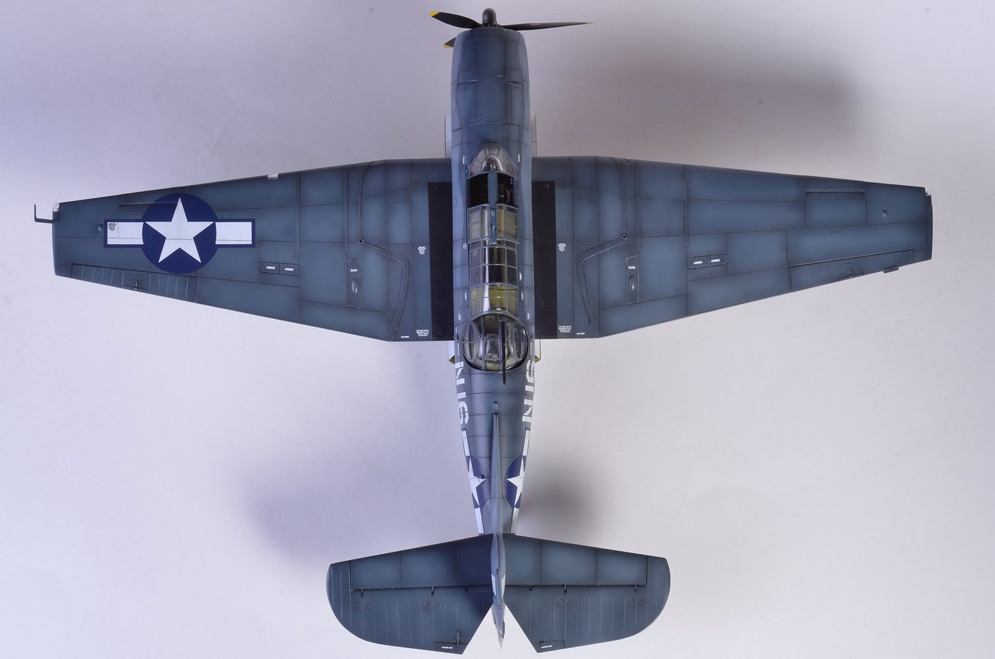
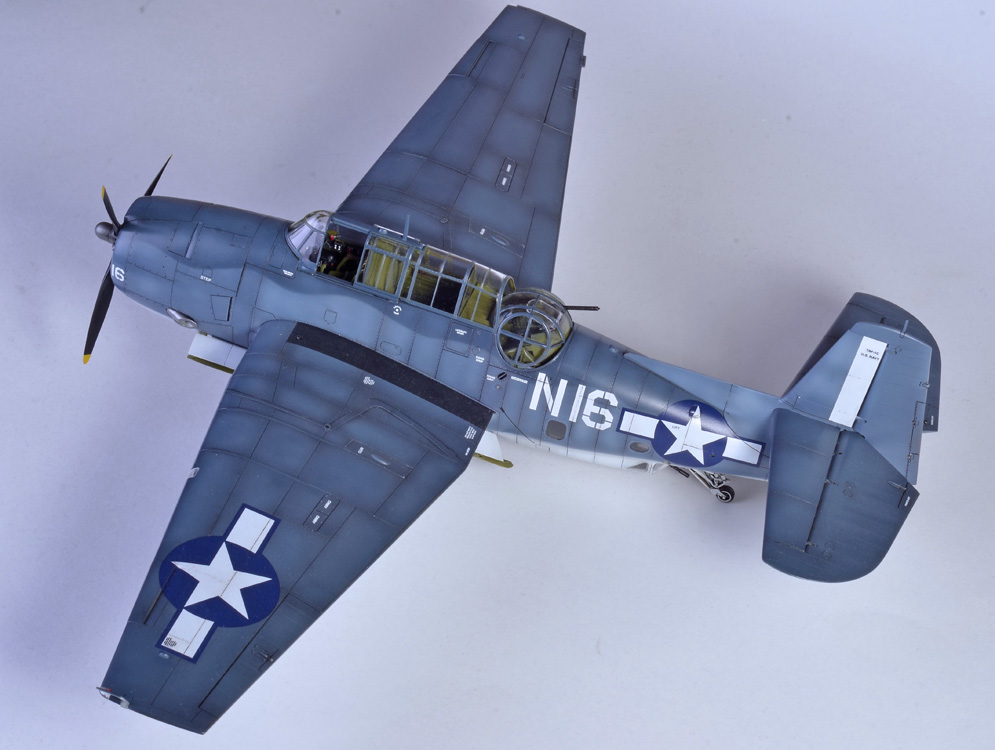
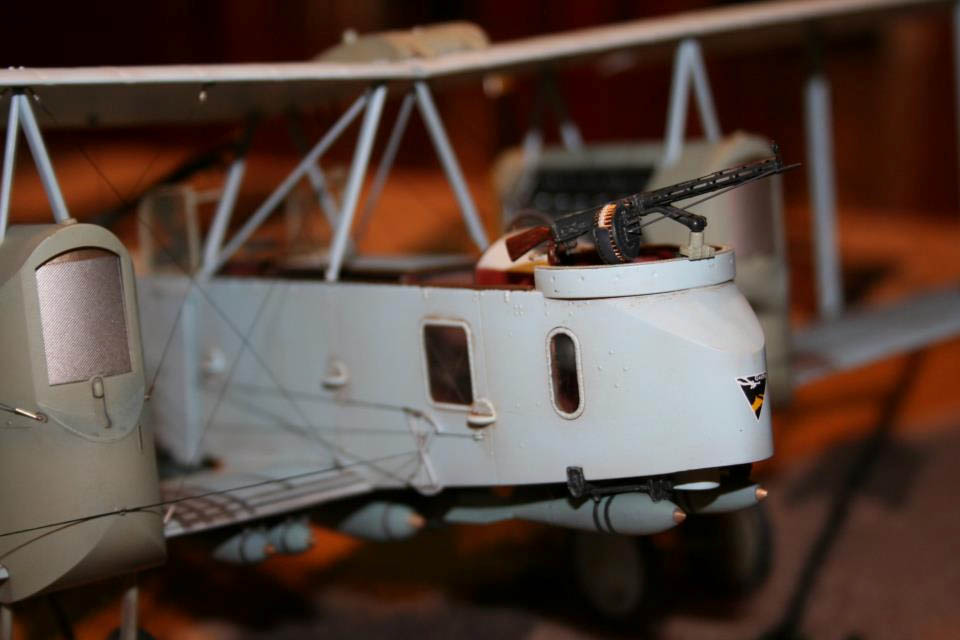
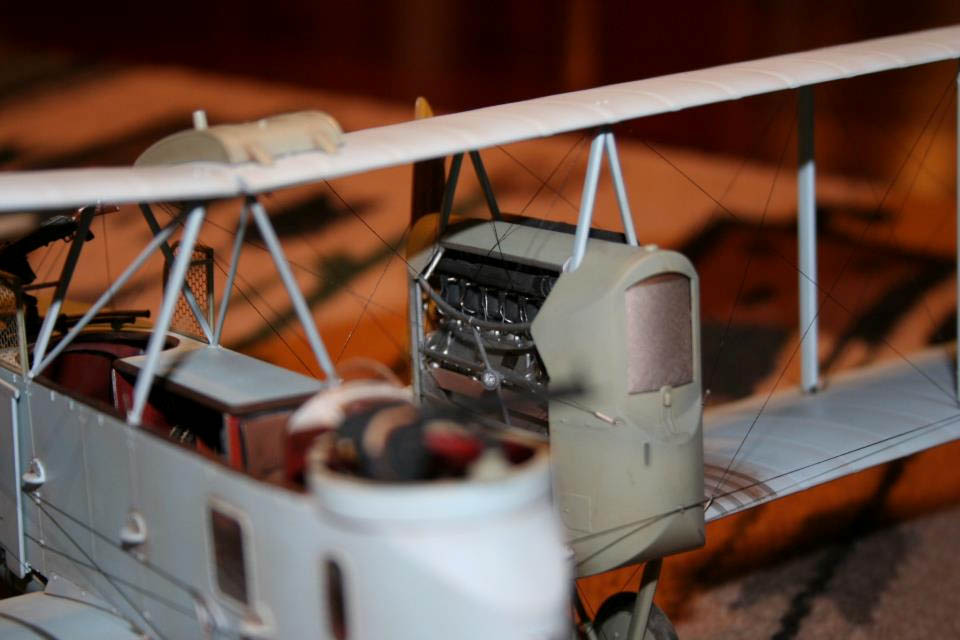
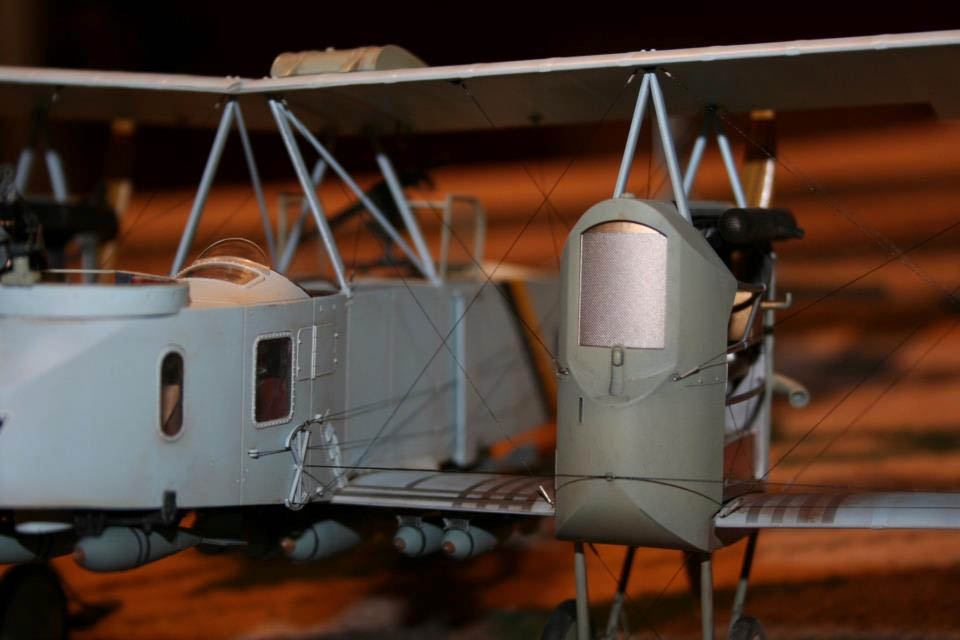
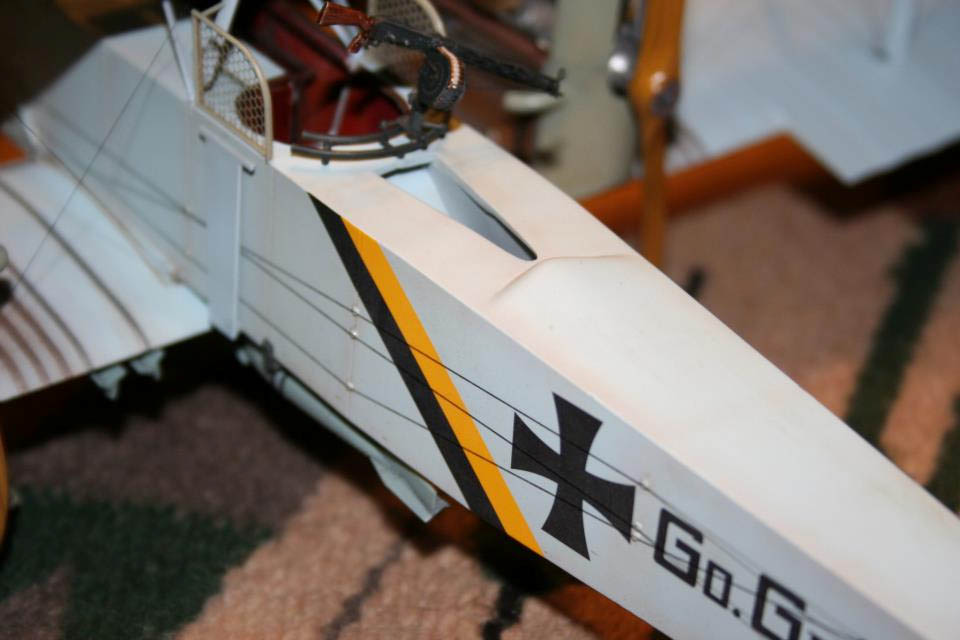
With the exception of the rear turret construction and masking, I enjoyed every minute of this build. Probably the most detailed kit I have encountered. Eduard’s masking set is a must on this one IMHO though normally I wouldn’t bother. Tamiya masking tape cut into thin strips or a series of small triangles takes care of most masking jobs. I have recently acquired a Gyro Cutter which takes care of anything with a curve and would highly recommend it to anyone.
As usual Gunze Aqueous and Tamiya paints throughout with a Polished Aluminium Alclad2 torpedo.
Rick G.


But Caracal released a decal set for this kit and that included a bird in a special scheme for 50 years of VRC-40. That scheme convinced me: The model had to be done!
The Kinetic kit is of good quality with only a few problems at the bottom of the fuselage, the fit of the wing on top of the fuselage and the tail to the fuselage. Additionally, some of the tabs for the flaps had to be relocated to the main wing structure. The kit includes full details for the cargo compartment including full passenger seating and the cage for the luggage. Only some belts had to be added to the seats.
The decals were a bit tricky to apply, but I encountered no unsurmountable problems after applying reasonable amounts of Micro Set and Sol especially to the big red sunburst decals around the cockpit.
The result is an eye-catcher made of an otherwise unspectacular cargo bird of the US Navy.
Jürgen J.

Hope you like it…
Alexander P.
Check out my Facebook page.
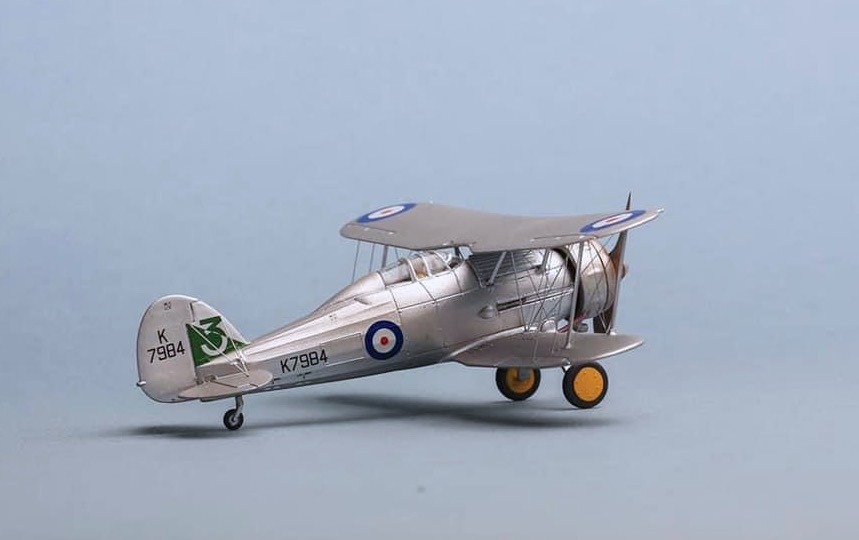
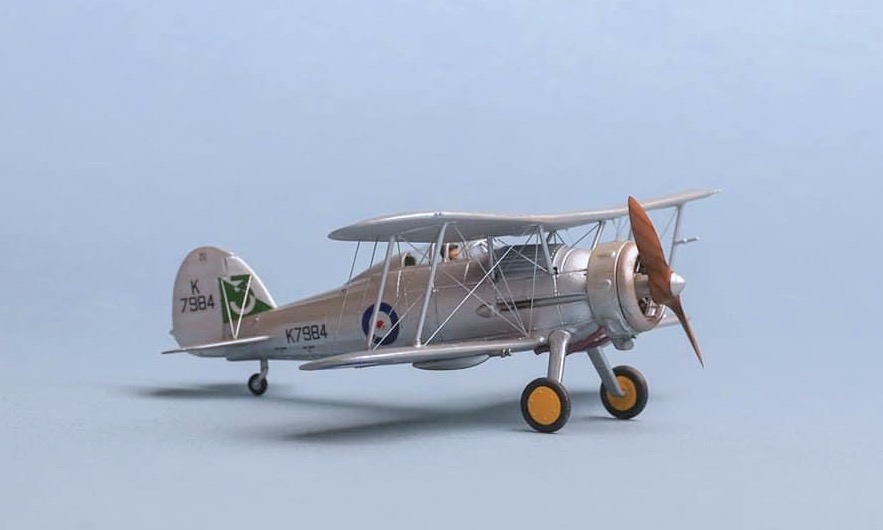
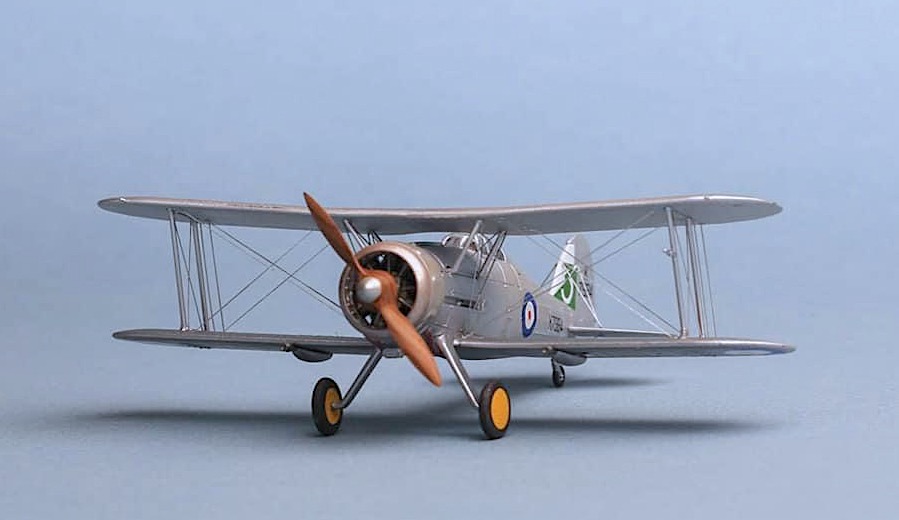
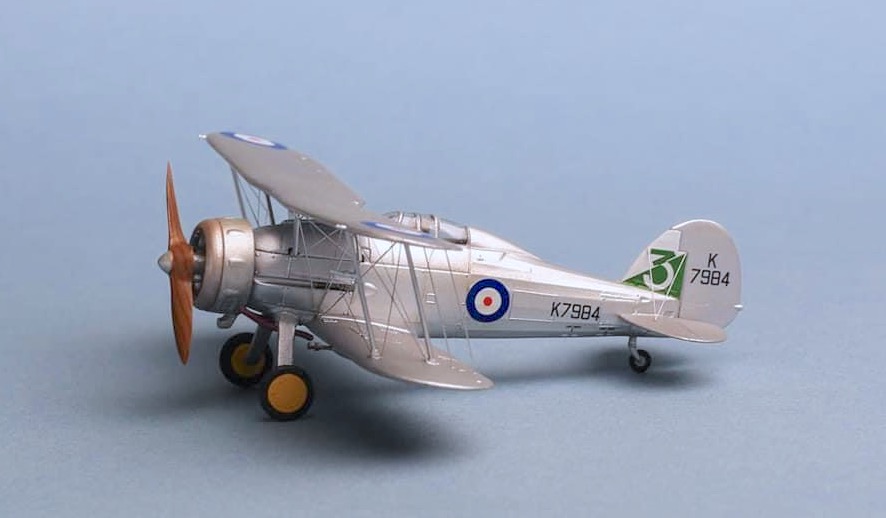
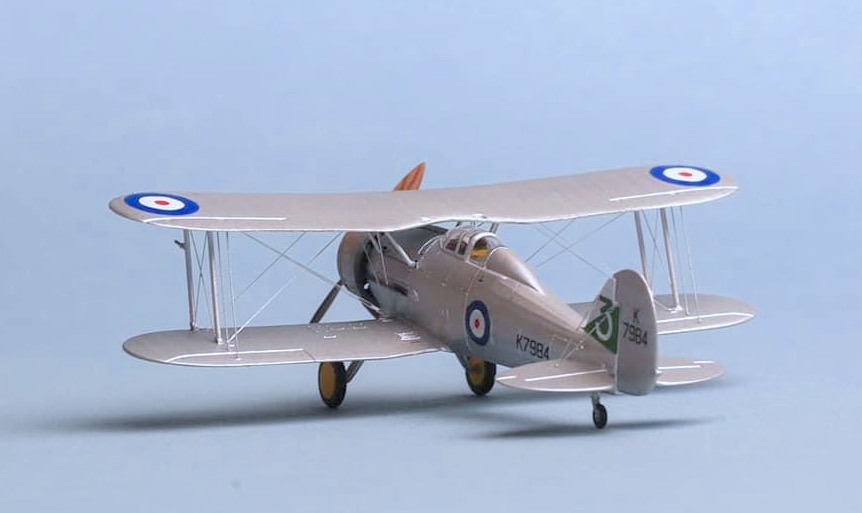
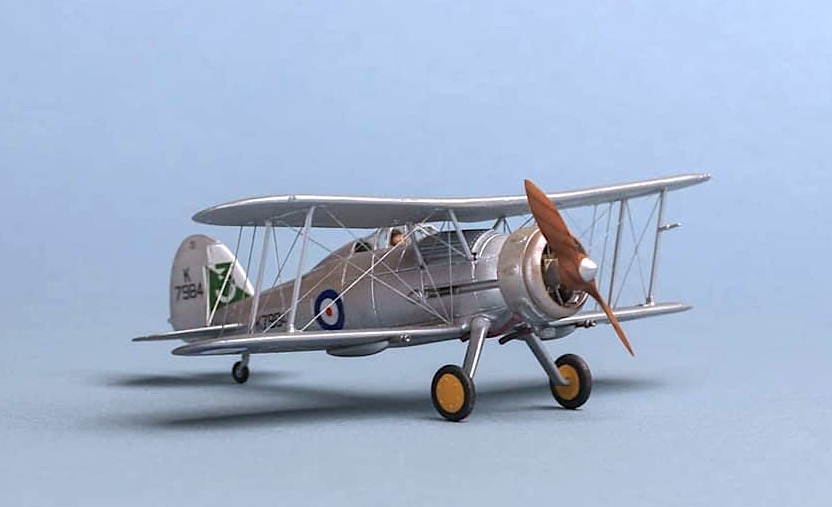
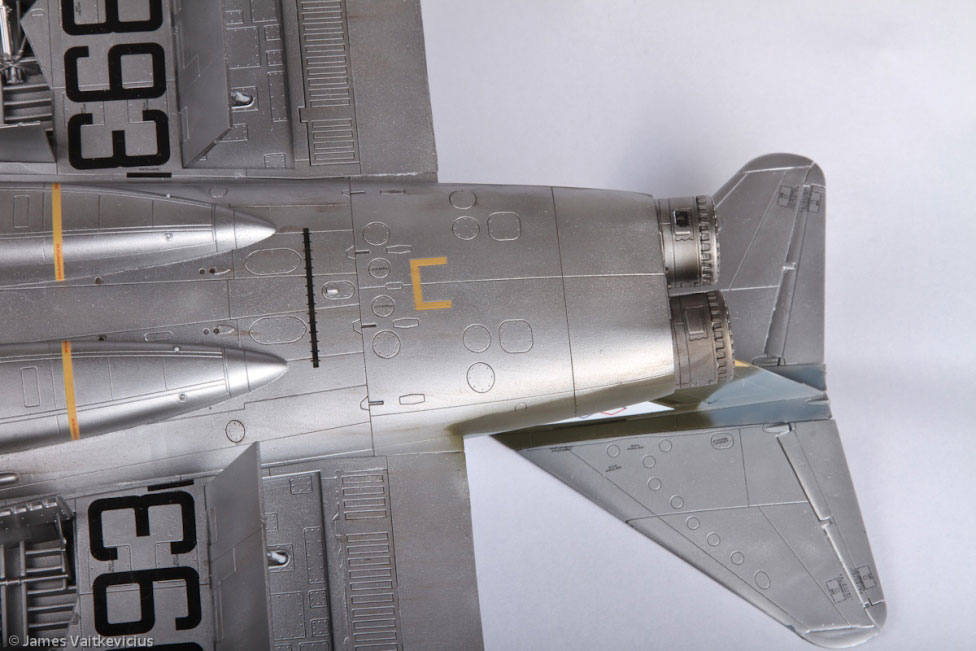
Brad S.
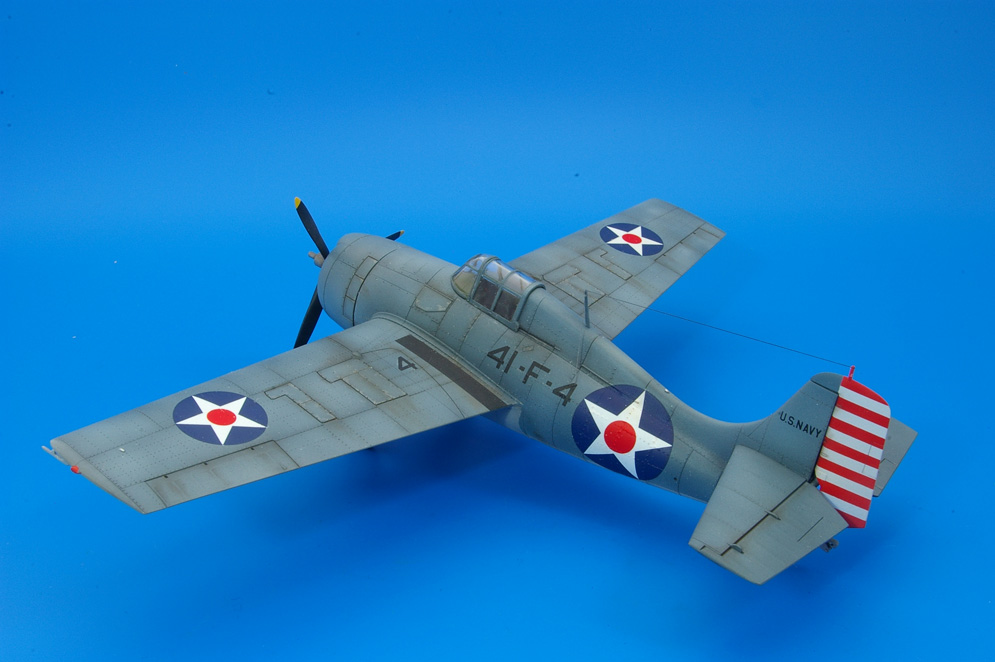
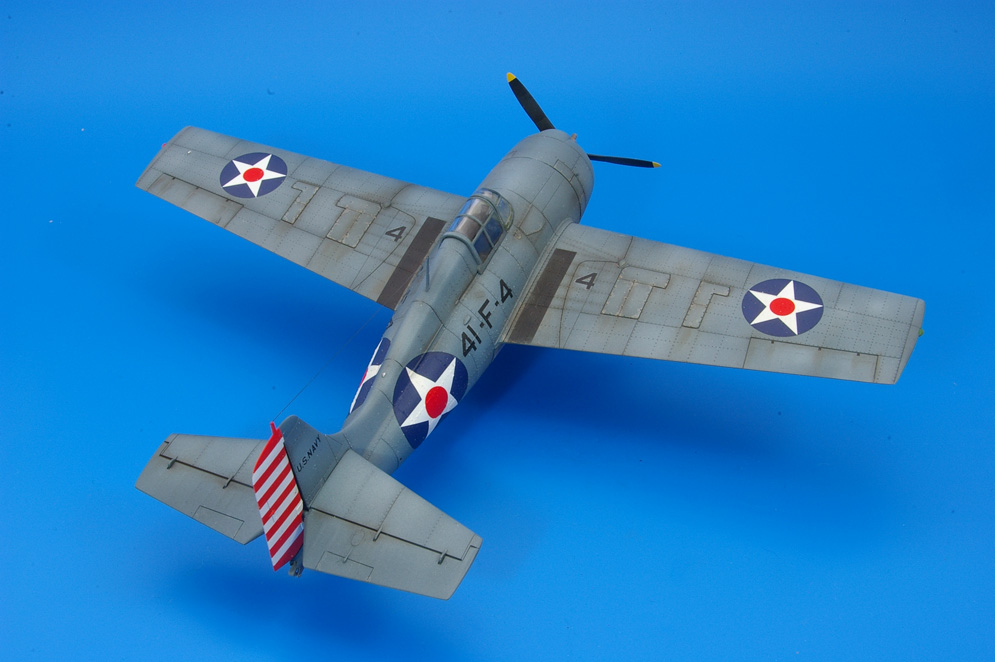


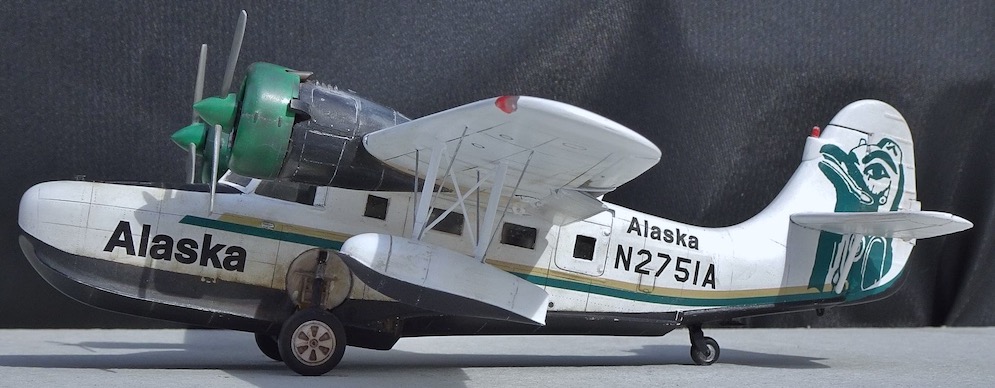
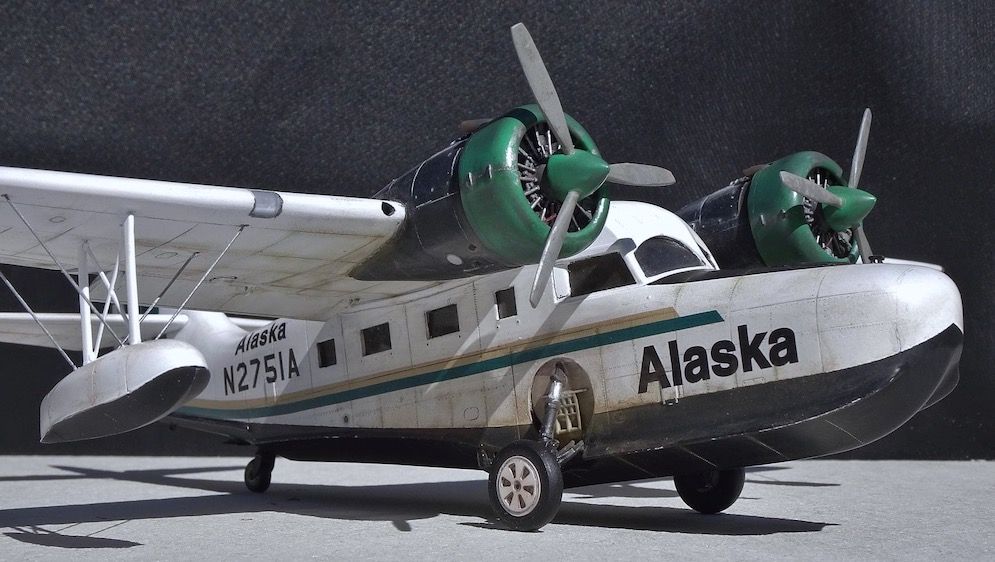
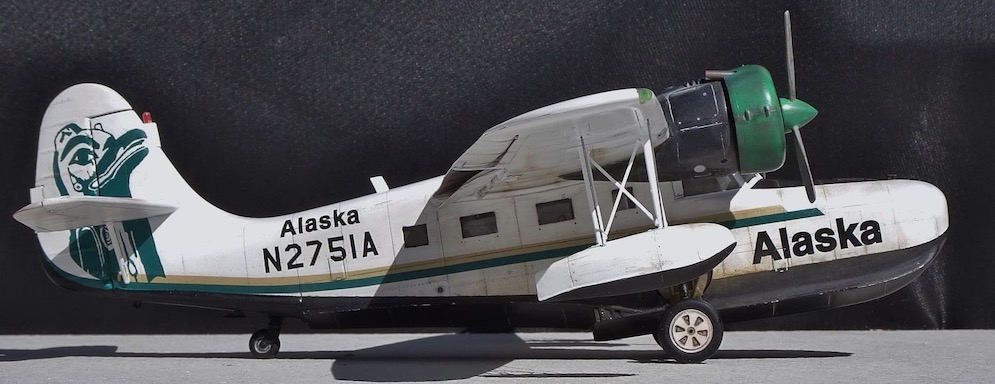
The kit was first released back in the 1990s, but is still good by today’s standards. There are a few issues to address, however:-
The kit has areas of raised rivets that I do not think were present on the full-sized aircraft. These need to be sanded away or at least reduced – if only to avoid silvering of transfer film later on.
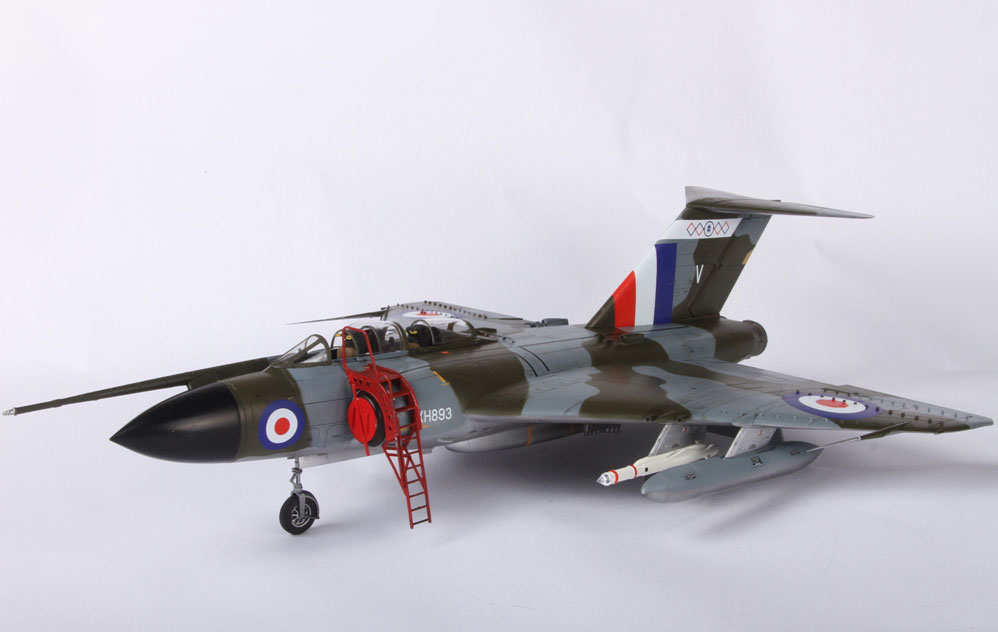
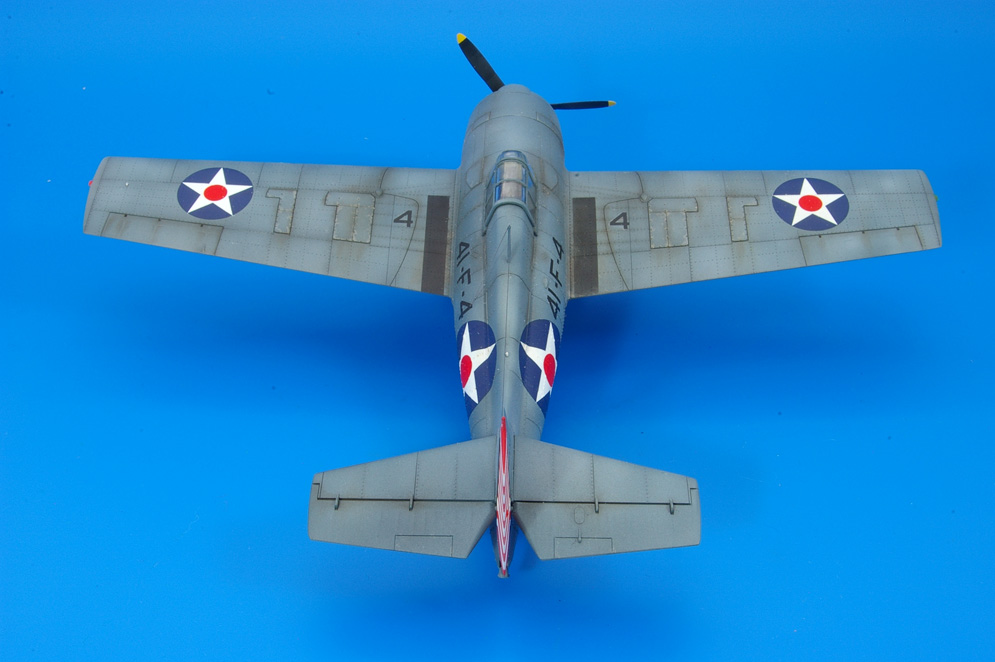
There should be two intercooler radiators inside the cowling, though only one is supplied in the kit. The missing item was replaced with one made from plastic scrap and tube. My home-made part doesn’t look exactly the same as the kit item, but this is not too noticeable inside the cowling.
The cockpit floor is solid, but there should be a cut-out at each side to allow the pilot to see through the windows in the lower fuselage. These cut-outs would have been easy to add using a razor saw or a sharp scalpel, but unfortunately, I didn’t realise that they should have been there until after I had closed up the fuselage. Thankfully the problem is not too obvious within the confines of the fuselage – unless you really go and look for it!
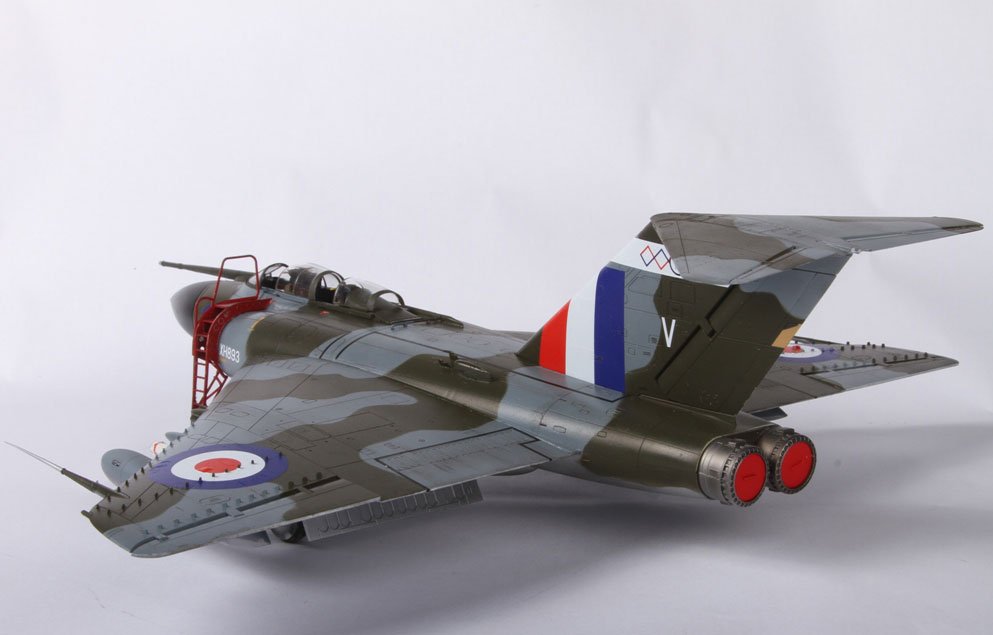
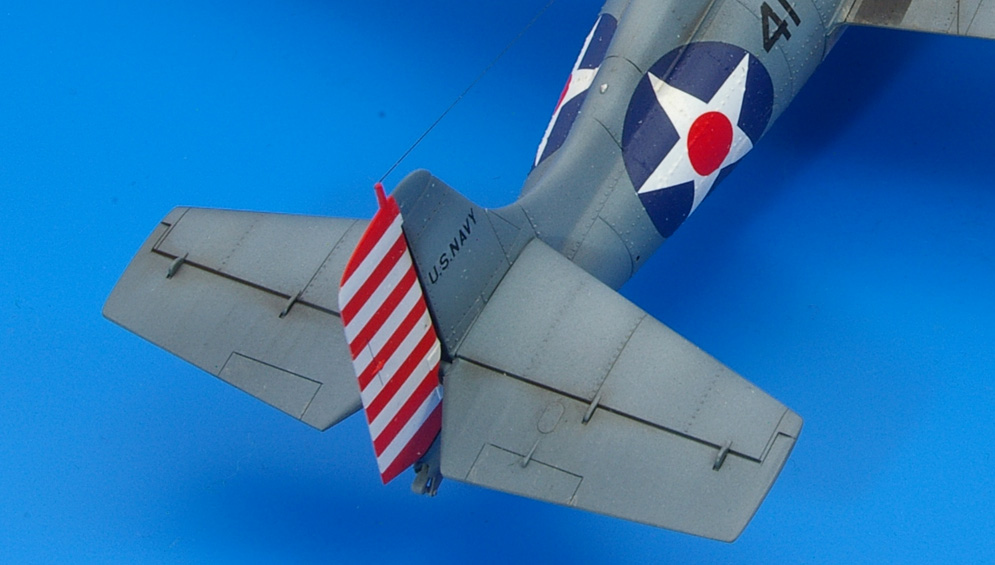
The model was painted with Tamiya paints and was glossed with Alclad2 Gloss Varnish before the transfers were applied. I felt that the Tamiya transfers were rather thick and the carrier film was hard to disguise. Also, probably because of their age, some of the images broke up on contact with water. Luckily, I had the appropriate markings on an old Aeromaster sheet and so used these instead. I decided to mask and paint the rudder stripes which I felt would have been much easier and neater than using the kit transfers.
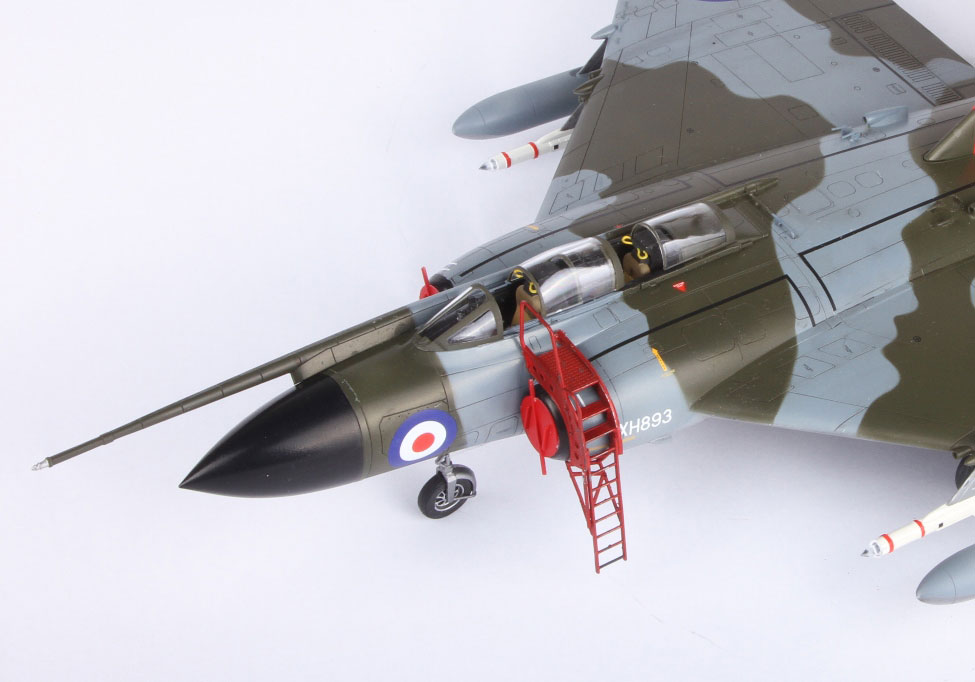
The weathering was done with pastels and the model was sealed with a coat of Alclad2’s Semi-Gloss Varnish. I had a problem with the varnish in that it clogged my airbrush leading to some spattering which resulted in little white dots appearing all over the finished model. Following a bout of sobbing (of which I am not proud), I ended up removing the little dots over the course of a fun hour or two using the tip of a No. 11 scalpel blade. The surface was then tidied up with a fine Micromesh cloth and peace and tranquillity were restored. I must be more careful with the solvents that I use to thin my varnishes next time!
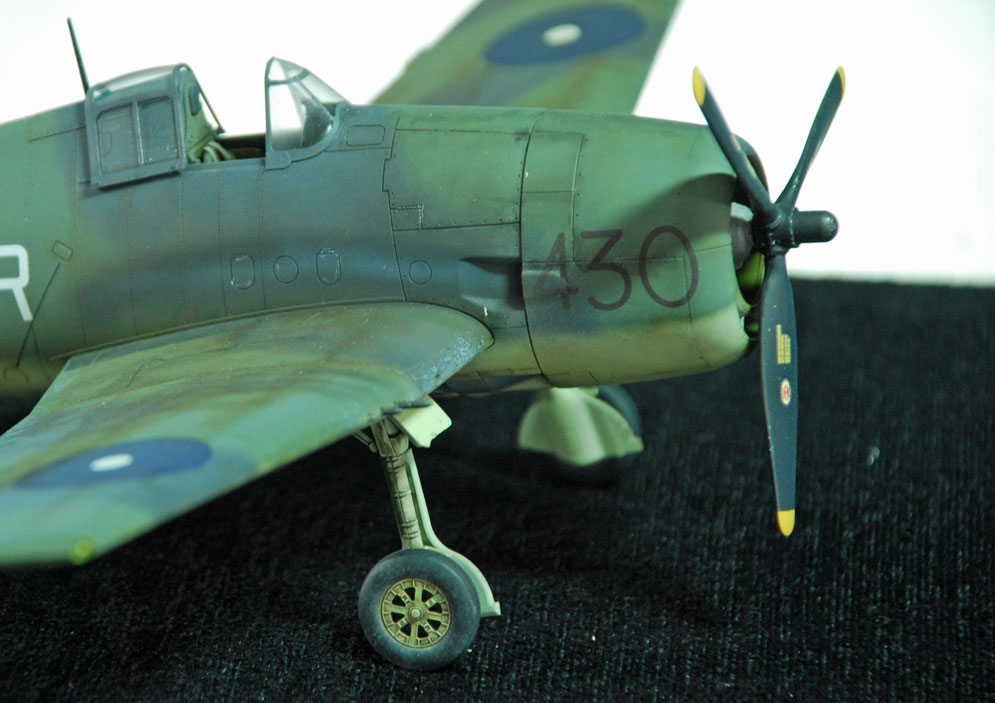
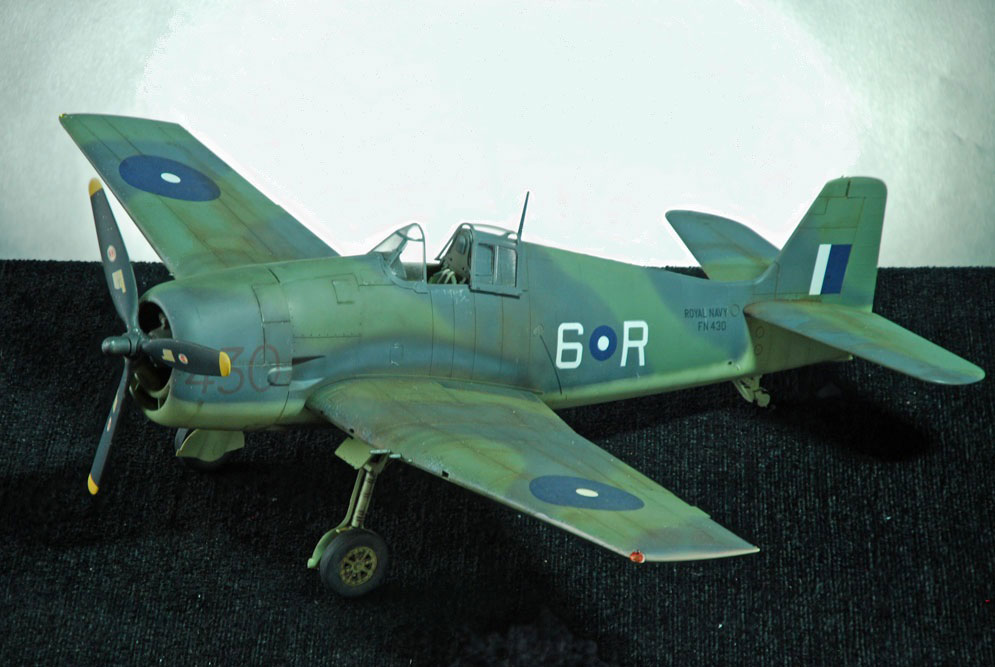
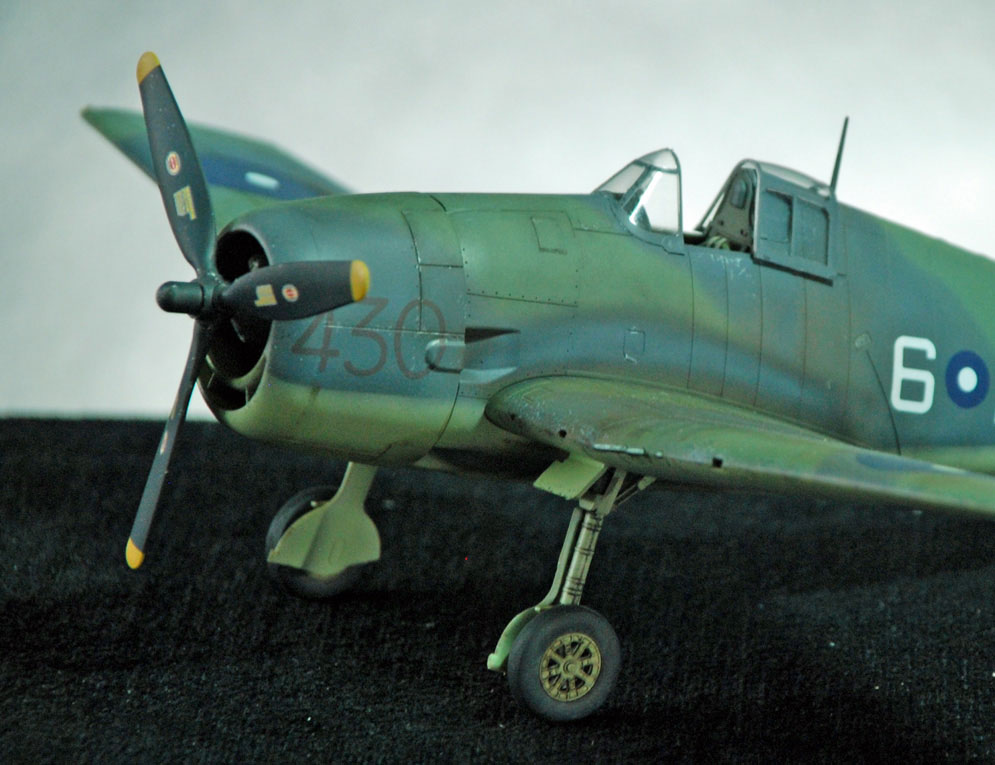
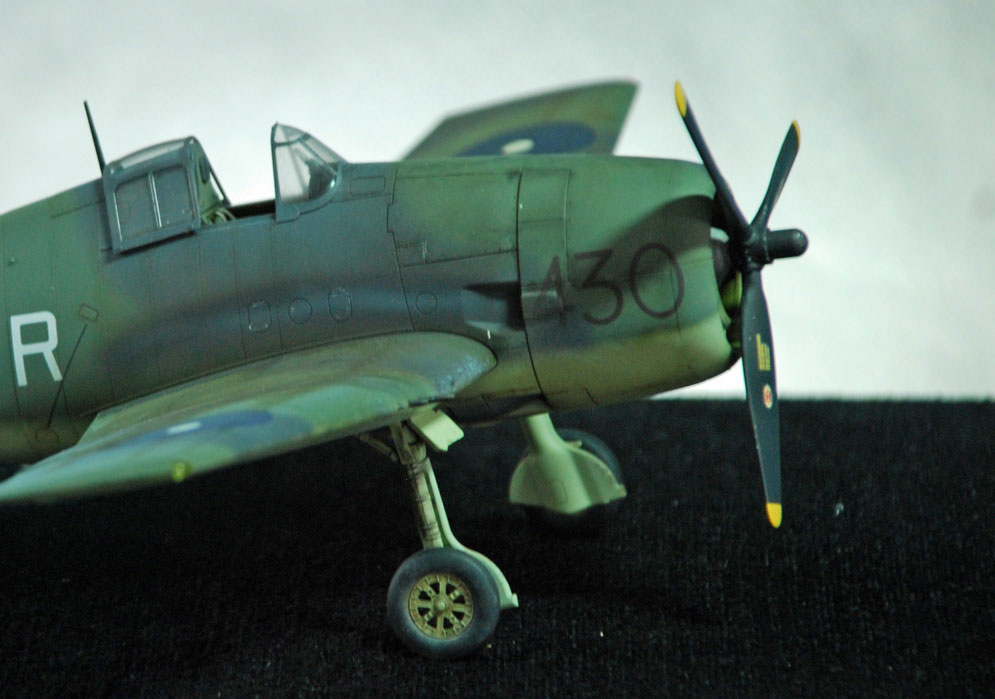
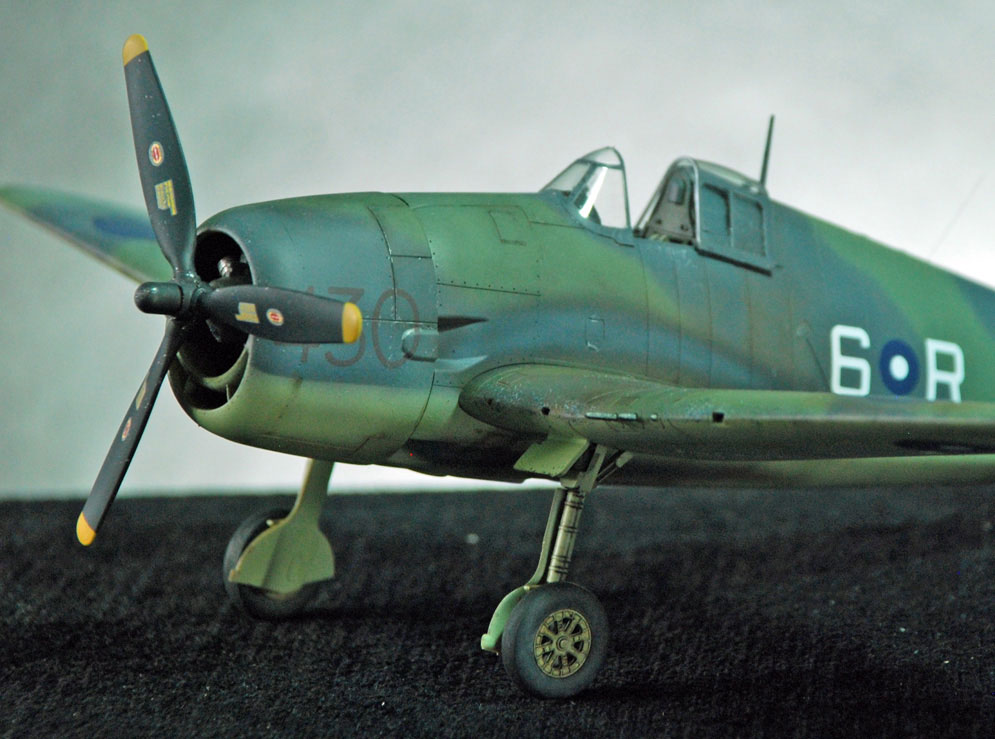
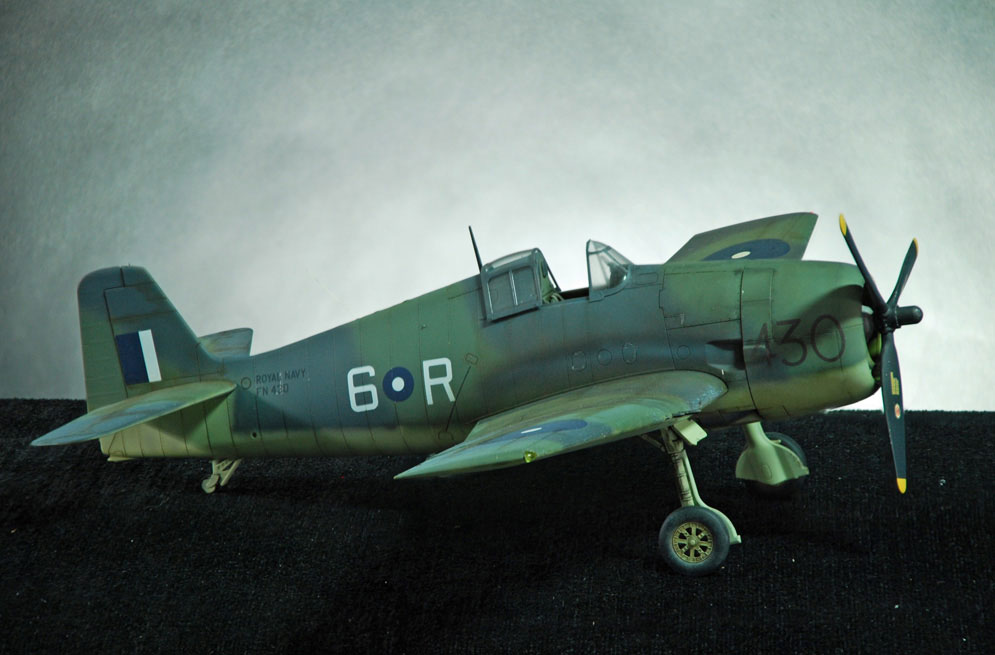
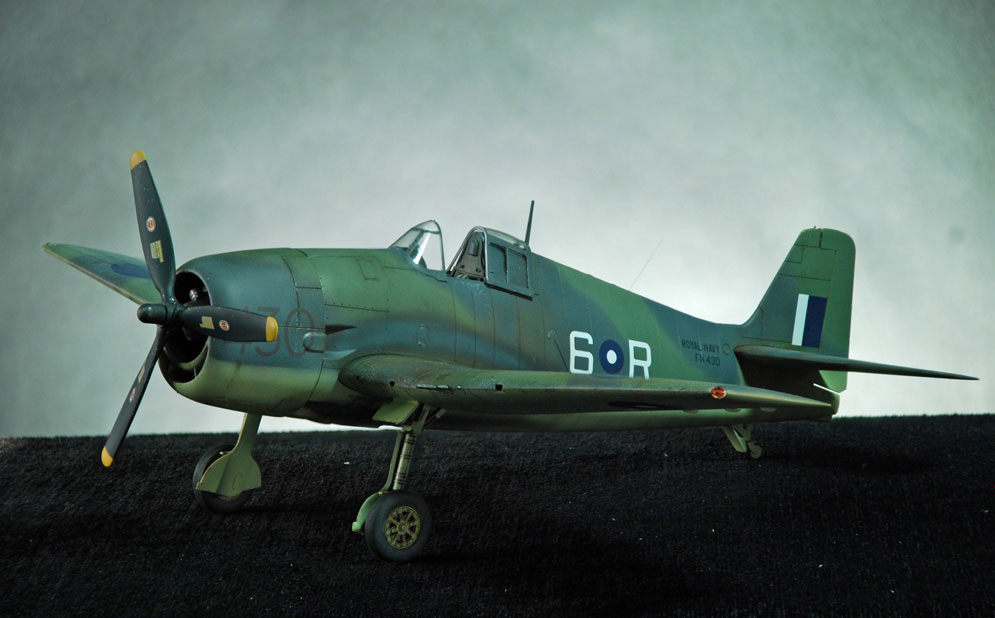
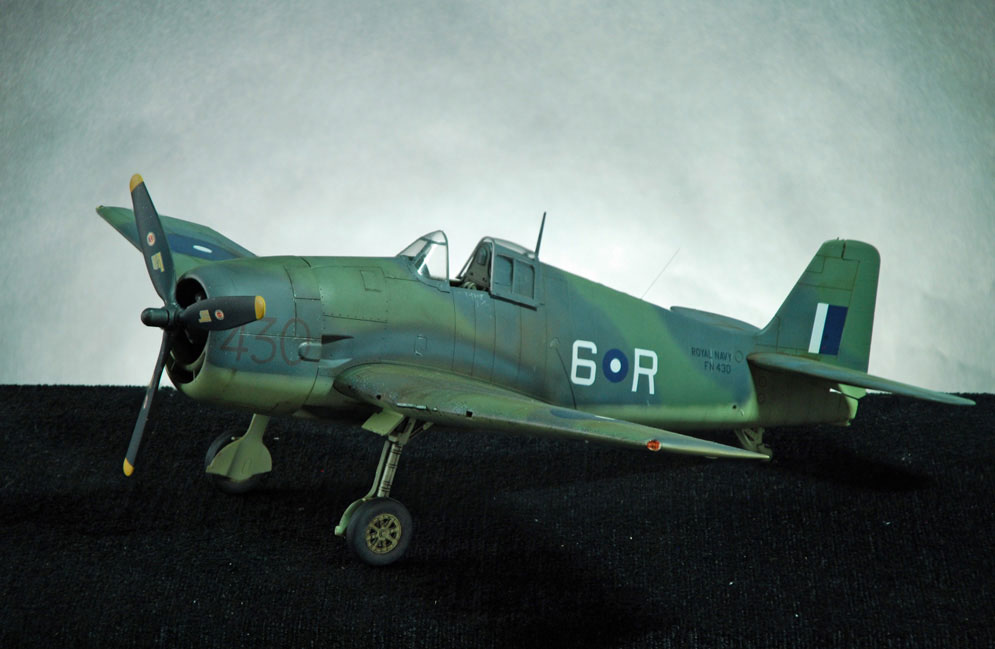
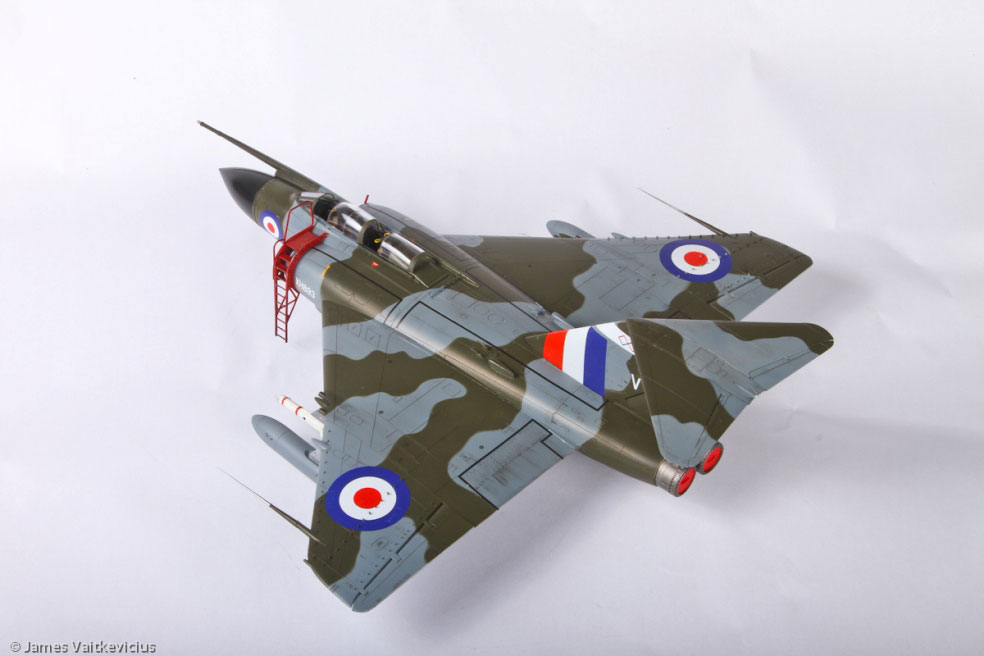
Dai W.
This is the fabulous Eduard Hellcat, which I built alongside the Mk.II at the same time.
The kits are packaged together under the ‘Dual Combo’ boxing and include etch, masks and decals for 6 Fleet Air Arm aircraft.
An absolute joy to build and is certainly the best Hellcat kit out there in this and 1:72nd scale.
I finished mine using Tamiya and Gunze paints and used AK interactive weathering products for the mucky bits; the exhaust staining was sprayed on using a mixture of different shades.
Adam B.