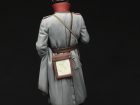
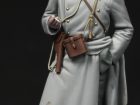
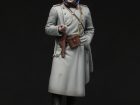
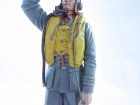
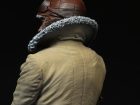
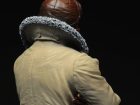
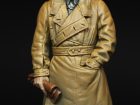
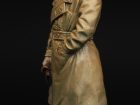
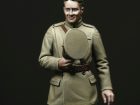
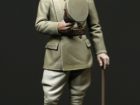
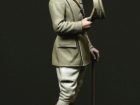
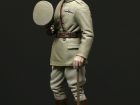
Welcome to the Subscribers’ Figures Gallery.
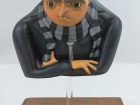
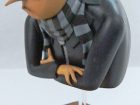
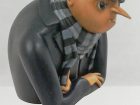
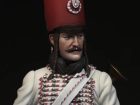
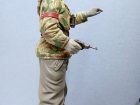
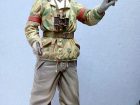
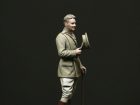
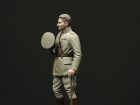
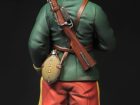
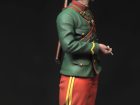
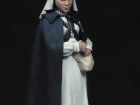
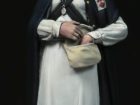
Each submission has a ‘gallery’ of thumbnails which you can click on to see an enlarged image and read the short text describing the model – enjoy!
Figures Gallery 1
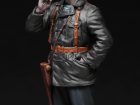
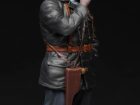
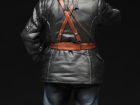
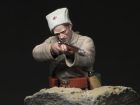
Here is a selection of stunning pieces by Michael Butler – the depth of talent here is truly awe-inspiring! What I love about this collection is the variety of pieces that Michael has tackled – just look at the expressions, emption and sheer storytelling ability that has been brought out in his application of skill.
You can find more from Michael at “The MedRom Forum“
Thanks Michael for sharing your incredible talents here at SMN. Geoff
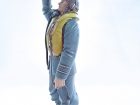
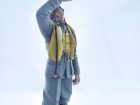
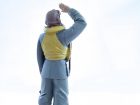
The 120mm scale figure cast in resin was a straightforward build. The radio jack was connected to the flying helmet using 3amp fuse wire while the hose for the oxygen mask was made from plastic rod.
The figure was painted in Tamiya acrylics with a clear glaze used for the lenses of the flying goggles. The yellow of the lifejacket was toned down by adding Desert Yellow to flat yellow.
Steve N.
Scale: 120mm
Material: Resin and white metal
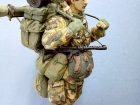
The figure shows the heavy loads that had to be carried in the Falklands during forced marches. The soldier wears the typical winter uniform that, with the exception of footwear, performed well. Armed with the Sterling sub machine gun, he also carries the Carl Gustav rocket launcher.
Steve N.
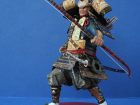
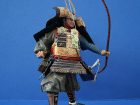
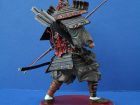
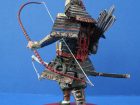
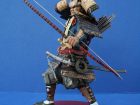
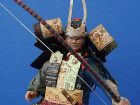
The figure, sculpted by Ray Lamb was released jointly by Hinchliffe and Tashio. At its release in the 1970’s, it was considered a landmark piece. Cast in white metal, weighing 650 grammes it was designed to a scale of 150mm.
Because of the weight, the first step in finishing the figure was to create several sub-assemblies that allowed ease of painting. The start of a colour scheme had been laid down on the figure and this was used as a guide to follow.
The figure was base coated using acrylic paints; the flesh tones finished in oils while the armour was done in inks. The finished mode has been used as part of the club display and hopefully will help keep the work done by another modeller alive.
Steve N.
David G L.
Scale: 120mm
Material: Resin
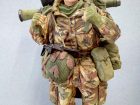
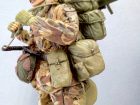
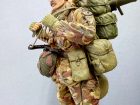
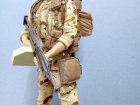
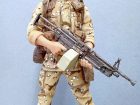
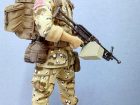
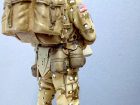
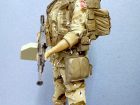
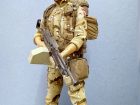
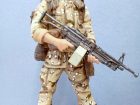
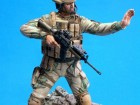
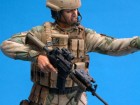
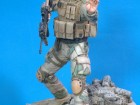
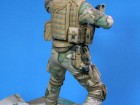
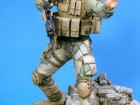
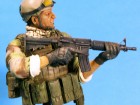
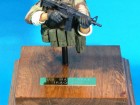
The Paratrooper wears the camouflaged uniform used in Desert Storm. More suited to the American deserts than those in the Middle East, it is quite distinctive. Armed with the Squad Automatic Weapon (SAW) this light machine gun has proved highly effective since its introduction.
Steve N.
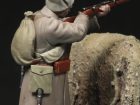
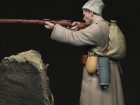
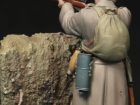
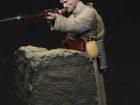
Check out our website Adalbertus Miniatures…
Wojtek B.
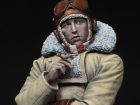
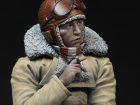
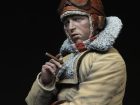
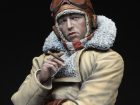
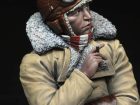
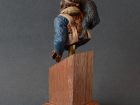
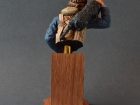
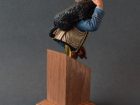
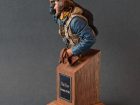
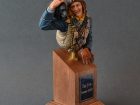
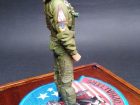
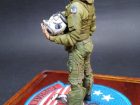
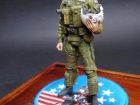
Life Miniatures – The Few, scale 1:10. He is painted mainly in oils over Alclad primer with acrylics only being used on the oxygen hose. Printers inks and oils used for metals.
Hope you like it!
Billy C.
I’d been bought a pack of Humbrol Airclay for my birthday a few weeks before, and it got slung on the side, not sure what to use it but I used that… well this turned out to be a better option; once I’d cleaned off the Polyfiller I set about adding the Airclay to the tree. I started with the bottom and worked my way up the trunk, this had to be done in stages as it was starting to bulge at the bottom; I scored the bark on the clay and left it to dry. As I got to the finer branches I swapped and used Milliput, this sticking better to the twisted wire. I remembered an article in a Hobby catalogue about how to make wagon wheels, for these ceramic carthorses and set about making the wheel. I wanted the wheel to be damaged, as a good one would not be left leaning against a tree. I set about cutting all of the fellows, these are the individual parts of the rim of the wheel, made out of balsa, cut and shaped. I drew a wheel on a piece of card which was to scale and followed the curve required, these were glued and pinned together and left to dry over night. Next morning I started to make the spokes, these had to be cut and shaped all the same except the ones that were to be damaged; achieved by using a modelling drill set on a very slow speed, and using sand paper. The metal edging to the wheel is made of a thin strip of lead foil and it was pinned in to place with N gauge track pins.
Snow? A friend of mine who is a stone mason, was needing some promotional photos doing of his work, so I went and did them for him, and he was engraving a marble headstone in one picture, and the dust was in an extraction bag it was perfect for the snow it has a certain sparkle to it, it’s perfect for the snow so I came home with a box of marble dust! The ground work is also Airclay.
Dave B.
Scale: 120mm
Material: Resin
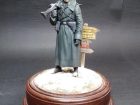
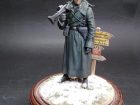
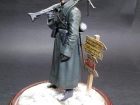
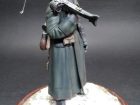
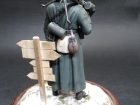
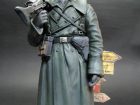
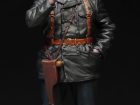
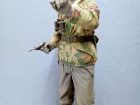
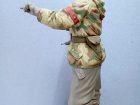
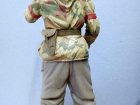
The officer wears the jacket from the reversible camouflaged two-piece winter suit. Issued during the Russian campaign, one side was white, the other side printed with the distinctive “Splinter” design. The suit was also available in plain grey with the trousers being worn alongside the jacket.
With a shortage of winter clothing, given Hitler’s expectation that the campaign would be over in a matter of months, clothing that provided decent protection against the cold was highly sought after.
The officer would normally have been more heavily armed with a P40 machine pistol and associated equipment but is shown here with only a Walther pistol.
Steve N.
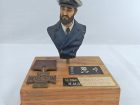
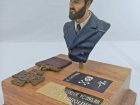
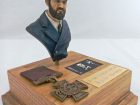
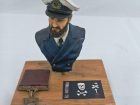
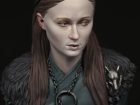
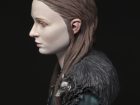
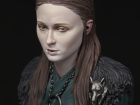
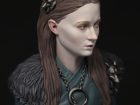
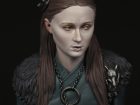
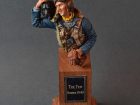
I use Winsor & Newton artist oils over either Humbrol base coat or Vallejo acrylic. Humbrol to achieve a matt finish and acrylic for a sheen such as leather and flesh. There is nothing worse than a figure painted without thinking about surface finish …………..except maybe cross-eyed!!
I gently bake the oil off in the oven to drive the oils out quickly which obviously speeds the drying but also aids the matting process.
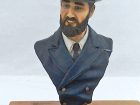
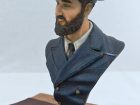
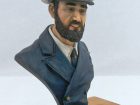
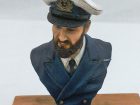
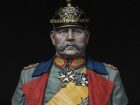
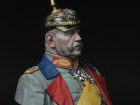
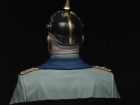
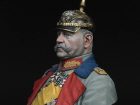
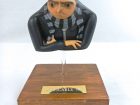
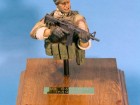
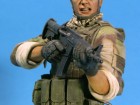
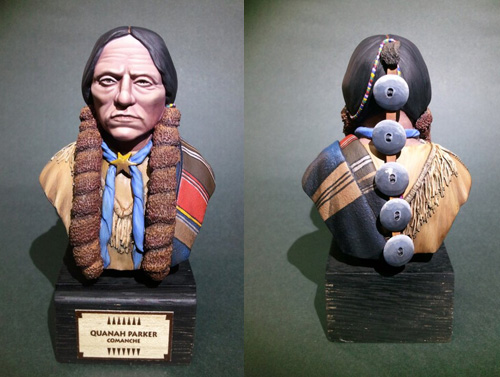
All the busts are sculpted by Jon Smith in Germany [Jonsmith modelbau] and cast in resin approx 1:10 scale
The figures are white metal.
David GL.
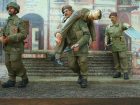
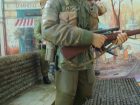
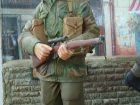
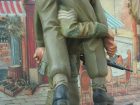
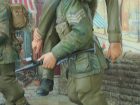
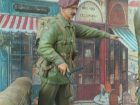
Used as a set, the four figures were combined to create a small diorama representing the British paratroopers being directed to assembly points having been scattered during their landing on the outskirts of Arnhem in 1944.
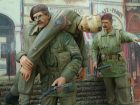
Looking at the figures, the first, a sniper, was built straight from the box. Based on one of the book illustrations shown below, he accompanies a wounded medical officer carried by a Sergeant. This pair are also represented in the book. The pattern and colours of the camouflage is shown clearly in the illustrations.
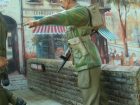
The last figure used was a paratrooper pointing and shouting instructions. He was modified by replacing the head with one wearing a beret in place of the combat helmet. One of the ammunition pouches was replaced by a scratch-built pistol and holster to indicate an officer.
A print of a street in Paris was used as a backdrop. Buildings at this stage, where no fighting has taken place, have no damage.
Steve N.
This figure dates from aprox 2002/3. It was adopted for the hotel banners / posters promoting the World Expo in 2005 in Boston…….no idea how or why as I couldn’t go!
Primed with Halfords car primer and blemishes polished out with wet’n dry and repeated until smooth enough to paint
Airbrushed with Humbrol enamel in the approximate match to the final oil coating, attempting some basic shading and highlights with the airbrush. Once hardened the oils are applied keeping the layers very thin. Metal areas are painted with printers ink.
To speed the drying I oven dry the figures ~50oC which encourages a matt finish. To achieve a little more of a leather sheen I add a little extra Linseed oil to the paint for the helmet.
The tail rudder was painted in Humbrol for a change.
David G. L.
A few days later I got a letter with several photos of him getting dressed for duty.
My prayers were answered. As they were taken from many angles, I was able to see what the uniform really consisted of and was able to sort out a plan of campaign.
Once again it was an amalgam of kits and bits. The legs are from the Airfix Halberdier, the rest mainly from (l believe) the rifleman, his head suitably modded to take the hat made from two discs of plastic card, plastic putty etc. The skirts of his tunic were a joy to make, they were from the lead around the neck of a wine bottle (let’s make another, HIC!)
Various other bits (decorations etc.) were made from odd scraps of card, putty, sticky paper and so on. The stand was from prunings in the garden!
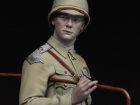
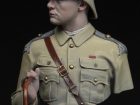
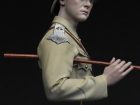
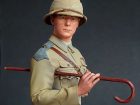
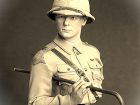
I chose to give a really youthful, almost childish, look to the figure, without wrinkles or deep shadows, and maintaining an impeccable uniform and polished straps and buttons, as befitted any officer of Her Majesty.
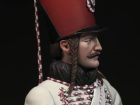
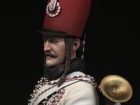
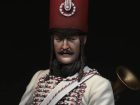
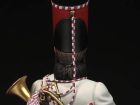
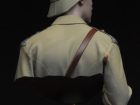
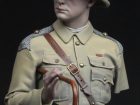
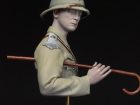
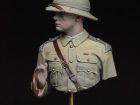
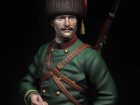
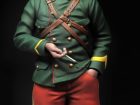
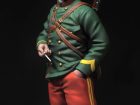
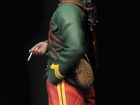
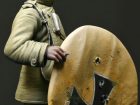
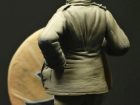
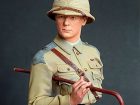
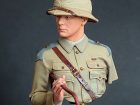
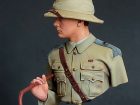
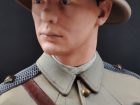
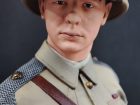
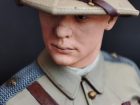
The figure is from Dolman Miniatures in 1:10 scale and painted with acrylics. Of impressive quality, it was a real pleasure to paint this bust.
I hope you like it as much as I did.
Manuel M.
