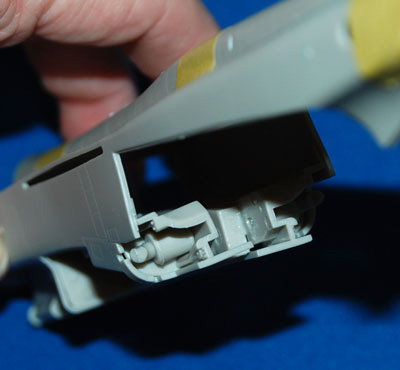
Fuselage centre section
My plan is to close up all the panels that have options to be left open because I want to preserve the lines of this Cat – just the air brakes and flaps/leading edge slats will be deployed.
An observation early on – watch the parts numbering, I have come across several that are mis-numbered and some areas are completely missed off the instructions like the tail assembly – I spent a while trying to work out which parts I had left that would be needed ☹
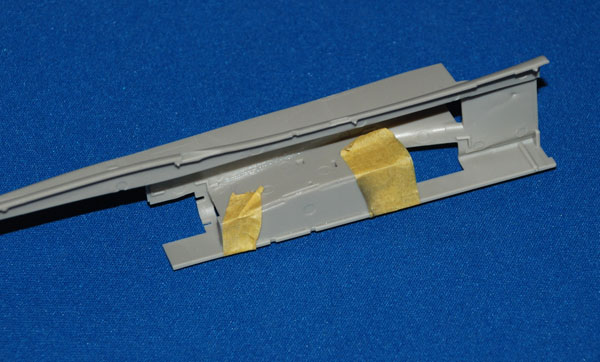
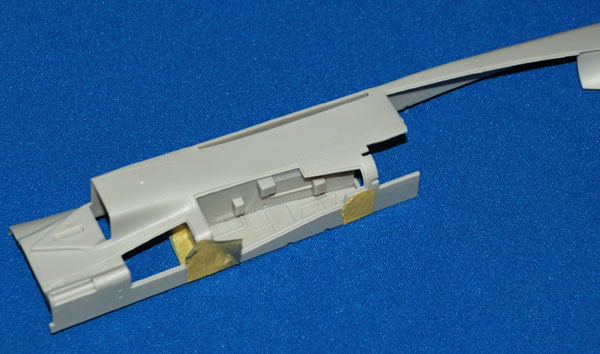
As I type this I have moved on well with this project but I warn you now – TAKE CARE with alignment and test-fit all the interior parts. Generally everything like the avionics panels that are designed to be finished in the ‘open’ position do go in quite well and things look quite good.
A couple of observations at this stage though, firstly, one of the fuselage halves (left side) was warped along the joining edge and not easily straightened – hot water (to help straighten it) didn’t do much good and so I decided that filler would be the best option later if needed (which it would be!). Secondly, take great care to make sure the separate forward engine bulkhead is able to sit just inside the fuselage, not butt up against it. This will make sense if you have the model and look at the parts when you’re at that stage, suffice to say, the warping just made this much trickier to correct.

I glued the whole fuselage assembly together and set it aside to dry thoroughly; there’s a lot of cleaning up to do but that’ll be in a couple of days when everything is completely dry.
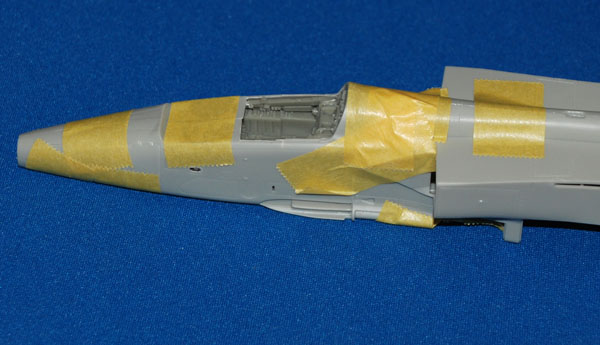

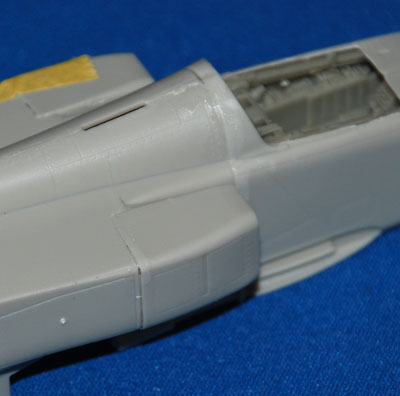
Joining nose and fuselage
Well, the fit is ok and using plenty of liquid poly and masking tape it’s again all set aside to dry completely. The join when I returned is still too pronounced and cyano is used to fill the join line and I will sand and re-scribe this later as needed.