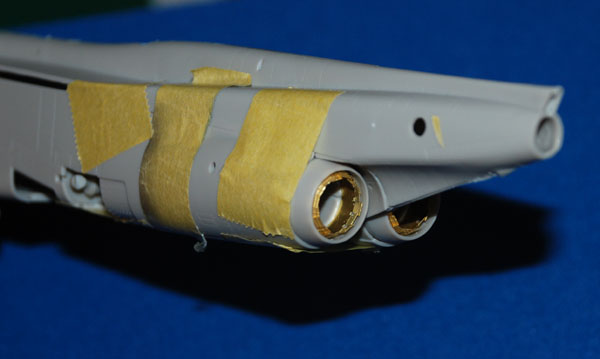
Fuselage filling and sanding
Time to add the first layer of Humbrol filler to the underside of the fuselage centre section; I’m up to three layers and it will need a fourth before the underside is flat enough to look right and then adding some basic panel line detail that’s been lost. I won’t go to town on that because the filler doesn’t scribe as well as Milliput but that takes a lot longer to dry. If you have the same problems as I did here and want to reinstate a lot of the surface detail then use Milliput, it’s the best there is in my opinion.
Wings – fences and pylons
There’s been a lot of talk about the forward inner leading edge shape of the main wings. To be honest, when the wings are attached and you’ve taken back the curved contours of the engine intakes I think this pretty much solves it (for me at least). Remember to drill out the wing holes for whatever stores you want to add; in my case, just the four under-wing pylons are needed, no stores.
Before you attach the wings, decide on your wing-fence option. You can add the AIM-9 Sidewinder rails and they fit okay but I needed the plain thin ones that were fitted to this Cat in its Farewell scheme.
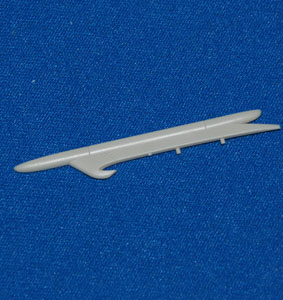
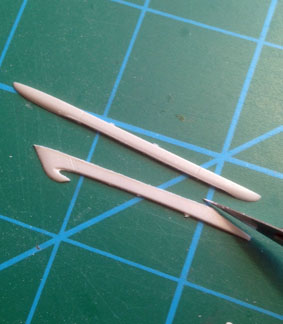

To create the plain thin upper wing fences that you need you can do this pretty easily by adapting the kit parts. All you need to do is use the outer half of each over-wing pylon supplied in the kit – discard the rest. Then just cut away the launch rail and sand the remaining pylon to shape and thickness – the Ultimate sanders described above work perfectly for this, especially the coarse white ones. You can see the before and after pics. My plan is to add these once all the re-scribing and sanding is finished – I don’t want to risk knocking them off!
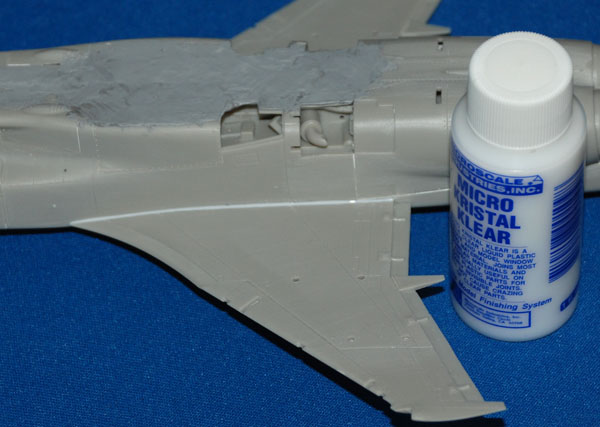
Attaching the wings
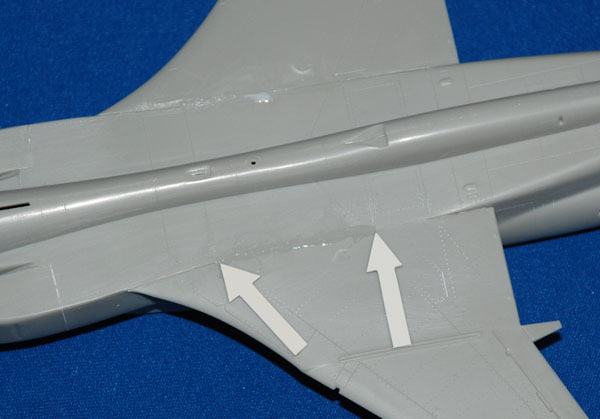
Interesting this… the left side fuselage slot designed to take the main wing was malformed and needed quite a lot of cutting to get the wing to sit low enough to look right. I ended up having to support the wings at the correct angle while the liquid poly glue set. To get a better fit along the upper edge meant that there is a gap along the underside join and this is filled with Micro Kristal Klear.
The upper join line needs cyano and sanding to create the flat area that has not visible join line, leaving the front and rear sections with a hairline join that should replicate what’s on the real Jag surface.