The “water”
Before I came to the final fittings I thought that I would set it in a “sea”. As I have never done this before, I had to figure out what the best way of tackling this would be.
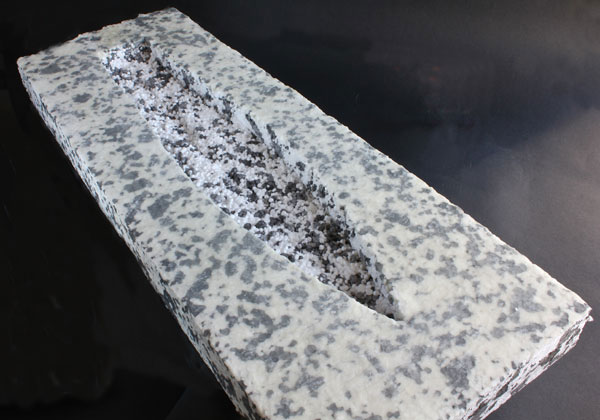
One thing I was certain about was that I had a piece of scrap plastic sheet thick enough to gouge a hole in.
I used a carton of Liquitex heavy gel to coat the poly and let it set. I then layered on another coat. As this is fairly self-levelling it set with only a slight ripple.
I sprayed a coat of car clear lacquer very thickly over the whole based to lock everything in position.
A coat of blue (any old blue) was next and then another coat of Liquitex applied in ripples this time
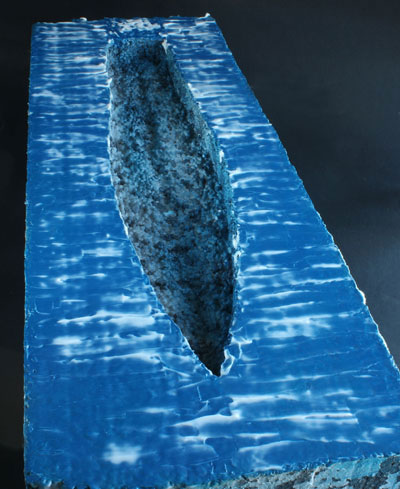
In the photo it has the beginning of a nice effect, but no, it dries flatter and clear. By now I realised that I should have prepared the base with waves and /or ripples. So, I thought where is the water likely to be the flattest? The answer was more than often in a harbour.
That is how the water came to be sprayed brown! It was most likely that, during the war the harbours would not be maintained and therefore muddy. I mixed a muddy brown. This was not so thick as to hide the layers below and therefore give a slight translucency.
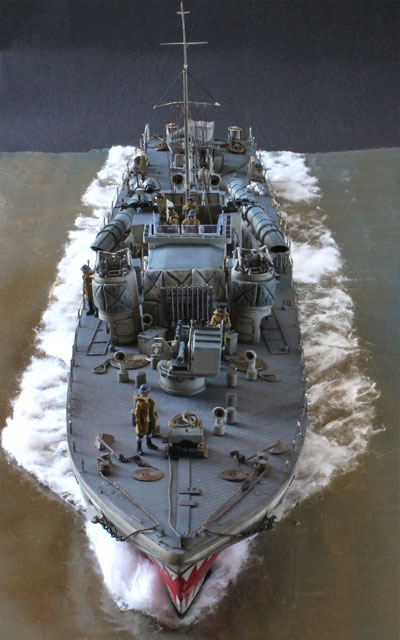
The wash from the boat was done at first using cotton wool applied to the starboard side. I wasn’t that pleased with the result but I have left it to be photographed to show how I then refined the technique (for the time being anyhow!) on the port side. Several people use this technique and the two best that I have seen are Kostas Katseas and Chris Flodberg, I haven’t yet solved the problem but here is what I did.
I stretched the cotton wool in one direction so that it is quite thinly dispersed. I put down a layer of gel on the baseboard. The cotton wool was pressed down onto this and then manipulated with a toothpick to give a feeling of direction and movement.
I then sprayed auto clear lacquer over the result and lightly patted it down again.
That was it so far. This time I am not going to take it further but a basis from which to work is there.