Feature Article with Paul Ainsworth
Introduction
This project is a dedicated tribute to 11 Squadron and also a nostalgic reminder of my private visit as their guest at RAF Binbrook in the summer of 1981.
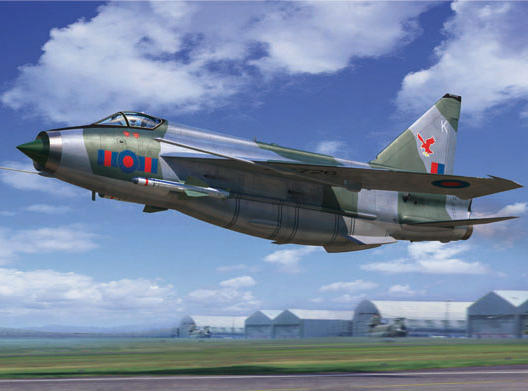
The English Electric Lightning F.6 was a powerful British interceptor flown by RAF No. 11 (Fighter) Squadron, renowned for its incredible speed and vertical climb, serving from bases like RAF Leuchars and RAF Binbrook to provide Quick Reaction Alert (QRA) during the Cold War
The Lightning aircraft itself needs no added introduction. The type is well-represented here in SMN including the magnificent 1/32 scale work by our colleague Dave Eccles who I personally thank for his kind and very helpful advice and recommendations concerning the kit itself. Much appreciated. You may also be interested in a quick look at the F.3 build from Geoff C as it may offer a few insights that will be helpful.
The plan
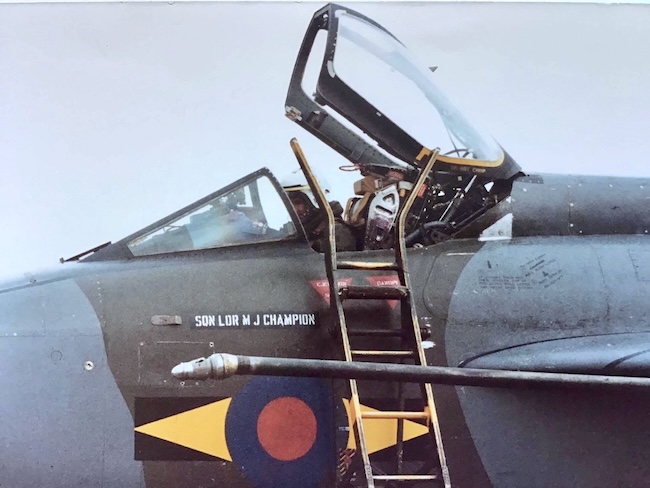
The chosen subject for this project is XR724 ‘Bravo Charlie’ which has now been painstakingly restored to ‘live’ condition by the dedicated Lightning Association team at Binbrook.
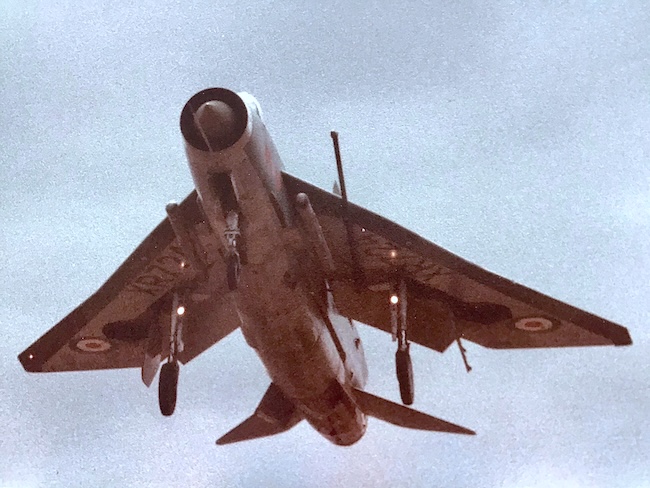
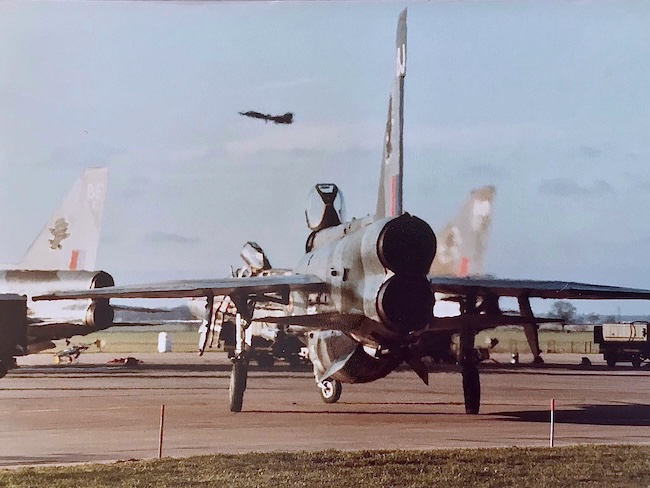
I apologise for the poor quality of my photo but I captured XR724 on short-finals at her home base circa 1979/80 during one of several sabbaticals to watch the aircraft. The photo was taken using a manual Yashica camera with a standard 35-70mm lens so she was very close and very loud as she passed overhead.
The heart of this build will primarily be of pure personal nostalgia and not an attempt in any way to be compared to the superb results shared by fellow modellers here.
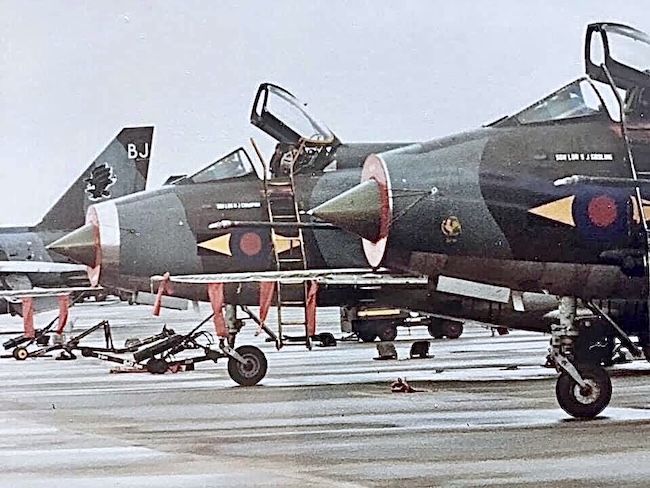
The aircraft will wear the full tactical camouflage scheme and as I remember seeing them during my visit and those times.
The kit
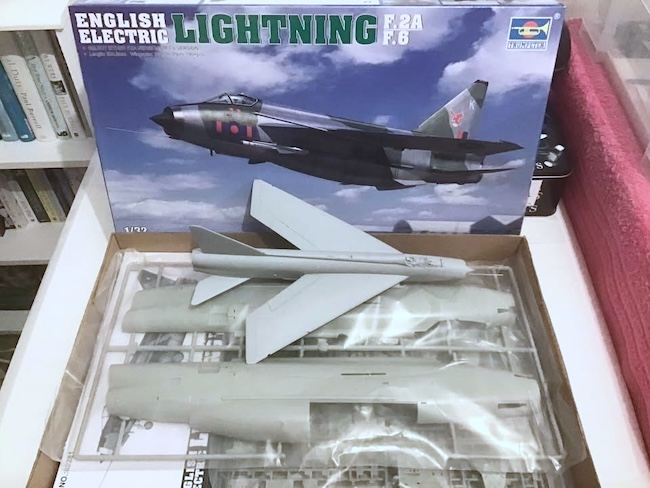
The Airfix 1:48 scale F.1A is dwarfed by the size of the Trumpeter kit. My intention is to make my best of what’s generally in the box although I’ll be using an aftermarket clear resin canopy/windshield, resin wheels, resin ejection seat and metal pitot probe. Aftermarket decals will also be used for the 11 Squadron markings.
On we go!
Having built two 1:72 scale versions of this kit I had a good idea of what to expect with this larger rendition. Not normally the recommended practice but in this case I decided to deviate somewhat from the kit’s instructions and go my own way to a degree.

My first task was to bore out the Aden cannon gun ports into which I added a short piece of styrene rod to resemble the cannon nozzles and fine styrene sheet for the outer protective frames.They’re now more prominent than the kit’s representations.
The next task was to add some internal bracing to enable a better, a more precise and robust fit of the forward underside panels. For this, I just used short pieces of sprue as per usual. The before and after results are shown here. The tail section is in two halves and positioned to show the kit’s size.
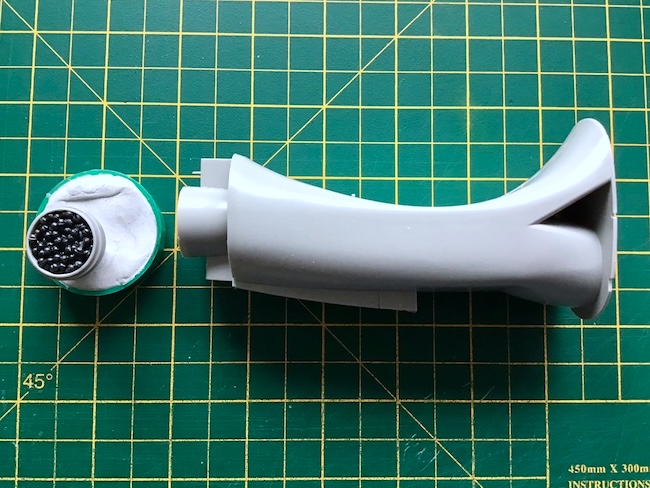
The intake ducting and nose wheel bay assembly – no problems whatsoever with the fit of these parts. I’ve omitted painting the inside of the ducting as I plan on adding a homemade Intake ring as an extra feature. The radar bullet has been filled with lead shot and fixed in place with cyano.
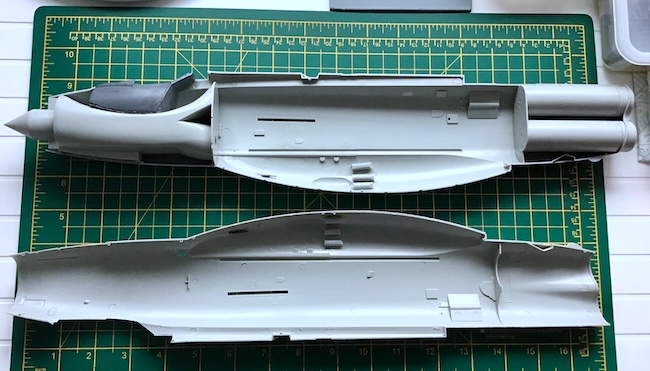
The cockpit tub along with the internal sections are now fixed in position and the fuselage halves are ready for joining together. I’ll feature the cockpit interior later in the project suffice to say I’ll make the most of the kit items for this. Once the ejection seat is added there’ll be precious little to view although I respect that some may wish to use aftermarket for this section. Please note the sprue braces in this view.
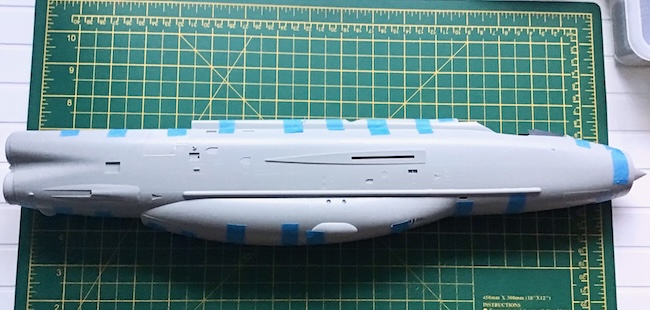
Using Tamiya Cement and Extra Thin Cement the fuselage halves have mated without any issues. The nose ring, radar bullet and closed speed brakes are also now fixed in place. This is going to be a big model!
Back soon for more…
Paul A