Short Feature Article by Dai Williams
A note from Geoff…
This is one of those cases where I could have gone either way – add a short entry including the finished pics in your Subcribers’ Gallery or make the most of the material Dai has sent and create a Short feature Article? I went for the latter because Dai has included some great information on how he achieved these results as well as including a few build up photos.
So… not the usual in-depth build this time but a neat little SFA that I think you’ll enjoy as much as I do, every time I look at it – thanks again Dai and keep up the excellent work.
Over to you Dai…
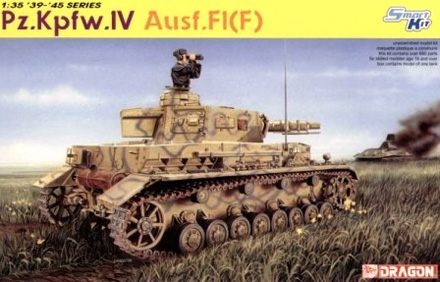
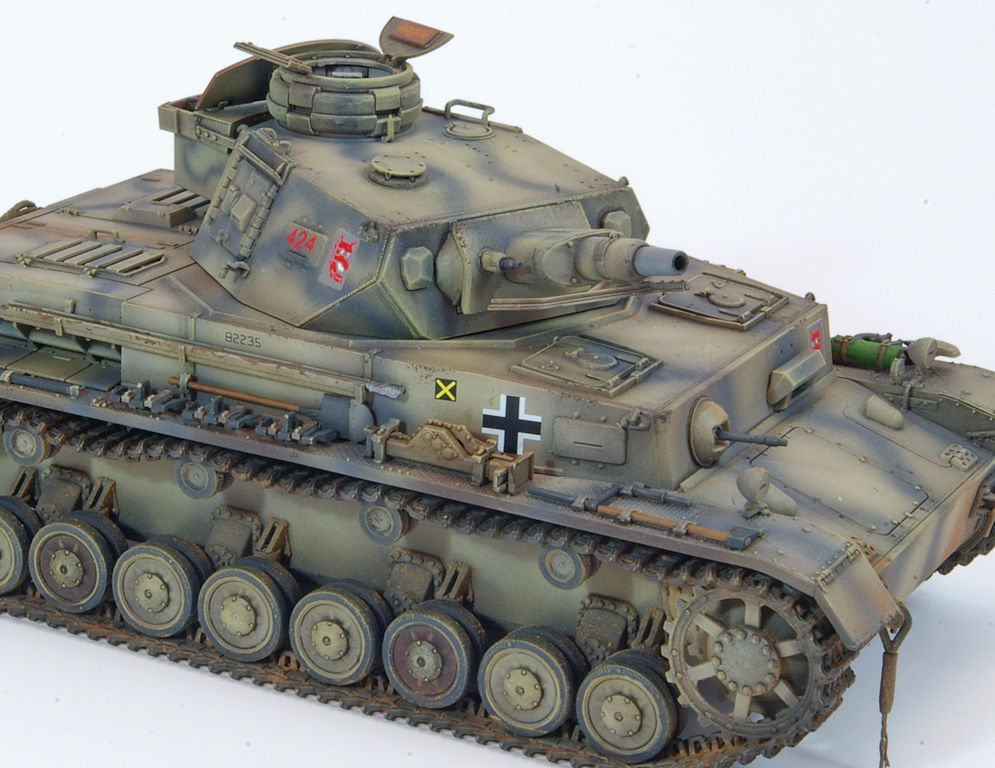
This is the DML PzKpfw IV F1 built more or less straight from the box.

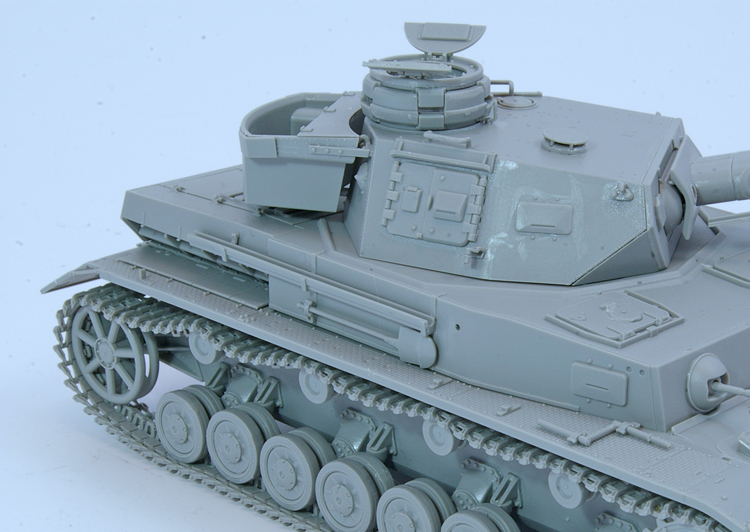
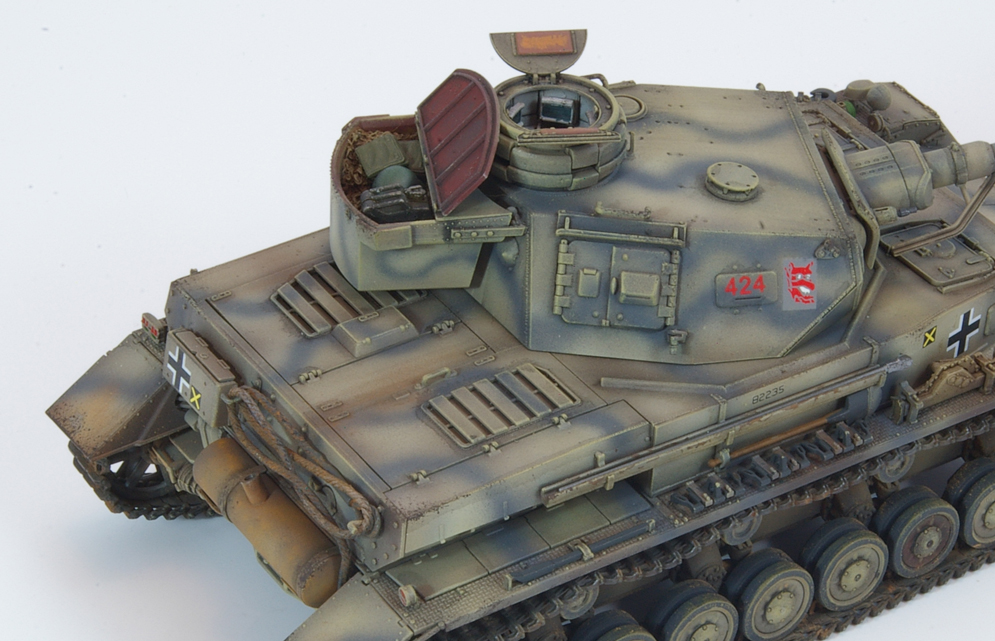
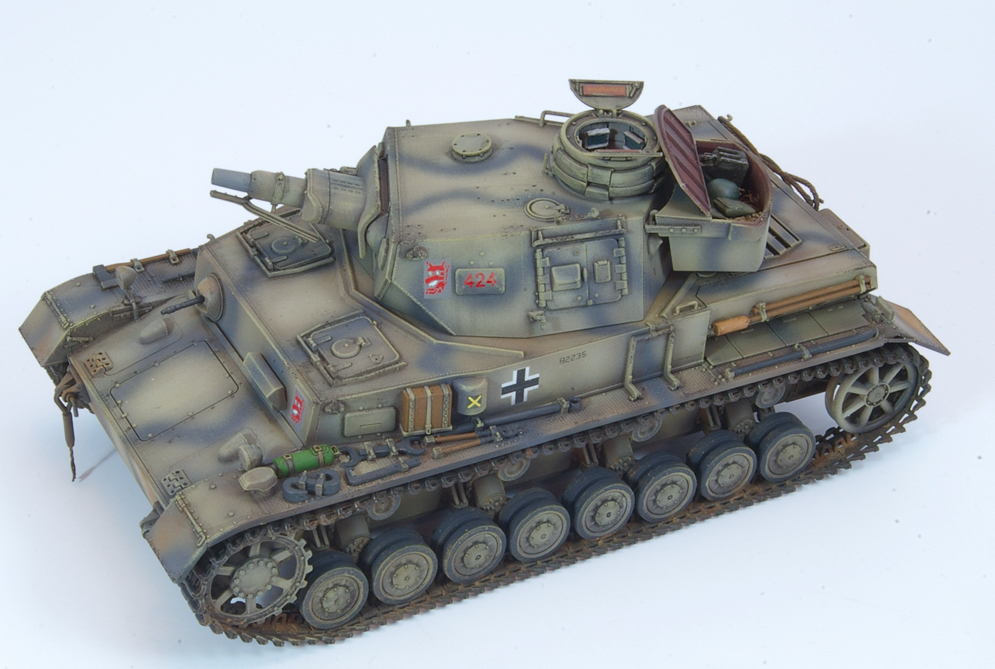
DML’s PzKpfw IV series are really well detailed kits and those I’ve completed so far have been a pleasure to build. I added very little to the kit apart from a camouflage net and some items of stowage in the bin at the rear of the turret. The net was made from muslin soaked in a mixture of white glue and water. The other items of stowage were embedded in this while it was still wet and then removed for painting a couple of days later when the glue had dried. I rather liked the idea of leaving the stowage bin open. I assumed that this would have been primed in the usual red primer used on German vehicles and it seemed logical that the inside of the bin and the back of the lid might have been left that way when the rest of the tank was painted. Items like this and the unpainted replacement road wheels brought an extra touch of colour to the model.


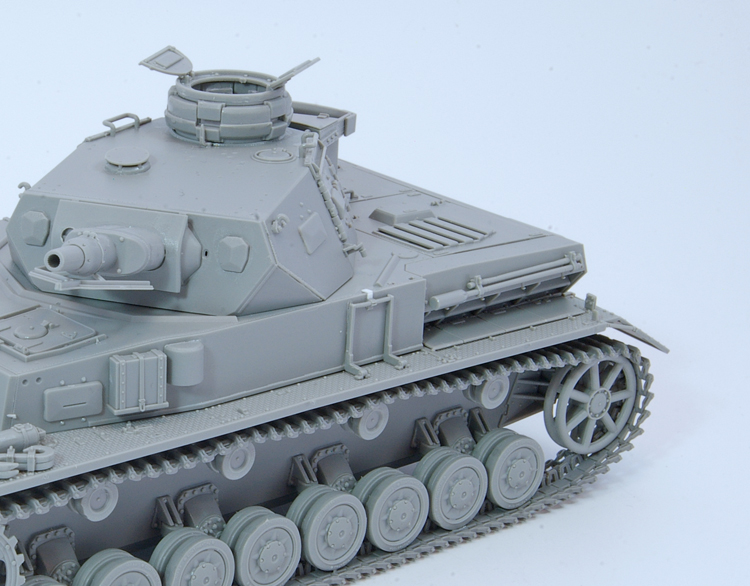

There were no problems experienced during construction. While cleaning up the mould lines around the road wheels was a little tedious, I understand that when the tyres were new they actually had a mould separation line around them so I suppose you could actually leave them there – though it just doesn’t seem right!!
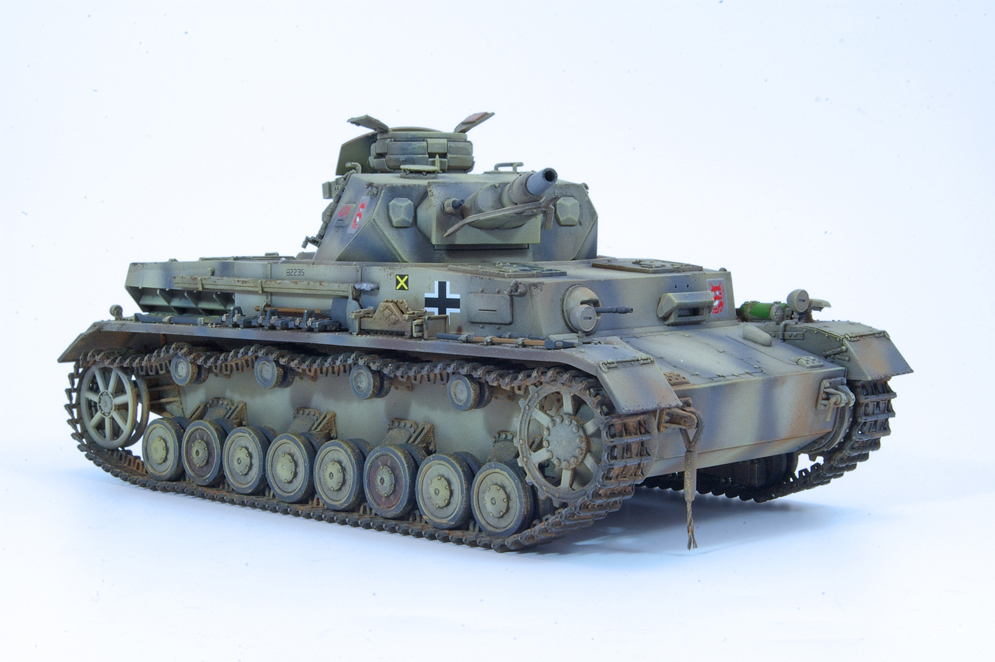
I usually dry-brush my armour models towards the end of the painting stage – though this technique seems to have fallen out of favour these days with pigments and filters having taken over. In this case I changed the order of things when compared with my usual painting sequence. I added a dark brown wash using Vandyke Brown oil paint, dry-brushed the model with Humbrol enamel using a khaki shade similar to the overall colour of the model and then added a little chipping with a sponge and Vallejo German Camouflage Black / Brown.
Usually I put the chipping on before the dry-brushing, but I think that this way around may actually work better – more experimentation called for here.
The colour scheme is a little odd in that DML suggest that this vehicle had a Dark Yellow base coat with a Field Grey overspray. I suppose that an overspray of green and / or red brown would have been more usual. However, this does make the model look a little different and the idea of a front line crew using up a stock of grey paint that they found hanging around does not seem that unlikely – and anyway I like it.
Hope you do too?…
Dai W.
Gallery
Below are a series of images of the completed model. Click on a thumbnail to see the enlarged image.


You can download a pdf of the Full Article here.
(Download a free copy of Adobe Acrobat Reader here)