Feature Article with Rob Ruscoe
I build models of aeroplanes. As an ex-military airframe driver I suppose this is only natural. So why did I decide to leave my comfort zone and build a tank, especially one this big?
Well, a fair few years ago, I was given the chance to inspect and drive an ex Polish Army T34/85 which was coming up for sale in a militaria auction (sold for 9000 pounds to the landlord of a local pub). The experience made a great impression on this armour-ignorant modeller and so here we are.
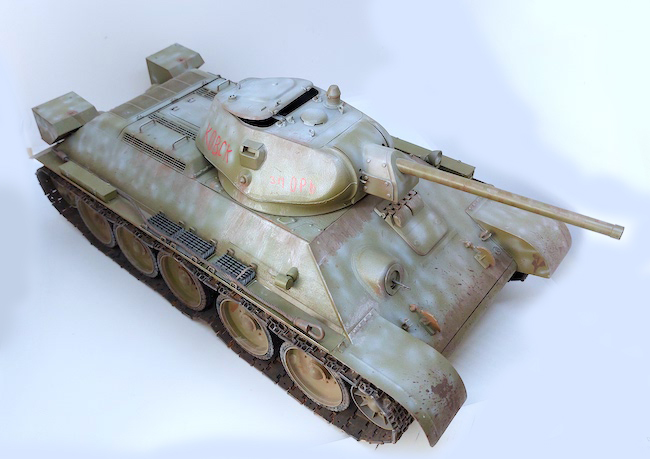
Just before we get started, here’s a quick look at how it all turned out…
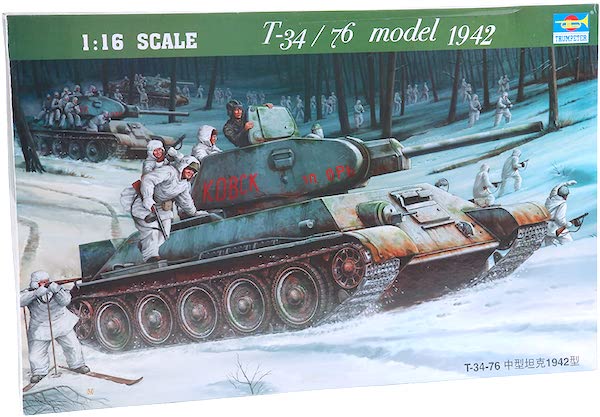
I had lots of photographs of the interior of this vehicle so decided on the big Trumpy kit as a first project. Ideally the kit should have been the 85mm version, but I was offered this 76 by a mate who decided it had too many parts!
On opening the large box, I could see what he meant; there is a lot of styrene packed inside, along with a couple of sheets of photo etch and a decal sheet. The instructions are Trumpeter’s usual style with what looks like a logical build sequence, although I did depart from this sequence a couple of times during the build to aid in the painting stage. Inspection of the sprues revealed a typical Trumpeter habit, namely, awkwardly positioned sprue gates. The number of these needing to be carefully cleaned up on mating surfaces, must run into hundreds and was the proverbial pain in the lower rear area. A careful study of the build sequence will help in devising a painting plan for the myriad internal components.
Construction begins with the Christie suspension. This is made up of eight spring/damper units which fit into four carriers. A few internal components such as ready use ammunition for the main gun and the hull machine gun are also fitted at this point. The latter requires the first PE bending session for the MG drum magazine stowage; as we will see, there are lots of these. For the main gun shell cases I used AK’s True Metal brass. This comes in a tube and can be applied with brush or cloth. After a short drying period, a quick polish with a soft cloth, until the required lustre is obtained, and the effect is pretty realistic.


