• Skip to primary navigation
  • Skip to main content
  • Skip to primary sidebar

Scale Modelling Now

Scale Modelling Techniques

  • HOME
  • CONTENTS
    • What’s New
    • Techniques Bank
    • Aircraft
    • Armour
    • Classic Kit Builds
    • Civilian Aircraft Builds
    • Vehicles
    • Sci-Fi, Fantasy, Space
    • Maritime
    • Figures
    • Gift Certificate
    • Book Reviews
    • Dioramas
    • Modelling Workshops
    • Podcasts
  • WHAT WE OFFER
  • FREE SAMPLES
  • EVENTS
    • EVENTS
    • NEWS
  • ABOUT
    • CONTACT
    • ABOUT US
    • TRADERS
  • LOGIN
  • More results…

    Generic filters
    Exact matches only
    Search in title
    Search in content
    Search in excerpt
Pages: Page 1 Page 2

Bomb Disposal Malta 1941 – Diorama – 1:35

April 18, 2018 By Francis Porter

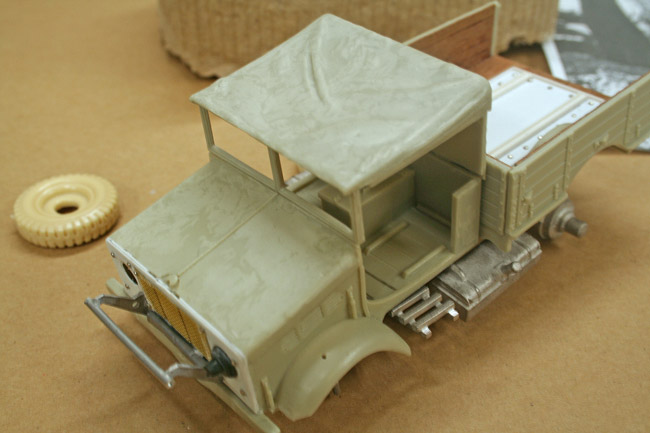
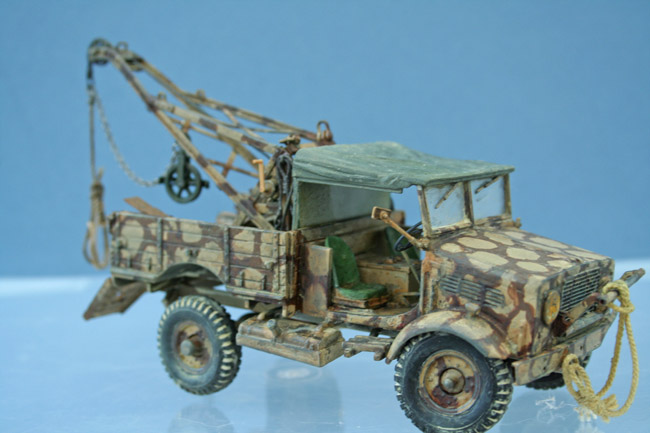
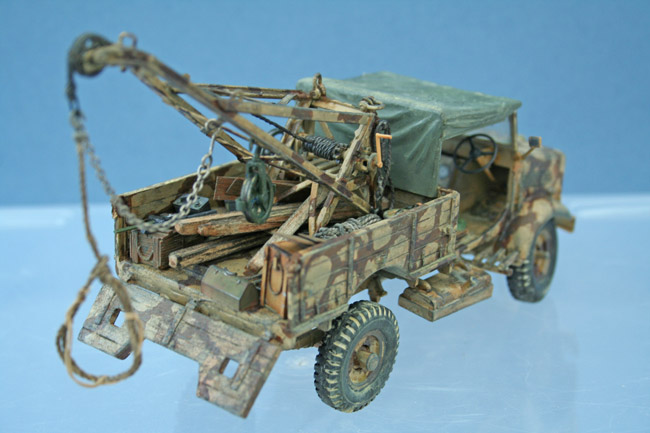
Assembly of the Truck

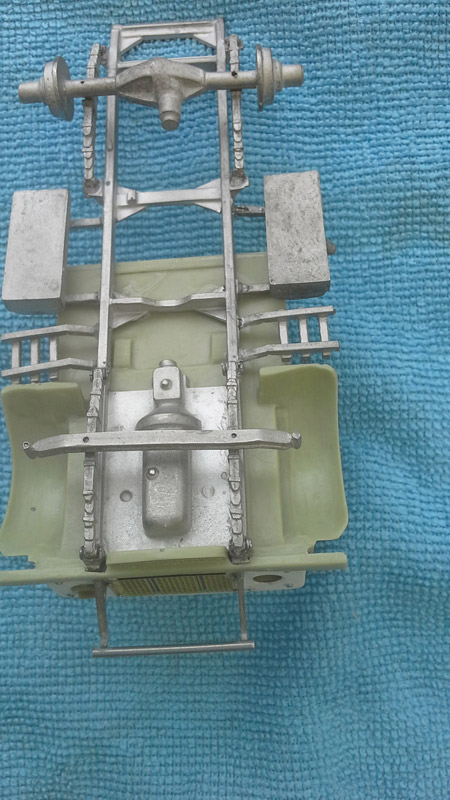
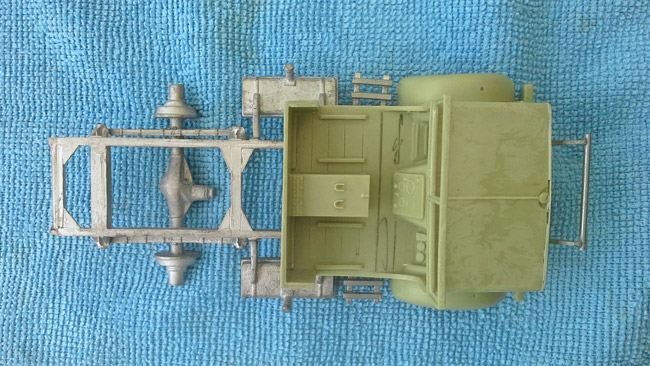
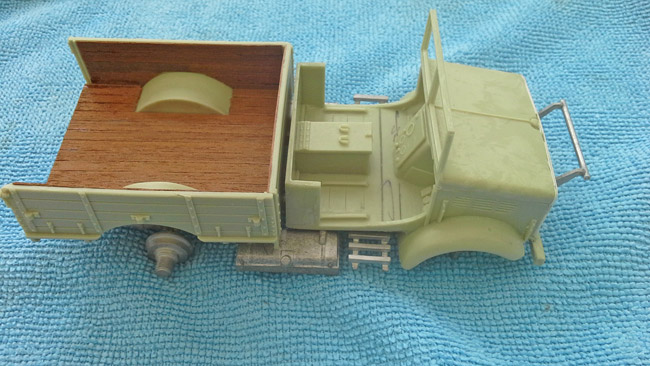
Having cleaned up all of the parts, the model was assembled using superglue; the process being straightforward. The truck was painted in the Malta camouflage pattern and weathered using washes and weathering powders.

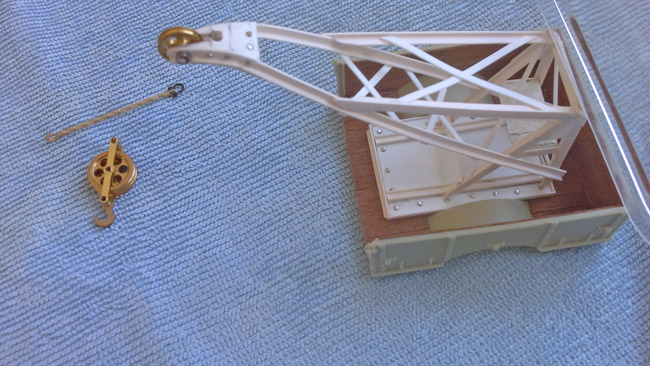
The crane was constructed using the photograph as a guide using pulleys from a model ship. A baseplate was fitted to the truck body to secure the crane to.


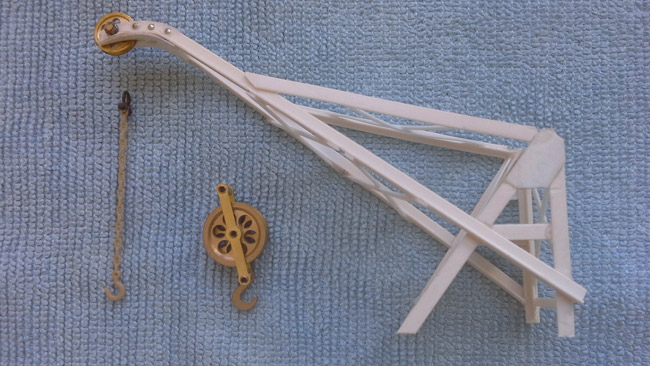
The crane under construction prior to being fitted.

Dry fitting the crane to the body

Constructing the Base

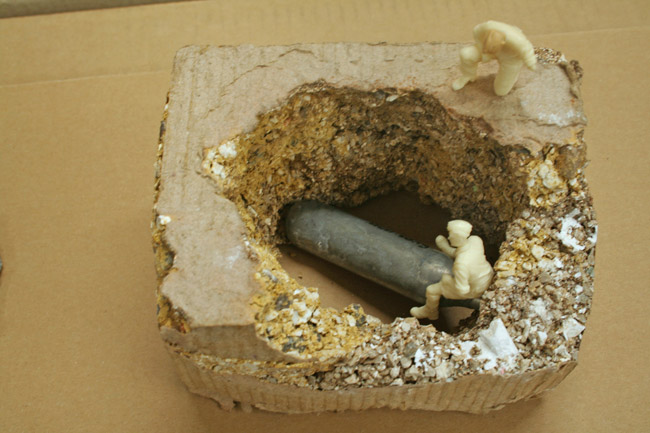
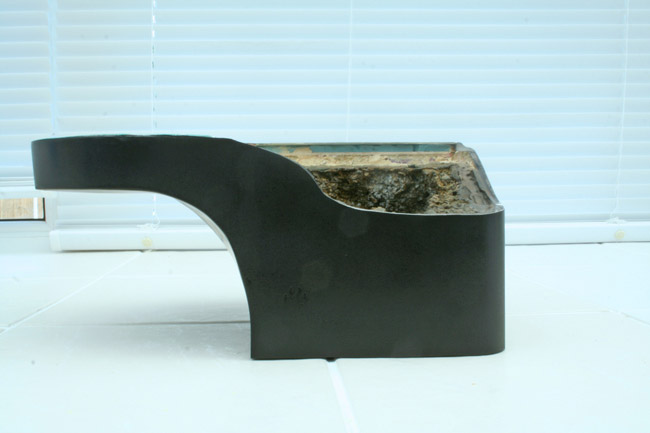
Because of the impact crater, it was inevitable that the base would be tall with the potential that its bulk would overshadow the diorama. It was decided to try to focus as much of the viewer’s attention on the scene by cutting away part of the base. The base was to be cut from wall insulation foam being light and easy to work with. The outer surfaces were covered in thin plastic card to give the base a smooth finish.

Given the weight of the truck, this meant the base had to be counterbalanced to avoid it tipping. To achieve this, the crater was cast in plaster and concrete then inserted into the base and its edges blended in to the whole.

The crater cast in plaster and concrete
Having inserted the crater, the road and pavement elements are in place
The base has been cutaway prior to the edges being sanded
The addition of rubble and accessories blend the crater and road together

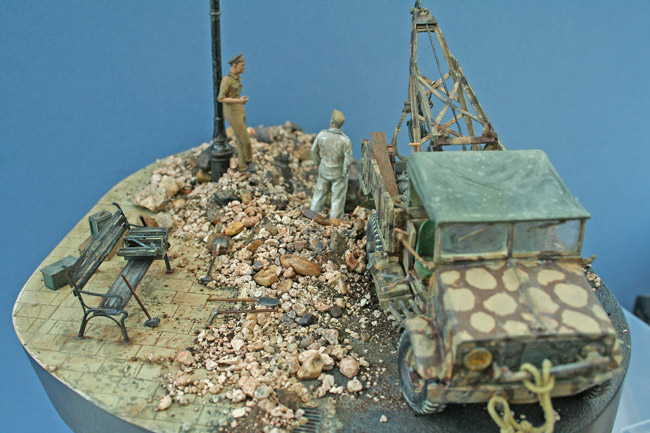
Lighting and a bench was added from Mini Art light and street accessory sets

Overview of the finished model with figures added

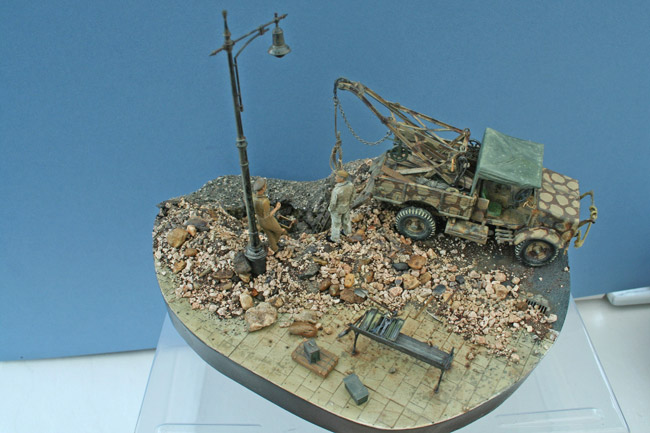
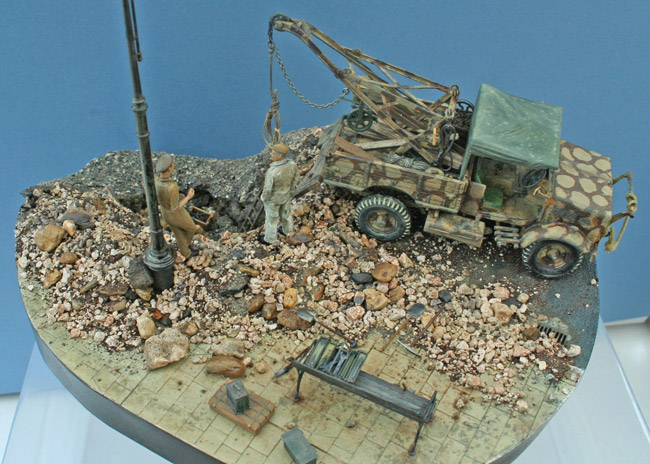
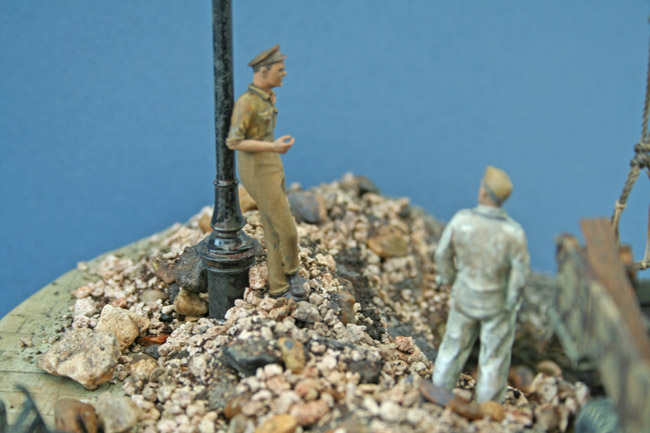
The figures were chosen for their casual poses with Hornet replacement heads used on some

Hope you like the way it turned out?
Steven S.

pdfs

You can download a pdf of the Full Article here.

(Download a free copy of Adobe Acrobat Reader here)

Pages: Page 1 Page 2

Primary Sidebar


LOGIN/LOGOUT

Lost your Password?


All the completed Armour builds.

Click on a Manufacturer below for all SMN's completed builds of their kits.

BACK TO ARMOUR MAIN PAGE

SEARCH THE WEBSITE

More results...

Generic filters
Exact matches only
Search in title
Search in content
Search in excerpt

Finished Armour Reviews

  • Academy
  • Accurate Armour
  • AFV Club
  • Airfix
  • Amusing Hobby
  • Azimut Productions
  • Border Models
  • Bronco
  • CMK
  • Copper State Models (CSM)
  • Cyber Hobby
  • Das Werk
  • Dragon
  • Eduard
  • Field of Armor
  • First Fight
  • Gecko Models
  • Great Wall Hobby
  • HobbyBoss
  • ICM
  • Italeri
  • Master Box
  • Meng
  • MiniArt
  • Mirage Hobby
  • ModelCollect
  • Resicast
  • Revell
  • RFM
  • Riich Models
  • Roden
  • Ryefield Model
  • Sovereign
  • Specials
  • Takom
  • Tamiya
  • Tiger Model
  • Tristar
  • Trumpeter
  • Ultracast
  • Zvezda

Copyright © 2025 · Scale Modelling Now · Online Scale Modelling Magazine · Scale Modelling Techniques and Tips · Privacy Policy