Assembly
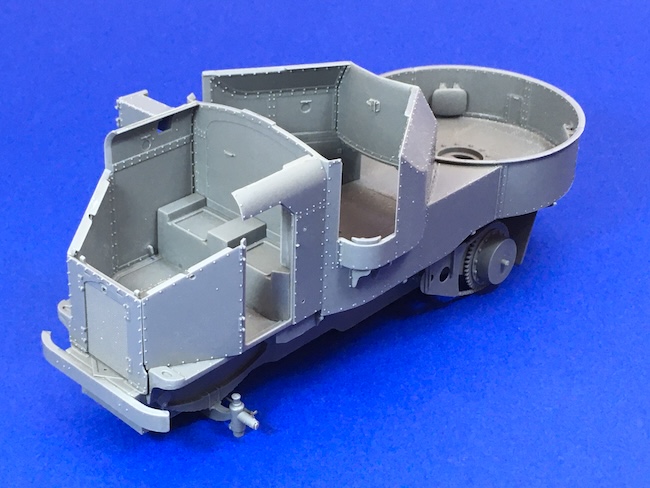
Assembly starts with the chassis and this kit differs from some of Copper States’ earlier offerings in that the engine and transmission are provided as separate parts rather than being simplified and incorporated into a flat plate on the underside of the model.
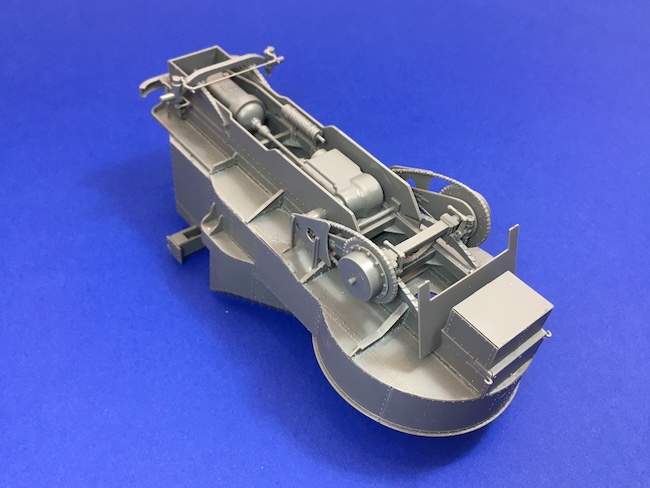
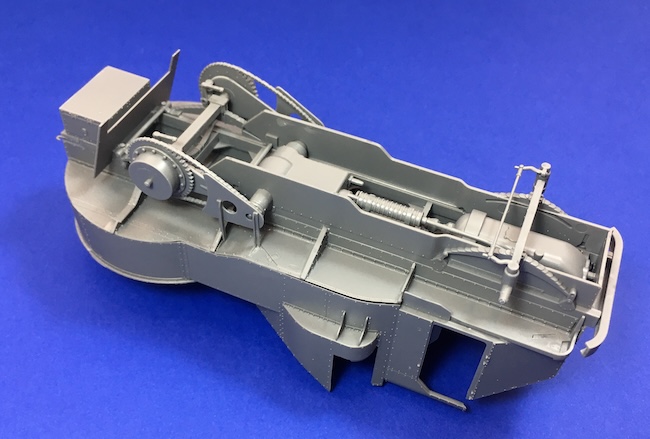
The chain drive for the rear wheels is included. I found that some trimming of the support arms for the armoured covers over the chain drives was necessary to get them to fit properly, but this was nothing serious.

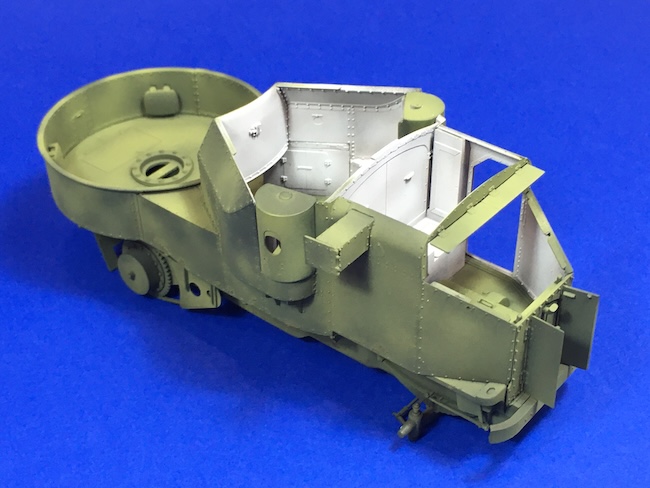
The fighting compartment has an open roof so part of the interior will be visible. I also decided to leave the driver’s door open along with the driver’s armoured visors so much of the driver’s compartment would also be visible.
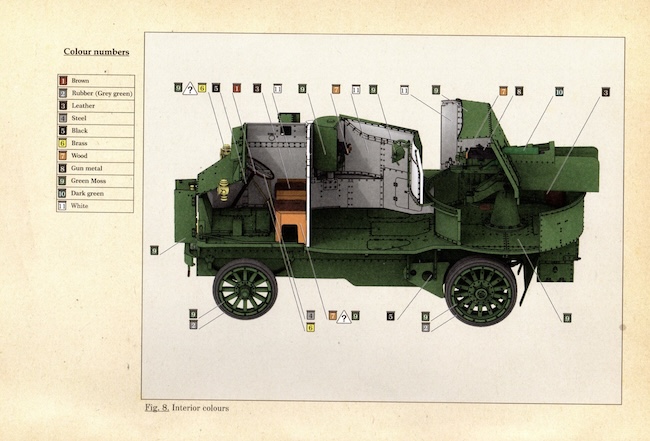
Copper State provides a useful colour guide for the interior in their instructions.
Due to the nature of the original vehicle, there are numerous flat panels that needed to be glued together. The fit of these parts is good, although a little taping was required just to keep everything in place whilst the glue was setting.
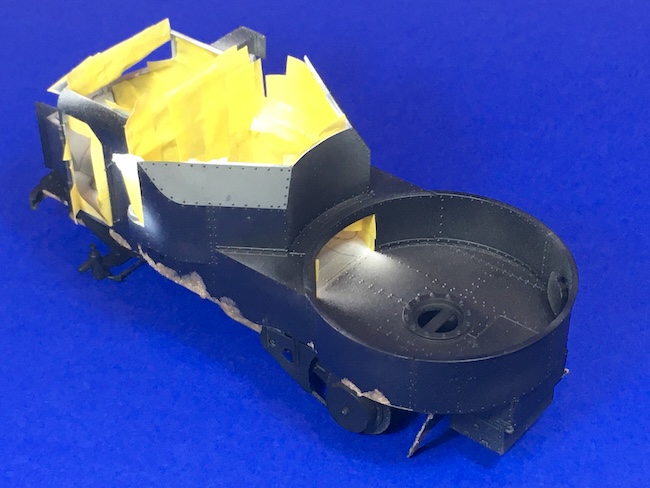
To allow access for painting the interior, I left off the fighting compartment roof, the driver’s roof the driver’s visor and the bonnet. These items had to be glued in place later and while I don’t really like gluing painted parts together, I couldn’t see any other way of doing things.
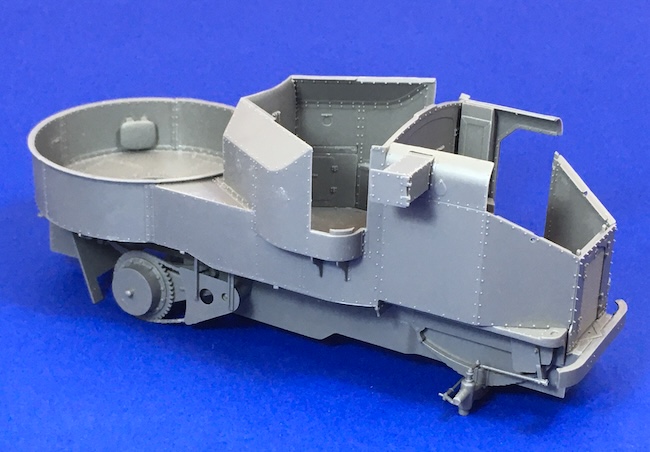
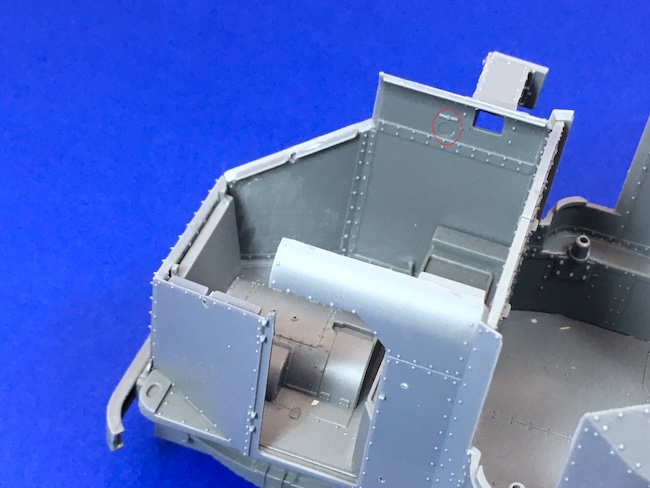
There are some recessed circles on the vehicle’s interior. These look like ejector pin marks, but they aren’t. They are back sides of the vision ports so don’t fill them in!
The model was primed using Mr. Hobby Black Primer before the walls of the fighting compartment and driver’s compartment were sprayed off-white using Tamiya White (XF 02) with a little Dark Yellow (XF 60) to tone it down.
After the paint had cured overnight there followed an entertaining hour or so with some masking tape before the floor of the interior was painted.
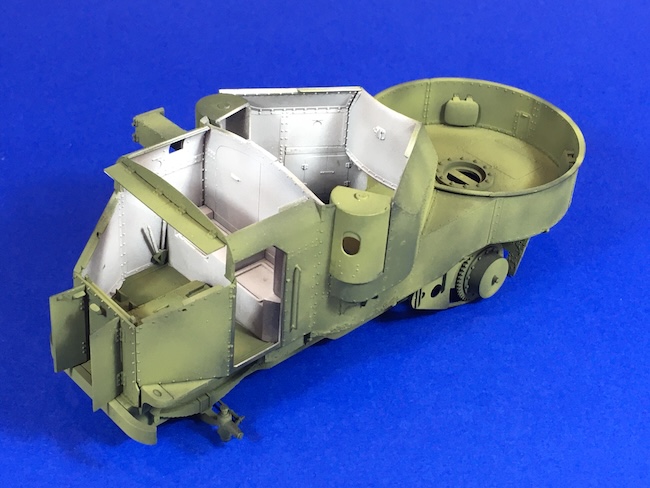
The floor was to be painted to match the exterior of the vehicle and rather than just use one overall green colour I built up three different shades to give a little variation and to produce a more interesting ‘three dimensional’ appearance. I started with Black Green (XF 27), followed by a patchy overspray using NATO Green (XF 69) and then a limited overspray of NATO Green mixed with a little Yellow Green (XF 04).
Each of these colours was allowed to dry and fully cure overnight before the next was added. I have found that, even if it looks perfectly dry, if the underlying paint is not allowed to cure properly then the colours can sometimes blend into one another forming a uniform ‘mush’ rather than staying as discrete patches of colour.
Ask a question or add feedback:
You must be logged in to post a comment.