Type of kit: Injection moulded kit with etched brass accessories
Feature article by Dave Smith
Background info: This is a mid-production model of the infamous Tiger I,
References: Tank Power no.14 Pz.Kpfw VI Vol.II by Tadeusz Melleman.
Introduction – Construction
Quite a lot of the build is screwed and bolted together for strength; other detailed areas are conventionally assembled.
To the build
It becomes apparent when the carefully packed box is opened, how carefully the contents have been arranged. In the case of the various screws under the blow moulded ‘lid’, there is good reason!
All the various assemblies require a different screw length, or diameter, or shaft, nut, etc, and each of those items is bagged and location indicated. You would do well to carefully take the items needed, and return the ‘spare’ items to their location, ensuring that the next time you require that bit; it’s in the right place.
I say this, as almost immediately, I used the wrong screw to fasten an item together, only realising my mistake when I needed the ‘used’ item for something else. There are no spares, ..at all! Every item is used, and if you lose one, which is incredibly easy to do, as some are very small, you have a problem.
You have been warned! on with the build…….
It is quite satisfying to fasten a build together with screws and nuts instead of glue, this was the case with all the various wheel combinations, and the idler and drive sprockets, In fact, I didn’t use any cement at all in the construction of the rolling chassis, other than fastening the lid of the battery compartment down. This is obviously down to its being designed originally as a radio-controlled tank where solidity is important. Rubber tyres are fitted to the tyres after painting, creating a very imposing assembly.
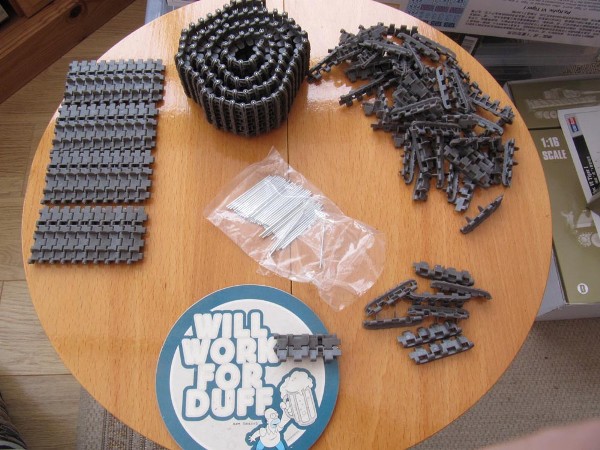
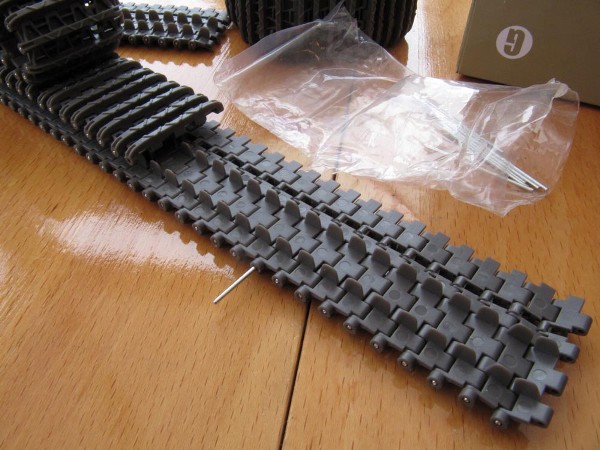
Tracks – intro.
The tracks are plastic and made up of separate links and steel pins, and are in the main free of flash. There were a few bits of flash which need to be removed from holes, as the track operation would be ‘lumpy’ otherwise.