• Skip to primary navigation
  • Skip to main content
  • Skip to primary sidebar

Scale Modelling Now

Scale Modelling Techniques

  • HOME
  • CONTENTS
    • What’s New
    • Techniques Bank
    • Aircraft
    • Armour
    • Classic Kit Builds
    • Civilian Aircraft Builds
    • Vehicles
    • Sci-Fi, Fantasy, Space
    • Maritime
    • Figures
    • Gift Certificate
    • Book Reviews
    • Dioramas
    • Modelling Workshops
    • Podcasts
  • WHAT WE OFFER
  • FREE SAMPLES
  • EVENTS
    • EVENTS
    • NEWS
  • ABOUT
    • CONTACT
    • ABOUT US
    • TRADERS
  • LOGIN
  • More results…

    Generic filters
    Exact matches only
    Search in title
    Search in content
    Search in excerpt
Pages: Page 1 Page 2 Page 3 Page 4 Page 5

Meng British R-R Armoured Car, 1914-1920 1:35

February 14, 2025 By Francis Porter Leave a Comment


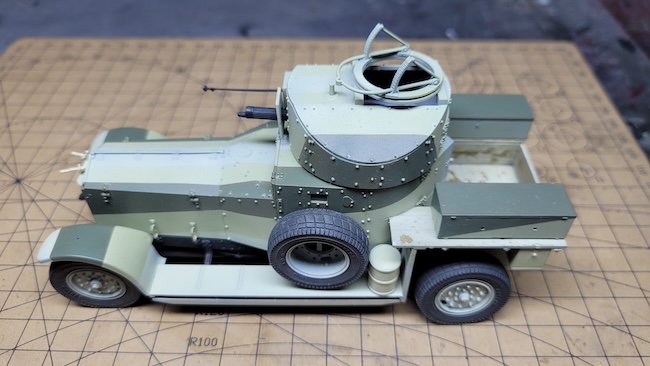
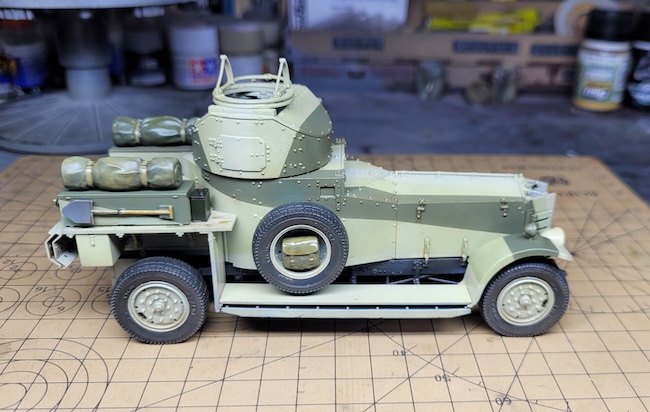
With the armoured cars main construction complete and holes drilled in the side of both tool boxes to accommodate the mounting pins of the pioneer tools; all rivet/bolt heads were then carefully painted in their lightened versions of the camouflage colours.


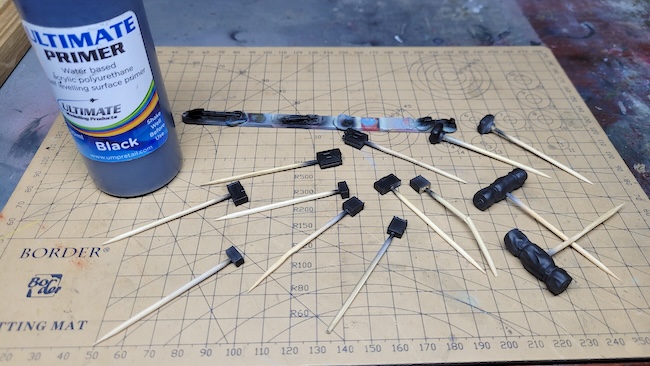
Before any further weathering was carried-out, I cleaned-up the pioneer tools and sprayed them with Ultimate’s Black Primer before finishing them in their appropriate colours.


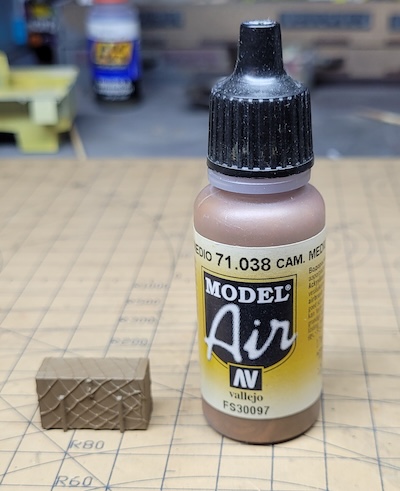
The tool box was painted using Model Air Cam Brown. A dry brushing with Tamiya XF-55 highlighted the relief moulded netting.


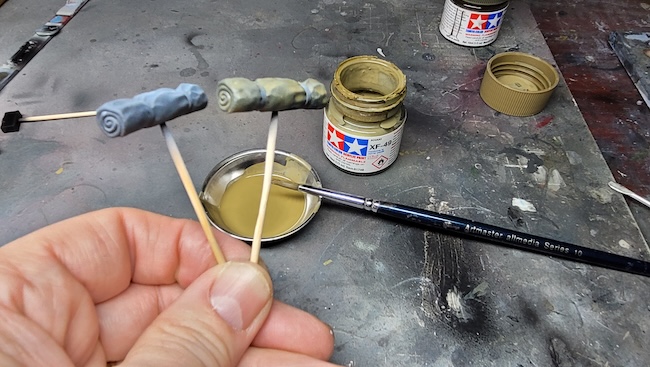
The rolled tarpaulins were given a thinned airbrush of Tamiya XF-2 White and sprayed at an angle in an attempt to lighten the high points. A glaze of Tamiya XF-49 Khaki on one tarp and XF-62 Olive Drab on the other was then applied in several layers until I was happy with the finish.


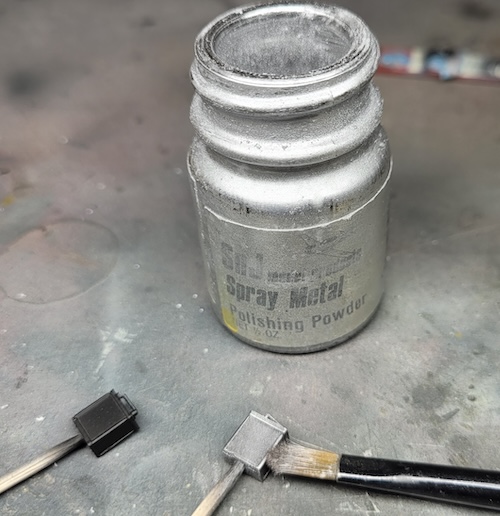
SNJ powder dry-brushed onto the oil cans.


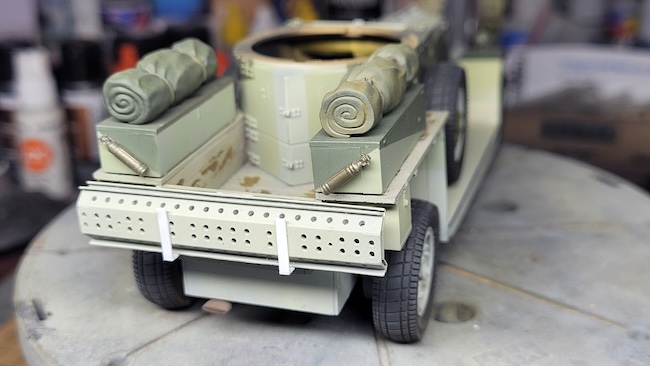
The sand channels are attached to the rear of the vehicle. Unfortunately, Meng don’t supply any brackets, so these were made using Evergreen plastic strip.


Several thinned applications of Abteilung Brown Wash was applied to tone down the bright paintwork and to tie all the elements together.


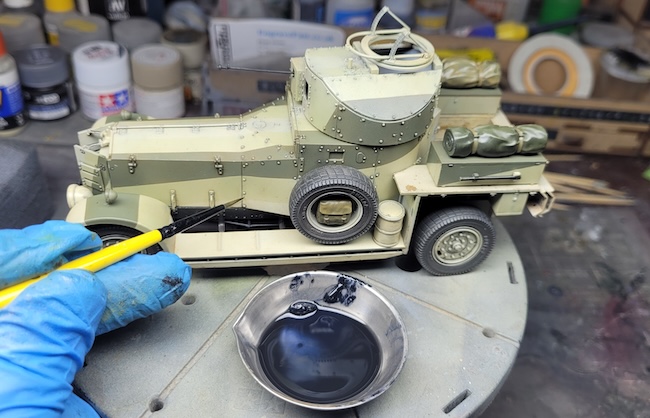
Next, a pin wash of thinned Paynes Gray oil paint was applied around raised detail and into recessed panel lines.


A further wash of thinned black oil paint was applied to the tarpaulin rolls and fire extinguishers.


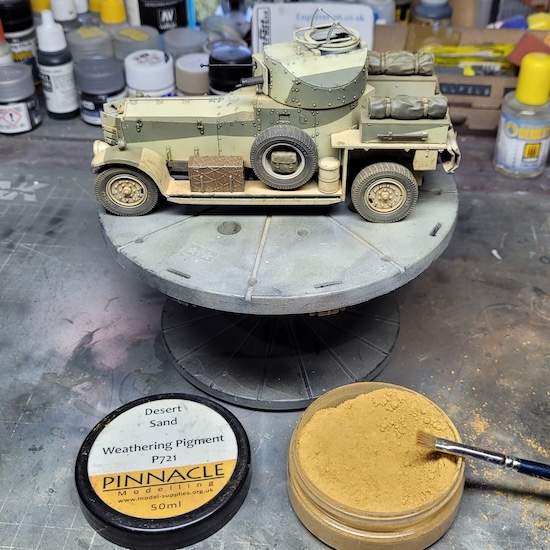
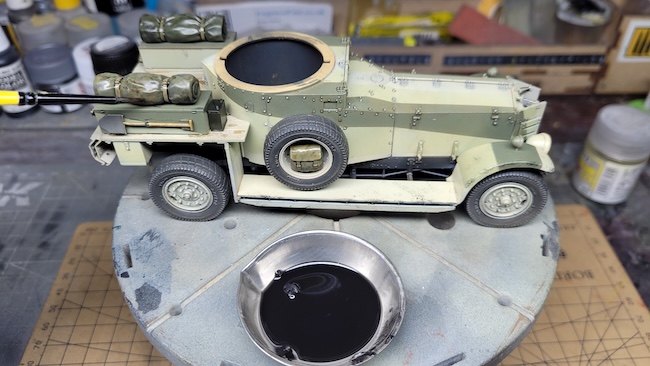
A coat of Hannants Matt Varnish seals the paintwork before further final brush applied weathering of Pinnacle’s Desert Sand, with a heavier application on the lower half of the vehicle.


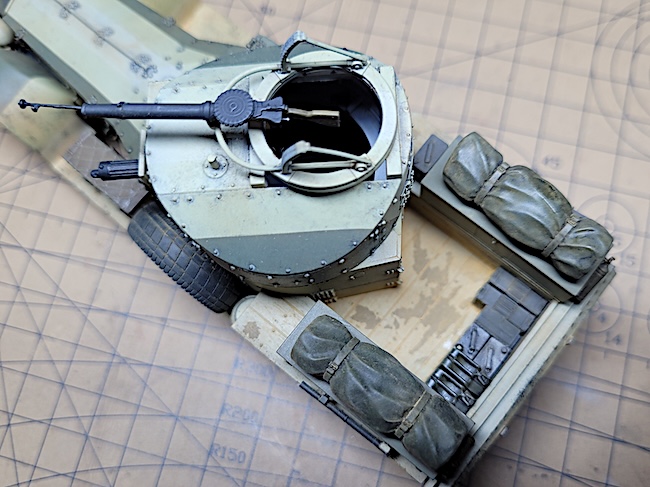
The final jobs are to place and secure the various Jerry cans and ammo boxes in the rear of the vehicle, and then fit the Lewis gun into its Scarfe ring mounting.

Conclusion, Gallery and PDF…

Pages: Page 1 Page 2 Page 3 Page 4 Page 5

Reader Interactions

Ask a question or add feedback:

You must be logged in to post a comment.

Primary Sidebar


LOGIN/LOGOUT

Lost your Password?


All the completed Armour builds.

Click on a Manufacturer below for all SMN's completed builds of their kits.

BACK TO ARMOUR MAIN PAGE

SEARCH THE WEBSITE

More results...

Generic filters
Exact matches only
Search in title
Search in content
Search in excerpt

Finished Armour Reviews

  • Academy
  • Accurate Armour
  • AFV Club
  • Airfix
  • Amusing Hobby
  • Azimut Productions
  • Border Models
  • Bronco
  • CMK
  • Copper State Models (CSM)
  • Cyber Hobby
  • Das Werk
  • Dragon
  • Eduard
  • Field of Armor
  • First Fight
  • Gecko Models
  • Great Wall Hobby
  • HobbyBoss
  • ICM
  • Italeri
  • Master Box
  • Meng
  • MiniArt
  • Mirage Hobby
  • ModelCollect
  • Resicast
  • Revell
  • RFM
  • Riich Models
  • Roden
  • Ryefield Model
  • Sovereign
  • Specials
  • Takom
  • Tamiya
  • Tiger Model
  • Tristar
  • Trumpeter
  • Ultracast
  • Zvezda

Copyright © 2025 · Scale Modelling Now · Online Scale Modelling Magazine · Scale Modelling Techniques and Tips · Privacy Policy