• Skip to primary navigation
  • Skip to main content
  • Skip to primary sidebar

Scale Modelling Now

Scale Modelling Techniques

  • HOME
  • CONTENTS
    • What’s New
    • Techniques Bank
    • Aircraft
    • Armour
    • Classic Kit Builds
    • Civilian Aircraft Builds
    • Vehicles
    • Sci-Fi, Fantasy, Space
    • Maritime
    • Figures
    • Gift Certificate
    • Book Reviews
    • Dioramas
    • Modelling Workshops
    • Podcasts
  • WHAT WE OFFER
  • FREE SAMPLES
  • EVENTS
    • EVENTS
    • NEWS
  • ABOUT
    • CONTACT
    • ABOUT US
    • TRADERS
  • LOGIN
  • More results…

    Generic filters
    Exact matches only
    Search in title
    Search in content
    Search in excerpt
Pages: Page 1 Page 2 Page 3 Page 4 Page 5 Page 6 Page 7

Kinetic AMX Single Seat Fighter 1:48

April 27, 2018 By Francis Porter

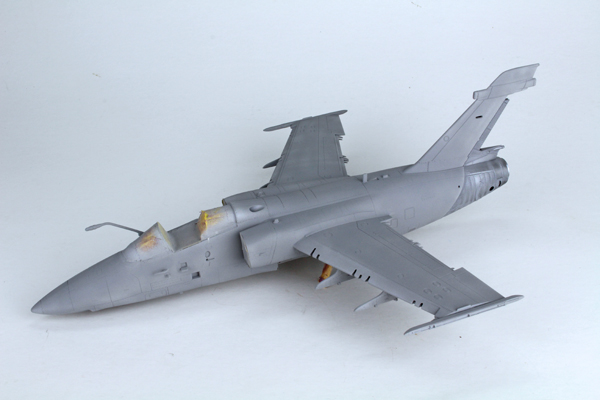
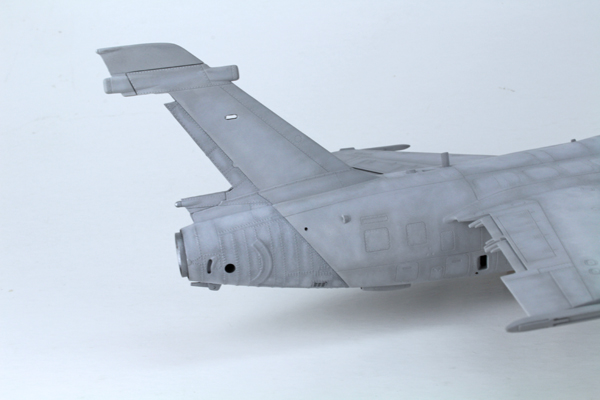
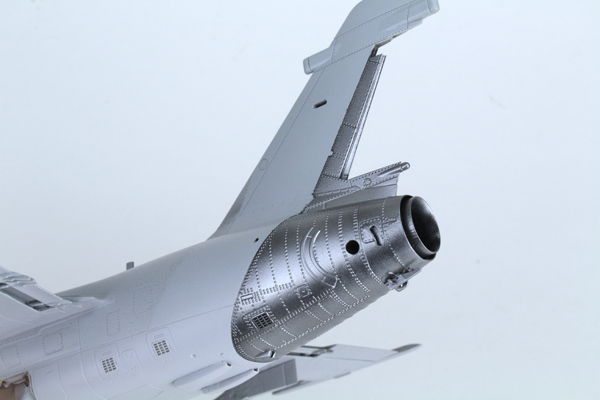
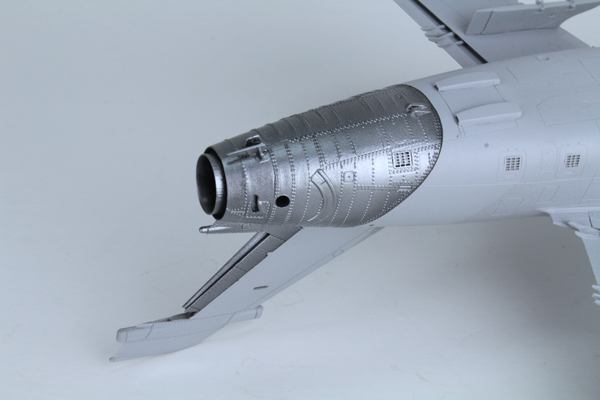
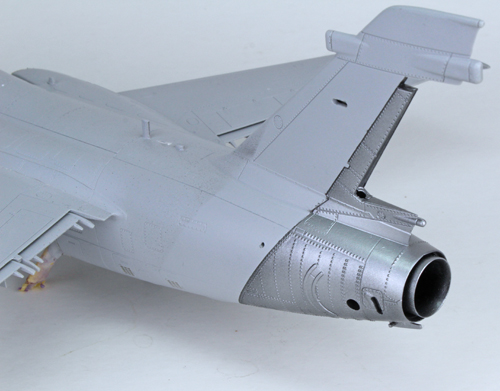
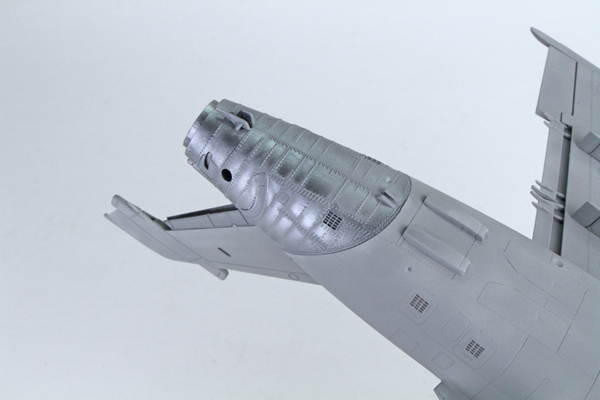
When looking at reference photographs of the AMX, I noticed that on a lot of examples there was a difference in the paint finish at the rear of the fuselage. Obviously caused by a different metal being used in the construction of the aircraft in this area, and the effects on that from the heat of the jet exhaust. The paint has thinned enough to reveal a hint of the metal underneath. This was something I wanted to try and capture on my model, so I began by masking off the rear section of the fuselage and airbrushed this with a light coat of Alclad 2 gloss black primer.

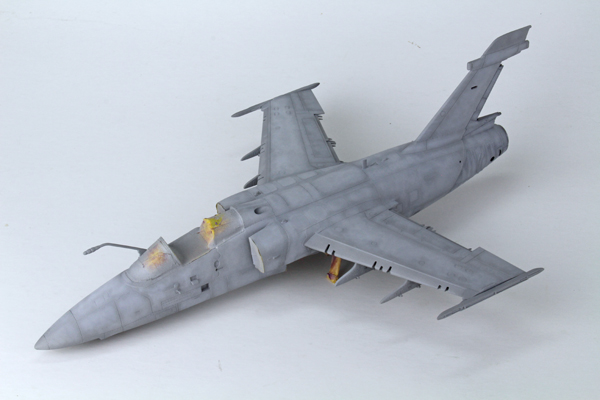
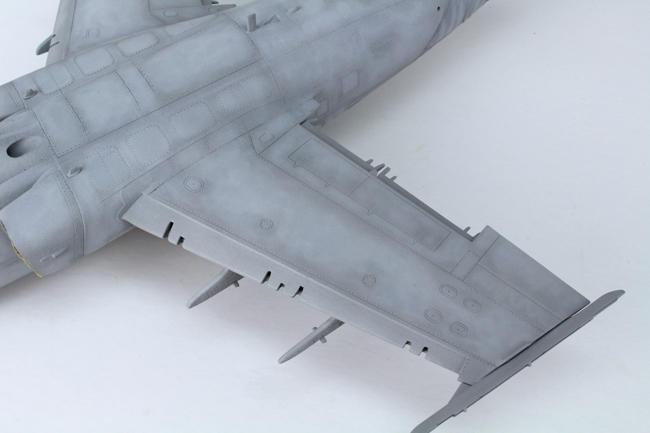
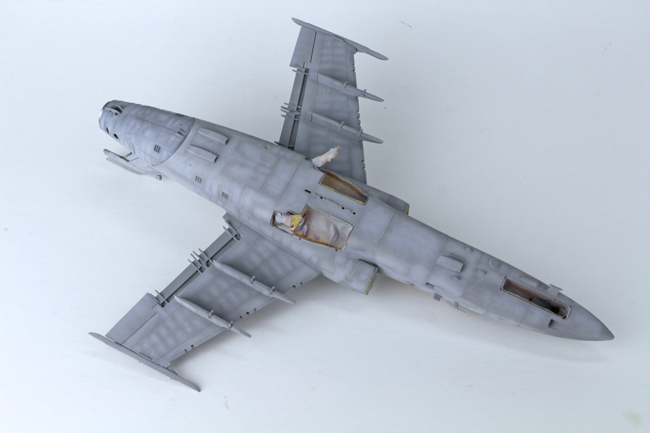
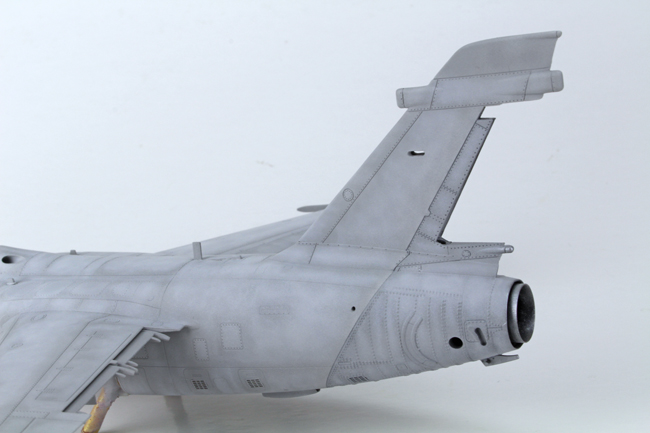
Once this had dried, I used Alclad 2’s Aluminum to give a good metal base to work with. So it was time to start airbrushing the main airframe and Tamiya’s Sky grey XF-19 was used as the overall base colour. I avoided spraying a blanket coat of paint over the rear fuselage, but instead sprayed a light coat along the rivet lines. Once this had dried, an even mix of XF-19 and XF-2 (flat white) was used to create some highlights. This was sprayed in a random fashion within each panel creating a sort of mottled or marble look. Again this mix was used sparingly around the metal section of the fuselage.

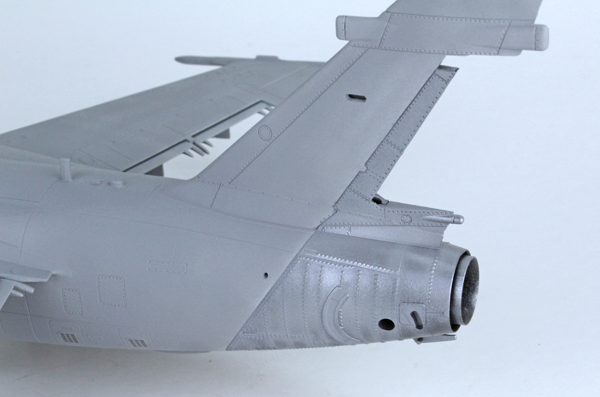
Tamiya’s neutral grey XF-53 Was used on the panel lines to create further depth to the paint finish. Finally a very thin mix of the original colour was used to blend all of the shades together. Unfortunately I went a bit heavy with this final coat and lost a bit more of the colour depth than I would have wanted. We live and learn though, and next time I’ll take more care with this final coat.

More Painting…

Pages: Page 1 Page 2 Page 3 Page 4 Page 5 Page 6 Page 7

Primary Sidebar

All the completed Aircraft builds.
Click on a Manufacturer below to see a list of all SMN's completed builds from their range.

BACK TO AIRCRAFT MAIN PAGE

Login

You are not currently logged in.


» Lost your Password?

SEARCH THE WEBSITE

More results...

Generic filters
Exact matches only
Search in title
Search in content
Search in excerpt

Finished Aircraft Reviews

  • Academy
  • Accurate Miniatures
  • Aeroclub
  • AFV Club
  • Airfix
  • A-model
  • Airmodel
  • AlleyCat
  • AMK
  • AMT.ERTL
  • ARII
  • Arma
  • Attack Squadron
  • Azur
  • BPK (Big Planes Kits)
  • Bronco Models
  • Classic Airframes
  • Czechmaster
  • Dragon
  • Dynavector
  • eduard
  • Fisher Model
  • Fly
  • Frog
  • GasPatch
  • Grand Phoenix
  • Great Wall Hobby
  • Hasegawa
  • Halinski
  • Heller
  • HGW Models
  • HpH Models
  • High Planes Models
  • HK Models
  • Hobby Boss
  • ICM
  • Ideal Toy Corporation
  • IsraCast
  • Italeri
  • Khee Kha
  • Kinetic
  • Kit Form Services
  • Kitty Hawk
  • KoTare
  • LF Models
  • Lukgraph
  • MPM
  • MRC/Academy
  • Mach 2
  • Meng
  • Mirage Hobby
  • Monogram
  • Pacific Coast Models
  • RS Models
  • Rareplane
  • Revell
  • Roden
  • SBS Model
  • Scratch-builds & Specials
  • Silver Wings
  • Simian’s Stuff
  • Special Hobby
  • Sword
  • Takom
  • Tamiya
  • Tanmodel
  • Trumpeter
  • Valom
  • Vector
  • Vintage
  • Whirlybird
  • Wingnut Wings
  • Xtrakit
  • Zoukei Mura
  • Zvezda

Copyright © 2025 · Scale Modelling Now · Online Scale Modelling Magazine · Scale Modelling Techniques and Tips · Privacy Policy