Time to fix the upper wing onto the fuselage
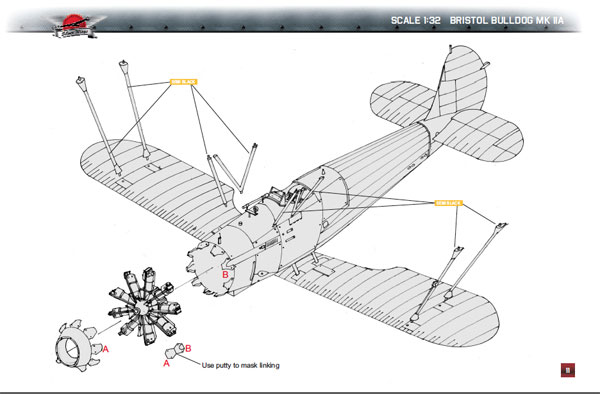
I have no plans of the Bulldog and therefore this turned out to be too much guesswork for my liking. There are no holes to indicate the cabane strut position and I had to look at a LOT of photographs before being confident enough to drill through the resin. This was done before I painted it.
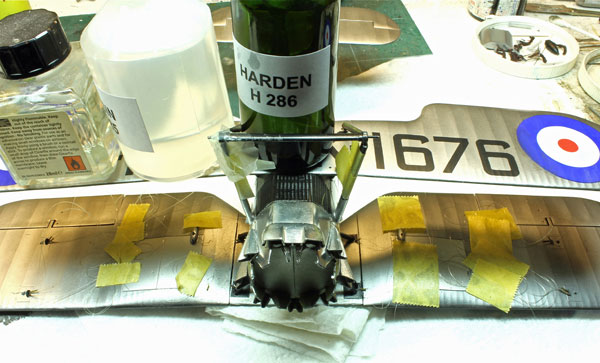
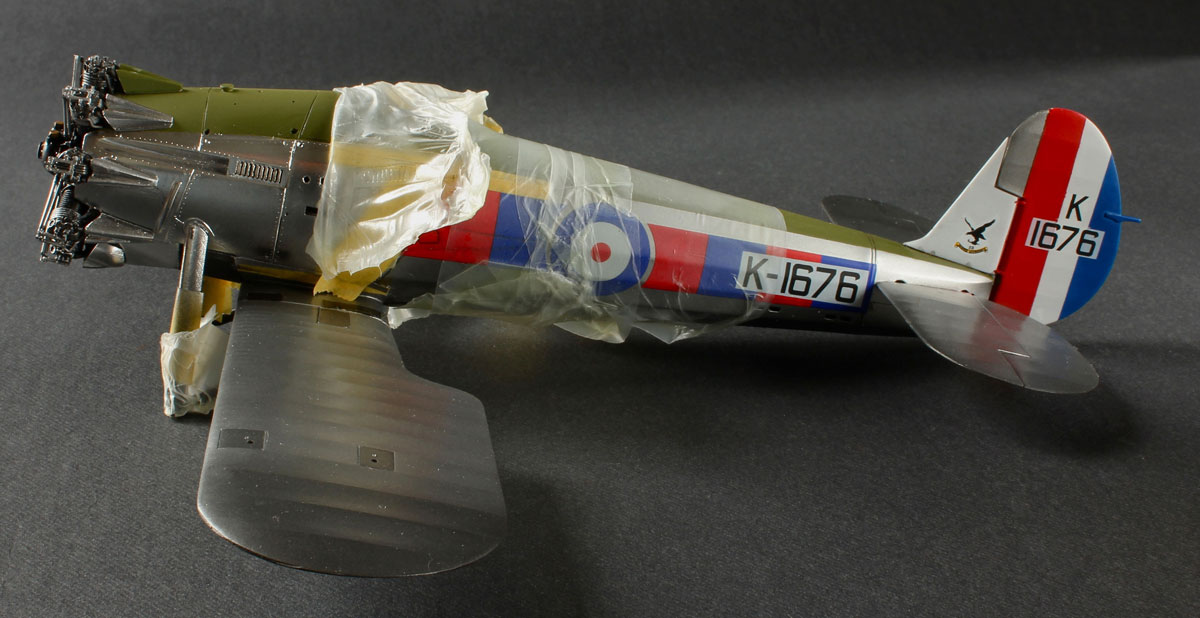
I am afraid that I needed all and both my hands to hold the wing in position so taking pics was out of the question. I had left some of the copper wire protruding from the resin of the struts to provide more purchase. This wasn’t a bad idea but it is important to drill the holes at the correct angle for them. This was OK but having applied superglue to both strut ends I had to hold them in position until the glue went off – a lot more time than I had thought. The pic shows the “rig“ I used to keep the cabane struts together until the glue went off. The wings have the upper rigging in position.
When released the top wing moved slightly clockwise to the lower wing! Sort of sprung into the position!!
Of course the outer struts would straighten them up again, not exactly, it needed some “help” to centre exactly. Once the superglue had gone off I applied the HPH epoxy as a filler – good stuff it is too. It takes 24hrs to set and during that time it is workable. Once set it is solid but also very easily sanded.
I had painted the struts black before positioning them.
That was probably my biggest concern so I thought all would be plain sailing from there. Firstly I managed to knock most of the valve rockers off the top of the engine whilst handling it. I sent an emergency request to Simon at Silver Wings for replacements. He sent them the next day and I am happy to say that they were better castings than the first lot I had.
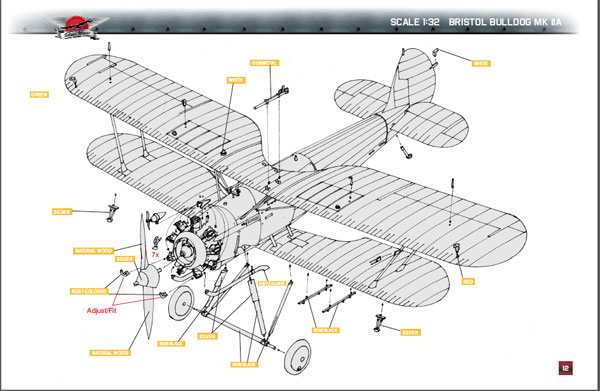
Back to the engine
The engine has some fit problems. You will see on Page 11 of the instructions the join between the engine cover and main fuselage requires putty to fill it. Firstly it was almost impossible to butt the engine up to the engine bulkhead (in the model that is) as the plug on the rear of the engine needed very accurate sanding down; I had test fitted this (roughly ) before and it seemed to fit well. By the time I had finally assembled the engine, particularly with the pushrods in place it would not bed down into place.
I put a rod through the engine to give it something to hang onto and applied superglue and epoxy together – that fixed it! However, not entirely correctly and there was a bit more of a gap to fill than mere putty could handle. This turned out to be the fiddle of the year so far. It is difficult to get between the cylinder heads to do this, smooth it out and preserve the high gloss Alclad Chrome finish I had.
I cut short lengths of plasticard and stuck them between with some quick setting epoxy which does not mark the Alclad. Carefully mask the spot and a little puff of Alclad black gloss and then Chrome. Took a lot of time but it is worth it.