Welcome to the Subscribers’ Armour Gallery M
Each submission has a ‘gallery’ of thumbnails which you can click on to see an enlarged image along with some short text describing the model – enjoy!
Galleries: A | B | C-I | J-L | M |N-P | R-S | T-Z


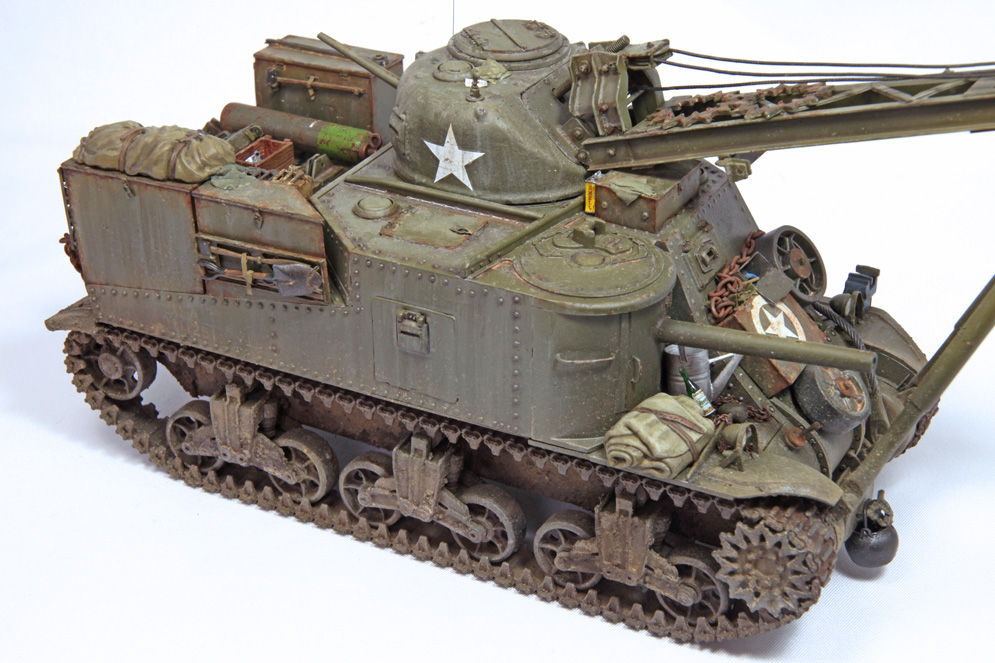
The kit is quite complex reflecting the nature of the full-sized vehicle.
Having built a couple of variants of the kit in the past, I decoded to fix the driver’s compartment and rear compartment together at the assembly stage rather than keeping them separate to make painting the interior of the model simpler. However, I found with my previous builds that it was hard to join these two subassemblies together neatly after the parts had been painted.
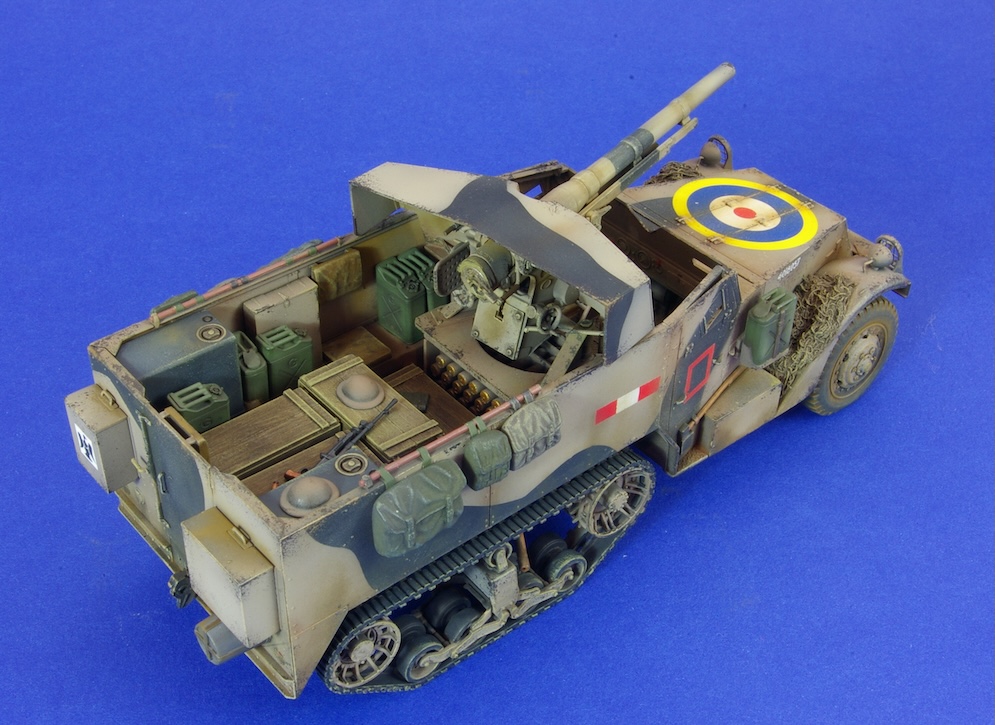
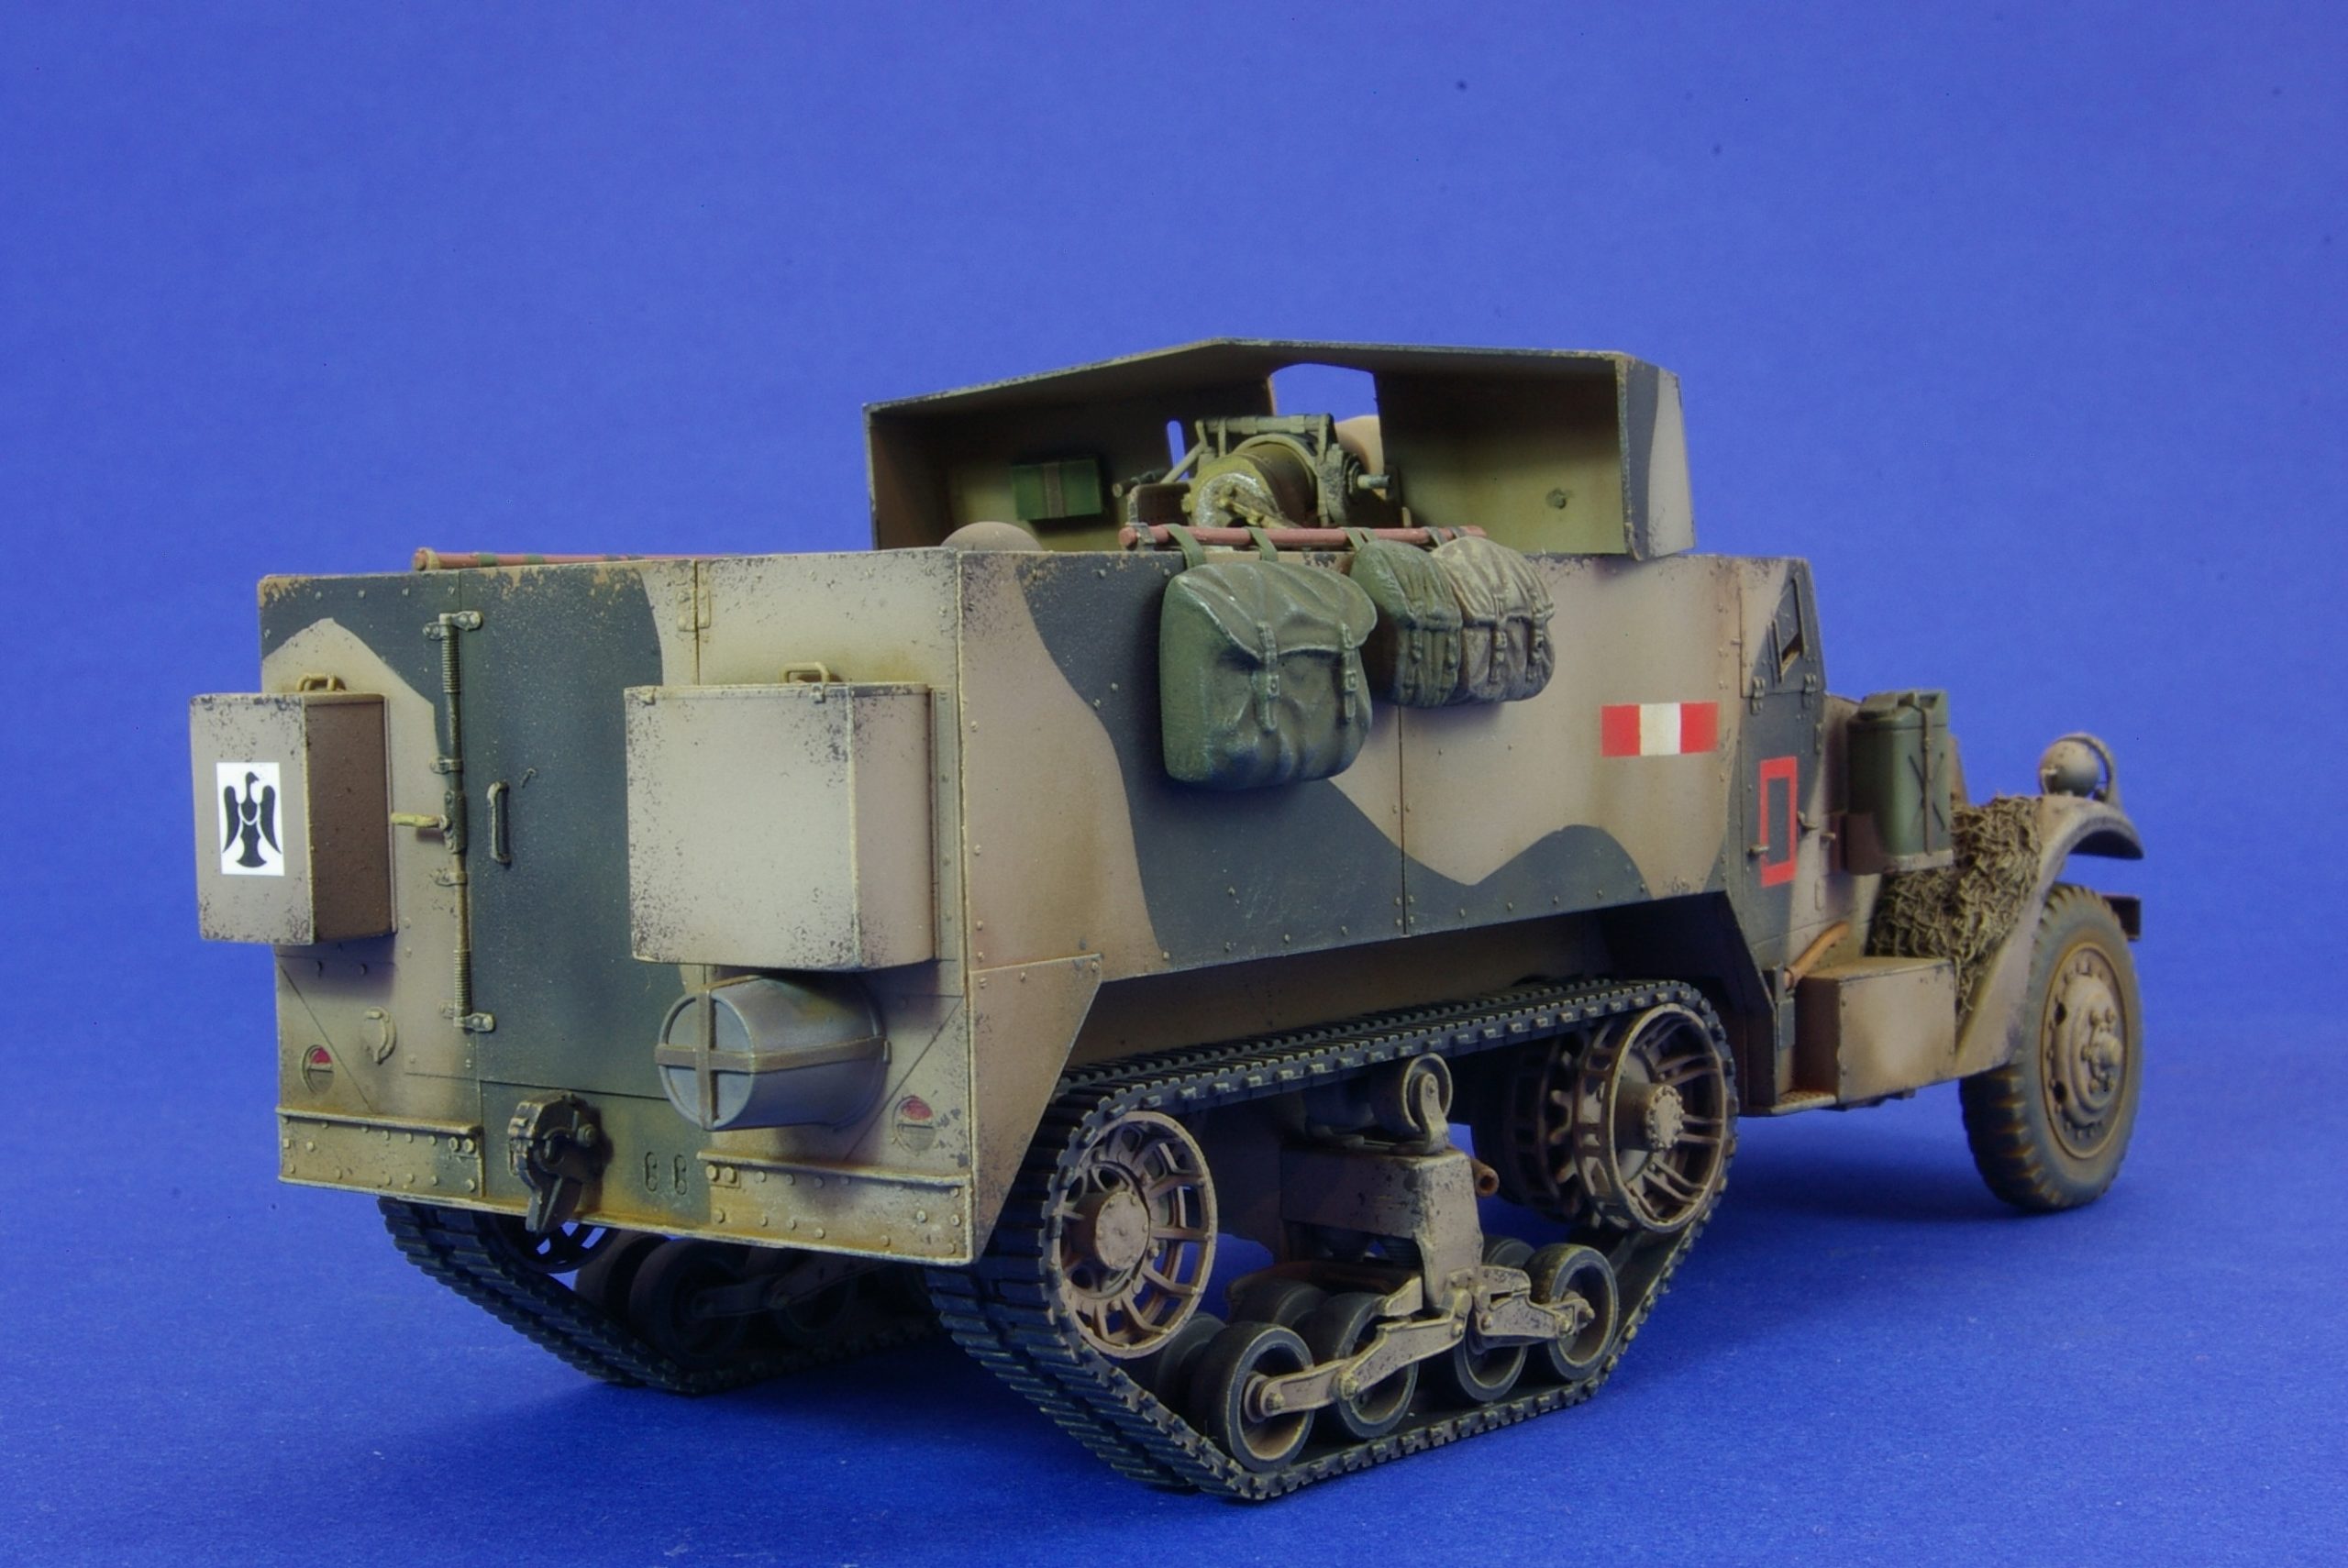
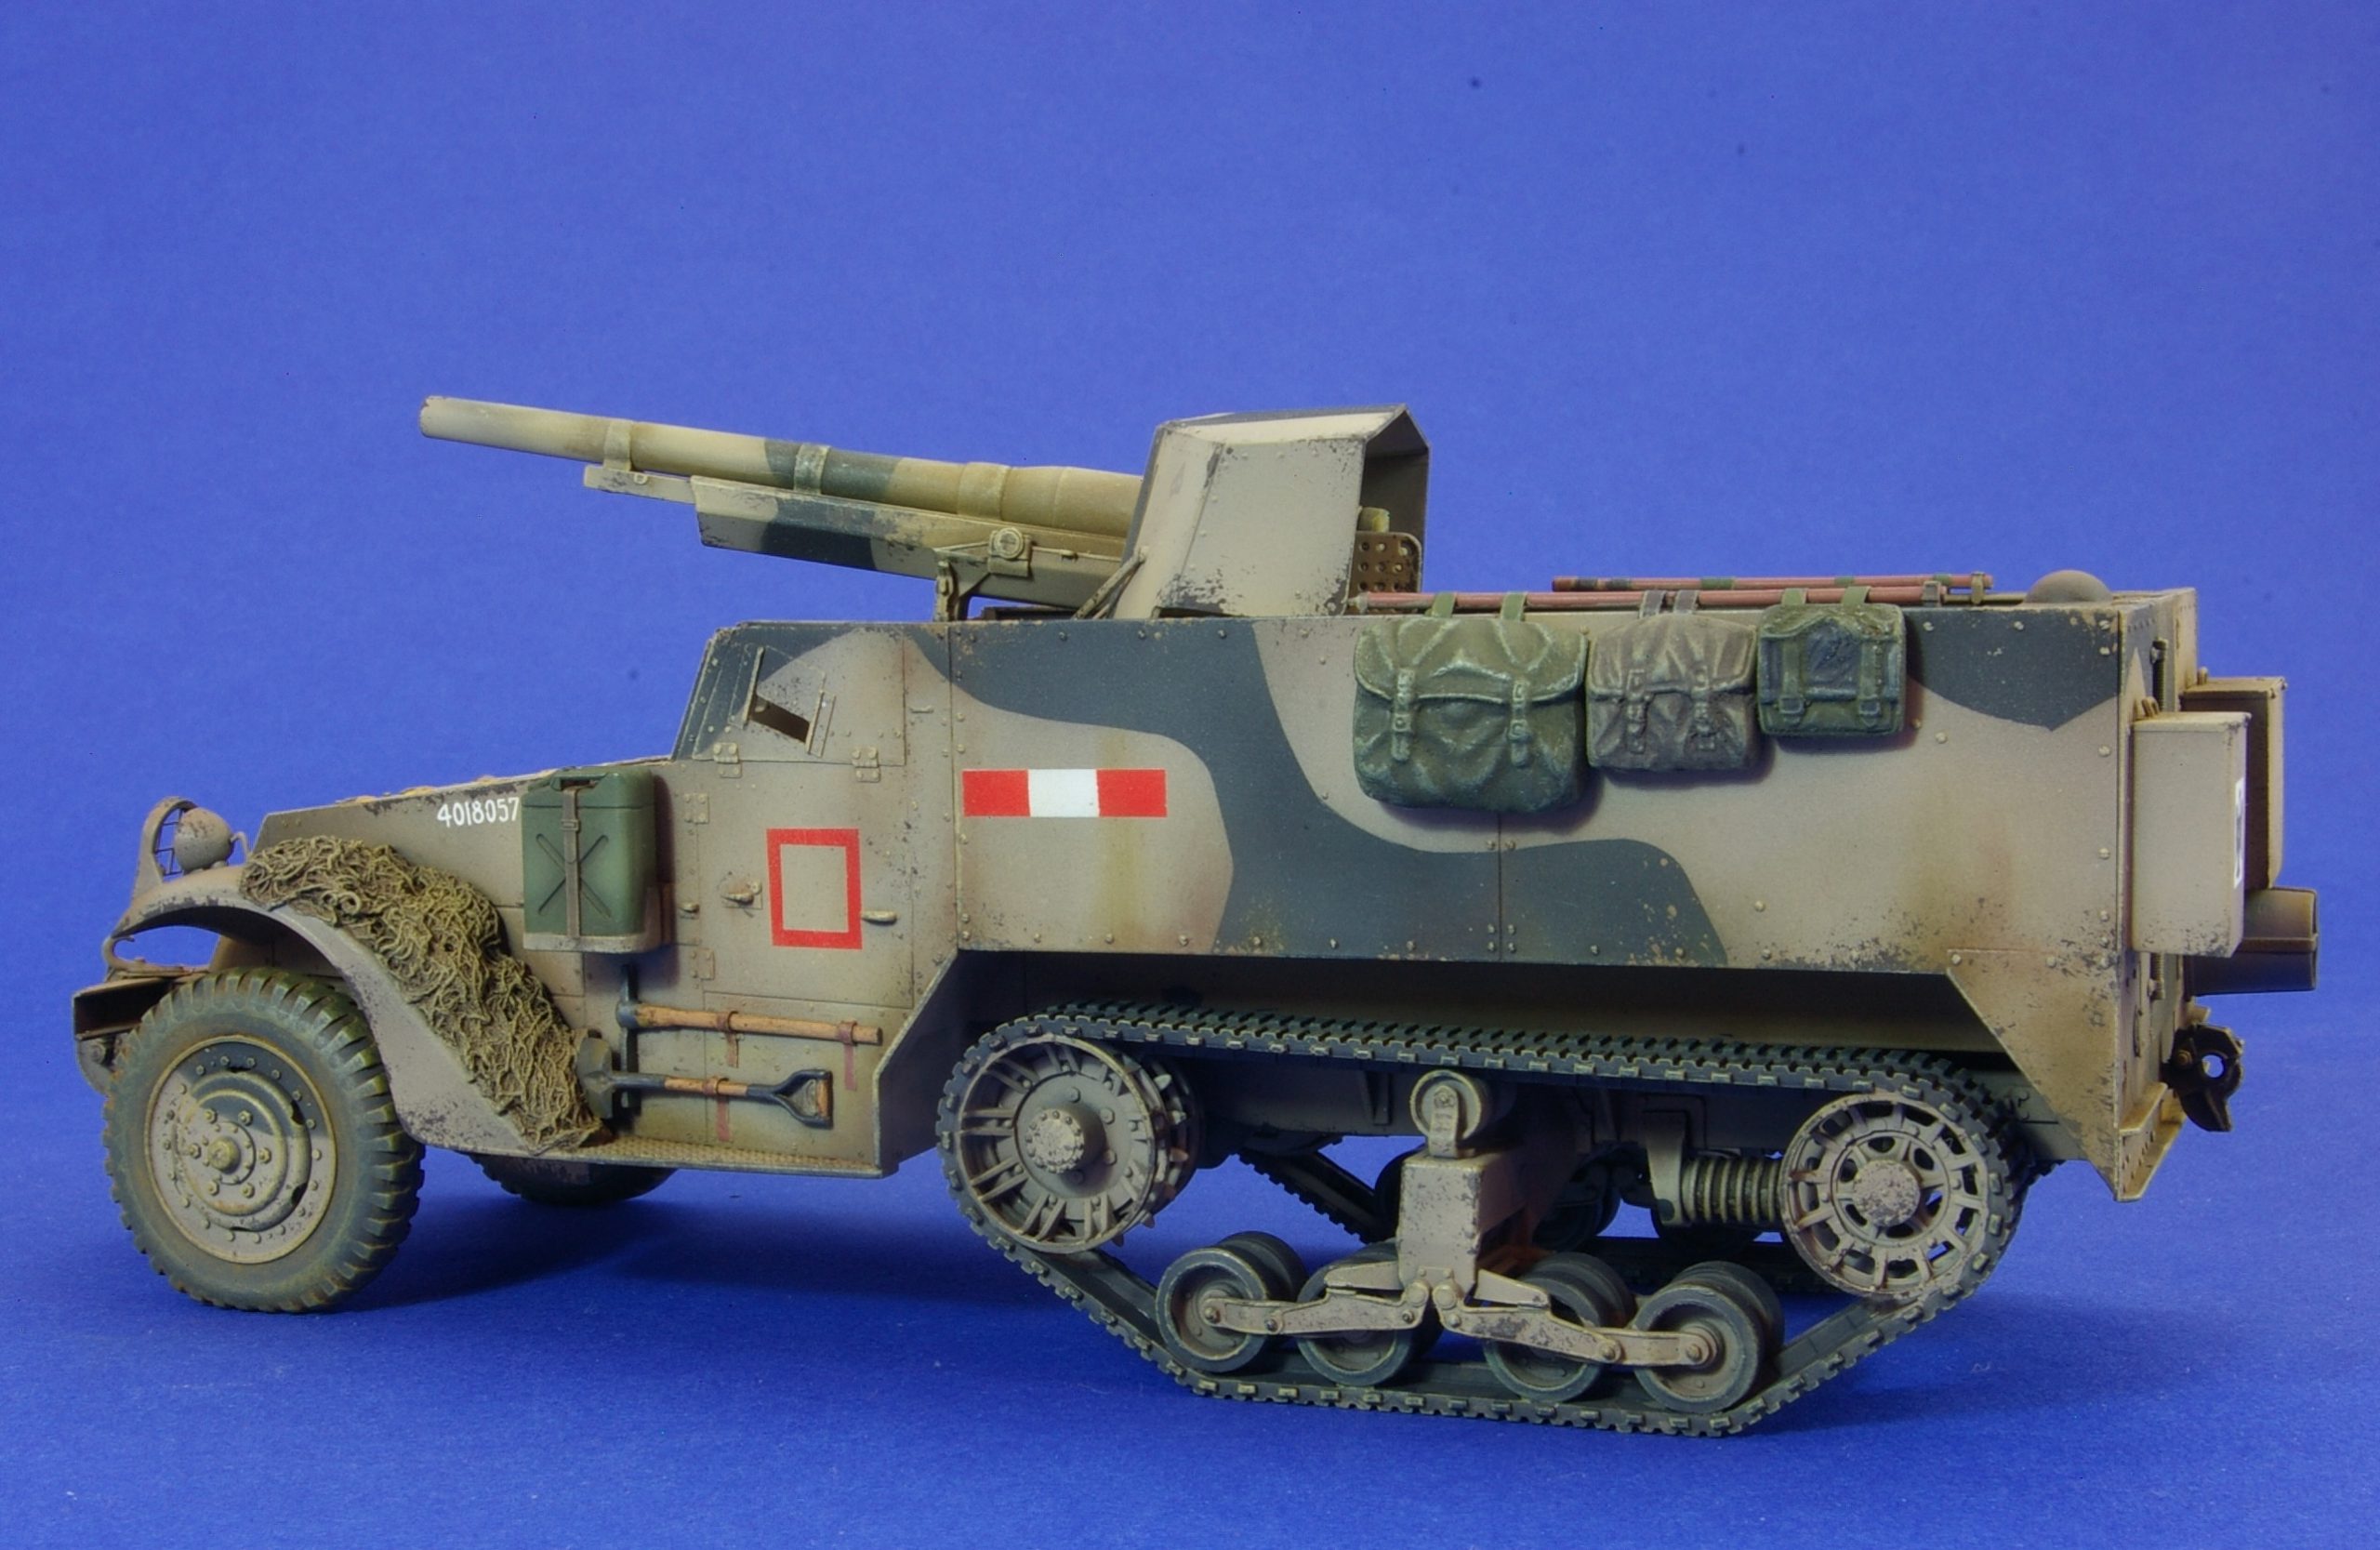
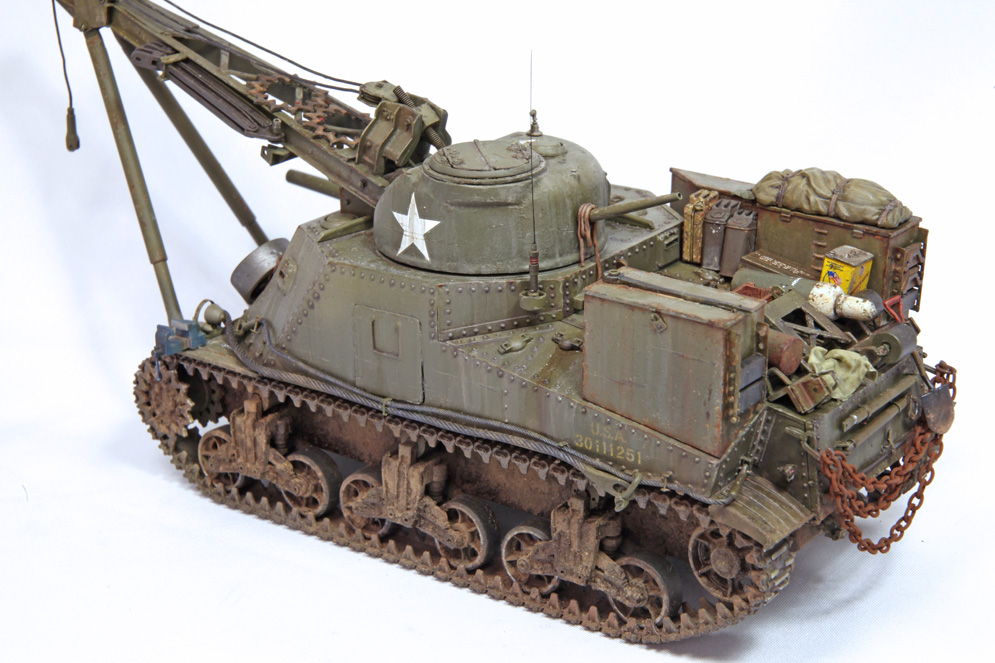
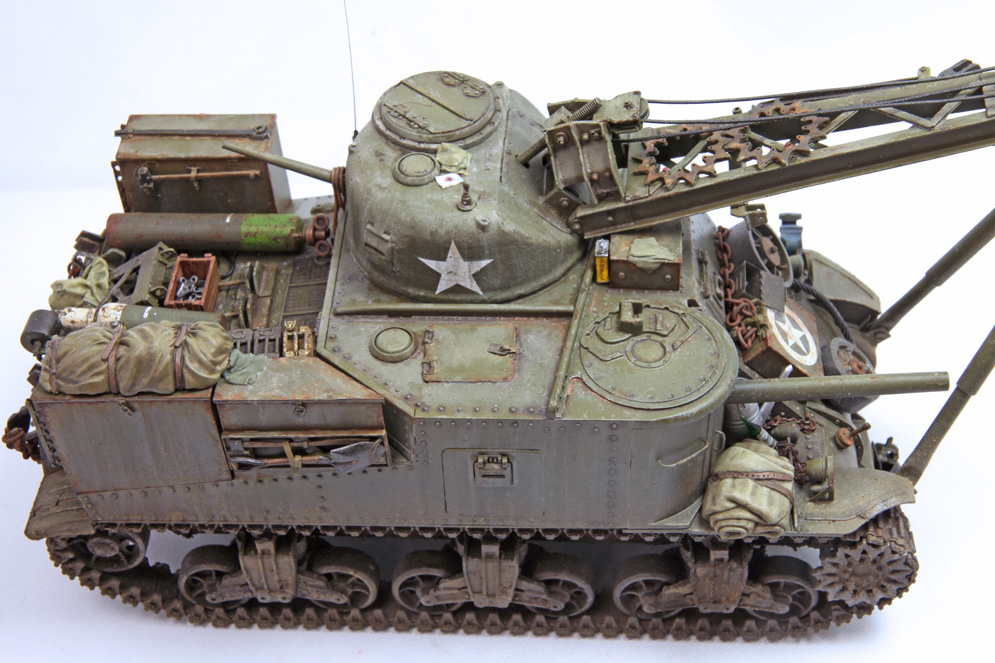
The kit is very well detailed. The M3 halftrack was actually screwed together, and even the slots in the screw heads are represented in the kit! The only details I added were headlight cables from lead wire and a covering over the untidy joint between the two halves of the gun mount. This was made with 20 thou card detailed with some punched bolt heads. These details were based on photos of a restored vehicle featured in the Squadron Signal publication on the vehicle.
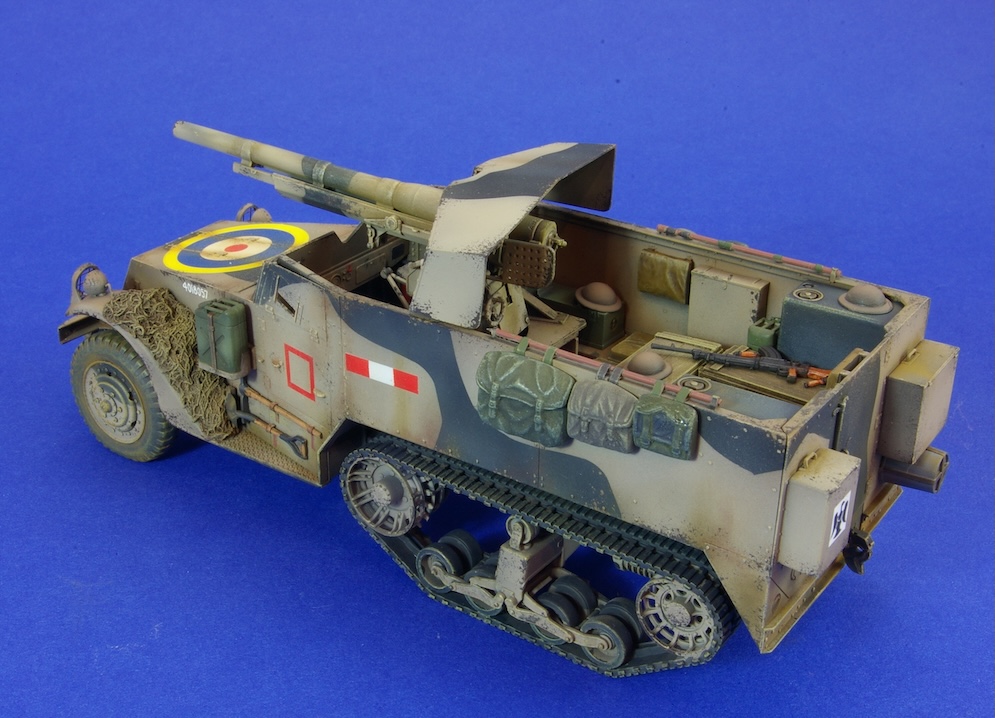
Unfortunately, I realised only after painting had been completed, that there should be two securing straps / brackets for the each of rubber covered fuel tanks at the rear of the vehicle whereas the kit represented only one. This would have been an easy addition to make with suitably sized plastic strip before painting, but sadly it was not so easy to do afterwards. I will now have to live with the omission and the shame it brings upon not only me, but also my family.
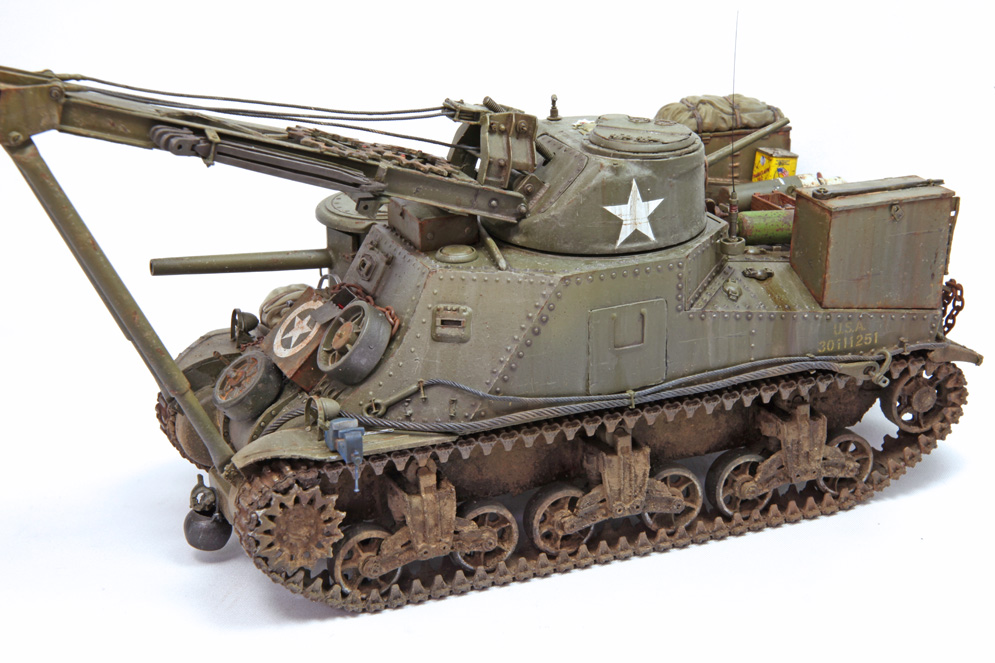
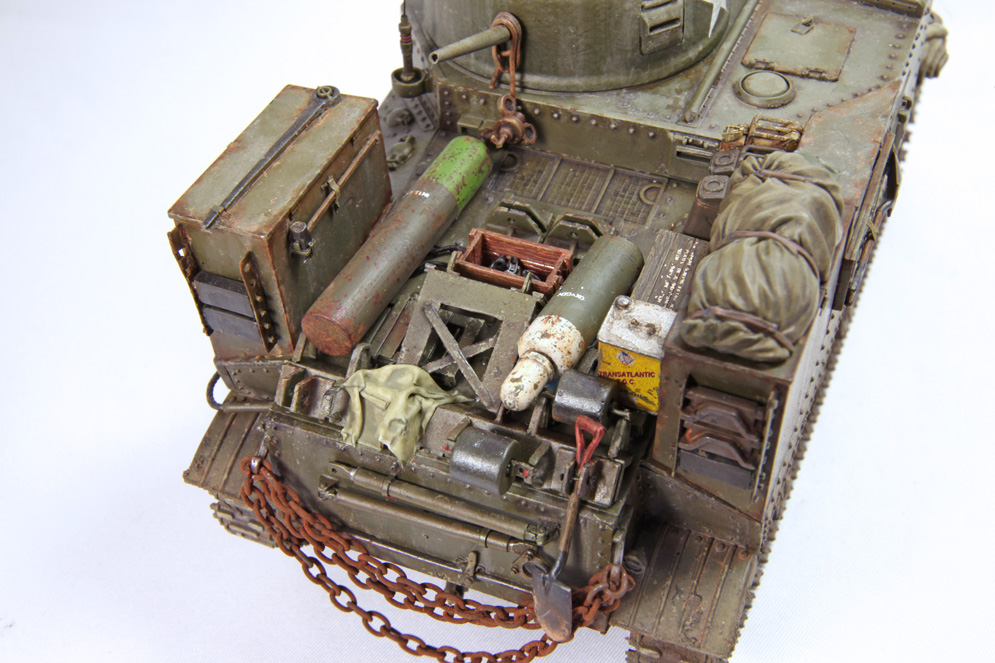
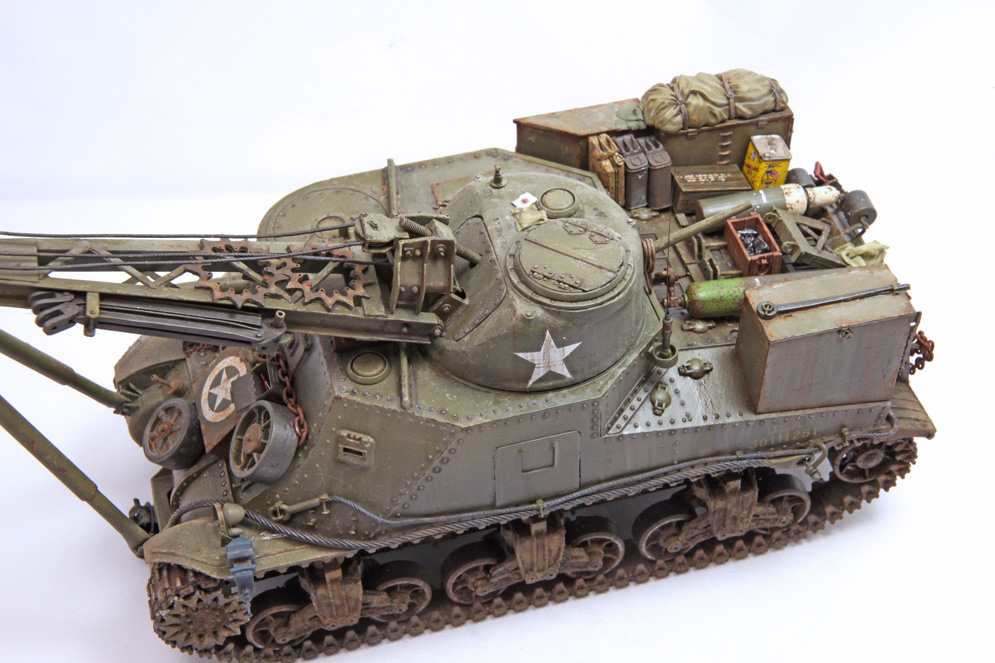
Dragon supplies a winch and a roller as optional parts to be fitted to the front of the vehicle. As far as I can see from wartime photos only the roller was fitted to the Gun Motor Carriage. I have yet to find a photo of one with a winch fitted.
Most of the markings were masked and airbrushed, apart from the roundel on the bonnet and the unit badges which are provided on the kit’s transfer sheet. The roundel was applied over a sprayed white circle to avoid the underlying camouflage demarcation line showing through. The transfers were rather thick, and the roundel needed several applications of setting solution to get it to settle over the raised detail on the bonnet (but to be fair the transfers were from 2008 so I can’t complain).
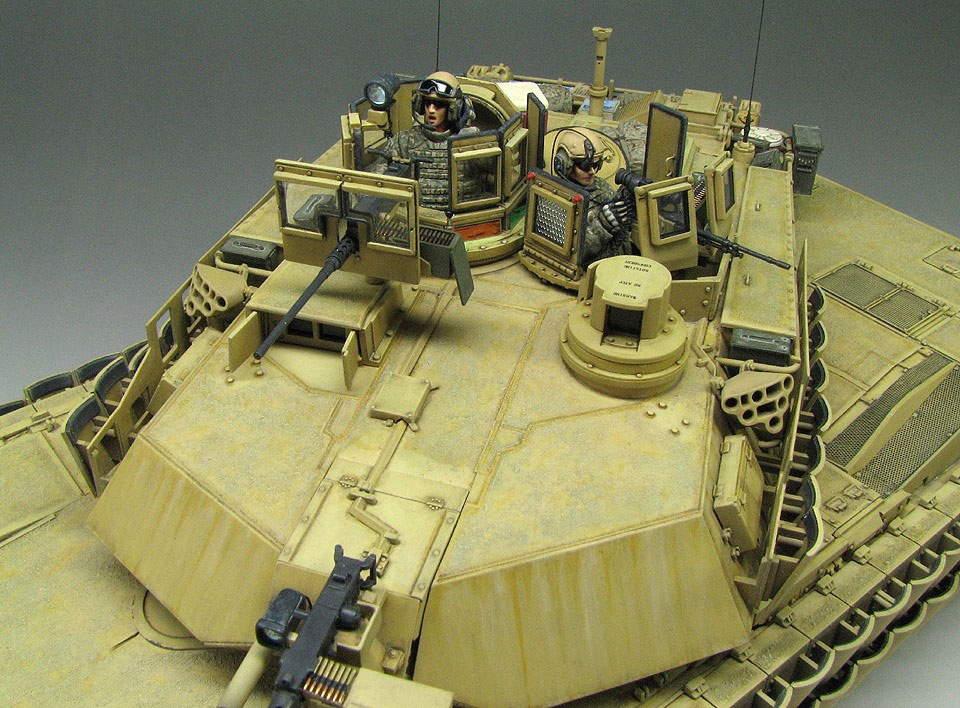
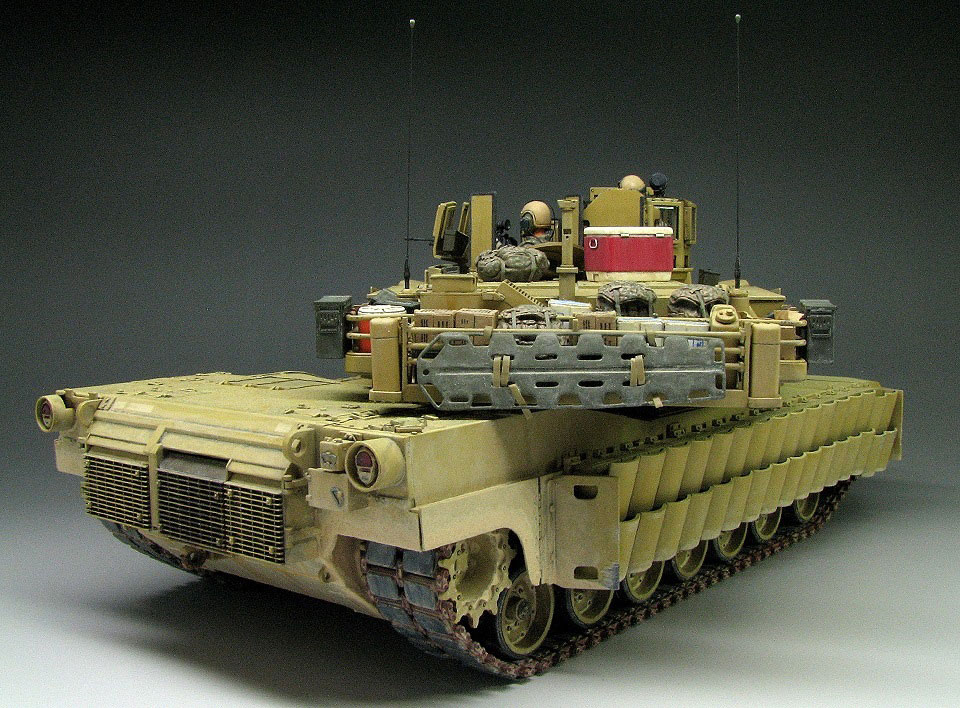
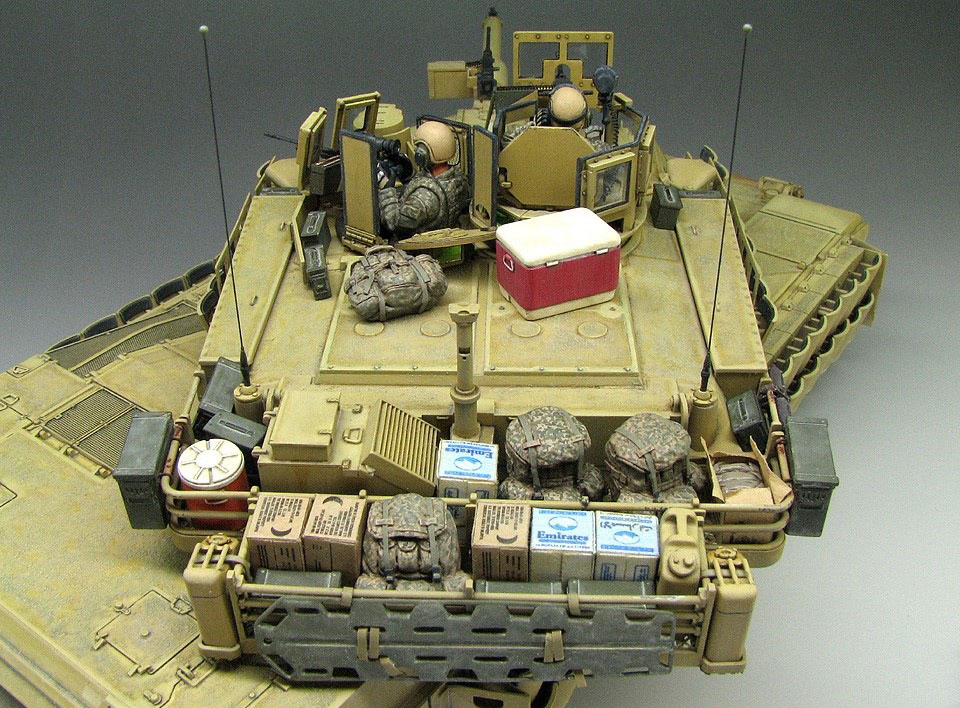
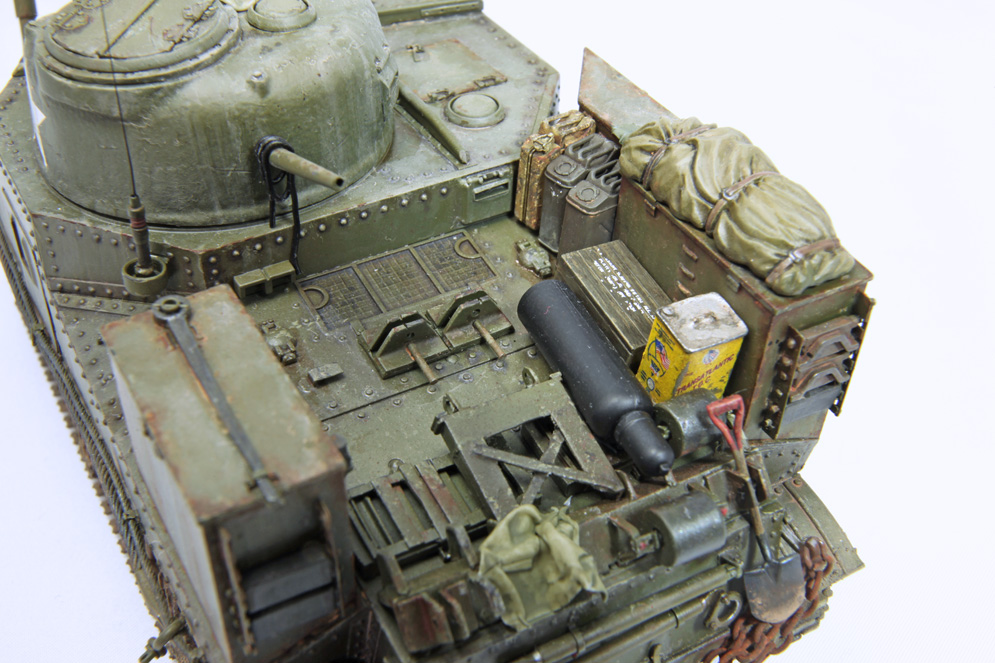
I filled the interior with some scratch-built stowage boxes and likely looking items from my spares box. The camouflage netting on the mudguards which was fixed in place by being soaked in diluted white glue, came from the company Fields of Glory.
The rucksacks were resin castings that I made from left-over kit parts several years (or maybe decades) ago using a now ancient, but still functional mould that I made from RTV rubber. I knew I’d use them one day.
Dai W.
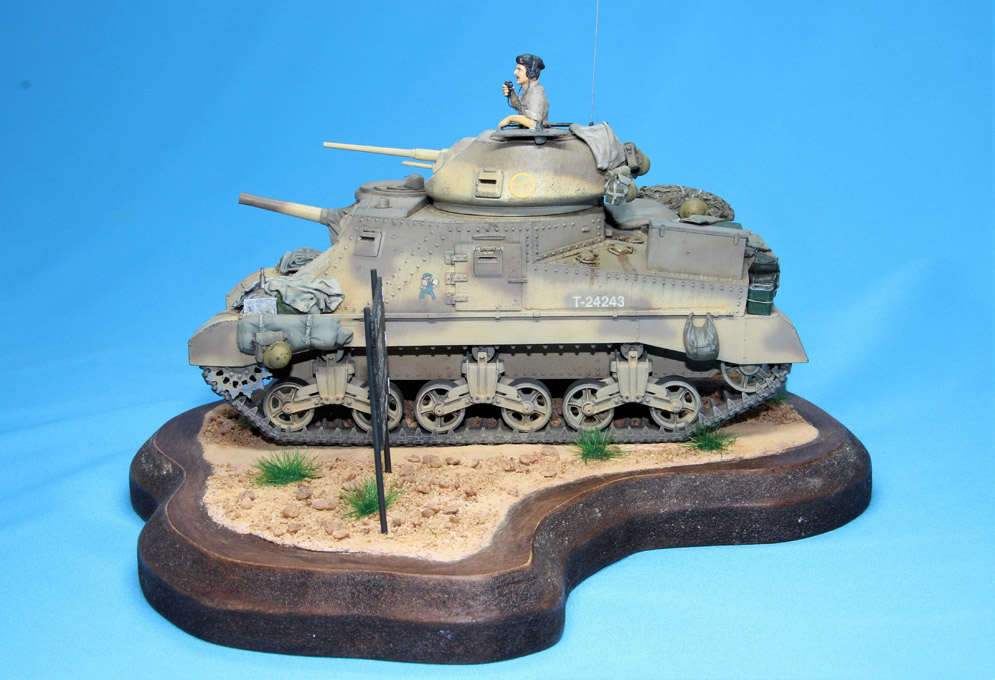
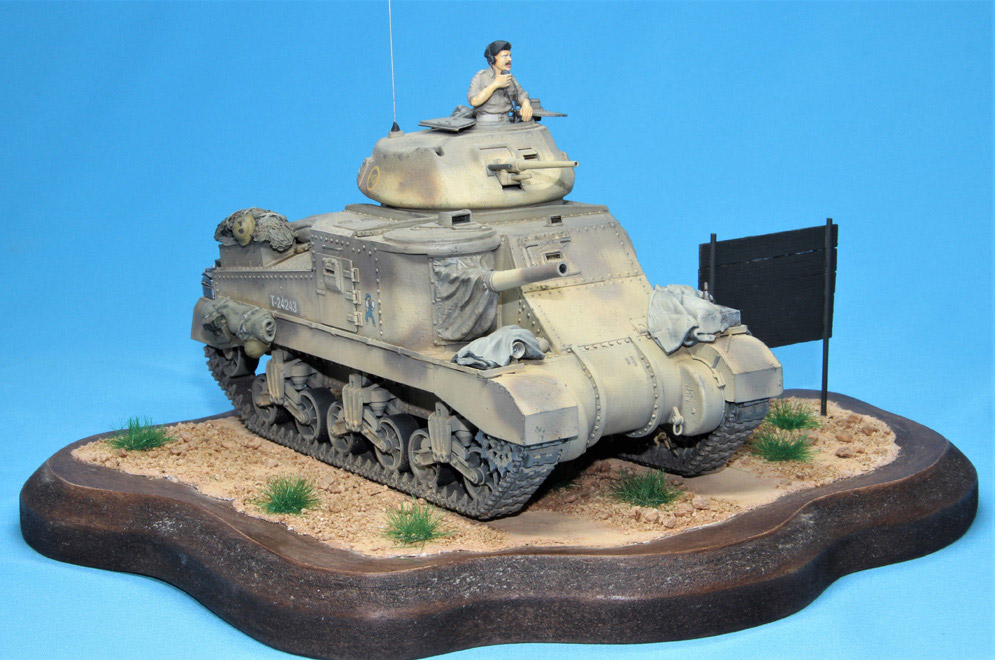
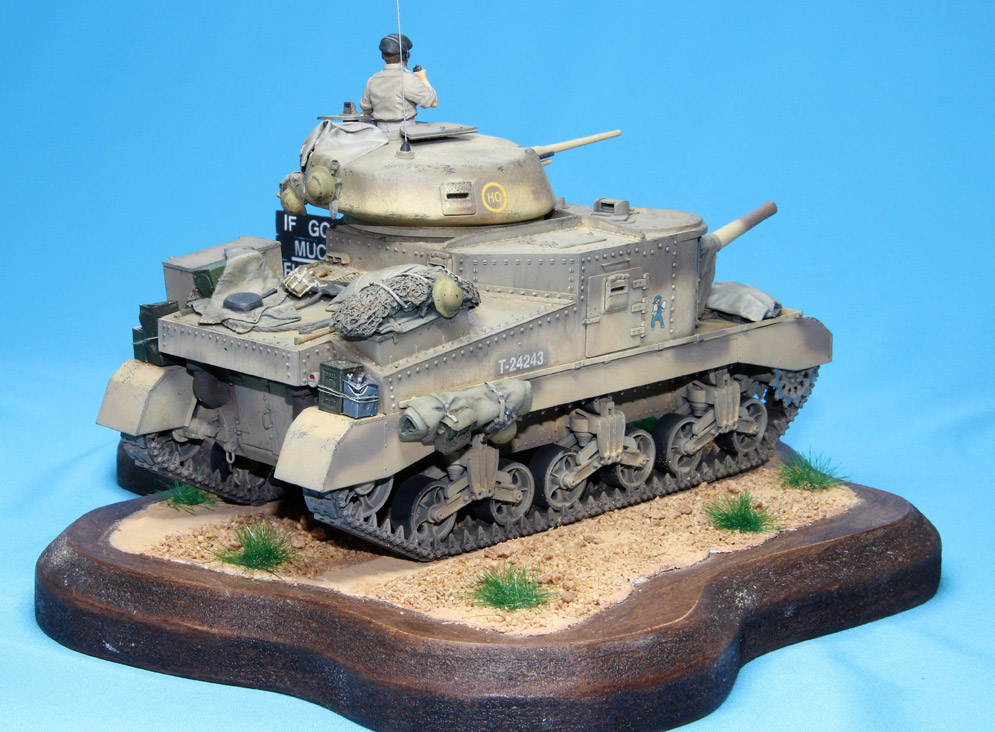
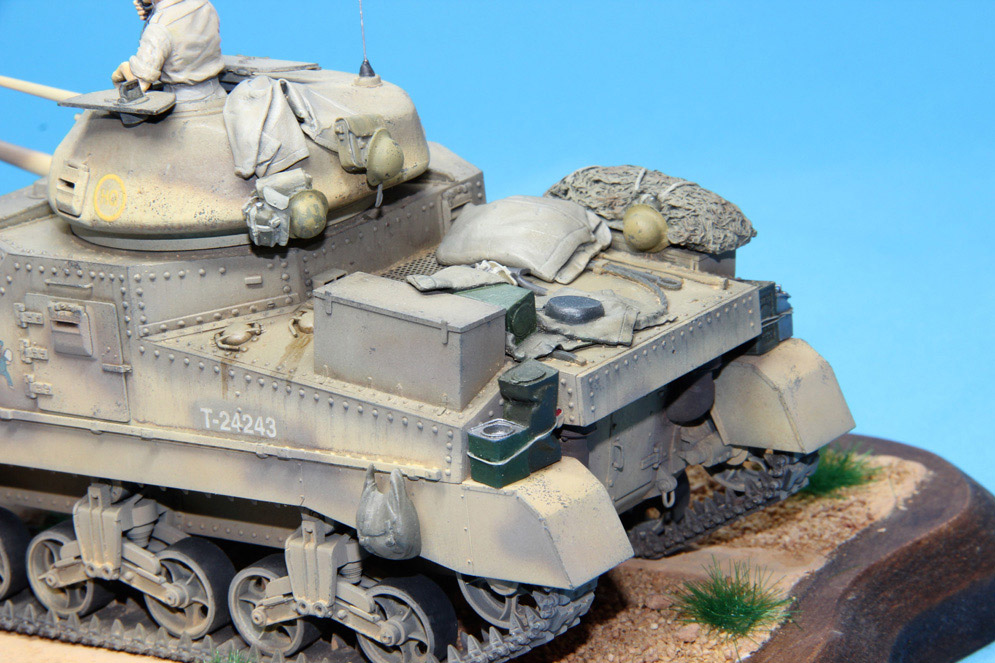
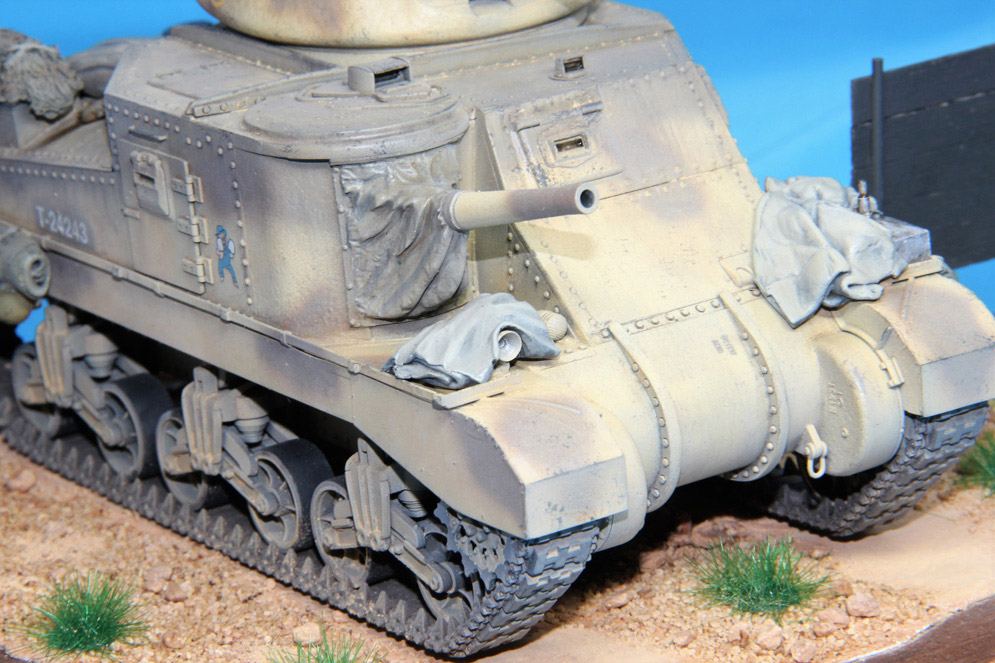
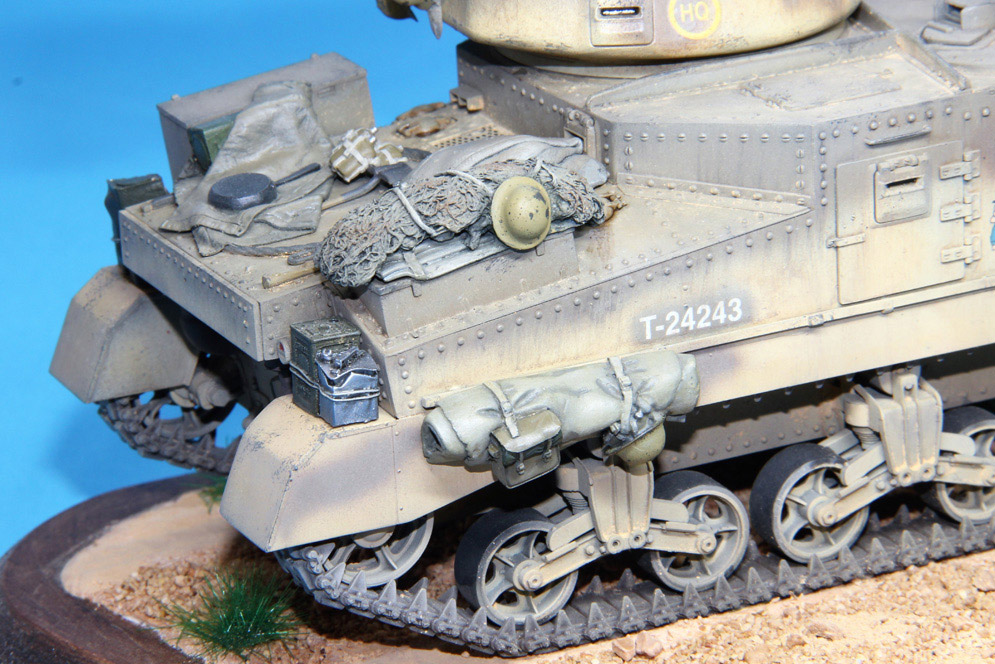

The build was straightforward enough although it did require a little fettling on a couple of panels. Whilst at Scale Model World 2018 I visited the Resicast stand and picked up their resin stowage for this kit. As a bonus they included a replacement main gun with a protective canvas cover so often used by British Grants in the North African desert.
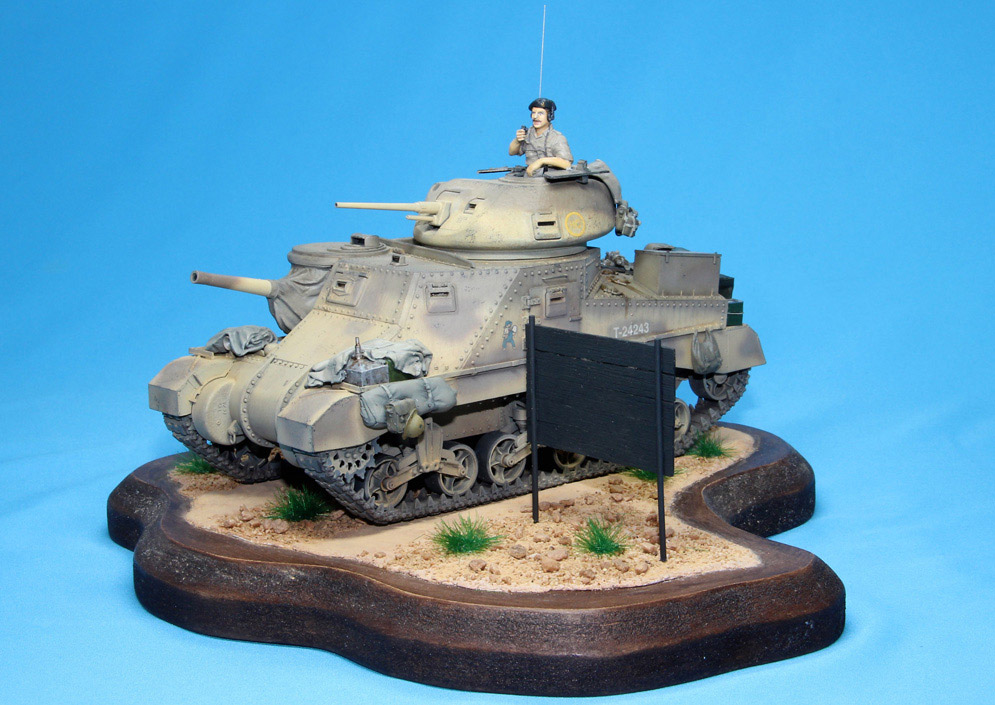
The fit of the barrel was pretty good, with just a little piece of plastic strip being used to fill a small gap above the canvas cover. The figure is from Ultracast and is full of character just needing some twisted lead wire for the microphone and headset.
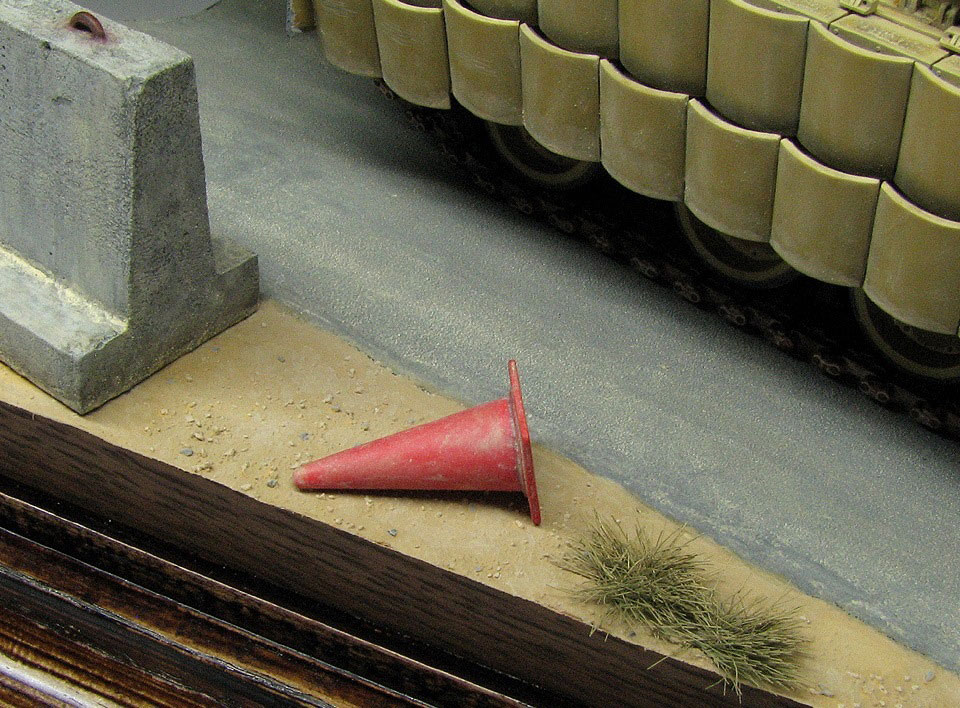
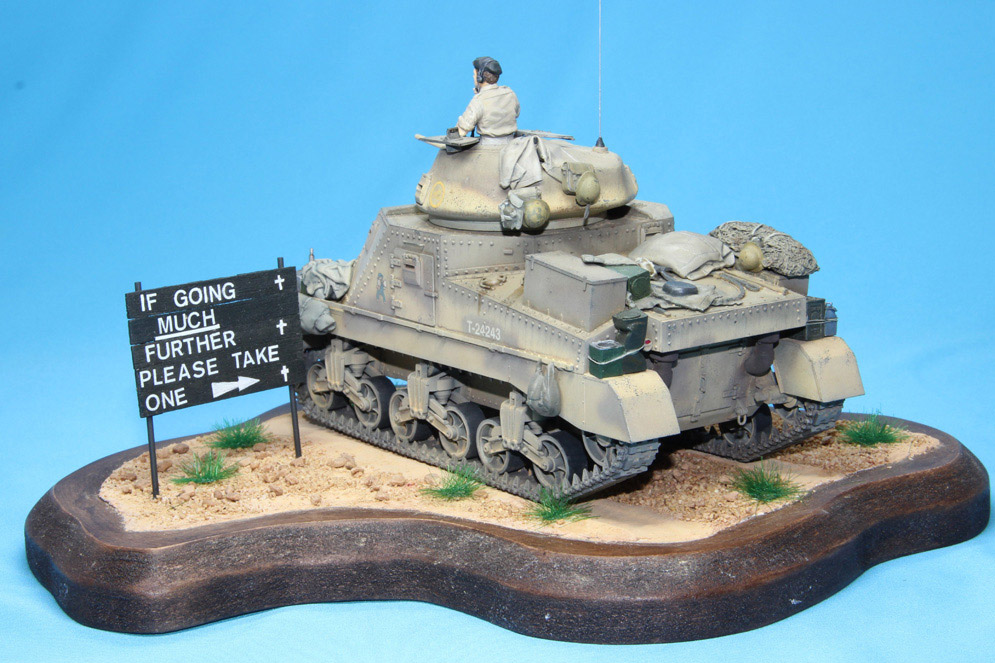
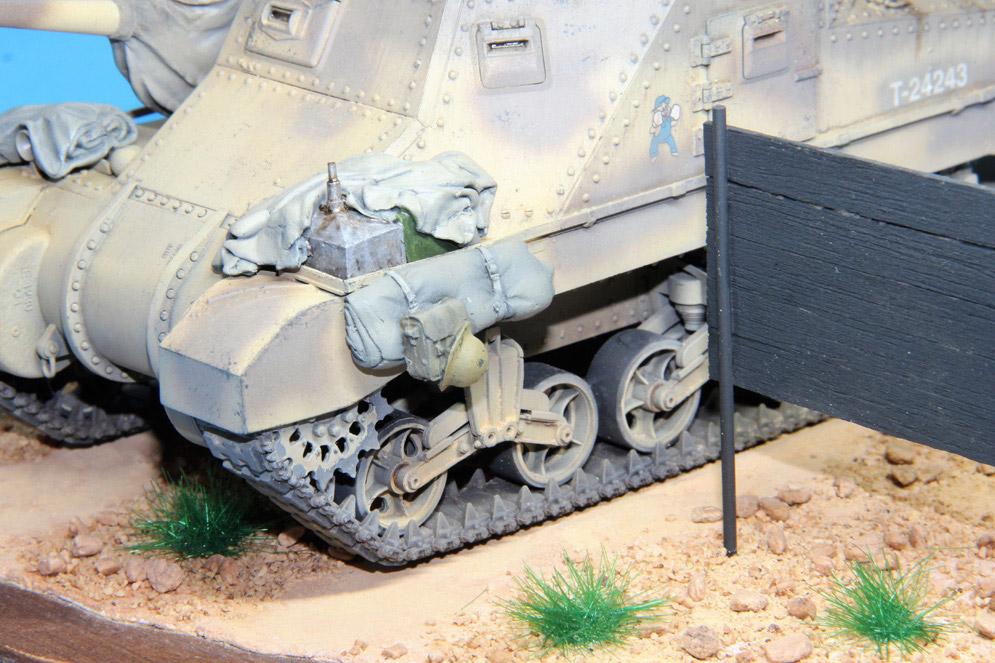
The base is from Just-Bases with ground work made from indoor Polyfiller and painted with acrylics. This was then covered with “Battle Zone Desert Scatter” from Javis “Countryside” Scenics secured with PVA Glue with tufts of grass from the same company. A dusting of Pinnacle Desert Sand weathering pigment tied it all together. The sign is made from strips of Balsa painted black with 4mm Letraset dry transfer lettering and is an example of Allied Gallows Humour.
Mark R.
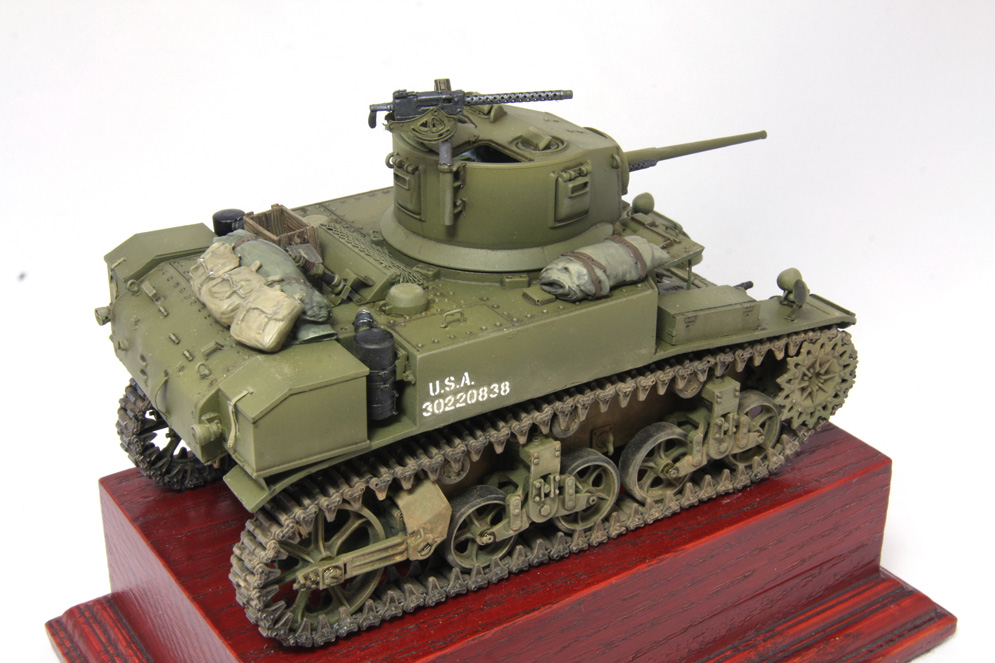
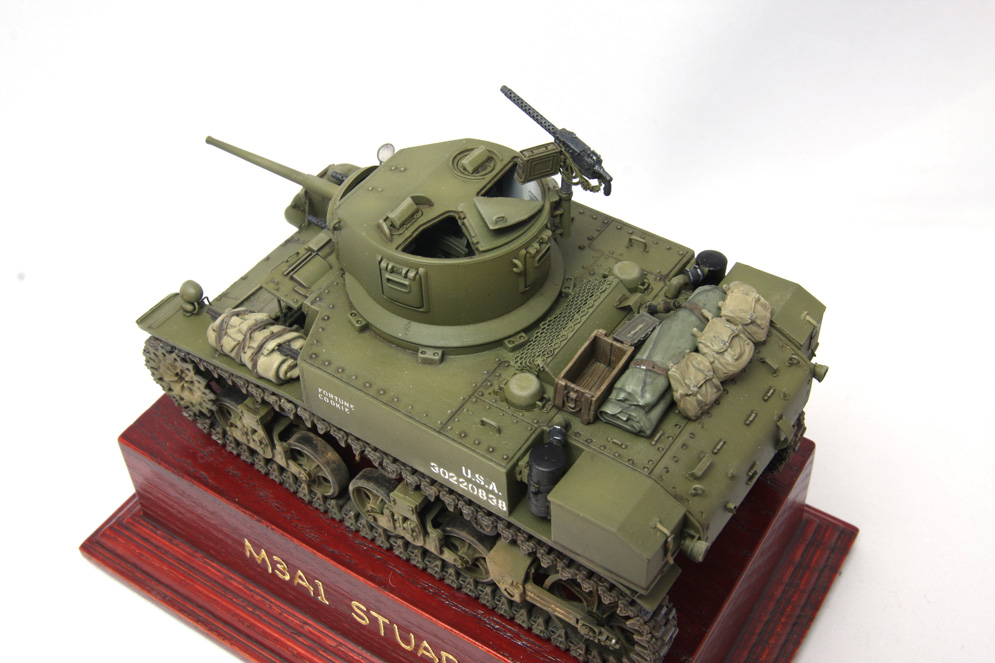
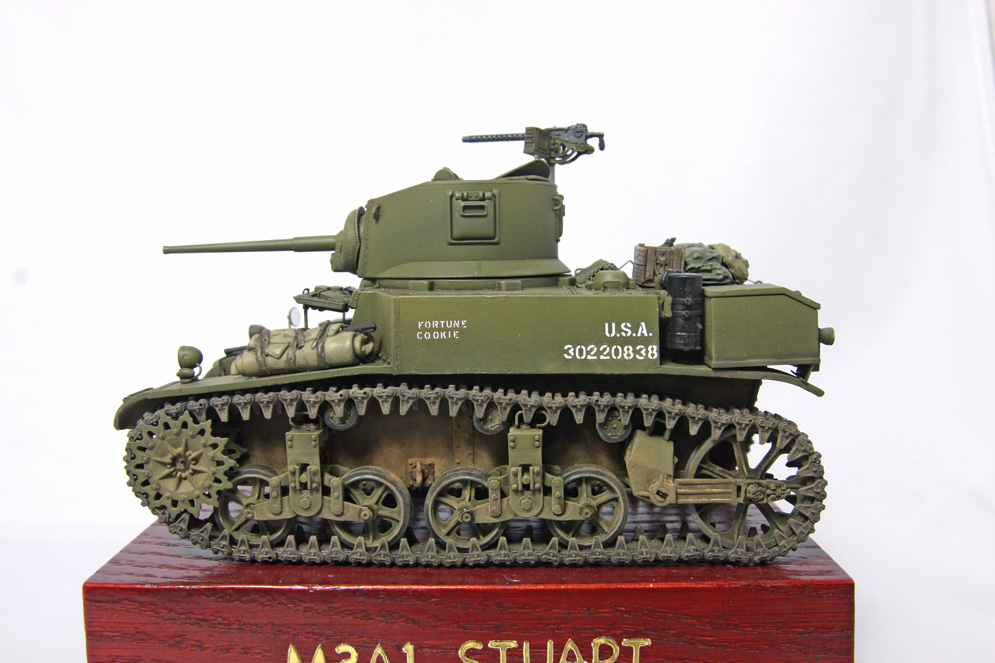

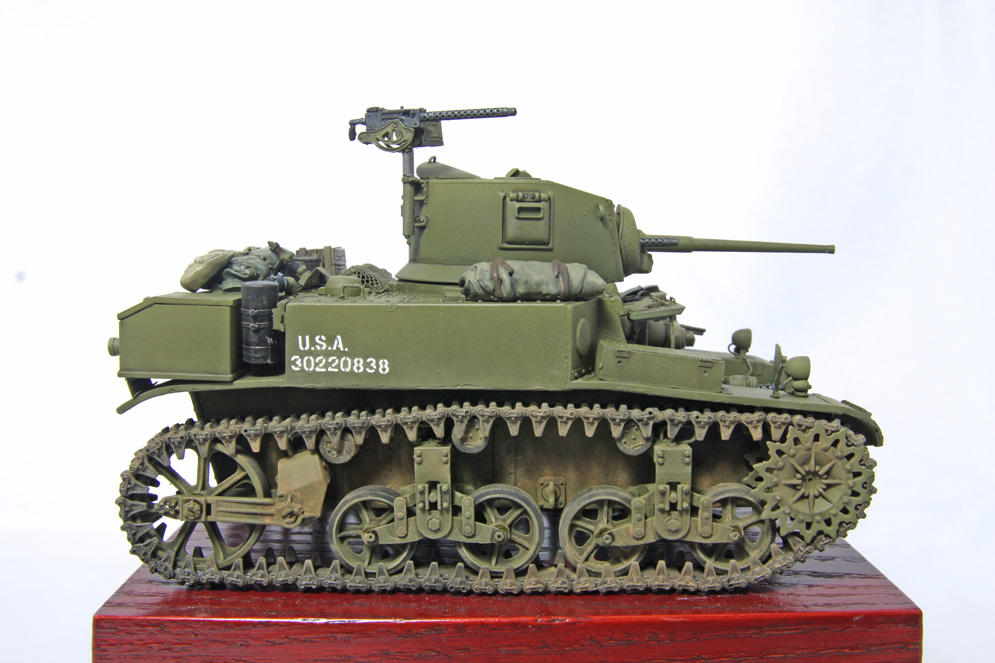
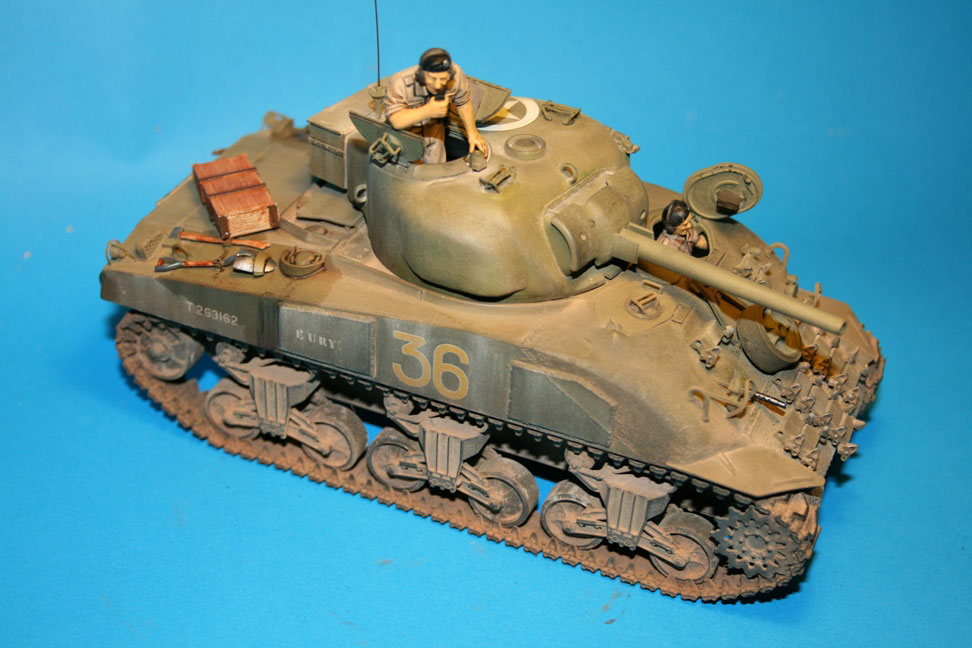
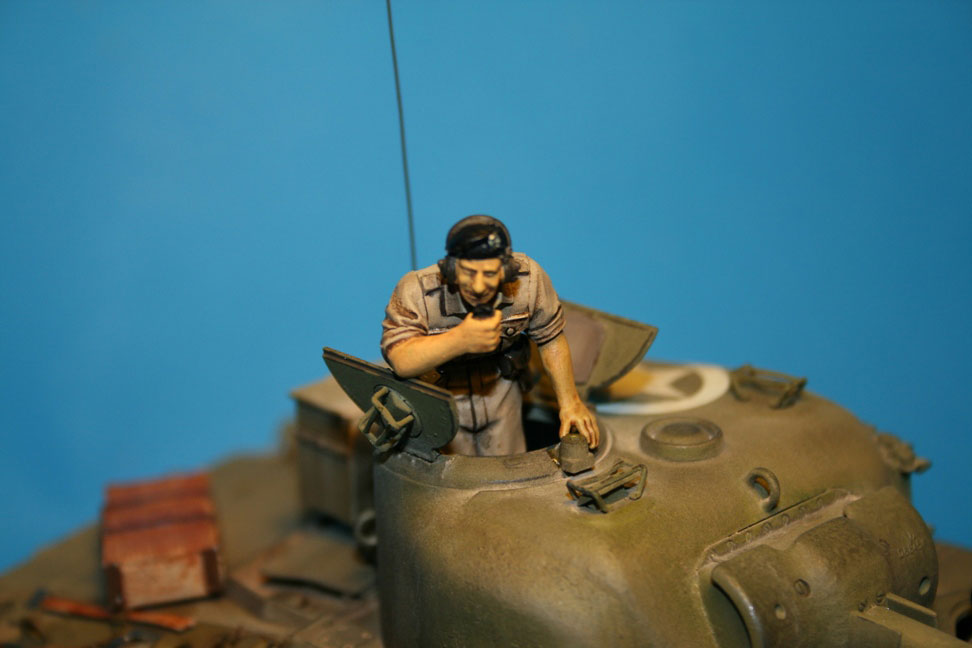
This project was a commission build for someone who has a real Stuart tank (as you do, G!). Most of the features of the real tank can be seen in this model. Like the name and numbers.
Paint: Tamiya
Weathering: Oils
Hope you like it!

Formations tool set and resin figures, the extra tracks and spare wheel from the spares box; decals from Bison, very nice, very thin!


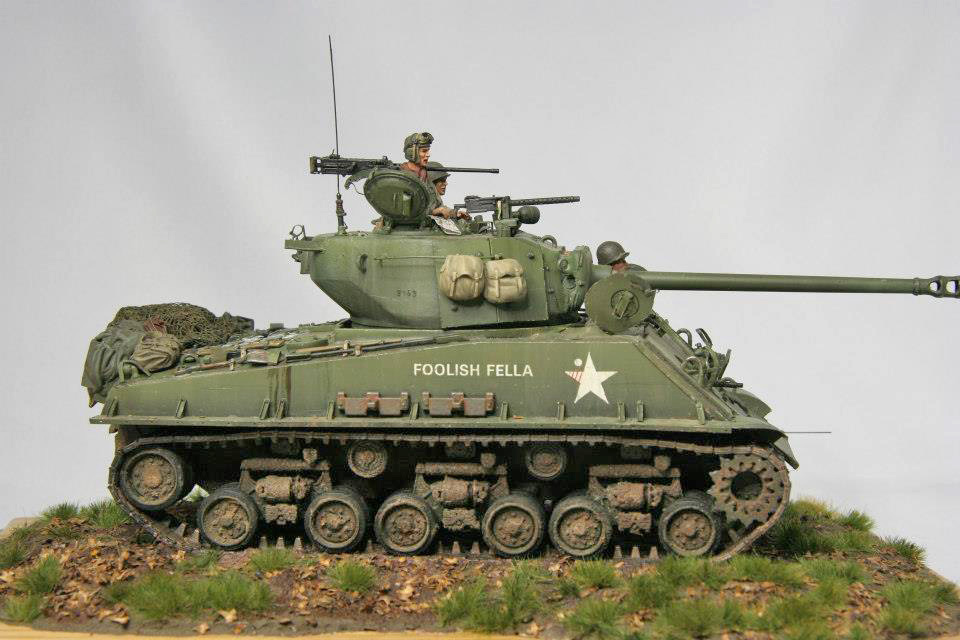
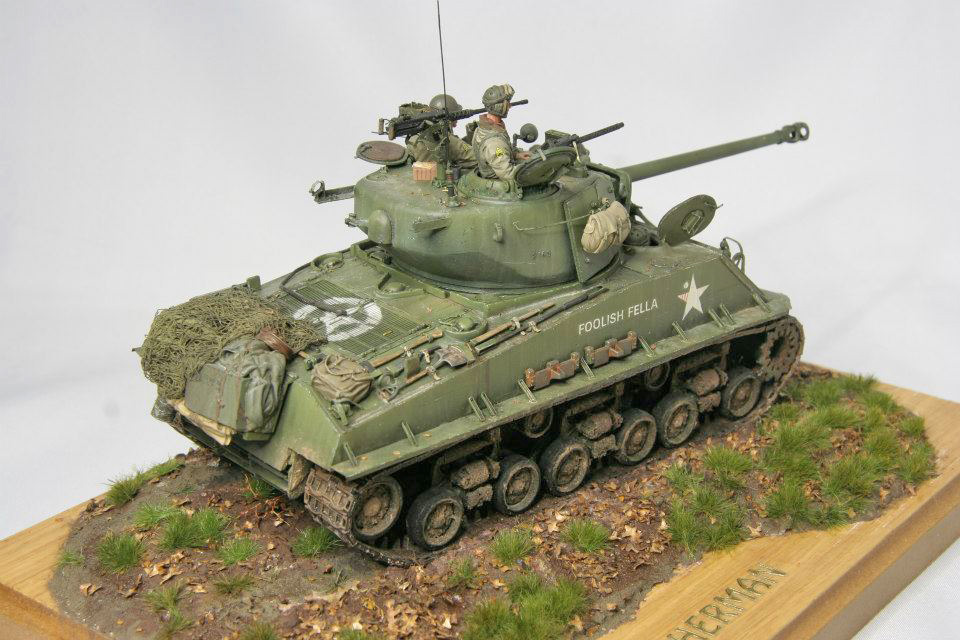
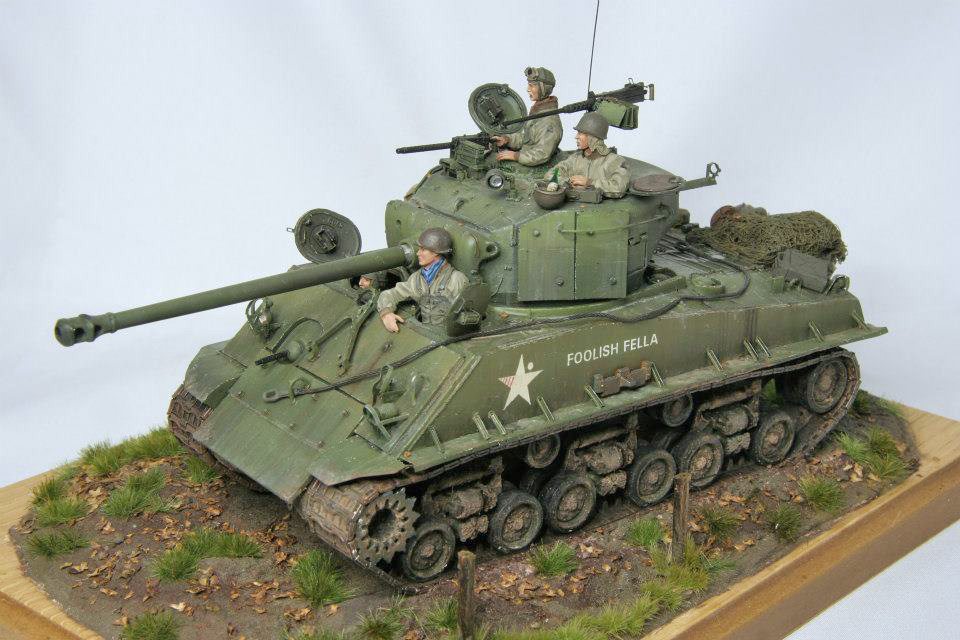
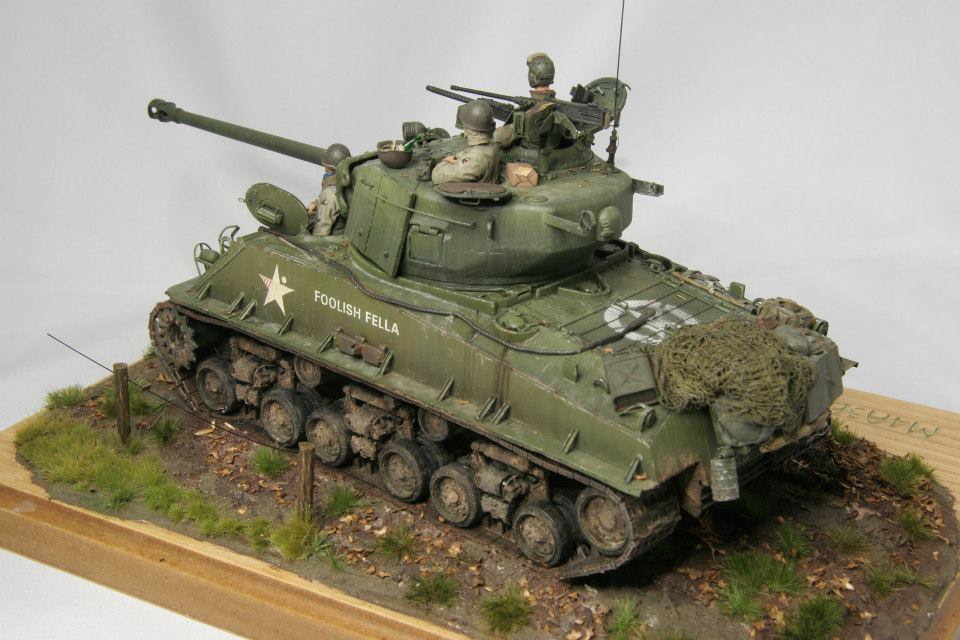
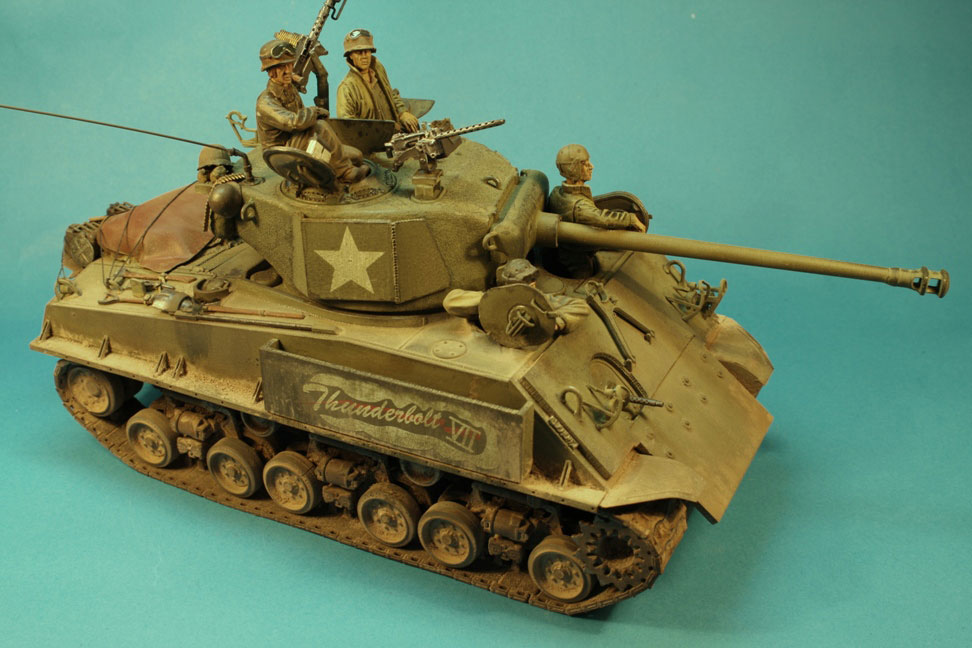
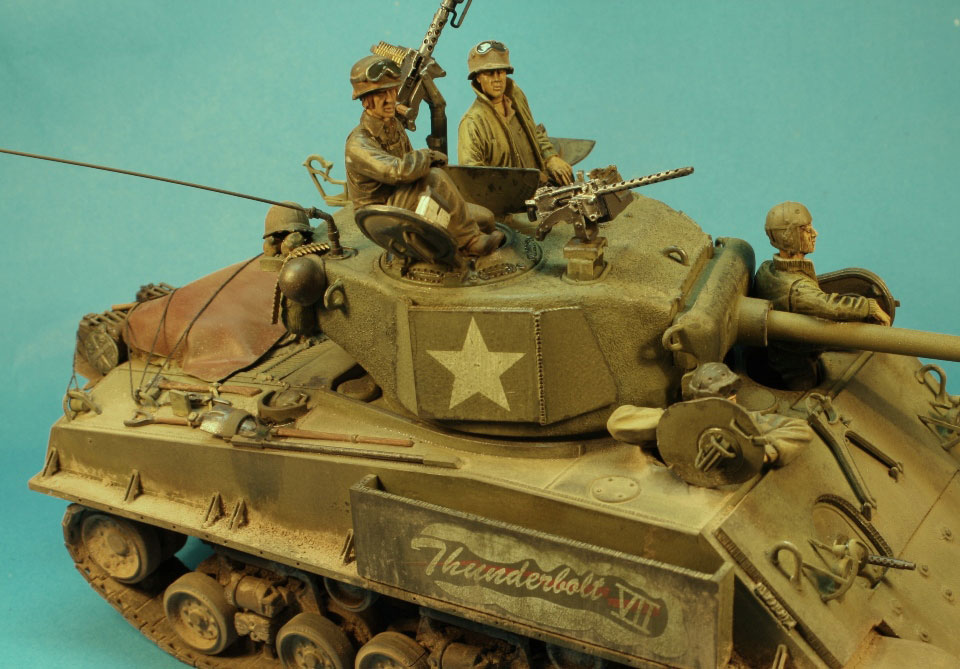
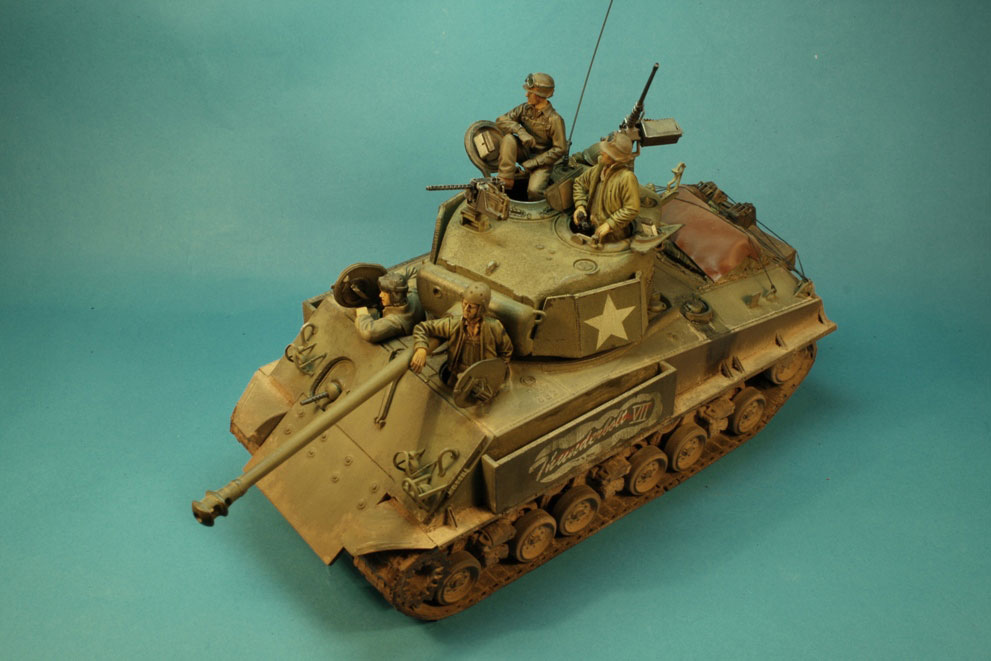
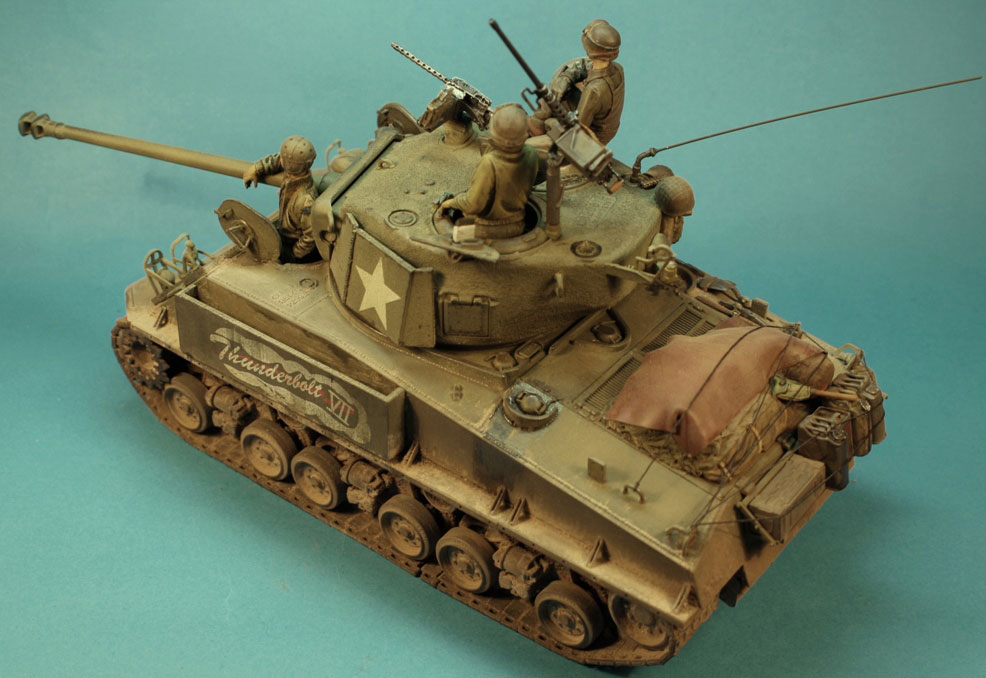
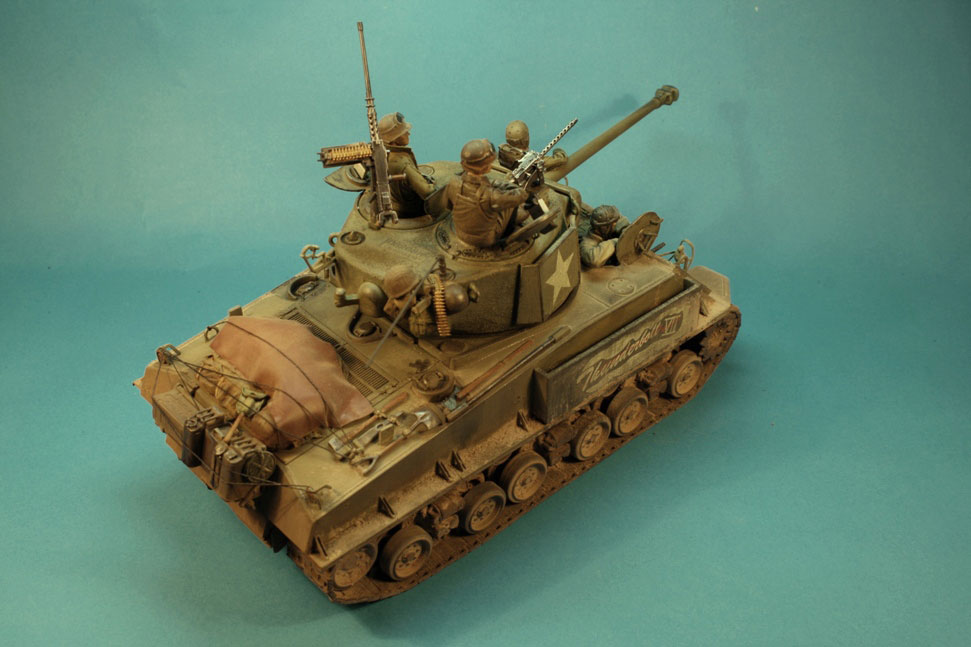
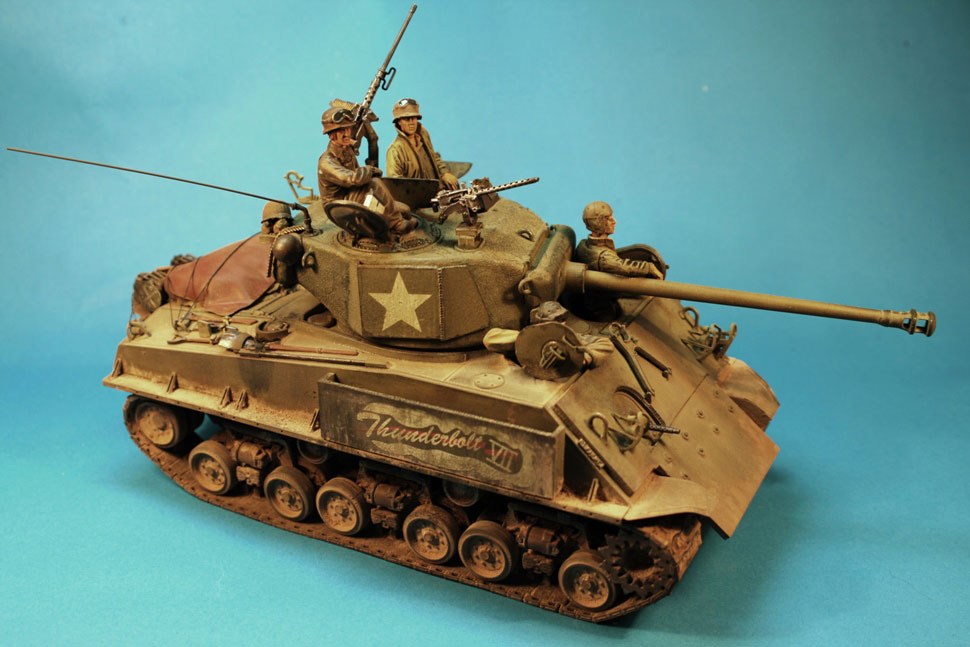
- This M4 Sherman was built from the box, with the addition of some stores from Tamiya, spare track for additional front armour and the traditional plank of wood
- I also added the extra armour plate to the hull sides, and an Eduard etched set of brush guards
- The model was painted using Xtracolor Faded Olive Drab as an overall coat, with faded olive drab faded a bit more, applied in a random pattern
- The Kit decals were used featuring a Sherman during the Ardennes offensive
- The model was then given a coat of Klear to protect the paint finish from a burnt umber oil paint wash
- I also assembled and painted the commander figure using Humbrol matt enamel paints.
All the very best, Roger
It’s finished in much the same way as other entries you’ll find in the SMN Subscribers’ Gallery.
Best wishes,
Martin V.
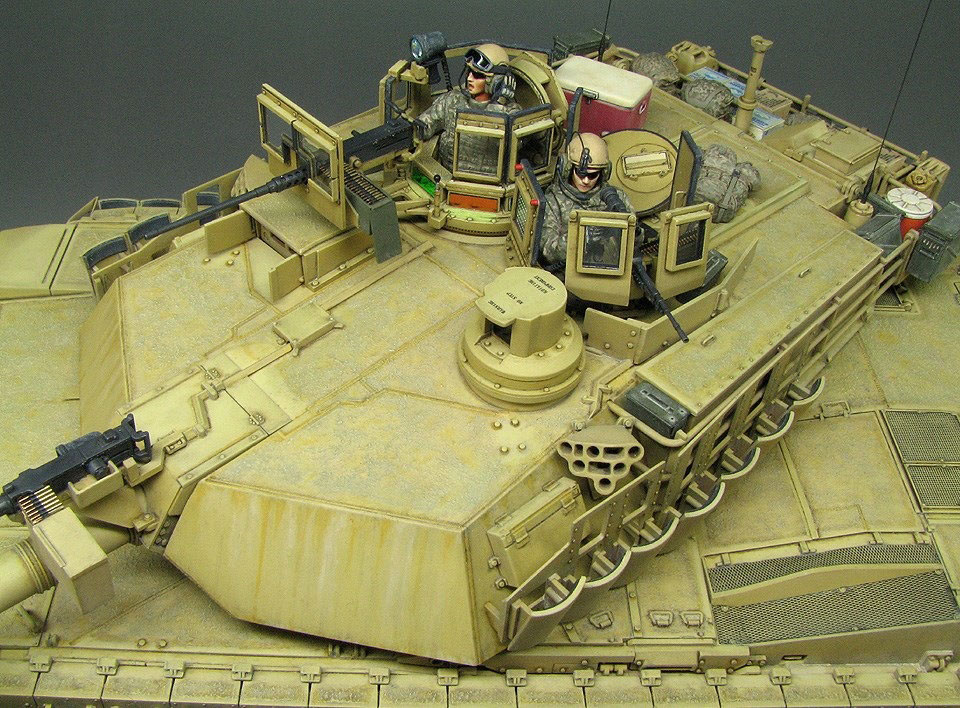
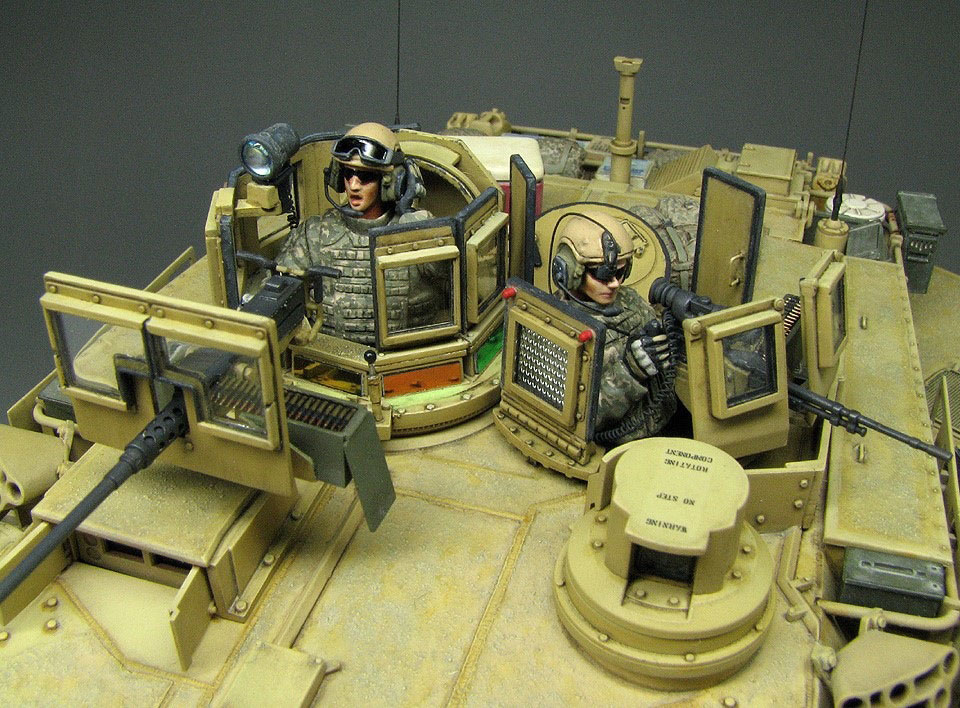
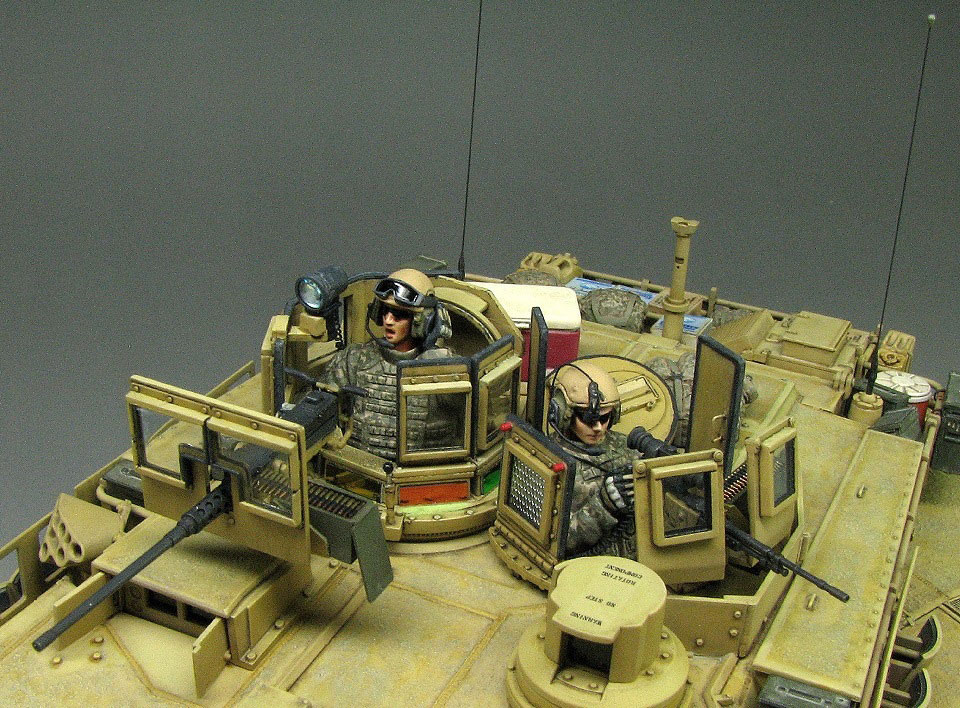
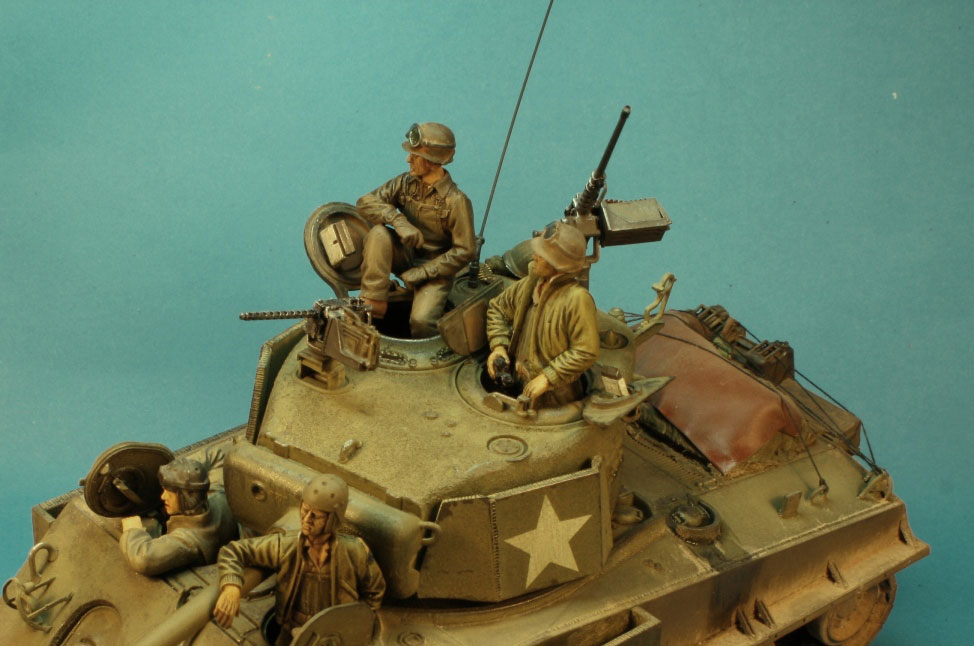
The crew were made from various bits from the spares box and the stowage is homemade from the spares box too.


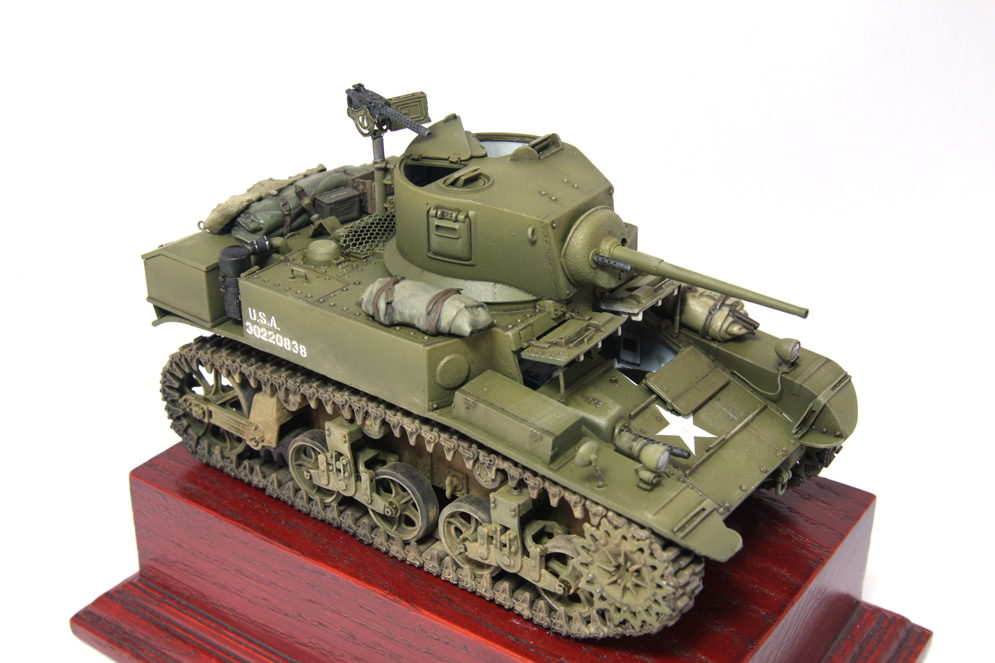
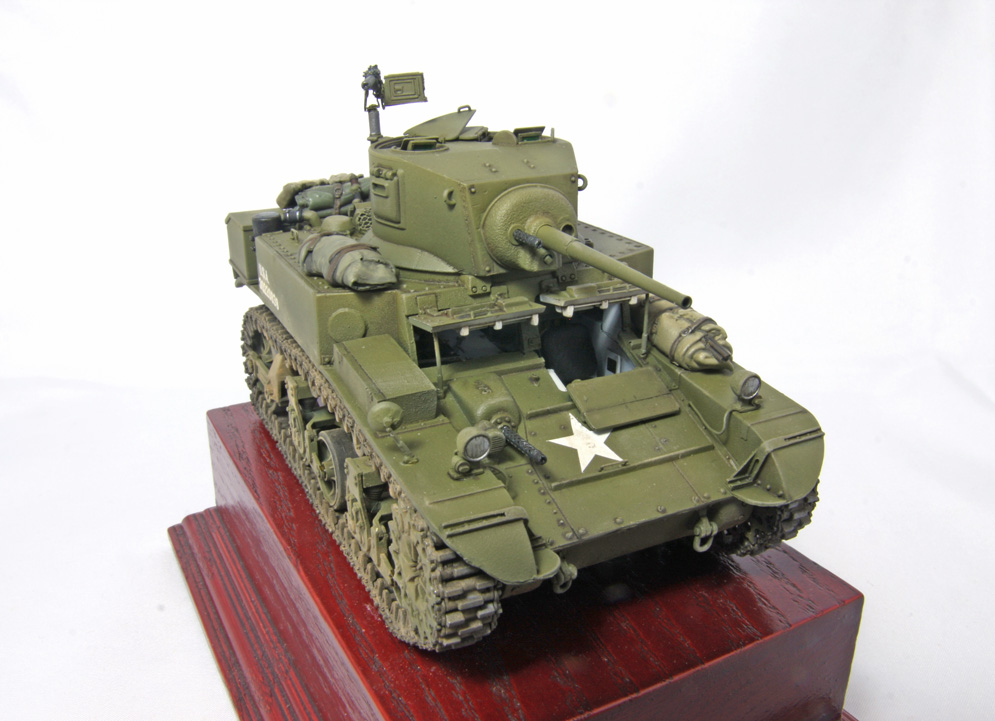
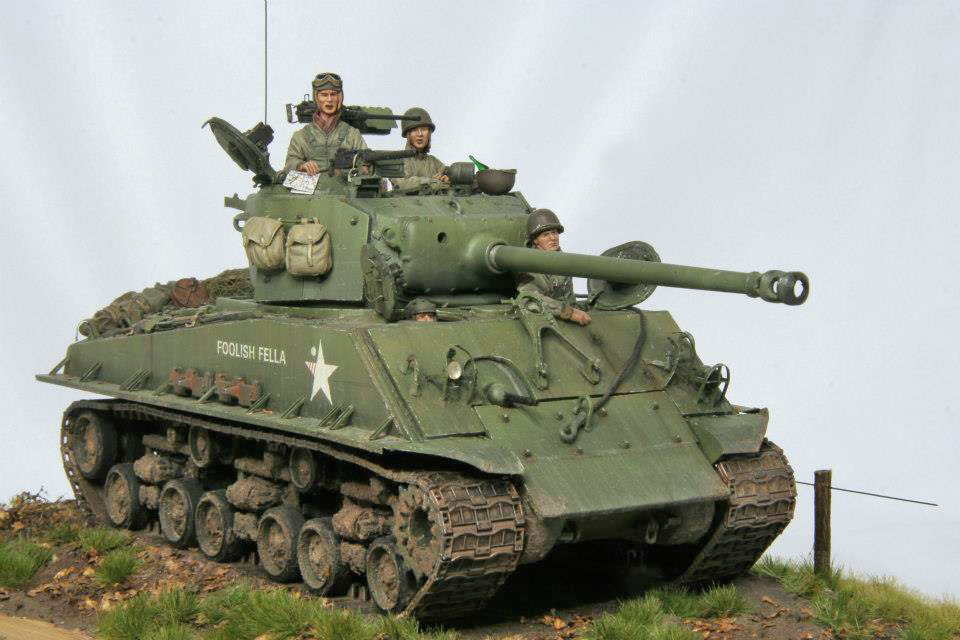
I bought this kit on impulse (a birthday treat for me!) and because I wanted to do a straightforward build out of the box, without having to bother with kit corrections and improvements. Which, as I recall, is what I did and was very satisfied with the build process?
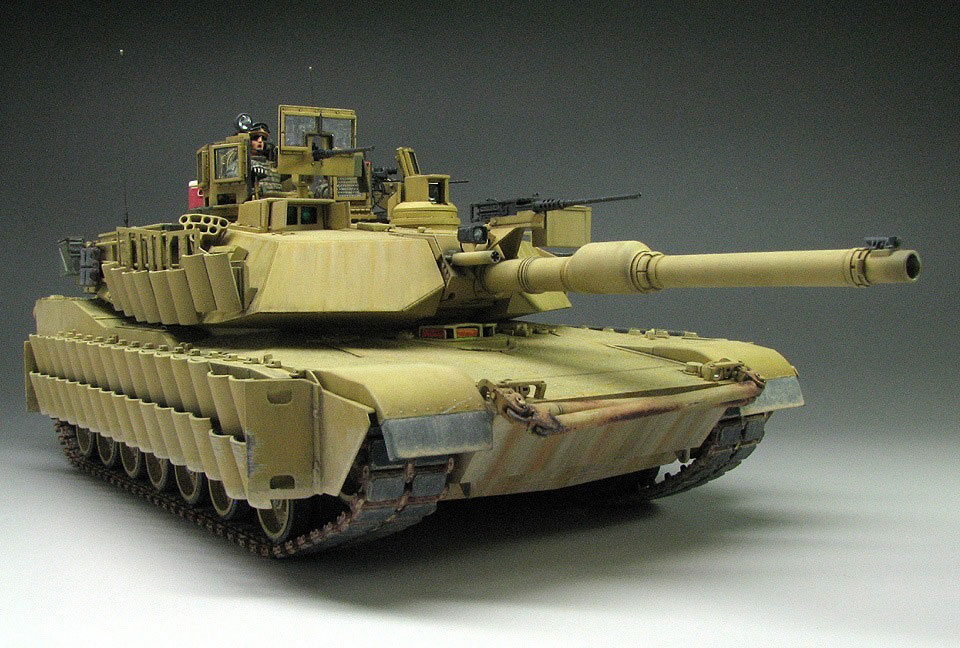
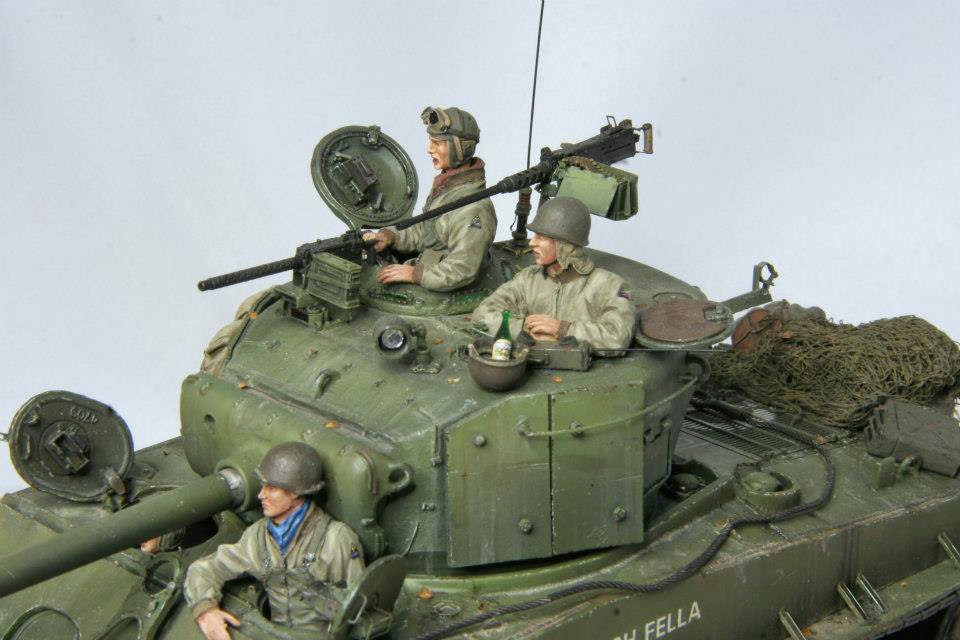
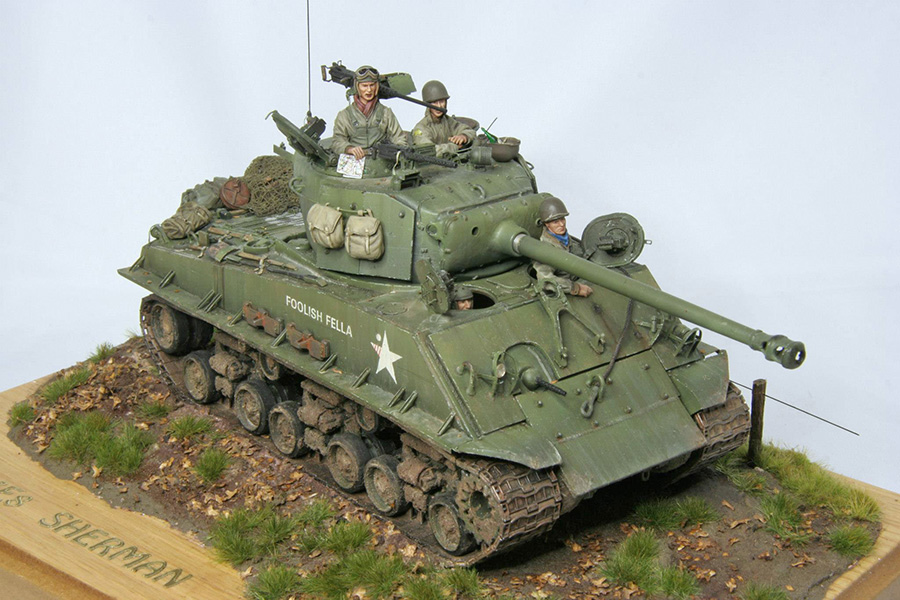
Aftermarket products are limited to MV lenses for the headlights and some of the accoutrements loaded on the engine deck. The figures are the old Dragon US Tankers, two having Hornet heads as I recall. The air recognition panel is wine bottle lead foil with Model Master Enamel # 1775, Fluorescent Red. Kit tracks were used as were kit decals for the markings with the exception of the stars for which a metal stencil was used.
Finishing and weathering followed the method outlined by Steve Zaloga in his Osprey publication “Modeling US Armor of World War 2”. I heartily endorse the method; it is not complex, relatively quick and results in a very presentable model.
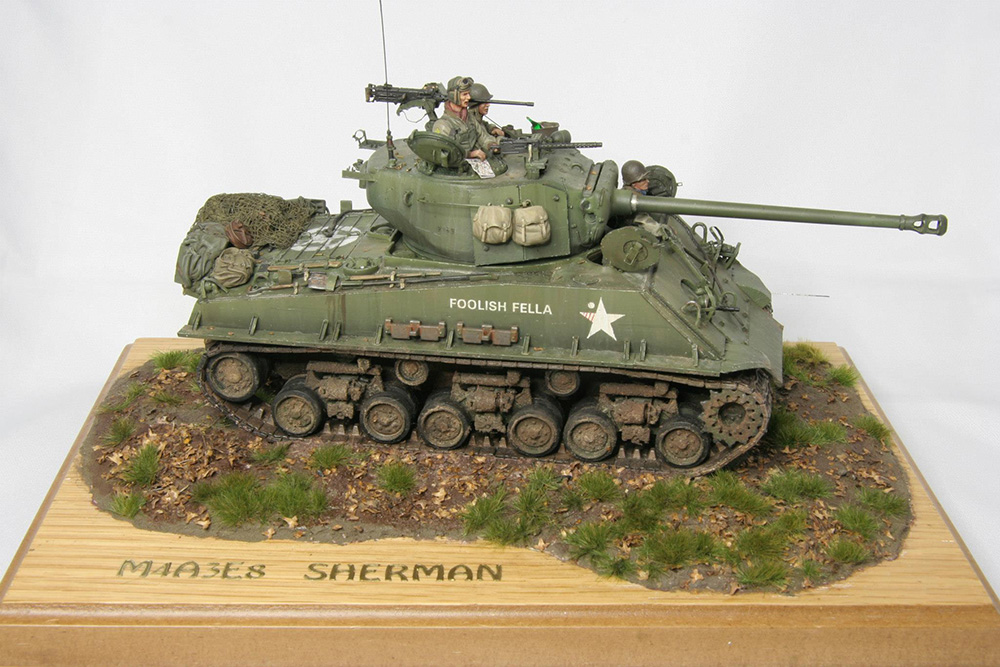
The model took a Gold in its class and won the award for the Best American Military Subject at the Alberta AFV Model Show in 2010 (there were not a lot of entries in the class, to be honest)
Thanks for looking.


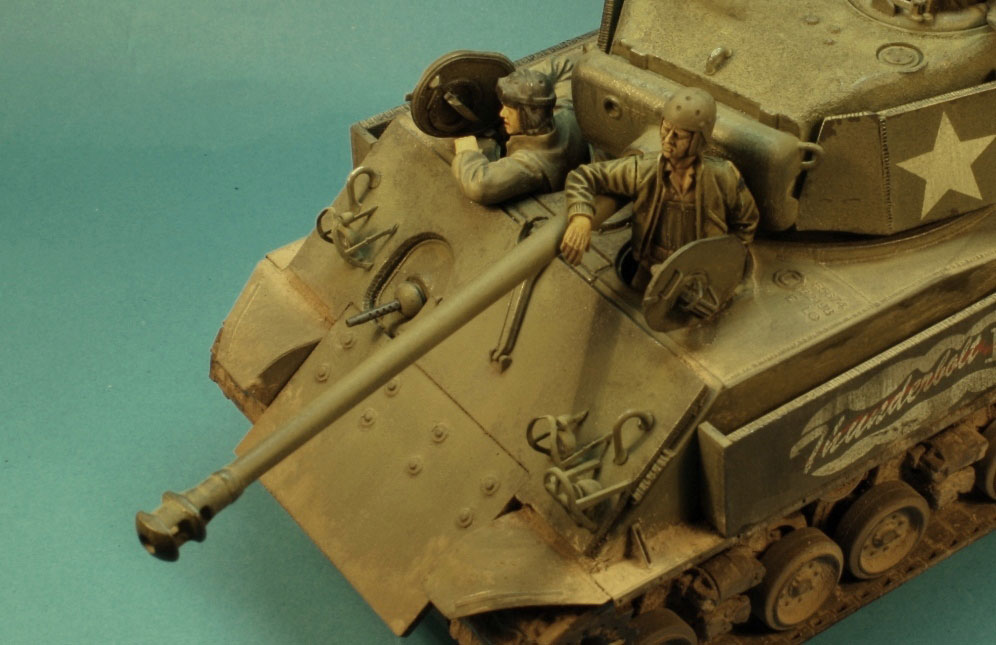
The conversion was fairly straightforward and rather simple. I sanded off all the detail on the loader’s hatch, and then glued it in place. The pistol port required cutting the raised wielded fairly to the turret away, then gluing the pistol hatch closed. I plugged the smoke port with sprue cut down to fit. All three areas were puttied with Squadron White putty, and then sanded smooth. To duplicate the cast surface I applied Tamiya Gray primer with the end of a wide stiff brush using plenty of primer. You can see the results in the one close up.
I painted the M4 with Tamiya gray primer, then a mix of Tamiya FX-62 Olive Drab and Tamiya FX-60 Dark Yellow. I have two different shades of this mix for color modulation and shading. Weathering was done with Dark Earth AK Interactive Wash, and various homemade filters. Then a final wash of Tamiya XF-57 buff for an overall dusty effect that also helped to blend in all the various shades.
Joel Willstein
I built this excellent little model from the box with just the addition of some stores from Tamiya and a jerry can rack from plasticard strip. Construction was straightforward, all the parts fitted very well.
The kit features a die cast chassis which is no problem if using superglue. There is no interior detail for the driver’s compartment, so all the hatches were fitted closed,
and I chose to leave the side skirts off – I think the M8 looks better this way.
I first sprayed the tyres with Revel 9 anthracite. The tyres were then masked off with Tamiya tape. I then sprayed the hull, turret assembly and wheel hubs with Xtracolor Olive Drab Gloss. They were then sprayed in a random pattern with Xtracolor faded olive drab with a few drops of gloss white added.
When all was dry I applied the decals using Micro Set and Sol. The masking tape was removed from the tyres and all the assemblies were then sprayed with a coat of Klear,
to protect the paint finish from the oil paint washes. A Burnt Umber oil paint wash was used first, followed by a wash of Humbrol 29 Dark Earth to give a dusty, dirty appearance. The Dark Earth wash was heavily applied to the wheels and tyres. A final spray of Humbrol matt cote sealed everything in.
The 50 cal was assembled and detail painted together with the stores. Finally two antenna were made from stretched sprue and fitted to the twin posts which were in turn fixed to the hull. Another excellent kit from Tamiya in their 1:48 series.
Roger B.
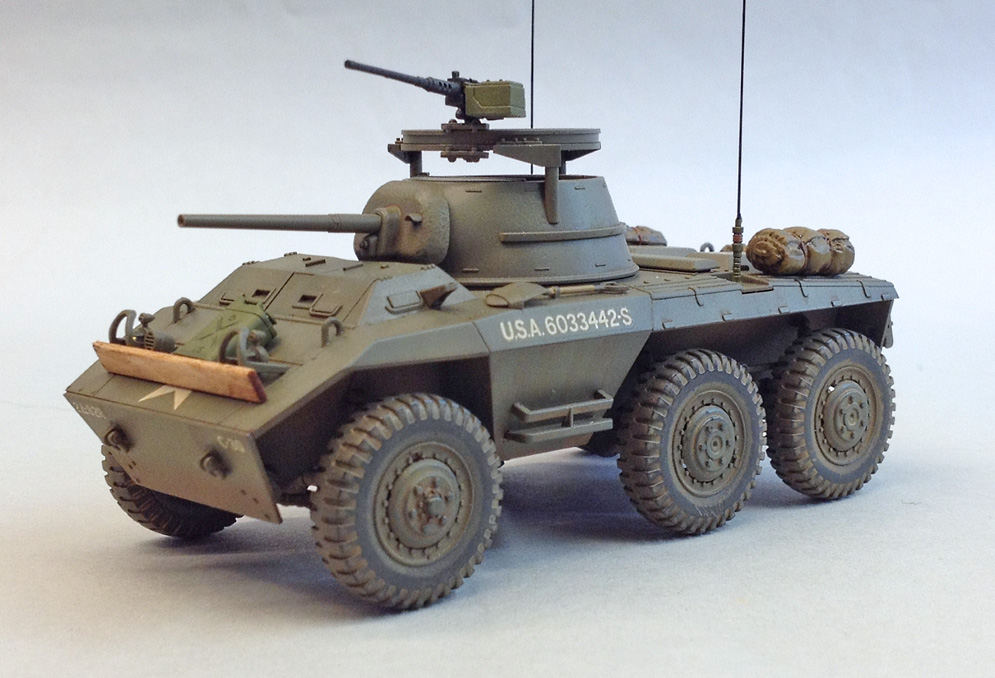
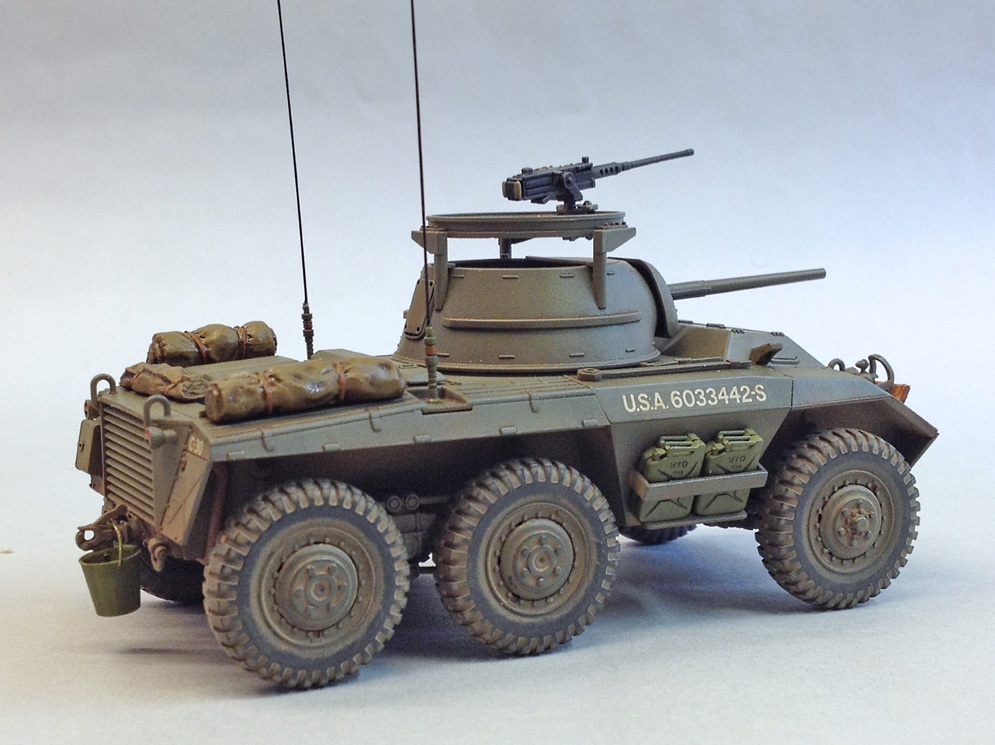
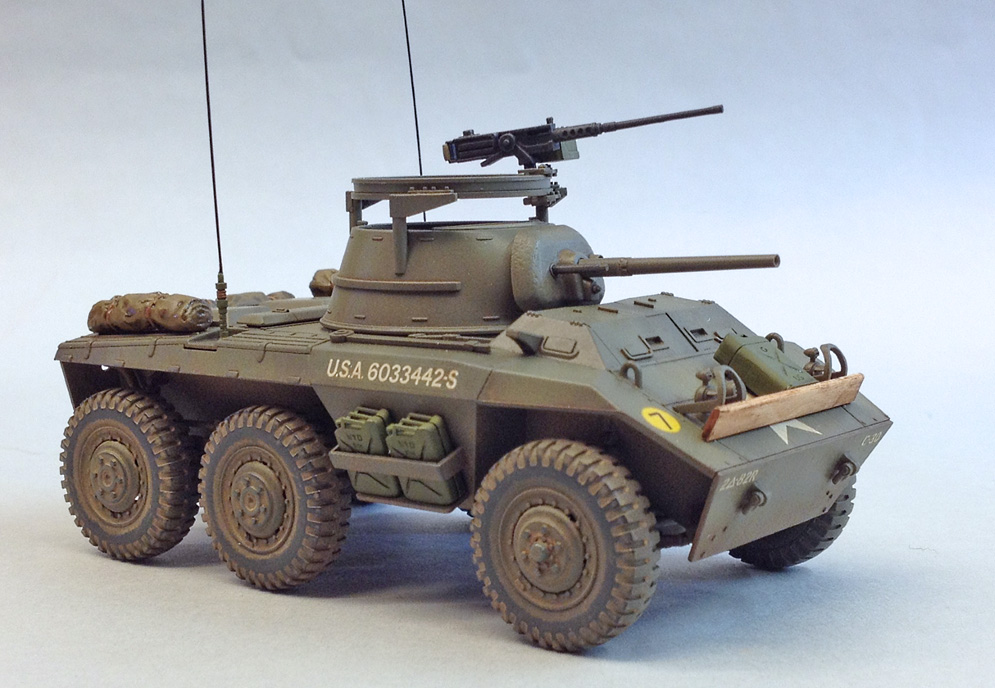
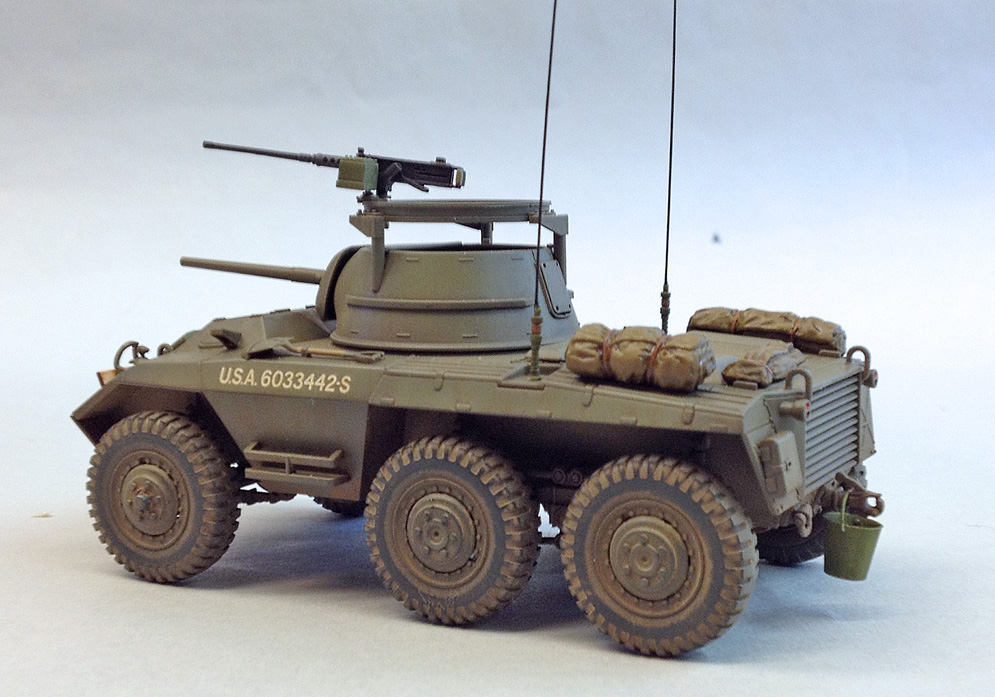

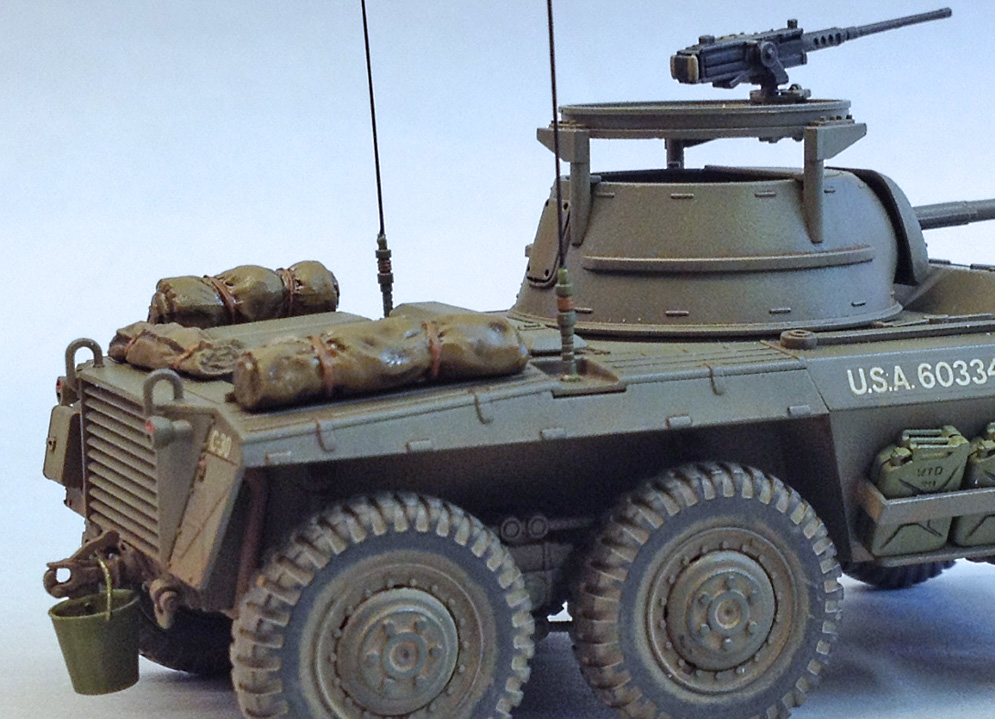

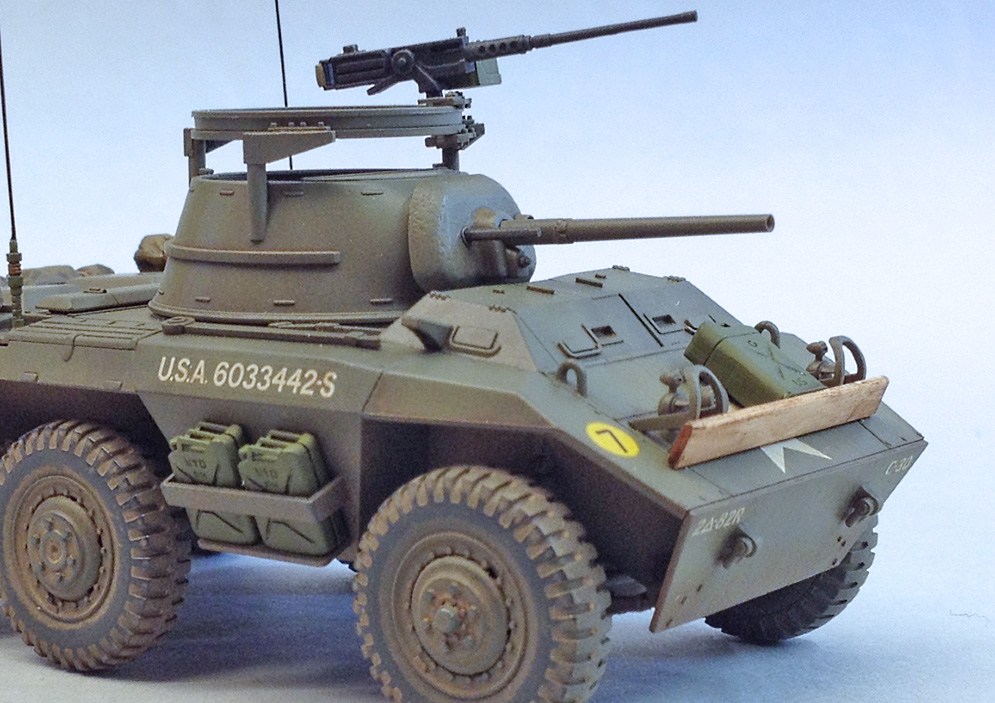
Tamiya 1:35 M8 Greyhound
I built this excellent model from the box with just the addition of some stores from Tamiya.


from the inside.
- The interior was sprayed with satin white, then masked off and the floor sprayed Olive Drab
- I then sprayed the model overall with Revell 9 Anthracite to give some shading to the recesses – this also included the wheels. The tyres were masked off by cutting masks from Tamiya tape using an Olfa P Cutter
- The hull, turret assembly and wheel hubs were then sprayed with Xtracolor Faded Olive Drab
- Faded the paint some more with a few drops of gloss white and sprayed this over the top surfaces of the hull and turret in a random pattern
- The masking tape was then removed and the decals applied using Micro Set and Sol.
- All the assemblies were then sprayed with a coat of Klear, to protect the paint finish from the oil paint washes. A Burnt Umber oil paint wash was used first, followed by a wash of Humbrol 29 Dark Earth to give a dusty, dirty appearance. A final spray of Humbrol matt cote sealed everything in
- The 50 cal was assembled and detail painted together with the stores
- Finally two antenna were made from stretched sprue and fitted to the twin posts.
They were tied down with nylon thread.
Cheers for now, Roger B.