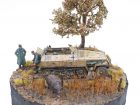
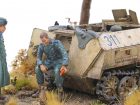
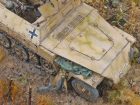
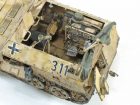
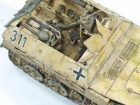
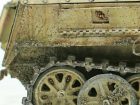
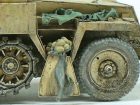
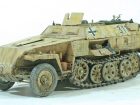
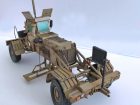
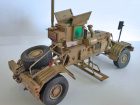
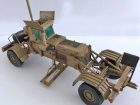
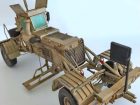
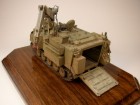
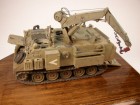
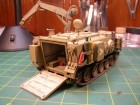
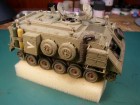
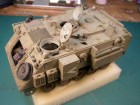
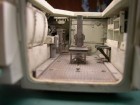
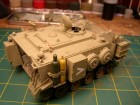
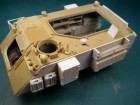
Welcome to the Subscribers’ Armour Gallery C-I
Each submission has a ‘gallery’ of thumbnails which you can click on to see an enlarged image along with some short text describing the model – enjoy!
Galleries: A | B | C-I | J-L | M |N-P | R-S | T-Z
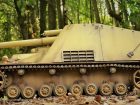
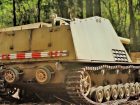
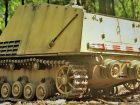
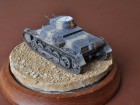
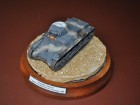
This is a simple kit which goes together very well.
The assembled model was primed with my now sadly dwindling stock of Alclad’s Grey Plastic Primer.
Thinned Tamiya Textured paint was applied sparingly around the wheel arches and areas where dirt might have accumulated to give the weathering a little three-dimensional appearance.
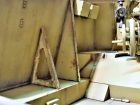
The wooden areas of the vehicle were painted with random patches of sand, brown and grey acrylic paint to represent wood. These were then given a coat of chipping fluid, before the model was painted with several shades of green Tamiya acrylics working from dark to light. The chipping fluid was then reactivated using warm water and some of the overlying green paint was removed to allow the ‘wood’ colours to show through, representing wear and tear.
The model was lightly dry-brushed with green enamel to accentuate the raised details such as the edges of panels and rivets. The weathering was then done with pastel chalks from the Pan Pastels range to represent dust and dirt concentrating on areas where the textured paint had been applied.
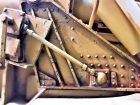
Two small water tanks are supplied for the water-cooled Vickers Guns, but the stiff plastic hoses in the kit were replaced with flexible lead wire draped around the tanks for a more realistic appearance.
I’m a huge fan of Copper State Models which continue to provide some first-rate kits for fans of early armour.
Dai W.
I very much enjoyed the change from my steady diet of 1:48 aircraft. I hope you like the end result.
Gary W.
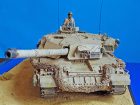
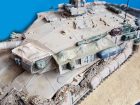
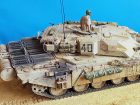
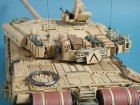
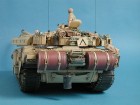
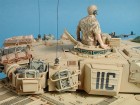
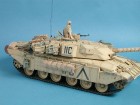
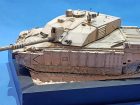
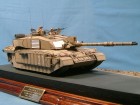
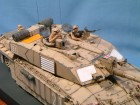
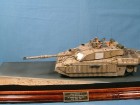
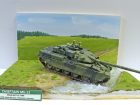
The basic 1:35 scale Tamiya kit is dreadfully inaccurate with undersized and oversized details and the bin stowage on the turret is a disgrace. I used plasticard to create the stowage bins correctly and used an aftermarket barrel plus a resin mantle incorporating the TISH (Thermal Imaging Sight Hood).
Resin replacements were used for the bolt on (Dorchester) armour and paints used were Tamiya with Vallejo pigments and Ammo by Mig for the rest.
Hope you like it!
Dan B.
Clean up of the waste resin is quick and easy. I use a scalpel and a razor saw, mind your fingers! As with all my resin kits superglue is the way to go and construction can be completed in a hour or so. A quick blast of auto acrylic primer from a rattle can is enough to prepare the model for the next stage.
I usually use Humbrol or Revell enamels for the majority of the painting. I tend to mix a couple of greens together to get the finish I’m after, all mixed by eye and directly into the airbrush. A simple black disruptive pattern was then added.
As for weathering, I use a mixture of airbrush, oil washes and dry bushes to get the desired effect. Detail painting is picked out with Vallejo acrylics followed by a coat of matt varnish.
The only addition was aerials made from stretched sprue. There you have it, finished.
Hope you like it!
Neil McC.
I have always liked the aggressive, solid look of the Churchill tanks, having made a couple of Tamiya’s renditions in the past, so when HFV Club brought out their version of the Mk lll, I just had to make it. A happy hour spent on the internet resulted in finding a brief history of King Force and its part in the battle of El Alamein.
After completing the tank I looked around for figures to give some scale to the scene I had in mind, and low and behold, I found Master Box had started to issue sets of figures in action poses that would be perfect for my scene.
To give the effect of dust kicked up by the tanks, cotton wool was sprayed with a pale sand colour and glued down behind the tracks with photographer’s adhesive spray.
Mike Moore
The model was sprayed with Xtracolor Olive Drab and shaded with the same paint with some white added.
I made up a thin wash from Tamiya XF-52 Flat Earth and applied this in the panel lines, grooves and crevices and in the wheels.
Using an acrylic wash eliminates the need to spray on a protective coat of Klear over the enamel paint. A great little model.
All the best,
Roger
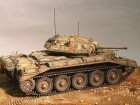
This a fairly old Italeri 1/35th scale kit but it still builds into a nice looking model straight from the box and makes a nice change from a lot of today’s super kits full of extra details that contain huge amounts of parts and multi options to choose from. I built it purely for that reason, to see how good a job can be done with a relatively old kit built more or less straight from the box without adding any extra detailing. I wasn’t concerned with the models accuracy and just wanted to open a box, build a model and paint it like I used to years ago, job done!I preshaded the model with Humbrol Matt 29 + 10% matt black then sprayed Tamiya desert yellow as the base coat followed by successive highlights of desert yellow plus white, Then used various pin washes of oils for shadows and stains etc. and painted scratches and chips with humbrol dark red brown + black. Tracks were painted dark chocolate brown and drybrushed with Citadel Boltgun metal. The Desert base is a bread board and the ground work is polyfilla sprinkled with crushed cat litter and sand, the reed grass is made from an old shaving brush, all painted with oil washes and enamel drybrushing. This simple model went on to win a local club competition 1st place and model of the year for the same club, a highly commended at Lincoln and Newark model expo and a Silver medal at IPMS Scalemodelworld 2004.
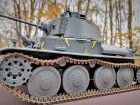
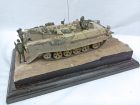
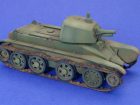
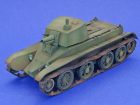
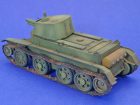
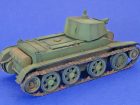
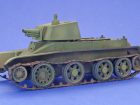
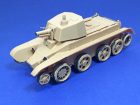
The D38 was a development of the Soviet BT-2 tanks produced in the 1930s. It was armed with a 7.62cm howitzer and was intended to provide fire support to tank units equipped with the BT tanks. While prototypes were built and tested, the vehicle was not developed as the superior T34 was eventually put into large scale production.
The Hobby Boss kit has many parts in common with its earlier BT kits. There is a new turret provided along with new parts for the howitzer.
I found that the kit was very easy to build, though I must admit that I was not impressed with the tracks. They are supplied as individual links. However, each link has two rather heavy sprue connections. I thought that it would be difficult to remove the links from the sprues without damaging them.
Each link is also blessed with two recessed ejector pin marks which I thought would have been difficult to eradicate.
The kit’s tracks were replaced with a set of metal tracks from Friulmodel. These do not fit around the kit’s drive sprocket and idler particularly well and the guide horns had to be removed from a few of the links to get them to fit. This surgery was not visible on the finished model.
While the BT tanks from which the D38 was developed were capable of being driven on roads without their tracks (by connecting a chain drive between the drive sprockets and the rear road wheels), I am unsure if this mechanism was ever used on the D38. Because of this I felt that leaving the tracks off altogether was probably not an option.
The headlights had their reflectors coloured with a silver marker pen before the clear lenses were added. These were masked with circles of tape cut with a disk cutter.
The model was undercoated with Alclad’s Black Primer (the insides of the wheels were brush painted before assembly as I find these areas hard to cover with an airbrush later on). The model was then painted with Tamiya paints and weathered with pastels from the Pan Pastels range.
There are transfers for suitably Russian looking white numerals supplied in the kit. However, none of the (few) photos of the tank that I could find show any markings applied and so I did not use these.
The photos that I could find on the internet suggested that the front sections of the mudguards were not fitted – or had been removed at some point. I don’t know whether this was a universal feature of if they had just been removed from the particular tank in the photograph. I followed the kit’s instructions and added these to my model. However, this may have been incorrect.
All in all, this was an enjoyable and was a fairly quick build that ‘sneaked in’ between a couple of more involved projects. I’d recommend this kit to all fans of Soviet armour – just watch out for those tracks!
Dai W.
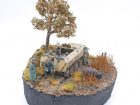
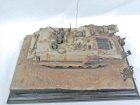
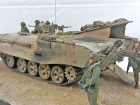
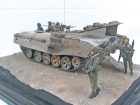
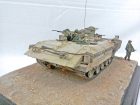
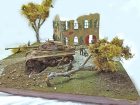
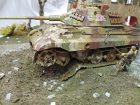
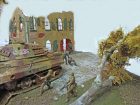
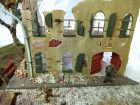
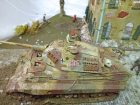
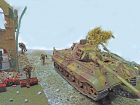
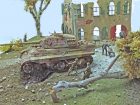
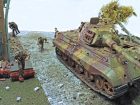
The Tiger Ausf.B,3./s.H.Pz.Abt.503 (King Tiger) was moving up to engage the approaching forces but was disabled by a friendly landmine placed by retreating troops to slow the advance. The ground troops are continuing the defensive action without their armour support while the tank crew is seeking shelter in an abandoned Inn.
Vic M.
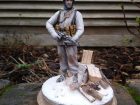
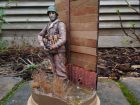
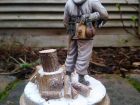
The two figures are from Verlinden and are my first venture into figure painting, which were painted with Vallejo acrylics. The figure at the rear should have had a spare mortar in his right hand but after being accidentally dropped, I drilled out the hand and replaced it with a Bren gun.
A picture frame was used for the base and the dark surface that can be seen showing through the rubble is a piece of adhesive floor tile.
The rubble was collected from the ground of a building site where rain water had run over slight depressions leaving the small particles of crushed brick and other fragments, but at the same time washing away the top lay of dust. The fragments were sieved and separated into two sizes. Firstly the larger particles were sprinkled by hand, then secured in place with Ballast Magic, a great product for this application and available from model railway shops. When dry small particles were added over the top hopefully to give a more natural appearance and more Ballast Magic was applied.
The two wooden crates and the jerry can came from my scrap box and the name plate from the local trophy shop, the wooden floor board section was of course from a well known fast food restaurant.
Hope you like it… John R.
Due to good quality of this kit, I almost haven’t got any problem with the assembly process. I only replaced tool clamps and made few scratch build with brass which you can see in my model before painting process.Before assembly process was completed, I applied mud at lower hull area. I made mud texture from wood filler.
First of all, I sprayed whole area with Mr Surfacer 1200, let the primer cured and then I preshade my model with dark brown acrylic. I left the model for a day then continued with basecoat. As usual I paint my basecoat with Tamiya acrylic. For dark yellow base color I mixed tamiya Dark yellow + Desert Yellow about 70:30 ratios. Then the second layer received sprayed of thin Dark Yellow mix with Buff, and then I added a bit of flat white for lighter color at the horizontal surface of the model.
For brown pattern I used Tamiya Red Brown mixed with buff at 90:10 ratios. After all dried, I sprayed green pattern with Tamiya Olive Green, and the next layer I sprayed with thin Tamiya Olive Green + Field Grey. I added more Field Grey for the next layer until I feel satisfied with my base color.
For muddy area, I sprayed with Tamiya Dark Brown + Flat Earth.
I left my model for a day once more to give the paint really cured.
This also gives me a time to check my paint job and I could correct it if I found any problem with my paint job. I sprayed future polish on the area which decals would apply; after I applied all decals I sprayed the models with satin varnish. This step also sealed the decals. Then I painted the details such tools, exhaust, tow cable, wood block and spare tracks.
Next step was filtering; I gave my model with yellow ochre filter. This step is important to toning down and blend the camo. After I felt satisfied with the filter, I sprayed satin varnish all over the model. When the varnish has dried, I applied faded effect with multi dot color of oil paints then blended with damp brush.
I left the model once more and moved to worked on the wheels and tracks. I glued the center wheels and track all together so I could pull off the tracks and wheels and painted them separately, even the road wheels could painted separately. The wheels and track has been given primer. So I started to spray them with Nato Black color for preshade it, then I sprayed the tracks with thin dark brown color, layer by layer. I used to paint my models in several thin layers.
After that, I sprayed all wheels with dark yellow mix with buff. After all has dried I sealed it with satin varnish.
The next day, I prepared to wash my model. First of all, I give thin wash of raw umber to all over model and then I gave pin washed with darker brown color to bring out the details.
After washed was finished, I create chipped paint and scratch with Vallejo and oil paint. I used two layers method for chipped paint combine with sponge method to give random effect; I also added rust here and there. I also added worn effect on grab handle, machine gun rail, and hatch by combination of dry brush with flat black and graphite powder.
For rusty exhaust, first I painted the exhaust with red brown, and then applied rust color pigment on it and blended with mineral spirit. After that, I mixed plaster, acrylic medium gel which I bought from local art store, water and pigment to create mud. I applied mud to all wheels and tracks. After the mud was dry, I applied more pigment on wheels and blended them with mineral spirit. To avoid monotonous appearance I applied various color of dark pigment onto wheels. After all pigment dried, I dry brush the tracks with metallic grey and steel. I also applied various color of pigment onto hull and turret.
The last step was adding splatter mud to the model.
To create splatter mud; I dip a brush to the mud mixture and blew it to the model with airbrush. I did it little by little; try not to overdo this effect.
Finally the big cat was done, and I brought it to the display at local hobby store.
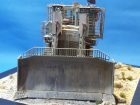
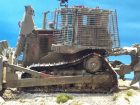
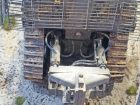
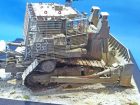
This was awarded the Craig Gardiner Memorial Award at the Wings and Things 2018 scale model show.
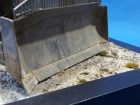
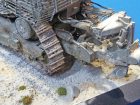
It is painted with Vallejo Model Air with the dozer blade using various shades of Alclad2 and Ushi van der Rosten metal powders. Weathering is done with Ammo of Mig products and Vallejo pigments. The hydraulic rams are painted with Molotow Liquid Chrome Pen.
Daniel B.
Towards the end of the war, Germany was close to completing and testing prototypes of two mega tanks: the Maus (Mouse) and the E100. Against such monsters, the Allies had nothing in their arsenal of tanks that could compete or survive an engagement in battle.
Mobility issues slowed development but what if the Germans had solved them and production had been successful? There could have been many outcomes one being that an improved version be produced in the same way the King Tiger developed from the Tiger tank.
Taking the Dragon E100 kit, this idea was developed into a 1:35th scale model on how the “What if? – might look. The issues arising and possible solutions are set out below.
The following issues were considered as needing to be addressed:
Under powered drive train resulting in mobility issues
Gun unnecessarily large calibre – rate of fire
Night fighting – inclusion of infra-red technology
Self defence against air attack from low and high-flying bombers.
Included in the re-design and reflected in the model were:
The width of the hull increased to accommodate a larger and more powerful engine to improve mobility
The turret widened to accommodate two smaller calibre guns. These would fire alternatively to increase rate of fire The smaller calibre (still well above any Allied choice) would increase space for the for the ammunition carried
The turret fitted with a new gun-mantle capable of 80 degrees elevation against air attack and wide enough to accommodate the twin barrels
An automatic magazine fitted to save space, reducing activity and duties for the turret crew
Infra-red sights and lights fitted with automatic machine guns fired from inside the hull for close defence
Translating this onto the model, started by cutting the hull and turret exactly down the centre. Cut to size, plastic card fillets were inserted to widen the turret and hull. A comparison between the standard hull and that of the E100 Neu is shown below.
The joints between the fillets and two hull halves need to be exact to ensure they are to be invisible with minimal filling required. The fillets were strengthened by gluing strips of card to the inside of the hull onto which the fillets could be supported and secured.
The turret was updated with a more modern design of cupola and these relocated to suit the enlarged turret. The infra-red sensors mounted on the turret were salvaged parts from the spares box or scratch-built.
The gun mantle was scratch built having ensured that the twin guns would not look “crowded” when in place.
The vehicle was finished in a camouflage scheme created by using printing blocks used in card making. By trimming off any suitable sections of vegetation and gluing them to a support block, mini printing block were produced.
The pattern was then stamped and printing them onto the vehicles’ surface. Weathering was carried out using standard techniques. A scenic base of woodland in late autumn was made and the finished model placed on it.
James S.
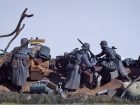
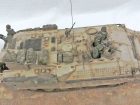
Wittman and his crew (Dragon figure set 6831) pose for the camera during a moral boosting visit. A worker at the rear keeps a low profile so as not to appear in the shot. Accessories from Italeri Field workshop set which is still very good.
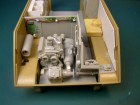
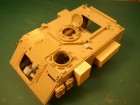
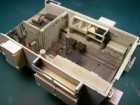
The basic hull needs a lot of work, the upper and lower hull sides are much thicker in the middle so need lots of sanding down. The hull floor is very thick, I eventually gave up on sanding it down. The fire wall does not extend all the way down to the hull floor so extra panels need to be added.
Once the above was completed it then became easy to add a vast amount of simple detail from some very good internet reference photos.
It was worth all the initial effort and I am glad I persevered.
A very enjoyable project of something slightly different.
Cheers, Pete S.
Mark R.
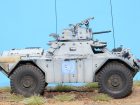
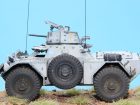
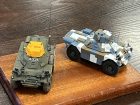
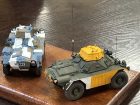
The book ‘British Army In Colour’ has a photo showing a line up of Ferrets with the special colours used on the firing ranges. This Ferret is the closest one in the photo.
The kit was mostly straight from the box, apart from the over-large aerial and turning the front wheels slightly.
Mr Hobby 1500 Primer White is used on the hull sides and also served as an undercoat for the Humbrol 197 Satin Yellow with the rest of the hull in Humbrol 75 Bronze Green.
The large seven piece aerial is made from plastic tube, brass tube, fuse wire, kit alternative aerial base, more brass tube and rod. The registration plate numbers are on the kit transfer sheet and just need re-arranging.
Weathering was done with pastel dust.
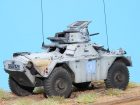
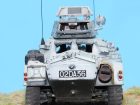
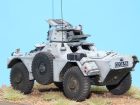
Ferret Scout Car 03 CC 23 – Berlin Brigade
The Inspiration for this scheme came from the back of Tankograd – British Infantry Brigade Berlin with seven photos of a parked Ferret looking much worse than it would on the day of the parade.
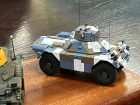
The kit was built straight from the box and the colours used were Mr Hobby 1500 Primer White, Humbrol Authentic HU16 35164 Intermediate Blue and Colourcoats OZ06 RAAF Dark Earth with Humbrol 75 Bronze Green for the undersides and wheel arches. The aerials are Albion Alloys brass tube and rod.
No weathering was applied to the hull, only to the tyre surfaces. The registration plates were made from the spares box. Humbrol Matt Varnish was used as a final sealing coat.
Tim W.
Gallery 1
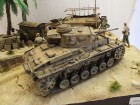
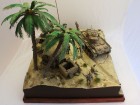
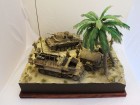
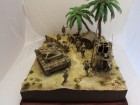
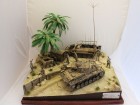
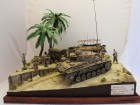
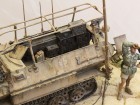
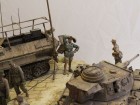
The PzIII is the old Dragon-Model, build completely out of the Box. It’s coloured with Revell-Aqua-Color and finished with different weathering-techniques. The same for the Sdkfz251 – but it’s an old Revell-Model.
The Generator-trailer is 70% scratch – only the Tyres and the outer frame is from an old Quad-20mm Gun from Tamiya.
The Base is all made by myself. The Ground is a mix of Plaster and fine sand. The palm trees are made of sticks, wrapped with wire, tissue and Glue. The leaves are cut out of paper, glued with a wire and painted in different green colours.
The Figures are from Tristar & Dragon.
Gallery 2
I hope you like it. It normally takes me 2-4 months to build a diorama. But stay tuned for further step-by-step updates.
You can see more on my Blog
Michael M.
Using the crew gear I “dressed” the model to look like an example seen in the movie. As only one figure was to be used I closed the remaining hatches as very little interior is provided in kit. Then it was down to painting and weathering the model to appear like Fury.
When I emailed some pics to client he was over the moon with finish, especially as he knows what he’s talking about being a serving tank commander in British Army.
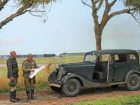
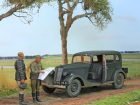
The Gaz M1 car was a licence built version of the 1934 Ford Model B car. Powered by a 49 HP 3.3 4 cylinder engine. The Russians upgraded the vehicle with stronger suspension and wheels to cope with ‘Stalin’s asphalt’. Private motorists did not exist in the Russia of that time so they were for the use of officials, the military and the notorious NKVD.
Regards
Andrew J.
When you build a modern 1:35 truck kit such as this one you become immersed in the whole design of the vehicle from the ground up. This makes for a long but satisfactory build, particularly if you reference material like the WWP publications book on this vehicle. My only addition was resin wheels from DEF.
Trumpeter does not intend for the cab to tilt. In the real vehicle when the cab is tilted forward the gearbox and its gears can be seen still on the chassis mounting. So I had to detach the gear base from the cab and glue it where it belongs on top of the gearbox! The cab support and forward springs under the chassis were scratch built.
Hope you like it?
Andrew J.
Here are a few notes:
• Painted with acrylics and oils.
• Water is EZ water stirred with a soldering iron to create ripples. The water coming out of the pipe was poured down a piece of clear stretched sprue
• The planks are scrap wood stained with a vinegar and wire wool mixture
• The metal is plastic and thick foil painted with enamel mixed with baking powder
• The logs are sticks cut and split
• Reeds are cheap paintbrush bristles
• Snow from Krycell.
I tried to reflect the weather in the colouring of the faces. They are not perfect but as good as I can achieve with my abilities.
Hope you like them!
Stuart H.
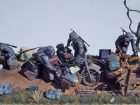
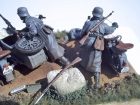
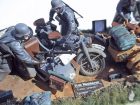
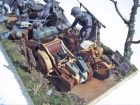
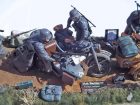
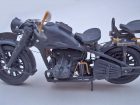
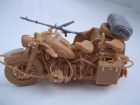
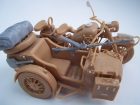
Single dark grey MC is very old Italeri Zundap KS 750- still good after all these years.
Tan MC combination- Master box BMW R75-very good recent kit with some very tiny parts
Light Grey MC combination – Zvezda BMW R12-very good recent kit with some very tiny parts
You can see four figures together on a very simple homemade muddy base!
Cheers Pete S.
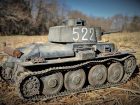
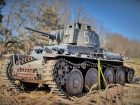
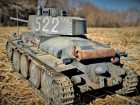
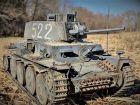
The tank is modelled after the tank that was in Pz. regiment 204 of the 22nd Pz. Division, Crimea 1941-1942.
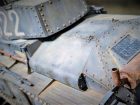
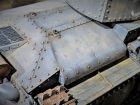
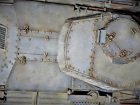
1:16 scale German Panzer 38t Tank built and painted with light weathering. Paints used are Krylon spray for base paint, Model Masters enamels, Tamiya acrylics and Mig powders and oil paint.
Thank you and happy holidays!
Roel Vera
Dear Geoff,
Just subscribed to your mag, and find it excellent. What a great idea.
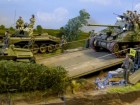
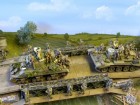
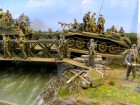
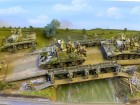
The images attached are of a diorama that I have just completed. Five months in the making but most enjoyable. I have used, I think, 38 figures including two sets of the new Miniart British tank riders NWE.
Everything is constructed from light weight materials wherever possible. The background is hand painted using water based household paints (Dulux) and then enclosed in a 4mm acrylic case to keep it stackable and dust free.
The scene depicts elements of the 7th Armoured Div. crossing a Bailey bridge at the start of Operation Goodwood.
The bridge, owing to size restrictions is only a 1/4 of the length it should be.
Keep up the good work.
Mike Moore.
More pics on my Blog
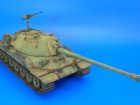
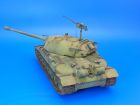
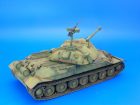
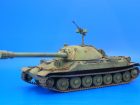
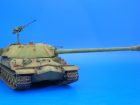
The IS7 was a Soviet heavy tank developed in 1945 and tested in the years following the Second World War. It was armed with a 130mm gun and had several advanced features including an autoloader. While it would have been successful in its intended role development ended in 1949 due to issues with the weight of the vehicle which would have caused problems transporting it and moving it over bridges etc. A single prototype survives and is currently on display in the Kubinka tank museum outside Moscow.
I found the Trumpeter kit easy to build and did not have to add much to the model myself. The only changes I made were to replace the (easily broken) machine gun barrels with hollow brass tube. Due to moulding restrictions, the holes in the muzzle brakes for the main gun (two different types are provided) are represented by shallow hollows on the kit parts. I drilled these as suggested in the instructions for a much better appearance.
The model was painted with Tamiya paints over a coat of Alclad’s Black Primer. Shading and weathering were done with pastel chalks.
Dai W.
Another not new kit but one which builds into a very nice representation of the real vehicle. Hope you like it?
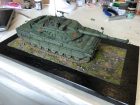
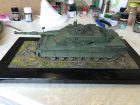
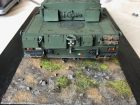
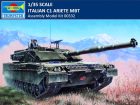
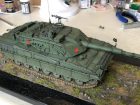
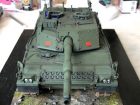
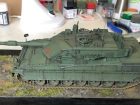
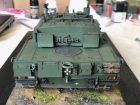
This C1 Ariete (Trumpeter, 1:35) is a completely out of the box build.
NATO Black as base colour and highlighting of panels using Matt white from Tamiya. I then applied the base green colour using a 60/40 mix of NATO Green and Field Grey from Tamiya (after having done some researches on some Websites). Pin washes from AK where applied after the model was protected with semi-gloss varnish from Mr. Hobby. For weathering I also used the fabulous weathering pastels from Tamiya as well as a mixture of 4 different pigments from MIG and Vallejo.
The periscopes and clear parts were painted with semi-transparent blue colour from Tamiya and then faded down using the smoke colour.
Rubber band tracks were primed; then coloured with NATO black and subsequently weathered using AK track washes and pigments.
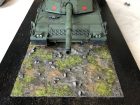
The base was made using wood from a local DIY store and AK Terrain mixture, with artificial grass and gravel from model railways and then weathered with the same pigments and washes used for the model.
Davide M.
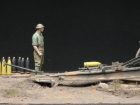
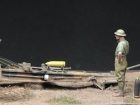
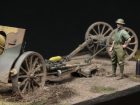
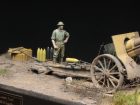
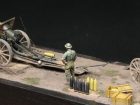
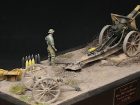
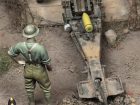
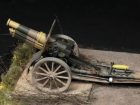
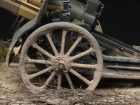

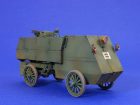

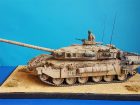
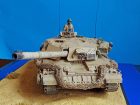
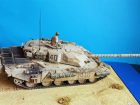

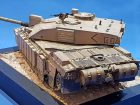
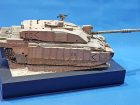
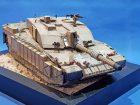
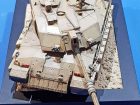
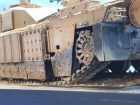
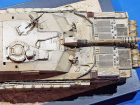
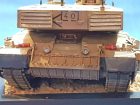
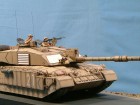
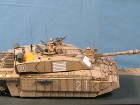
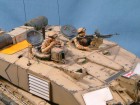
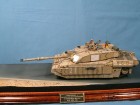
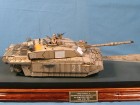
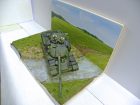
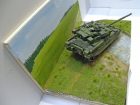
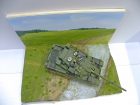
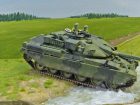
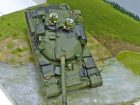
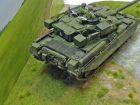
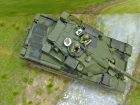

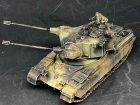
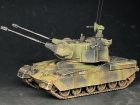
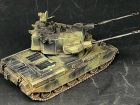
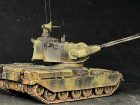

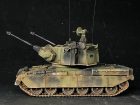
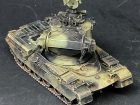

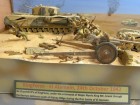
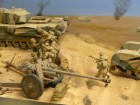
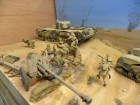

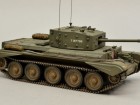
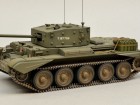
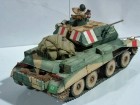
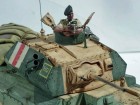
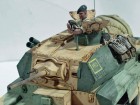
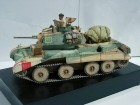
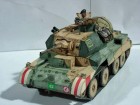
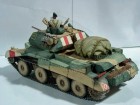
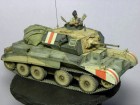
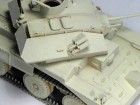

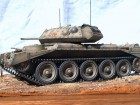
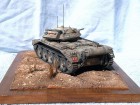
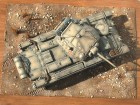
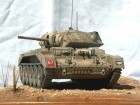
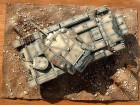
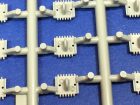
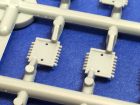
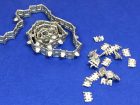
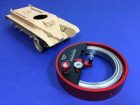
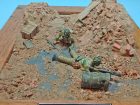
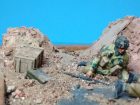
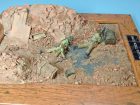
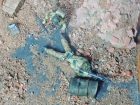
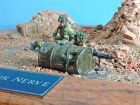
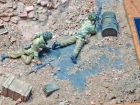
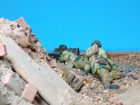
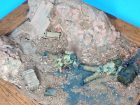
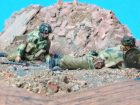
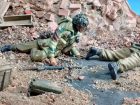

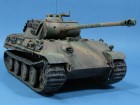
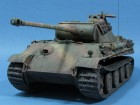
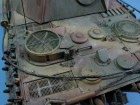
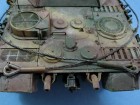
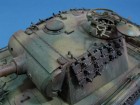
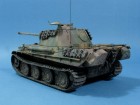

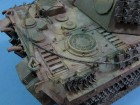
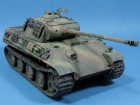
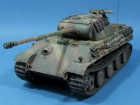
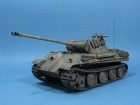
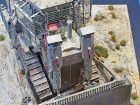
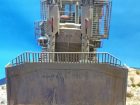

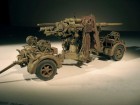
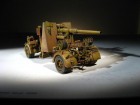

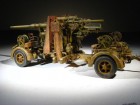

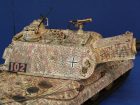
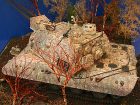
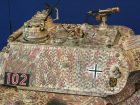
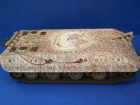
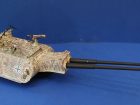
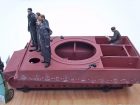
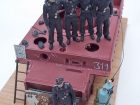
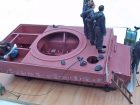
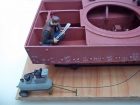
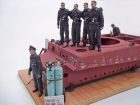
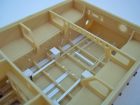
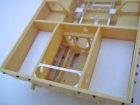
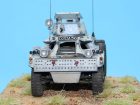
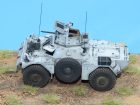
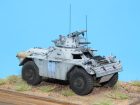
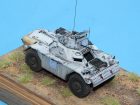
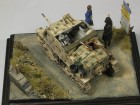
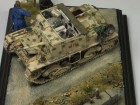
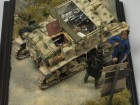
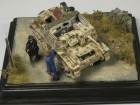
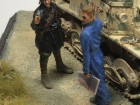
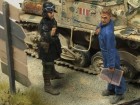
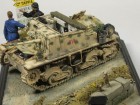
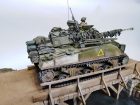
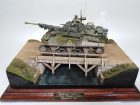
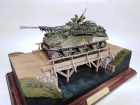
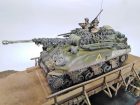
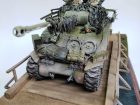
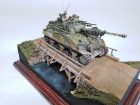
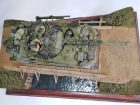
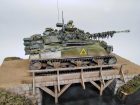
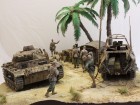
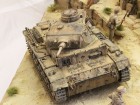
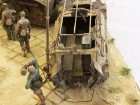
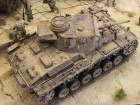
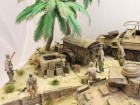
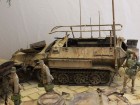
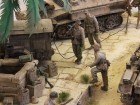
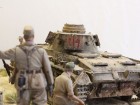
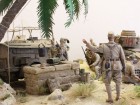
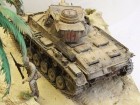
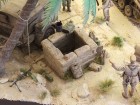
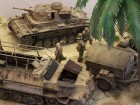
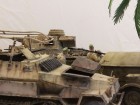
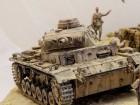
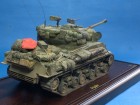
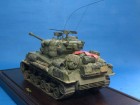
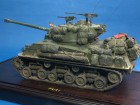
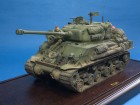
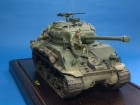
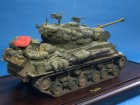
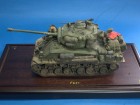


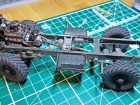
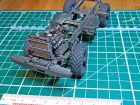
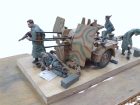
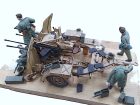
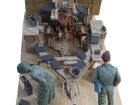
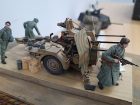
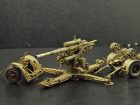
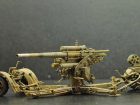
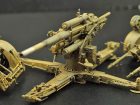
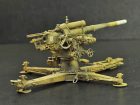
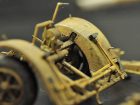
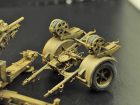
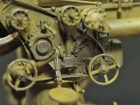
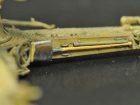
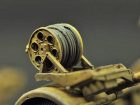
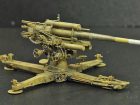
 This is my German 8.8cm Flak 18 AA Gun in 1:35 scale from the AFV Club kit.
