Canopies – polishing with MER car polish and Johnson’s Klear
Purpose
To create clear, realistic-looking canopies and other clear parts
Tools
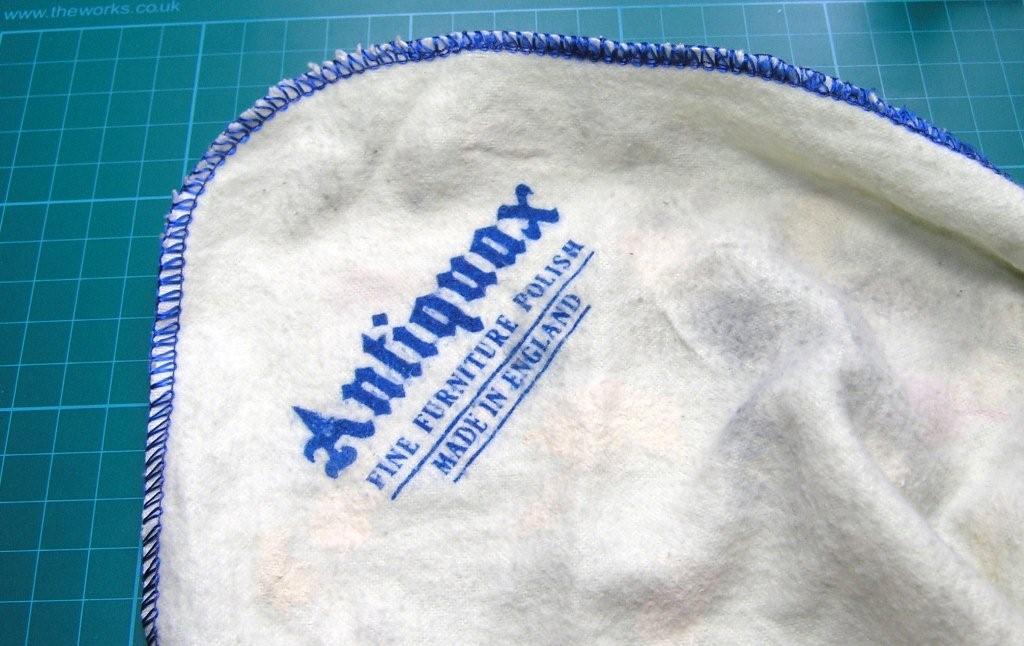
MER car polishing method–a good quality polishing duster to avoid scratching you can get with cheaper alternatives and material
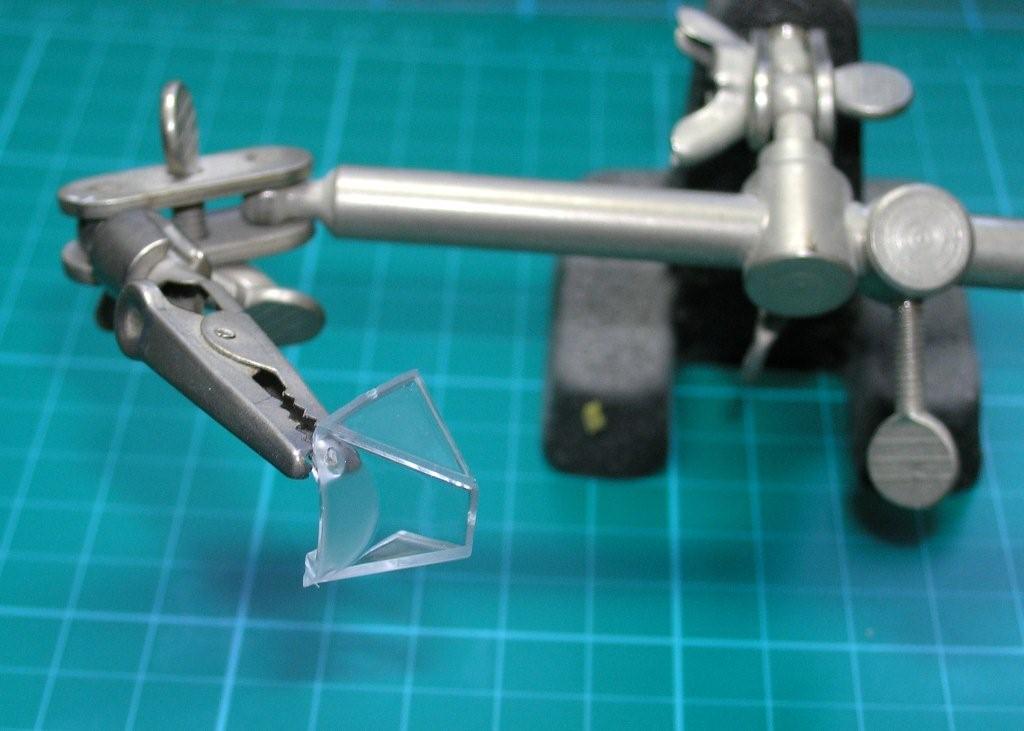
Johnson’s Klear/Future method – clamp to hold canopy during dipping and drying (items like ‘Helping hands’ model accessories are very good)
Materials
MER car polish available from vehicle accessory stores like Halfords (in the UK);
Johnson’s Klear/Future method – Bottle of Johnson’s Klear/Future floor polish available from supermarket and general stores
Success factors
You get a nice clear transparent part that is ultra clear, without scratches and blemish-free.
Watch out for…
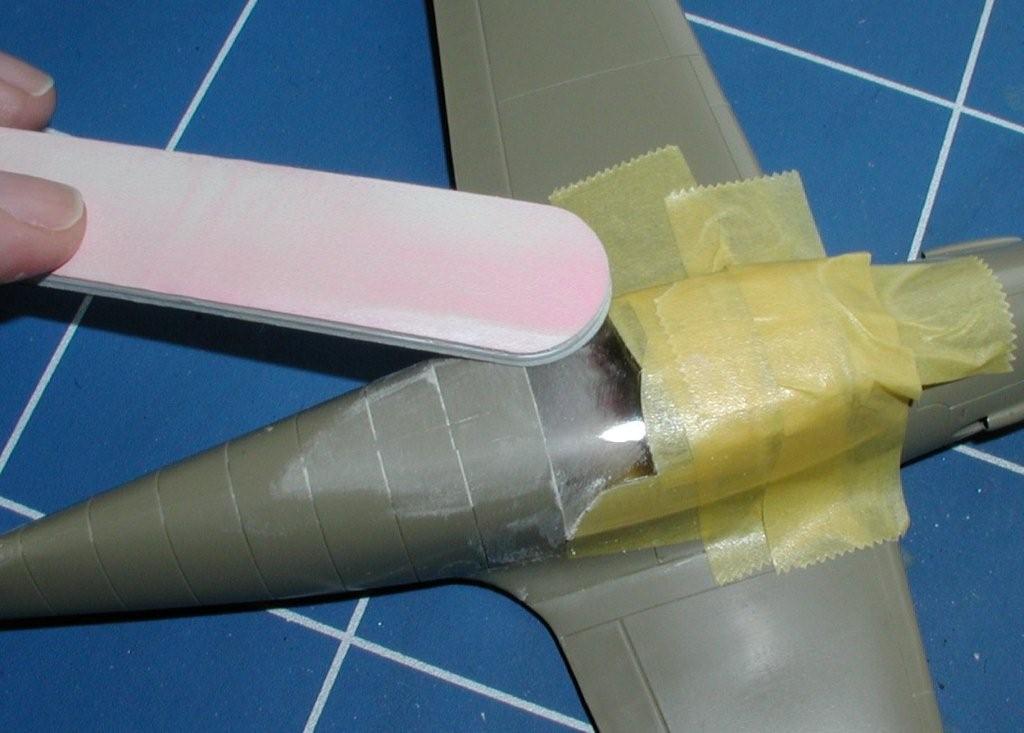
Good preparation – this is essential. You will find out how to sand and buff clear parts in the other sections, but it doesn’t hurt to reinforce this important step here.
MER car polishing method – it’s all too easy to apply too much pressure with the duster, causing friction and a slight heat build-up that can bloom or frost your canopy. Unfortunately you can’t remedy this! Just go easy and don’t buff too vigorously – gently does it… make sure you rinse the part in clean water and dry before masking and painting.
Johnson’s Klear/Future method – Rumour has it that the manufacturer is either stopping production or changing the formula so try and get this widely available product while you can!
How it’s done…
Once you’ve assembled the tools and materials these methods of ‘polishing’ canopies and transparent parts is very straightforward.
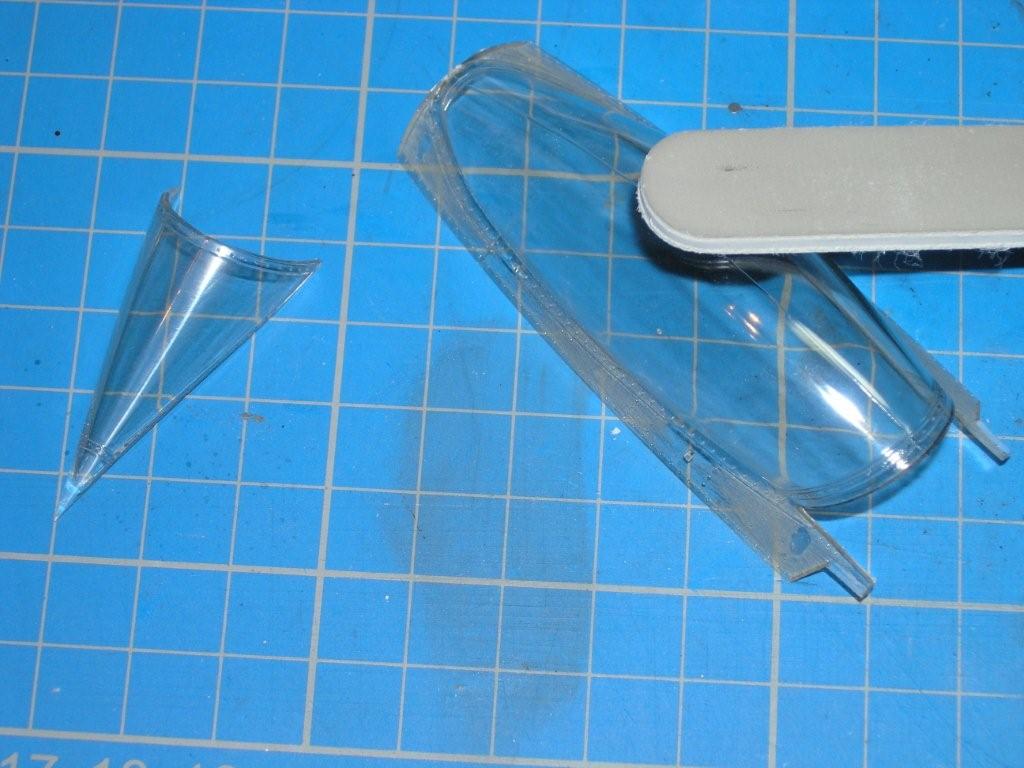
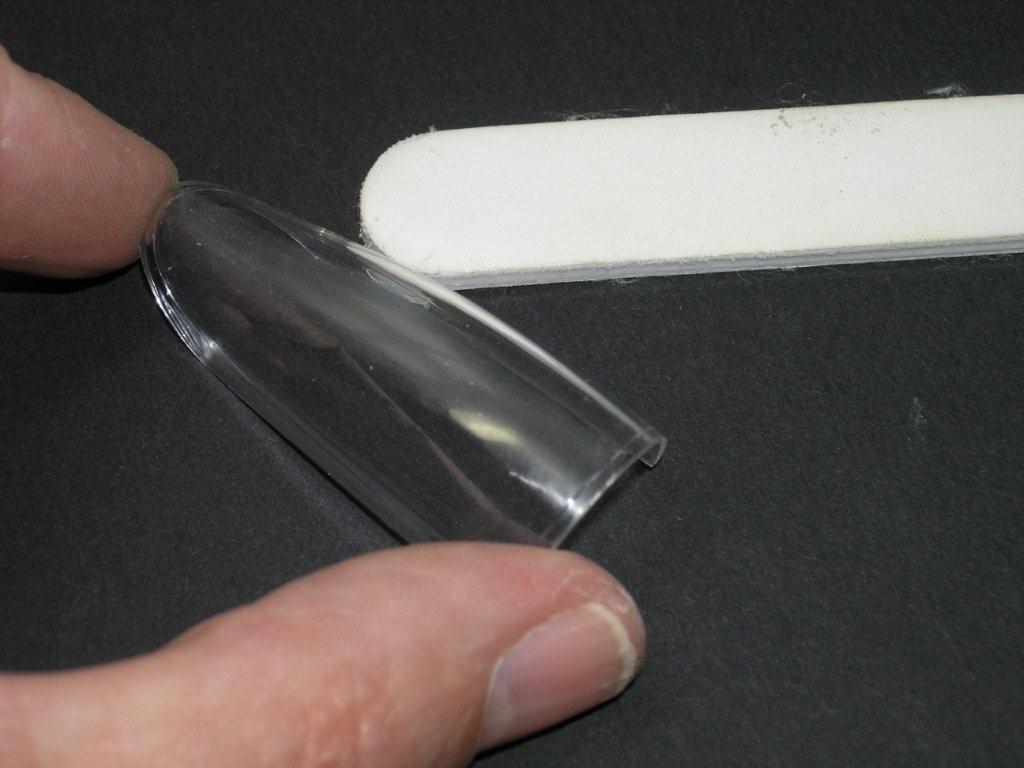
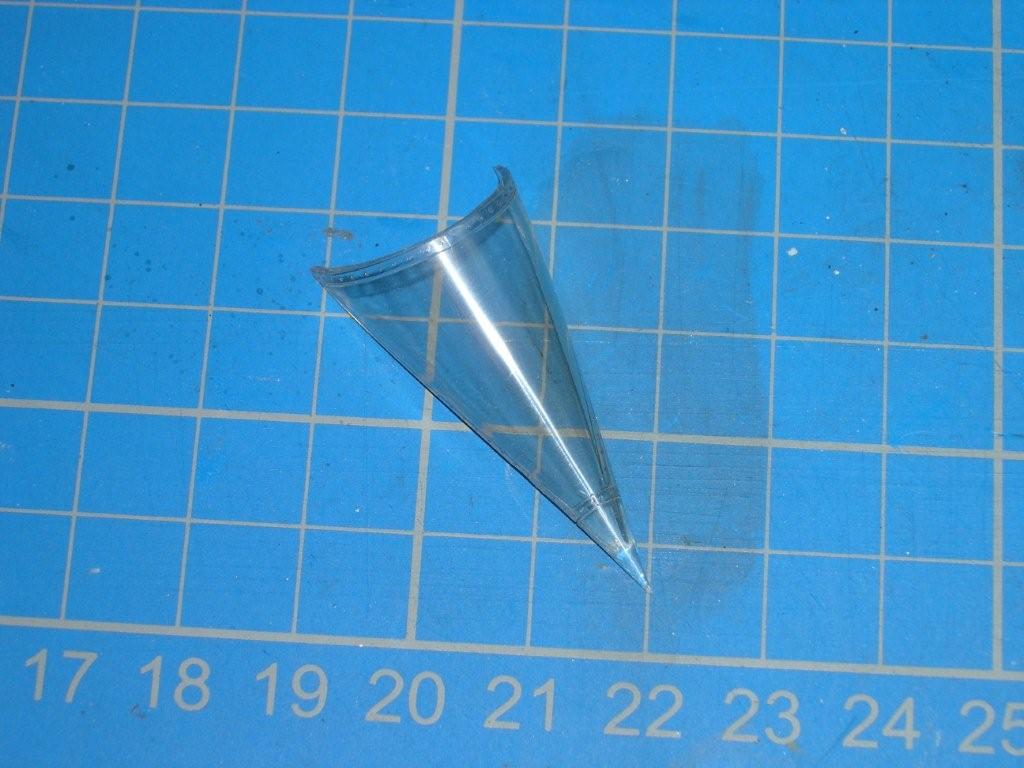
Preparation – removing mould seam using the roughest side of your nail buffer (that isn’t very rough – maybe 800 grade?) gently sand across the raised seam. Go easy and don’t press too hard. I often use a slightly circular motion that helps reduce deep scratches. Quite quickly you’ll see your seam had reduced to the level of the surrounding area. Stop. Wipe away any excess and use the (often white) side of the buffer that is the middle grade of roughness.
Repeat the action – blending in the sanded area. The canopy goes slightly misty in appearance but that’s fine as long as you don’t press too hard. Finally, wipe clean with a soft cloth and start buffing with the finest, smooth (grey?) side of your buffer and watch in amazement as the shine is restored. Now your clear part is ready for polishing.
MER car polish method first.
Only very small amounts of car polish are needed for the task. A small bottle will last you literally years, even if you are as prolific a modeller as Dave Coward!
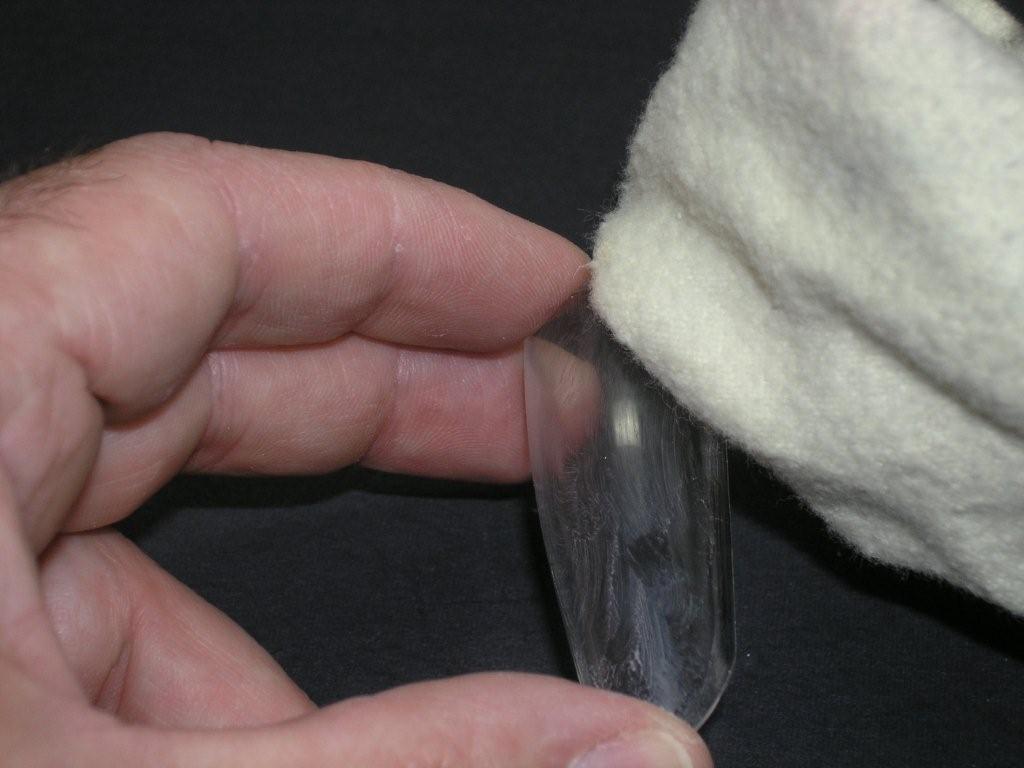
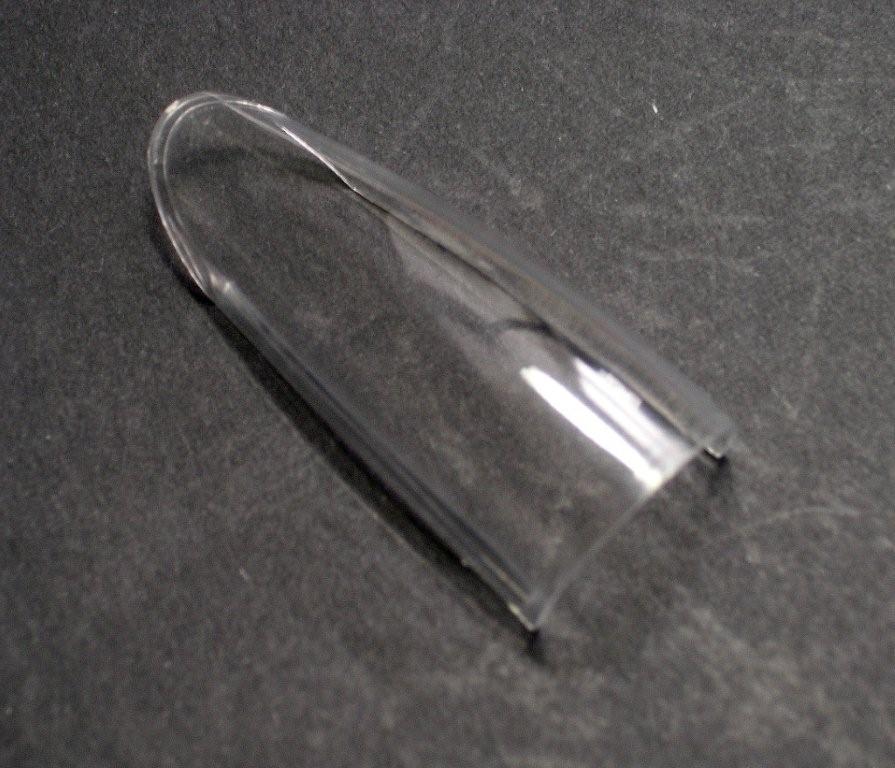
Start by winding one corner of the duster around your forefinger and adding a small amount of the car polish to the pad. Being careful not to squeeze the canopy too hard (because it is brittle and will crack) start polishing the part with small circular movements. Those service (or ex) personnel amongst you who used to or still do ‘bull’ your boots will have this off to a tee! Apply this motion for about 2 minutes and stop. Take the other end of your duster and make a soft pad and gently buff your part. This may be good enough and just look at the difference? If you need to, go on and repeat the process a second time. And that’s nearly it. Any blemishes can be easily remedied by repeating different parts of the process above.
The final stage is to wash the part in clean water and drying thoroughly before masking and painting – job done.
Johnson’s Klear/Future method

This really couldn’t be easier. Many scale modellers who use this method apply it routinely for all their canopies. Start by making sure your have cleaned up and prepared your part. Then making sure it’s free from dust decant some of the clear liquid into a clean jar. Secure your part with a clamp; we often use ‘Helping Hands’ clamps you can see in the picture. Then simply dip your canopy in and remove allowing the excess to drain off for a moment and secure the clamp allowing your part to dry naturally for a couple of hours or so and then it will be ready for spraying/painting. You might want to place a tissue beneath your canopy to catch any excess Klear?
If I’m using enamels thinned with cellulose for example I tend to leave a longer period of about a day before spraying, just to minimise any chance of a reaction between the different substances? And that really is it.
