• Skip to primary navigation
  • Skip to main content
  • Skip to primary sidebar

Scale Modelling Now

Scale Modelling Techniques

  • HOME
  • CONTENTS
    • What’s New
    • Techniques Bank
    • Aircraft
    • Armour
    • Classic Kit Builds
    • Civilian Aircraft Builds
    • Vehicles
    • Sci-Fi, Fantasy, Space
    • Maritime
    • Figures
    • Gift Certificate
    • Book Reviews
    • Dioramas
    • Modelling Workshops
    • Podcasts
  • WHAT WE OFFER
  • FREE SAMPLES
  • EVENTS
    • EVENTS
    • NEWS
  • ABOUT
    • CONTACT
    • ABOUT US
    • TRADERS
  • LOGIN
  • More results…

    Generic filters
    Exact matches only
    Search in title
    Search in content
    Search in excerpt
Pages: Page 1 Page 2 Page 3 Page 4 Page 5 Page 6 Page 7 Page 8 Page 9 Page 10 Page 11 Page 12

Airfix Hawker Hunter F.6 1:48

January 9, 2019 By Francis Porter

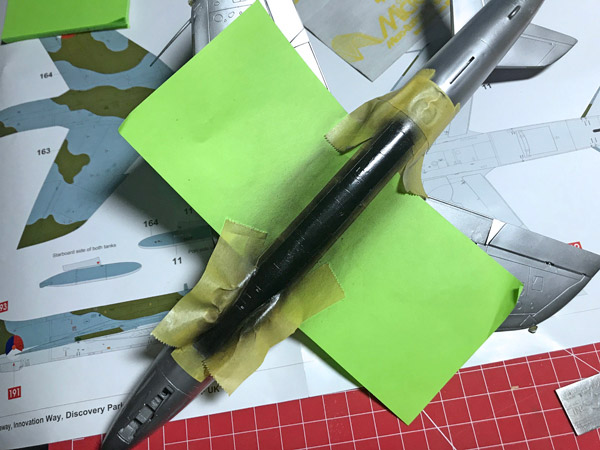
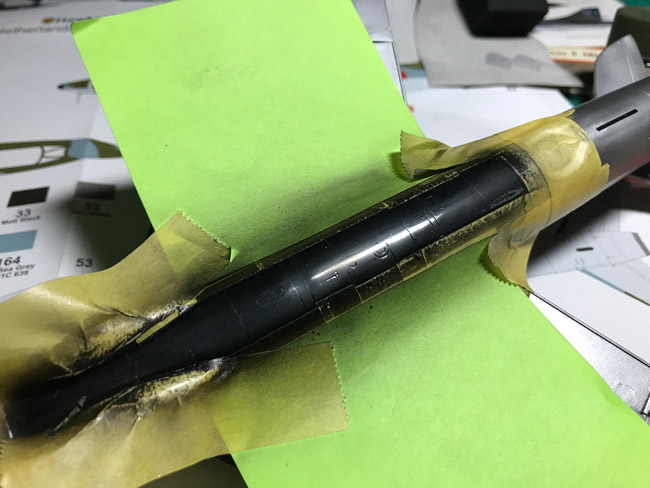
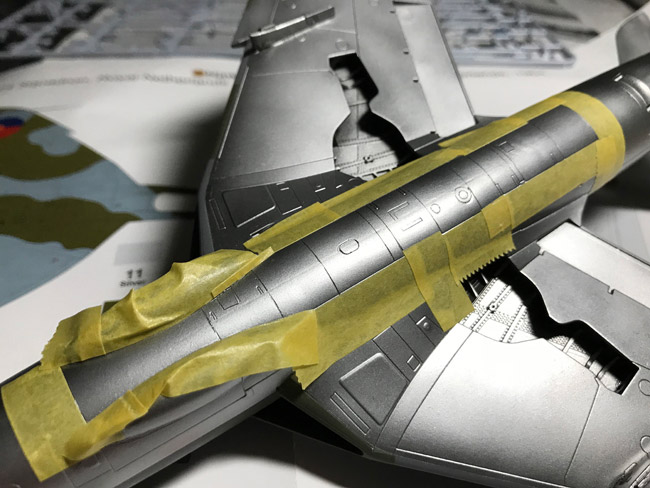
Notice that the masking tape has left random marks on the surface, you should just be able to see them. This is intentional and great because it all helps later with random wear and tear to help create that authentic look I’m after.

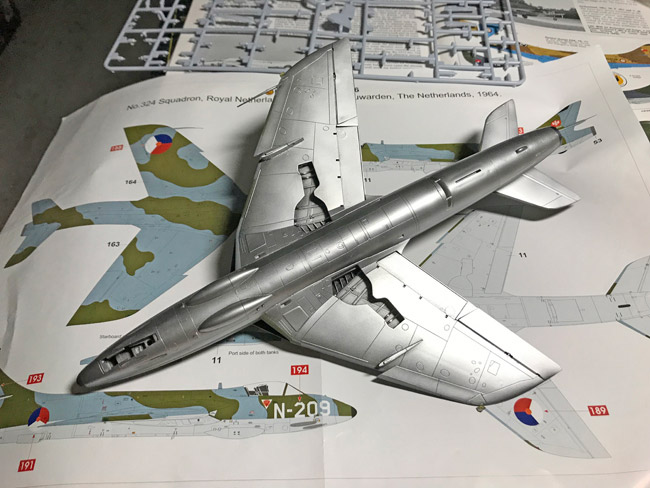
I left everything overnight and returned for the final main paint job – the metallic undersides. RNAF Hunters look to be painted High Speed Silver (HSS) and not left in natural metal and so choice of Alclad2 lacquer comes next. I think that the manufacturer does now produce HSS in their range but I didn’t have any. No matter, I do have Duraluminium and Aluminium and they went on in this order.

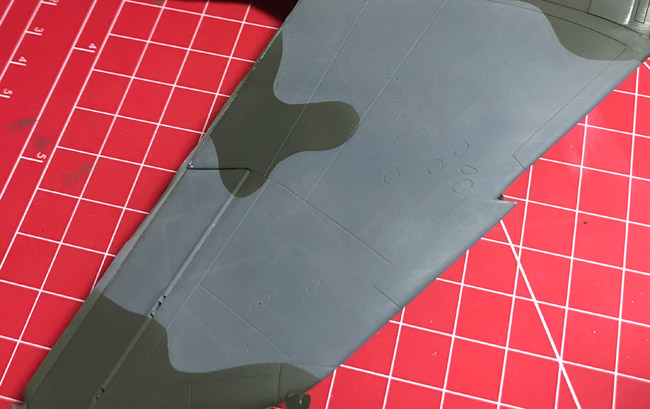
All looks good but wait… damn! Can you see the faint ‘ghost seam line’ along the fuselage underside join. This is exactly what can happen when you push things along. Ideally I leave the model for at least 3 days after sticking the fuselage together before going anywhere near it for sanding and buffing. The glue takes longer to go off than you may think and I’m convinced this is what causes these ‘ghost seam lines’.

No matter, just a bit of a pain to mask out the centre section underneath and rub back the area to get rid of any sign of a join. Buff up using polishing buffers like the very nice ones from Ultimate MP.

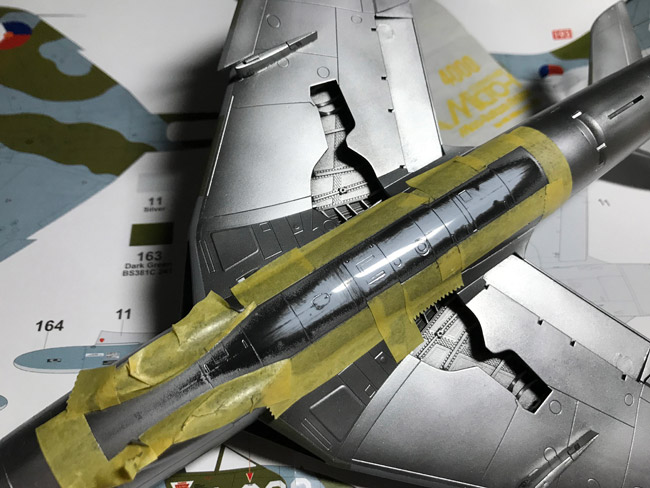
Then it’s on with the black base again and when dry buff that back with MM cloth and then repeat the Alclad2 metallic painting.

Gloss varnish…

Pages: Page 1 Page 2 Page 3 Page 4 Page 5 Page 6 Page 7 Page 8 Page 9 Page 10 Page 11 Page 12

Primary Sidebar

All the completed Aircraft builds.
Click on a Manufacturer below to see a list of all SMN's completed builds from their range.

BACK TO AIRCRAFT MAIN PAGE

Login

You are not currently logged in.


» Lost your Password?

SEARCH THE WEBSITE

More results...

Generic filters
Exact matches only
Search in title
Search in content
Search in excerpt

Finished Aircraft Reviews

  • Academy
  • Accurate Miniatures
  • Aeroclub
  • AFV Club
  • Airfix
  • A-model
  • Airmodel
  • AlleyCat
  • AMK
  • AMT.ERTL
  • ARII
  • Arma
  • Attack Squadron
  • Azur
  • BPK (Big Planes Kits)
  • Bronco Models
  • Classic Airframes
  • Czechmaster
  • Dragon
  • Dynavector
  • eduard
  • Fisher Model
  • Fly
  • Frog
  • GasPatch
  • Grand Phoenix
  • Great Wall Hobby
  • Hasegawa
  • Halinski
  • Heller
  • HGW Models
  • HpH Models
  • High Planes Models
  • HK Models
  • Hobby Boss
  • ICM
  • Ideal Toy Corporation
  • IsraCast
  • Italeri
  • Khee Kha
  • Kinetic
  • Kit Form Services
  • Kitty Hawk
  • KoTare
  • LF Models
  • Lukgraph
  • MPM
  • MRC/Academy
  • Mach 2
  • Meng
  • Mirage Hobby
  • Monogram
  • Pacific Coast Models
  • RS Models
  • Rareplane
  • Revell
  • Roden
  • SBS Model
  • Scratch-builds & Specials
  • Silver Wings
  • Simian’s Stuff
  • Special Hobby
  • Sword
  • Takom
  • Tamiya
  • Tanmodel
  • Trumpeter
  • Valom
  • Vector
  • Vintage
  • Whirlybird
  • Wingnut Wings
  • Xtrakit
  • Zoukei Mura
  • Zvezda

Copyright © 2025 · Scale Modelling Now · Online Scale Modelling Magazine · Scale Modelling Techniques and Tips · Privacy Policy