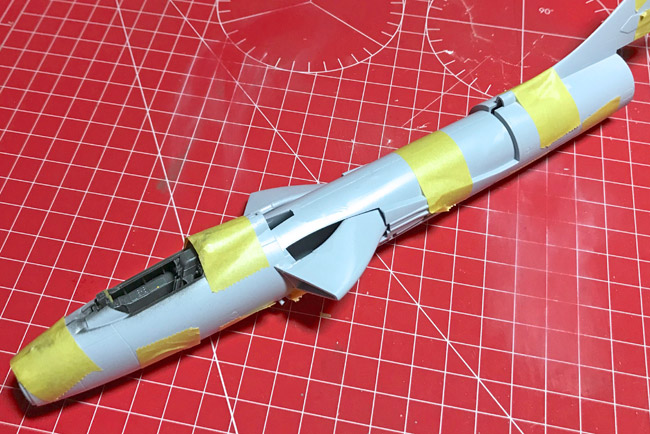
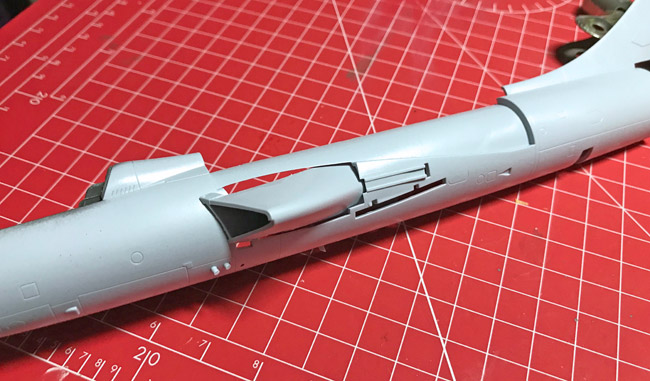
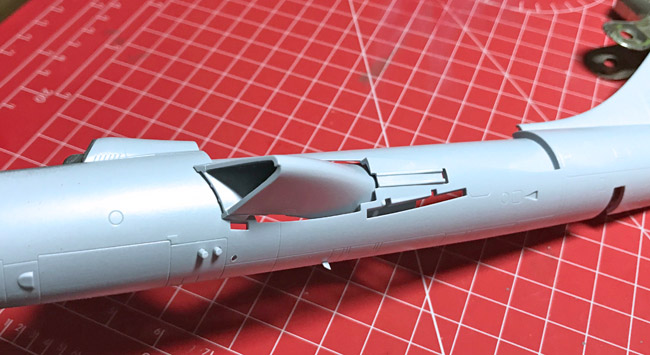
• Skip to primary navigation
  • Skip to main content
  • Skip to primary sidebar

Scale Modelling Now

Scale Modelling Techniques

  • HOME
  • CONTENTS
    • What’s New
    • Techniques Bank
    • Aircraft
    • Armour
    • Classic Kit Builds
    • Civilian Aircraft Builds
    • Vehicles
    • Sci-Fi, Fantasy, Space
    • Maritime
    • Figures
    • Gift Certificate
    • Book Reviews
    • Dioramas
    • Modelling Workshops
    • Podcasts
  • WHAT WE OFFER
  • FREE SAMPLES
  • EVENTS
    • EVENTS
    • NEWS
  • ABOUT
    • CONTACT
    • ABOUT US
    • TRADERS
  • LOGIN
  • More results…

    Generic filters
    Exact matches only
    Search in title
    Search in content
    Search in excerpt
Pages: Page 1 Page 2 Page 3 Page 4 Page 5 Page 6 Page 7 Page 8 Page 9 Page 10 Page 11 Page 12

Airfix Hawker Hunter F.6 1:48

January 9, 2019 By Francis Porter

Intake assembly

This is very neat and fit is excellent. The main wing should just clip around the intakes and we’ll look at that in the very next part, so watch out for how that goes.
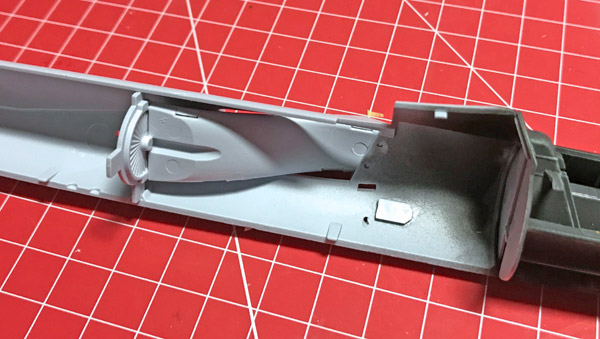
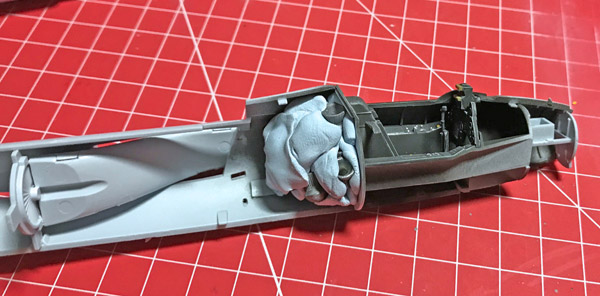
Nose weight

Airfix recommends 20g of weight. I’ve no idea when it comes to measuring these things and just stuff Blu-Tac putty and air rifle pellets in the area immediately behind the cockpit tub, as suggested, and feel what’s right. There will also be a small space in the nose cone and I’ll make sure a little weight goes in there too, just to be on the safe side.

Be sure to drill out the location holes for the gun cartridge chutes on each side of the fuselage and add the parts, along with anything else at this stage and then it’s time to close up. I thought when I did the Here Now in-box review video that the chutes had pre-drilled openings, that’s not the case and they can easily be drilled out with a hand-held pin vice drill (which I’ll do later on).

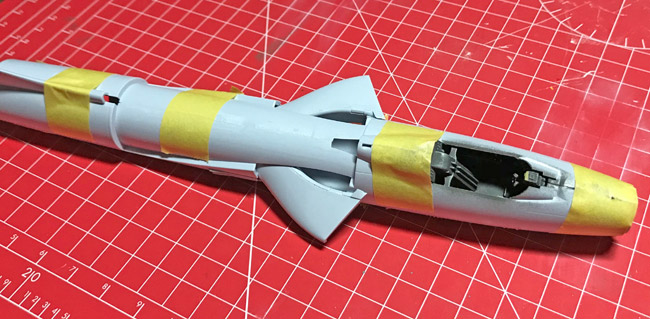
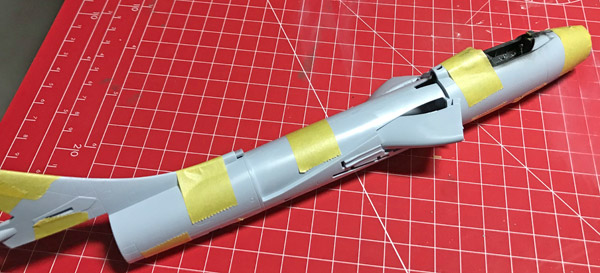
I used my preferred Tamiya Extra Thin Quick Drying Cement and taped the fuselage joins and I’ll leave this now for a couple of days to harden thoroughly.

I’ve learned from past experience that it’s best to leave the model for at least 2 days for the glue and joints to harden properly. If not, there’s a high risk that even though the join looks good, when you come to apply the silver paint (to the undersides in this case) we’re likely to get ‘ghost seam lines’ (See your SMN Techniques Bank for how to get rid of these).

Read on…

Pages: Page 1 Page 2 Page 3 Page 4 Page 5 Page 6 Page 7 Page 8 Page 9 Page 10 Page 11 Page 12

Primary Sidebar

All the completed Aircraft builds.
Click on a Manufacturer below to see a list of all SMN's completed builds from their range.

BACK TO AIRCRAFT MAIN PAGE

Login

You are not currently logged in.


» Lost your Password?

SEARCH THE WEBSITE

More results...

Generic filters
Exact matches only
Search in title
Search in content
Search in excerpt

Finished Aircraft Reviews

  • Academy
  • Accurate Miniatures
  • Aeroclub
  • AFV Club
  • Airfix
  • A-model
  • Airmodel
  • AlleyCat
  • AMK
  • AMT.ERTL
  • ARII
  • Arma
  • Attack Squadron
  • Azur
  • BPK (Big Planes Kits)
  • Bronco Models
  • Classic Airframes
  • Czechmaster
  • Dragon
  • Dynavector
  • eduard
  • Fisher Model
  • Fly
  • Frog
  • GasPatch
  • Grand Phoenix
  • Great Wall Hobby
  • Hasegawa
  • Halinski
  • Heller
  • HGW Models
  • HpH Models
  • High Planes Models
  • HK Models
  • Hobby Boss
  • ICM
  • Ideal Toy Corporation
  • IsraCast
  • Italeri
  • Khee Kha
  • Kinetic
  • Kit Form Services
  • Kitty Hawk
  • KoTare
  • LF Models
  • Lukgraph
  • MPM
  • MRC/Academy
  • Mach 2
  • Meng
  • Mirage Hobby
  • Monogram
  • Pacific Coast Models
  • RS Models
  • Rareplane
  • Revell
  • Roden
  • SBS Model
  • Scratch-builds & Specials
  • Silver Wings
  • Simian’s Stuff
  • Special Hobby
  • Sword
  • Takom
  • Tamiya
  • Tanmodel
  • Trumpeter
  • Valom
  • Vector
  • Vintage
  • Whirlybird
  • Wingnut Wings
  • Xtrakit
  • Zoukei Mura
  • Zvezda

Copyright © 2025 · Scale Modelling Now · Online Scale Modelling Magazine · Scale Modelling Techniques and Tips · Privacy Policy