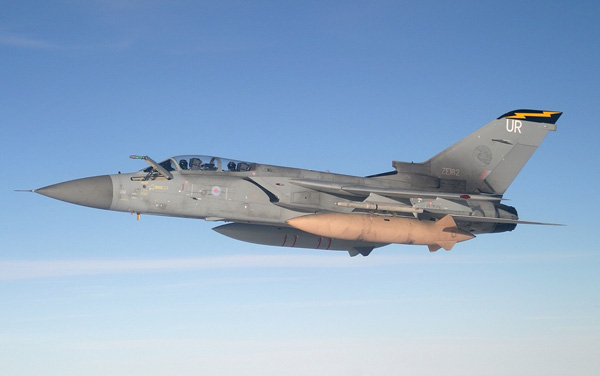
Displaying my Tornado F.3 in flight…
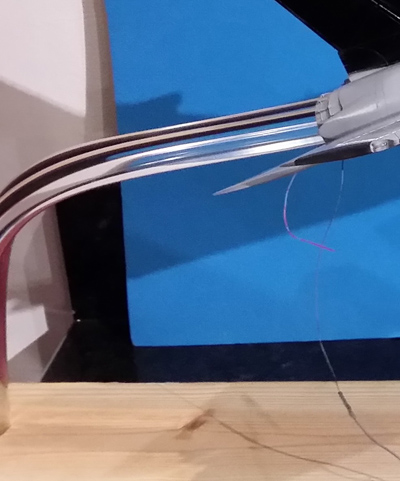
Even at this stage I was contemplating how am I going to have such a large kit look like it was naturally flying? I decided that I would use solid acrylic rods coming out of the exhaust cans and that they would be sprayed to look like the Tornado was flying full throttle with the engine reheat coming out of the rear.
What I needed to do was measure the inside of the Aires exhaust cans as that diameter would determine the size of rod I would need, it measured a sturdy 14mm. So it was down to good old e-bay and an order was placed. The next thing I needed to ensure was that the weight of the aircraft with all the added bits which was a lot more than the original kit due to all the resin additions, wasn’t going to break the rear cans. So in order just to help spread the weight I took a 14mm drill bit and drilled out the two fans which are located half way along inside the fuselage. So from the rear I would feed the acrylic rod through the exhaust cans and through the holes I had drilled out half way through the fuselage.
I think the kit part was meant to add strength to the fuselage and included the fans so that you could see them through the intake although Revell hadn’t included any intake trunking so in my opinion a pointless exercise on Revell’s behalf if that was their intention.
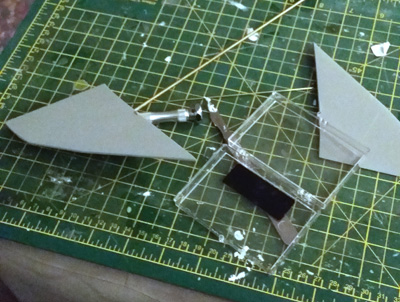
The easiest way I found in which to shape the acrylic rods to the desired angle was to preheat my fan oven on the lowest setting. I placed a clean tea towel over a roasting tray and placed the rods over the top of the sides. I then placed the tray into the oven and waited until the rods started to sag and then, whilst wearing a pair of heat proof gloves shaped it over the side of my work unit in the kitchen which is granite so it didn’t take long for the acrylic to cool and set.
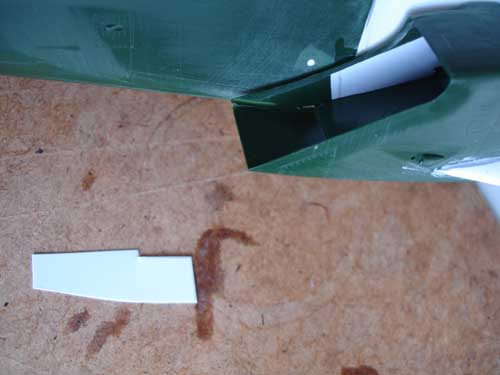
Once the intakes are assembled there is a noticeable gap present on the fuselage side in the intake. This would be rectified by just filling with shaped plastic card.
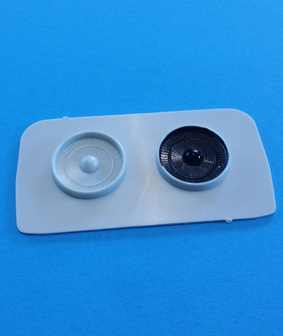
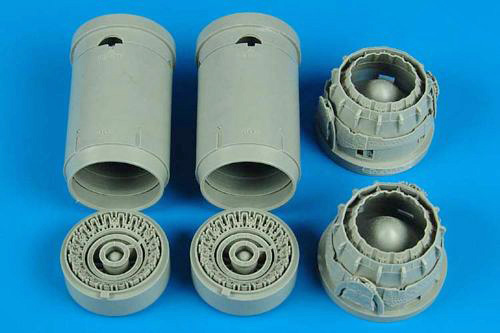
Aires resin exhausts
I also added the Aires exhaust set which had some nice detail cast into the exterior on the exhaust can and just looked a lot finer and sharper than the kit supplied parts. Fit was straightforward with minimum effort needed to install.
The rear stabilisers were designed to be fully moveable but the mechanism moulded into the kit piece in order to do this is a little flimsy so I cut these off and used a solid brass rod for extra strength.
A couple of other details specific to the F.3 include only a single Mauser cannon on the starboard side so the port side needed to be filled and sanded and polished back and also on the port side the F.3 has an integrated re-fuelling probe. So the panels needed to be scribed with just reference photos to go on.
The kit also had some horrible wing gloves in them and didn’t fully enclose the wings when swept back so with Milliput and a little creativity I made them a little better.