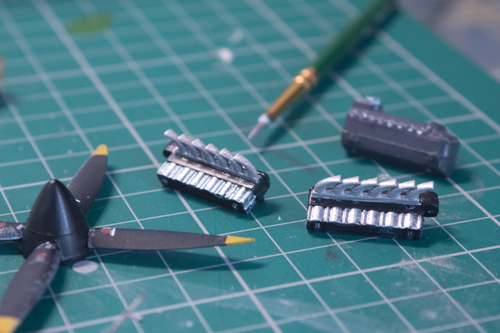
Engine
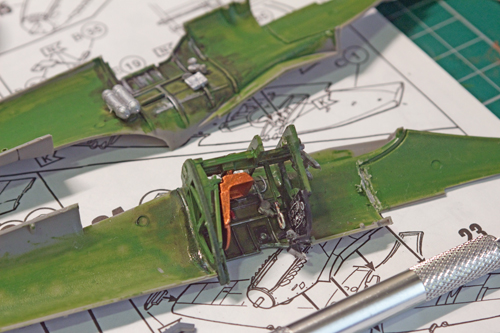
The engine is simple enough to do. The easiest way to build it is to glue all the small parts together and have as few pieces as possible before getting to the painting stage. Now, I like displaying aircraft with all the panels on so I can admire their forms, and the Spitfire is an especially beautiful form, so I shall not put the engine on display. Although the engine will not be visible on the finished model, I like to give it a passable paint job anyway. I don’t like having a model and knowing that I skimped on finishing an important part just because it wouldn’t be visible. So this little bit was for you more conscientious folks out there.
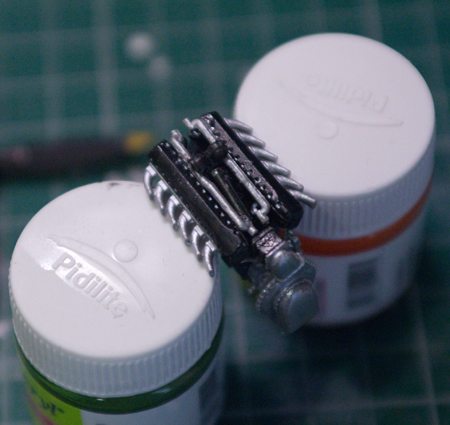
When the engine is done, it is a good idea to mount it to the inside of the fuselage to see if it fits and if all the parts are in their respective holes. I don’t glue it in just yet, because we still have some work to do on the fuselage.
Now, to the cockpit…
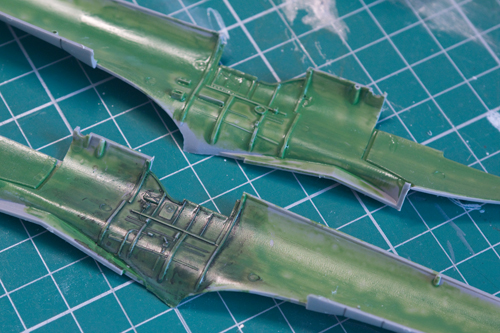
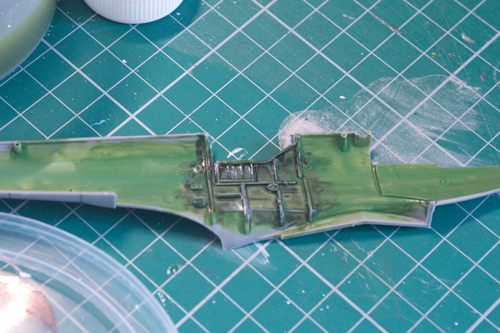
The first thing I do is I take flat brush (size 6) and spread a nice thin layer (diluted with tap water) of green paint on the panel. I don’t put on any additional coats. This is because the paint is so thin that when it dries, it leaves patches where the paint hasn’t spread evenly. This is a fair representation of the paint degradation inside the cockpit. When the paint has dried (after 15-20 minutes, presumably), I use black fountain pen ink as an alternative to panel line accentuating fluid. The ink is watery as it is, but it may still leave a fairly opaque layer of black on the panel. It is a good idea to dilute it still. This is a matter of estimation depending on what ink you have, so you should try your measurements. I find that it is much quicker to cover the entire panel with a large flat brush than it is to paint along the individual panel lines. When the ink dries, the original colour of the panel will have become darker as seen in the picture.
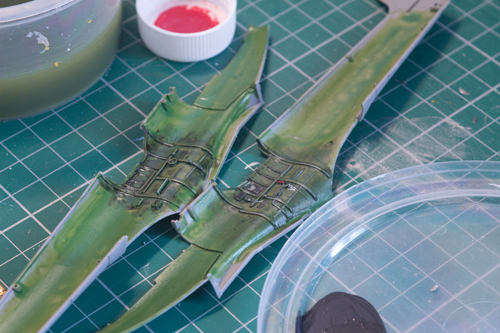
I like this effect but if you don’t, you can wipe the ink away with moist cotton buds. The good thing about using fountain pen ink is that if it goes wrong, you can just wash it off with water and start over.
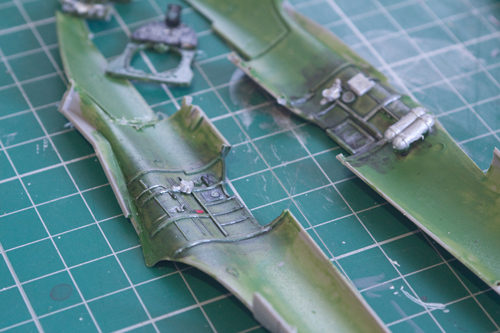
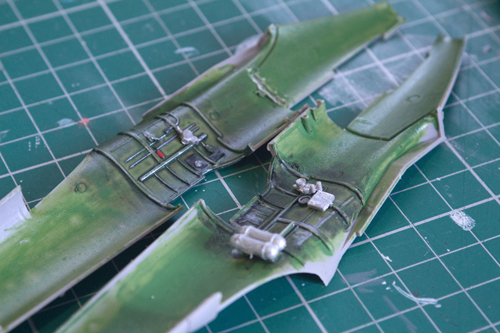
I also like to dry-brush little paint chips around the cockpit for that extra bit of authenticity. Nobody will be able to see it, but you’ll know it’s there. Isn’t that what it’s all about? After this, all that remains is getting the tiny parts in place. There really isn’t much I can do here, so I just paint the parts very simply and finish the cockpit there.
With the cockpit done, we can now glue the fuselage in place. Before the glue sets, I hold the two halves together with a padded clip (in this case, an old guitar tuner) so that they stay in perfect alignment. It is important to use a padded clip because a clip with bare plastic might dig in to the surface of the piece depending on the kit you’re using.