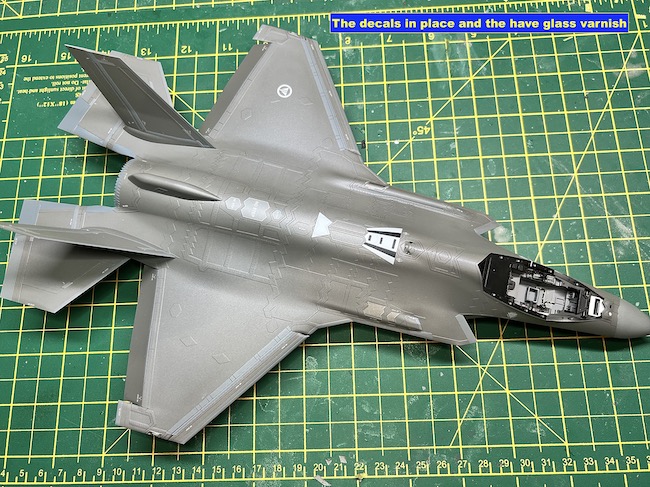
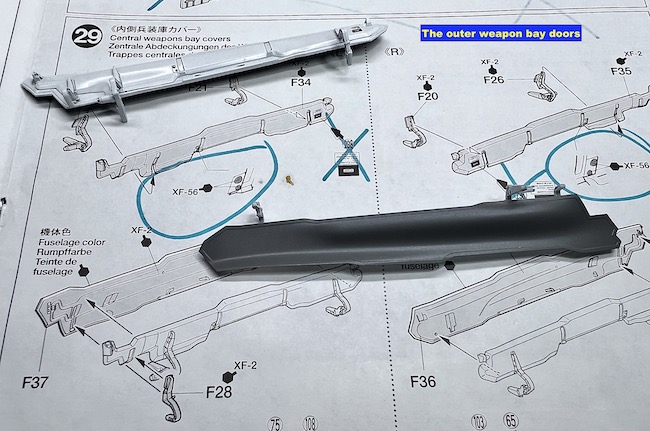
Tamiya decals have a bit of a bad reputation for being thick and not settling that well into the surface details but the new generation of decals are definitely a lot better as I saw on this model. They performed very well with some softener and the application of some direct heat from a hair dryer. The decals were then sealed in with a second gloss coat and then the MRP Have Glass Varnish was applied in several light coats. This same process was used on the weapons bay doors, wheel bay doors and canopy.
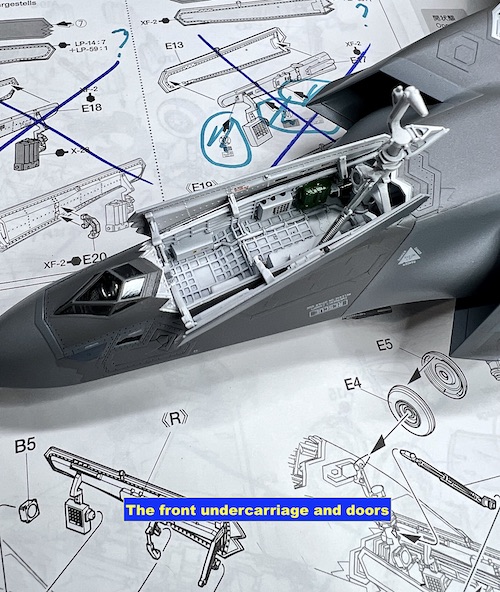
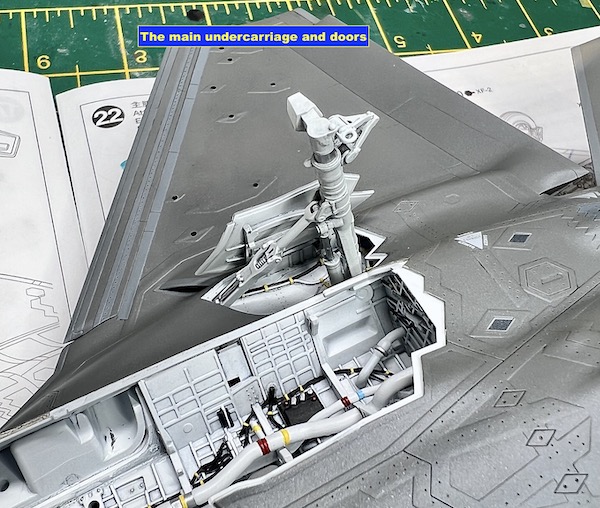
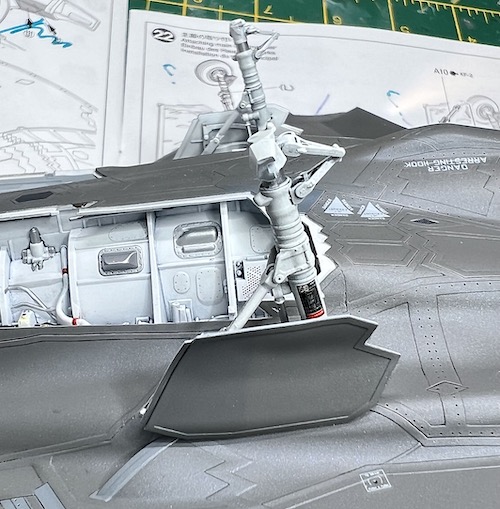
It was now time to start putting everything together. I started with the undercarriage legs and the doors.

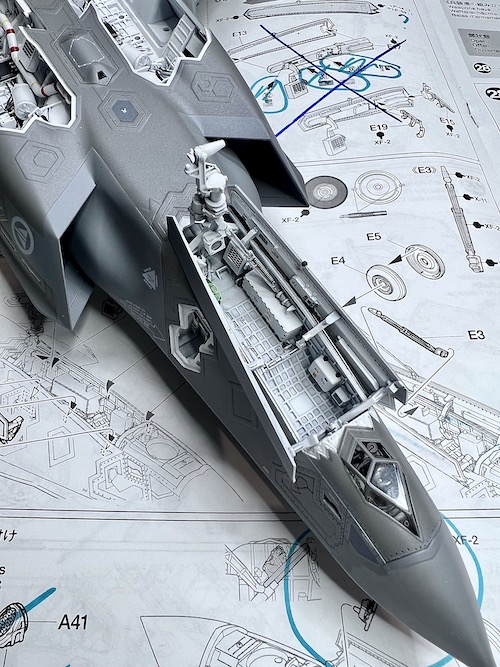
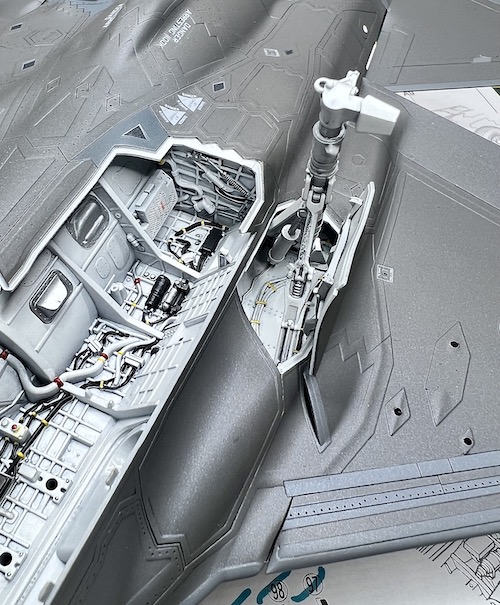
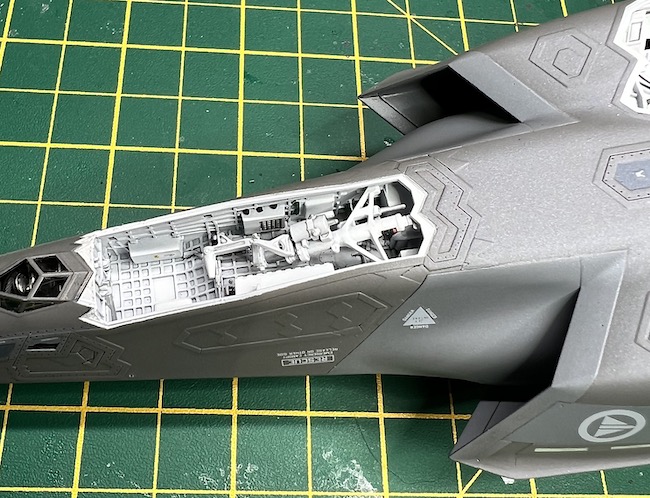
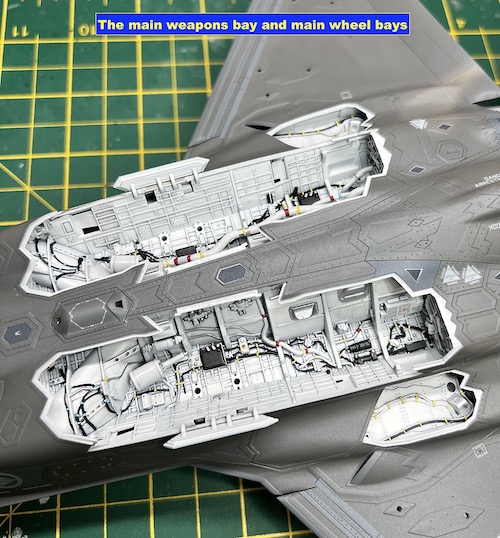
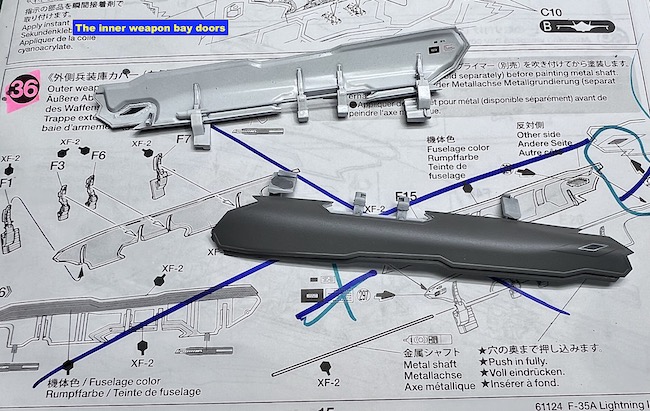
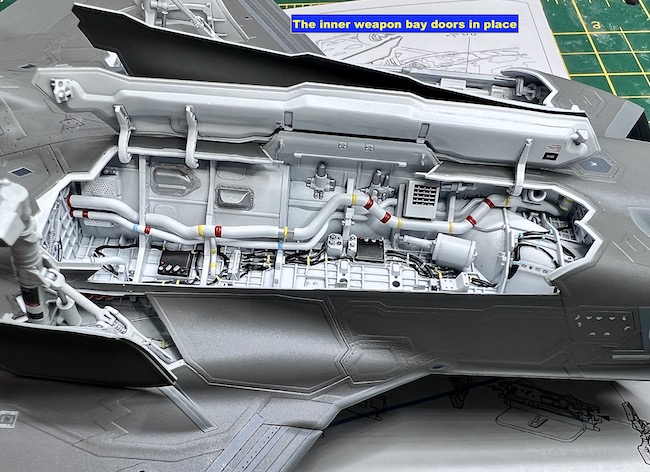
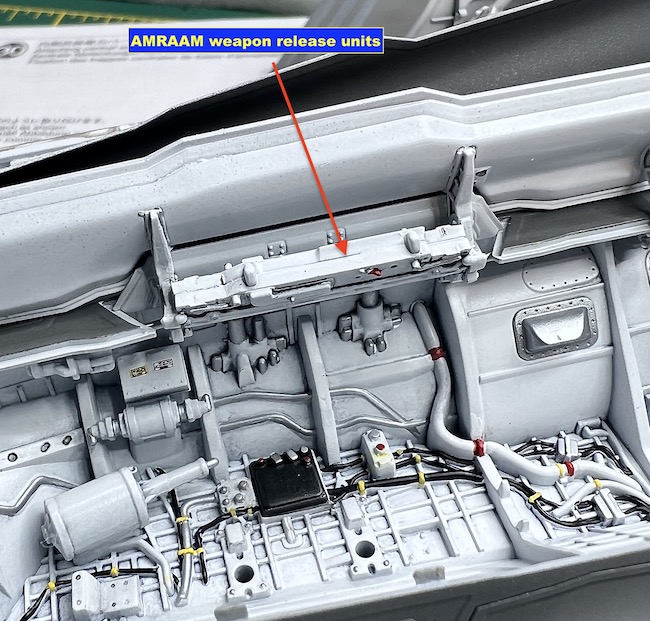
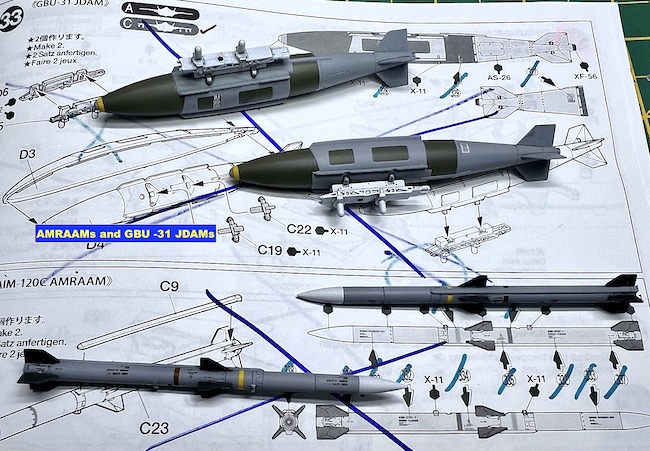
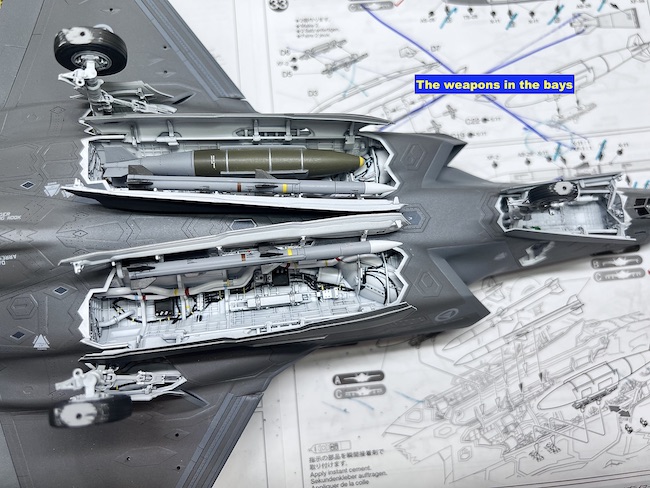
The weapon bays are a work of art with respect to their detail and the way they flawlessly attach to the fuselage. The weapon options for the bay depend on which weapon load you have settled on. I opted for the ‘all in option’ of the AMRAMS and GBU-31 JDAMs. The NEW WARE masking set has masks for the JDAM which again makes life a lot easier.
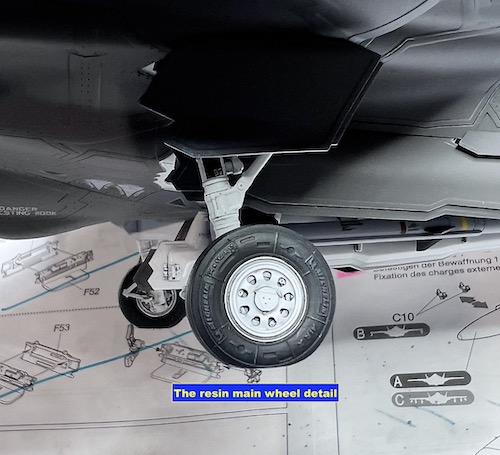
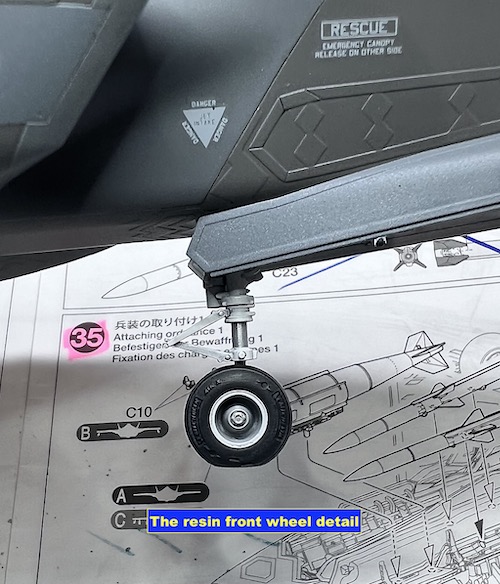
I did replace the kit wheels with a resin set from eduard Brassin as these are more detailed and are weighted.
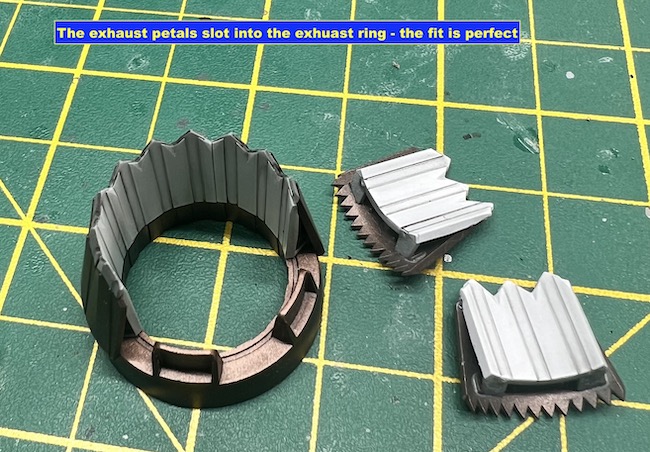
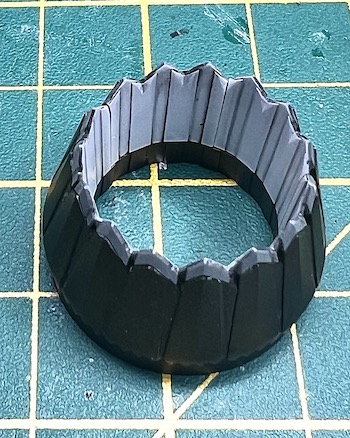
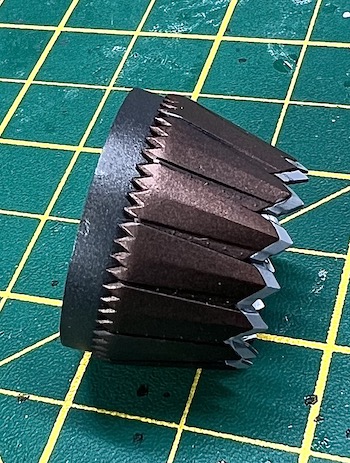
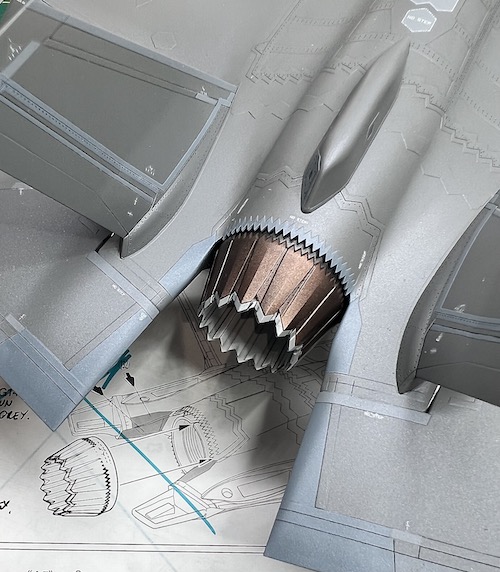
The jet exhaust is a very ingenious design with the main pipe as two pieces and the rear turbine blades. The really clever part are the petals which are made up from 7 different parts that slot together perfectly into the tail pipe. These parts can all be painted up as individual parts and then assembled and fitted into the fuselage.

Paul Ainsworth says
Hello,Dave – A masterful build as always.The photo slideshow speaks for itself.
The Tamiya F-35 certainly is a ‘state of the art’ kit with a price tag to match and you’ve done great justice to it and the real subject.
Best Regards,
Paul.😉👍
davecoward says
Hi Paul, thanks for the comments. Your right about it being expensive but you do get what your pay for with Tamiya kits and as an exercise in ‘how to produce a kit’ Tamiya’s kits just set the standard that everyone else tries to follow – just my opinion ;-)
Rob Ruscoe says
Hi Dave. Not normally into these modern jets. These days it seems ‘if it doesn’t look right, the computers will make it fly right’ mantra has taken over. Having said that, you’re build is just outstanding and I congratulate you on what you have achieved with this build.
Rob R
Willi Meyhoff Garcia says
spectacular build! absolutely brilliant, even for a “boring” grey subject!
How would you say the Have glass finish look like, compared to the real thing? MRP says to use a specific paint underneath, if I remember right, to make the effect as close as they can get it, to the original paint (as far as you can get by eye), and I was wondering how the reflection looks like from those different angles. Hope the question makes sense!
davecoward says
Hi Willi,
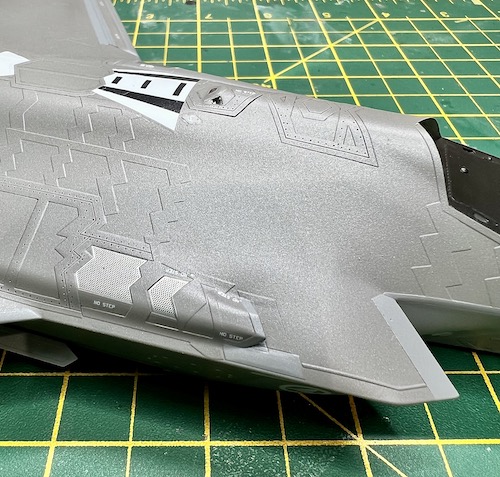
I’ve seen the real thing and its finish changes with both the angles you look at it and the weather conditions. I don’t think the MRP have glass varnish gives the really metallic finish you see in some photos when in the sun but it’s more of a subdued finish that you see on the more weathered aircraft or on a dull day. It doesn’t really change as the real finish does with perspective and light. I don’t recall MRP advising on any special paint underneath the varnish as I just used the recommended base paint FS colours.
Dave