Now for the decals…
No great secrets to impart here, though I do have a tip that works for me with thick Tamiya decals. I use Mr. Mark Setter Neo on the surface of the model, apply the decal onto it. Then after 5-10 minutes I use a cotton bud to gently roll over the decal to push out any excess. Because of this next step I always do decals as my last job on a model for that day. I now use a medium flat brush to apply a coat of X20a over all the decals and leave it overnight, and hey presto come morning they have all sunk in nicely.
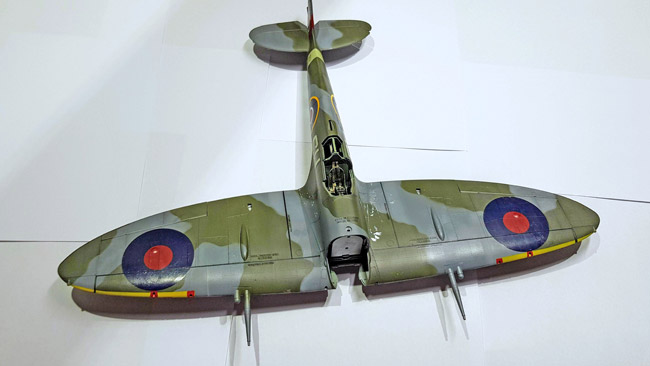
This next step is something of a bad habit I need to get out of as it was pointless but I gloss coated the model. Why ? I have no idea, but since I had I gave the whole thing a sludge wash of Ammo by Mig Starship Filth. It was then wiped away and did fill the panel lines and some rivets but was pretty pointless TBH.
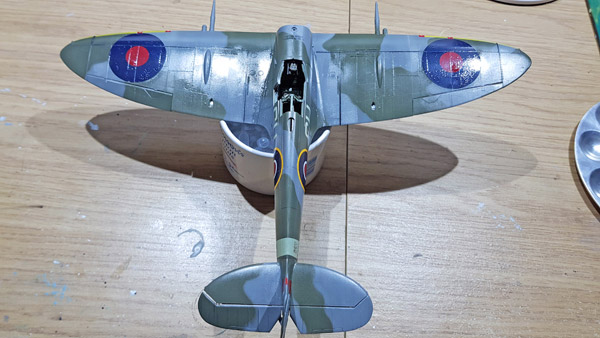
So once I put my head back on straight I gave it a coat of home made flat varnish (automotive 1k clear gloss with some Tamiya Flat Base added) and got to some more weathering.
More weathering
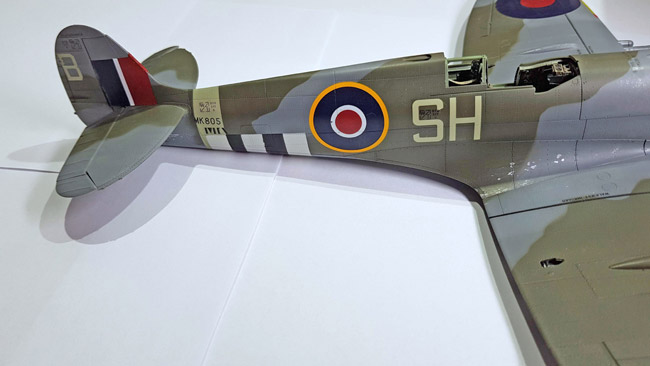
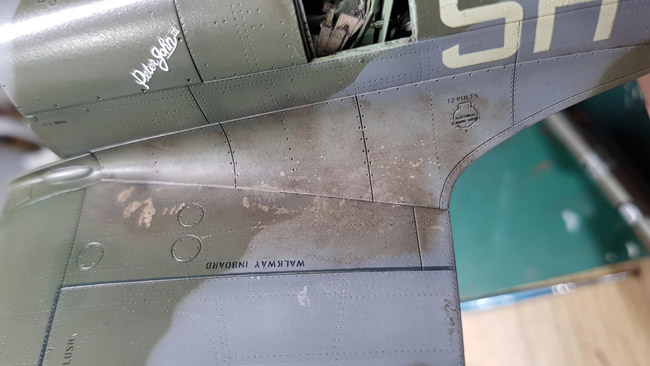
I decided to start with the wing routes and go with oils to try out. I am pretty much a novice at using them so it is still very much trial and error for me with them.
I do have the full set of Ammo by Mig Oilbrusher vol.1 and have had them since they came out and have never gotten along with them…
1st reason I got a duff batch with messed up brushes so I never had the nice point you see in all the Ammo videos so application was never easy
2nd reason is there seems to be a big gap in the YouTube market for oil paints techniques. Forums talk about OPR (oil paint rendering) which means nothing from what I can tell.
So this is how I’m going to do it. I use the Oilbrusher mop to put some dark brown oil paint onto some cardboard. I then use a size 0 flat brush to dab oil onto the wing route.I leave it to sit for a couple of minutes then I use a soft to medium size 6 flat brush to stipple down on the applied oil paint. Once I’m happy with the effect I repeat the process with a buff/dust/tan colour but only apply it on the main join line.
If when you are stippling the oil you find you have applied too much and it isn’t blending but leaving obvious brush marks you can use the softest brush you have to to very gently stroke over the area and this will help blend, you can then clean your stippling brush (just wipe it on tissue DON’T USE THINNER TO CLEAN) and go back to stippling till you’re happy.
This is the result I got, not perfect by any means but as a 1st true attempt I’m okay with it.
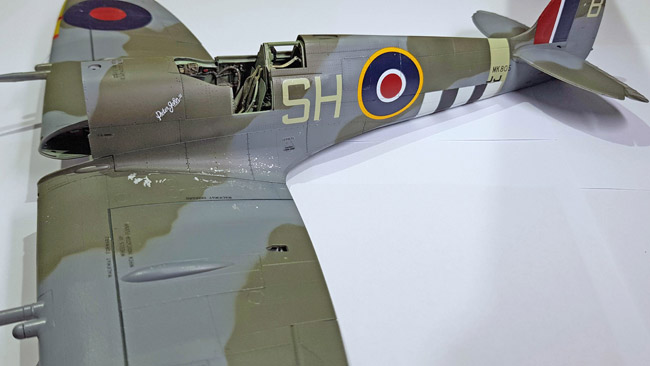
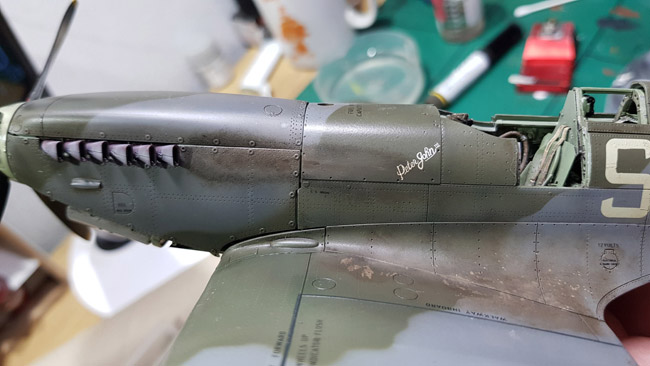
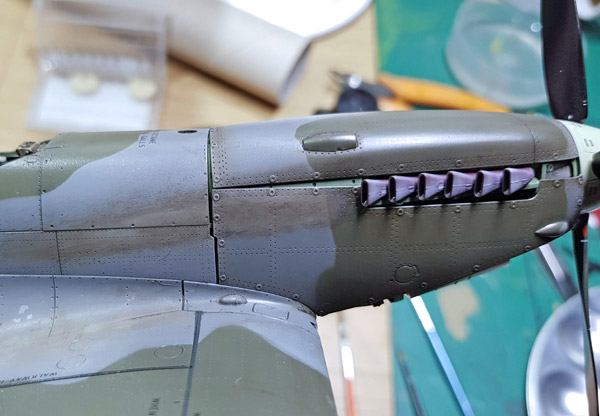
To do exhaust staining I tried something similar. 1st I used black and over that I used dark brown and then buff and I went back in with a bit of dark brown. I may go over this again with my airbrush later or maybe some Tamiya weathering master.
George Eberling says
Do you have a tutorial on how to do invasion stripes?
Geoff Coughlin says
Hi George,
That’s a good question and I don’t think so – specifically in the SMN Techniques Bank, but there will be! I’ll look to create one for everyone very soon. In the meantime, do check out Aircraft-Finished Now and pick any of the finished model projects that feature aircraft with these stripes and pick up any hints and tips that you can. Best wishes, GC (30Dec21)