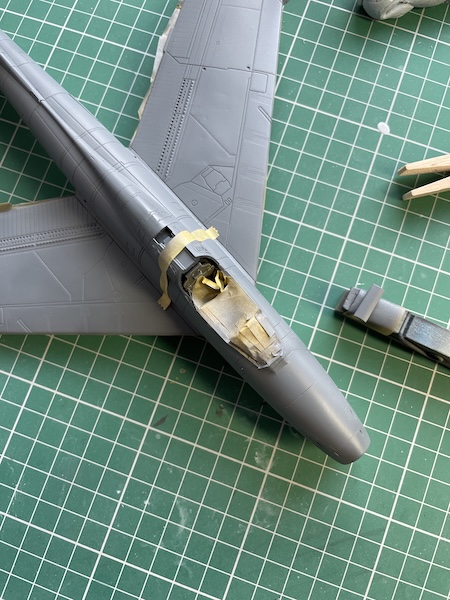
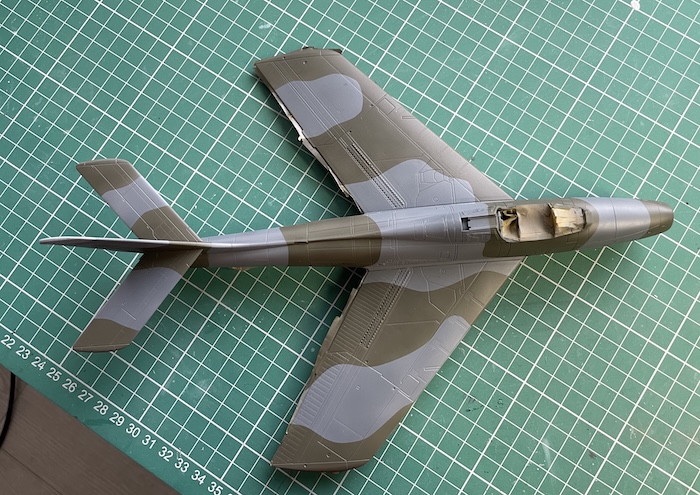
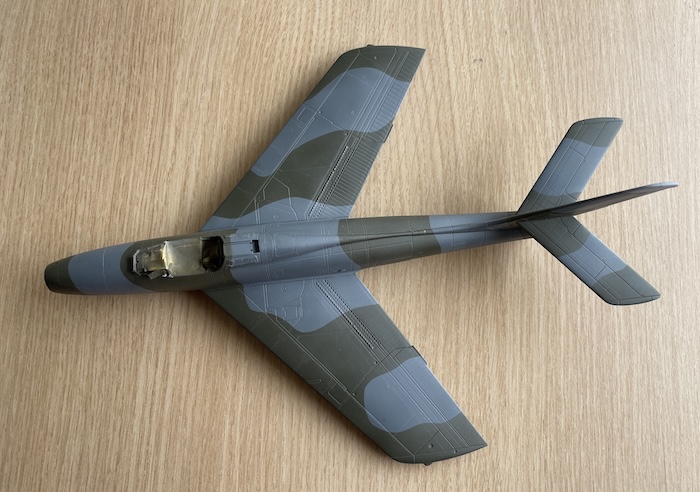
I added the rear canopy section now as the green to follow will cut across it, making correct alignment of the camo pattern easier. Don’t forget the small rectangular section of the rear upper fuselage that hinges up on the real aircraft – this needs to be painted as well of course.
Thin strips of Tamiya masking tape are great for bending to make the hard edge camo pattern needed for this build.
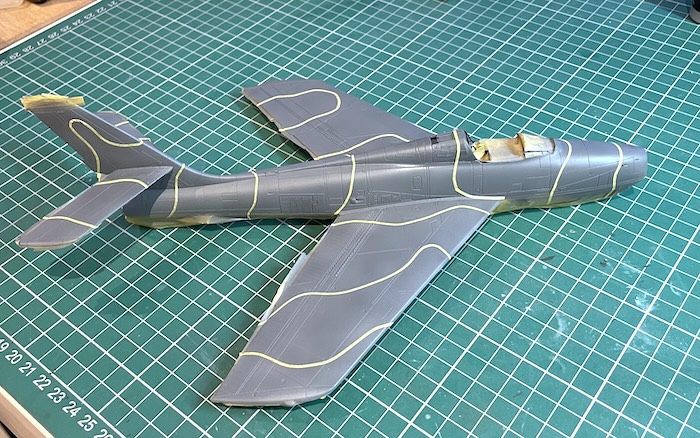

Then just use smaller sections cut into different shapes to fill in the grey areas that need protection.
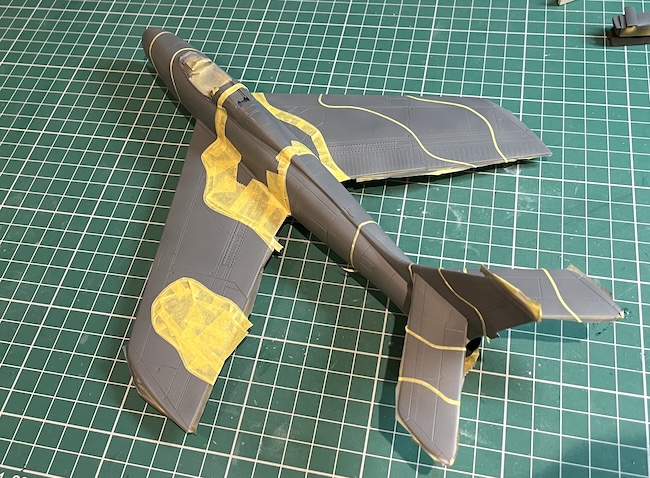
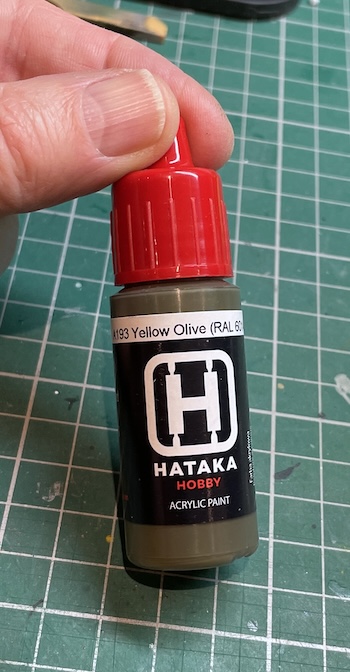
The green (Yellow Olive) is next…

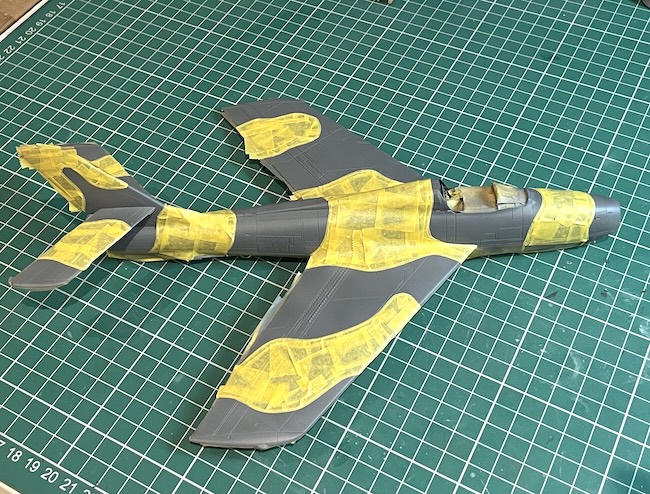
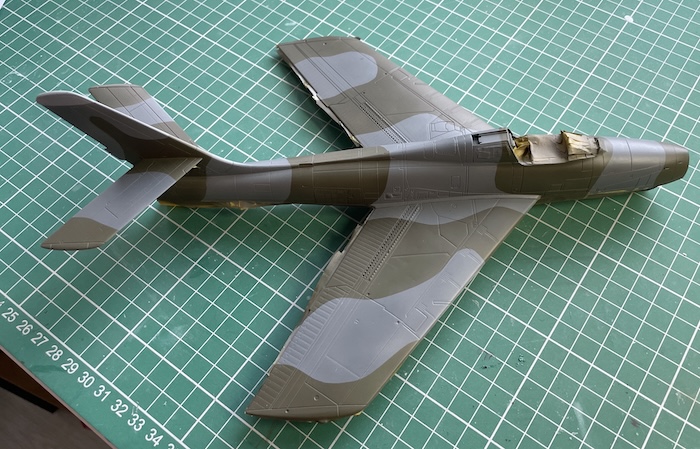
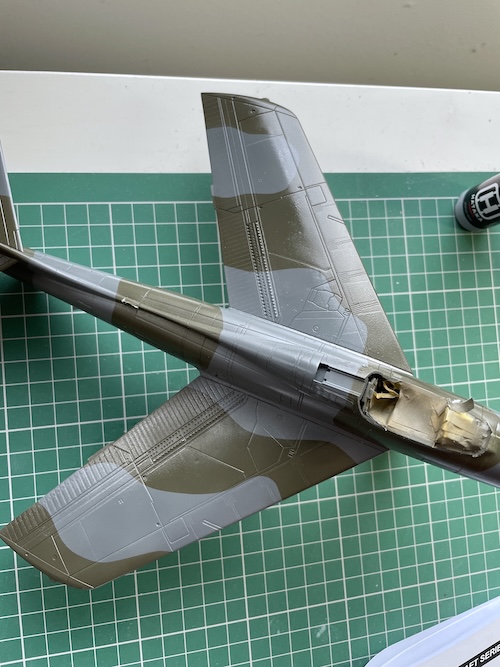
Left overnight, the tape comes off and I am really pleased with the painting – I don’t think any touch ups are needed – great!.
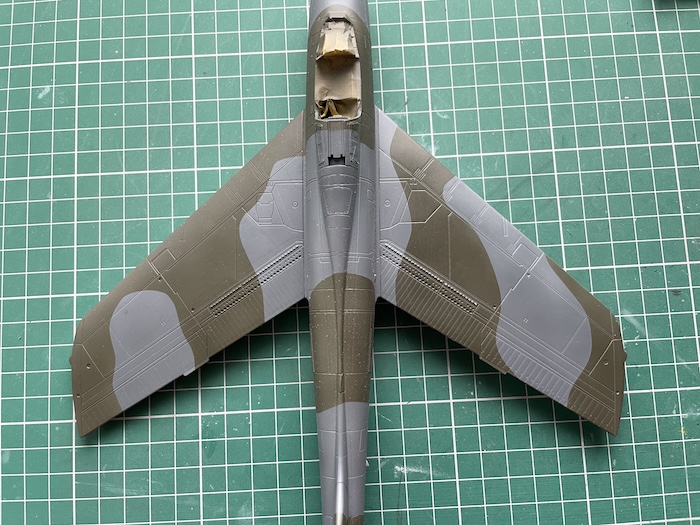
Again, leave for another day and then I like to buff the whole model using a clean dry tissue – this starts to create a very subtle, slightly distressed look to the airframe. Note in the picture where the nose of the aircraft is pointing up, the right wing has been buffed with the tissue, but the left not yet…
VIDEO DEMO
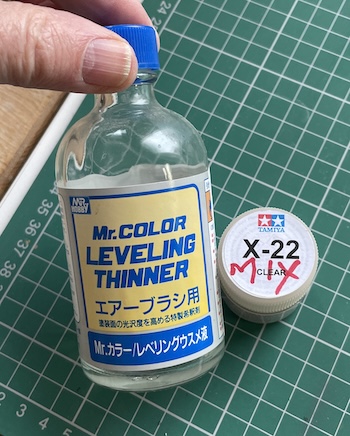
Gloss varnish…
My usual mix of mostly Tamiya Clear Gloss (X-22) with a few drops of Mr Color Levelling Thinner provides a very nice gloss finish onto which we can apply the decals in a day or so…
Gerhard La Crois says
Nice model Geoff, but I prefer to see it in Dutch colours…… ;-)
Paul Ainsworth says
“Hello,Geoff” – The Thunderstreak certainly is a charismatic-looking aircraft and this is a superb tribute to the type.
Personally,I’m a great fan of the Norm72 colours and schemes and they suit this model so well.Another masterclass.🏆
As Always,
Paul.😉👍
Geoff Coughlin says
Hi Gerhard – yes I bet you would! LOL! Maybe another time… :) Best wishes, Geoff C.
Geoff Coughlin says
Thanks Paul – very kind of you to say so :)
Best wishes
Geoff.