Short Feature Article with Manuel Magrinho
A note from Geoff C…
I spotted a photo of Manuel’s lively little Westland Lysander and he’s kindly agreed to share his short record of his build here with you all in SMN. Thanks Manuel!
Although very much shorter than most of our builds here in SMN, I felt it didn’t do it justice to just pop a few photos in your Subscribers’ Gallery. So here she is with a few words to explain how it all went…
Over to you Manuel…
Westland Lysander…
Is an iconic type from WWII. Here’s a nice photograph from Nigel Ish:
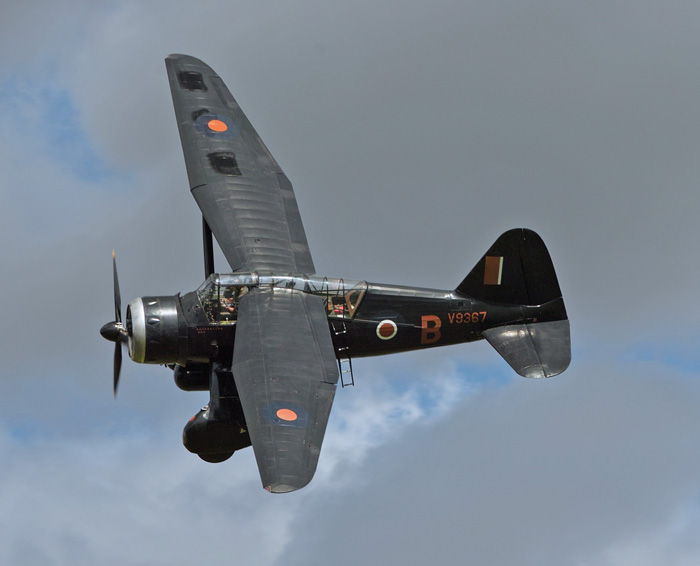
Westland Lysander serial number V9367 at Shuttleworth Military Pageant Airshow, 5 August 2012
The challenge…
The Westland Lysander has always been a plane that I really liked, mainly because of the mission mystique associated with the French resistance and in the transport of agents, which it played.
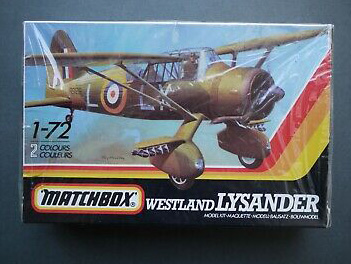
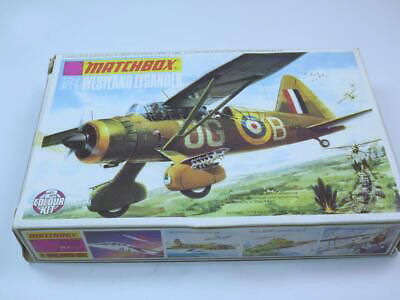
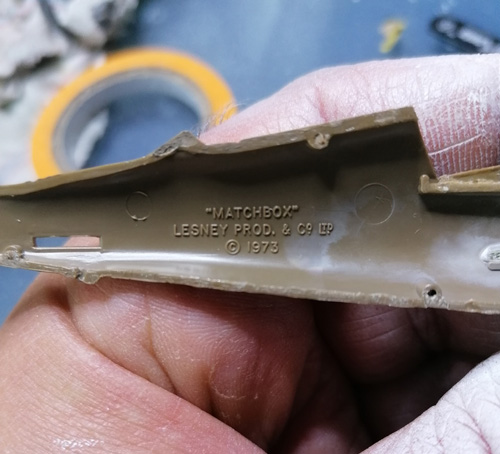
When a friend showed me an old Matchbox from 1973 that was badly beaten and damaged, asking me if I was willing to repaint and restore it, I couldn’t refuse. The Matchbox kit has been released many times in slightly different forms and was always a pretty straightforward kit that some of you may well remember.
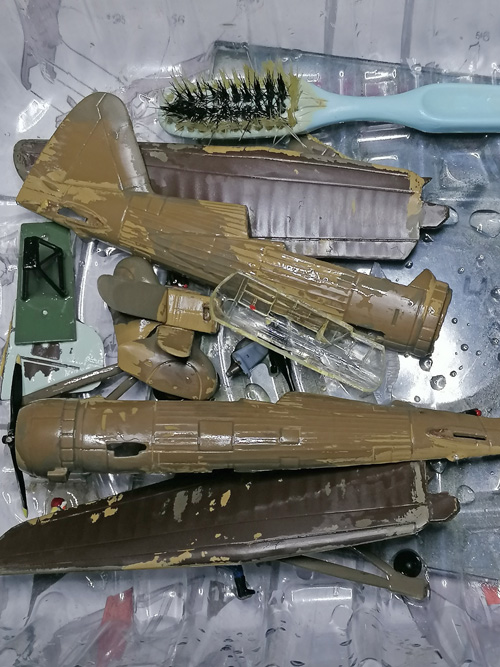
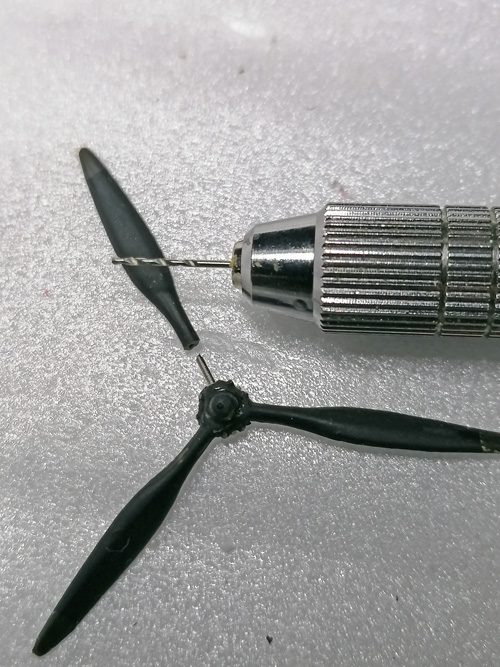
The model was painted with enamel, so I dipped it in brake fluid and brushed and scrubbed it to remove the old paint. In the process, many pieces came off and one of the propeller blades broke.
Assembly and painting…
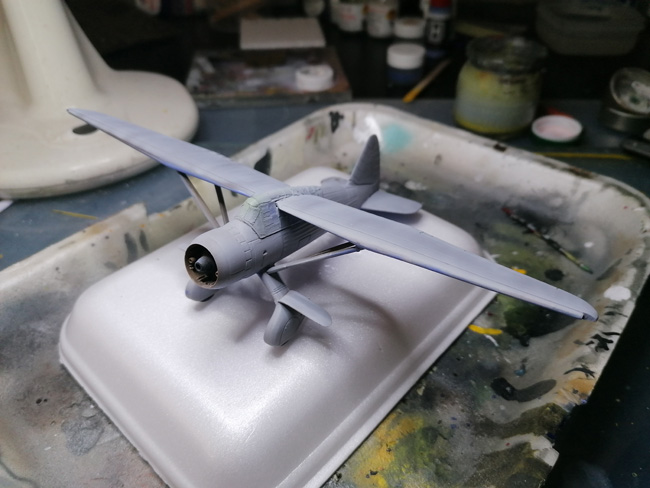
After painting the interior and adding minor details (such as seat belts because the thickness of the clear parts did not justify much more) I proceeded with the assembly and applied a primer coat to check for possible defects. Some parts had to be rebuilt (there was no antenna or rear wheel) and it was necessary to introduce a small piece of metal to fix the broken propeller blade.
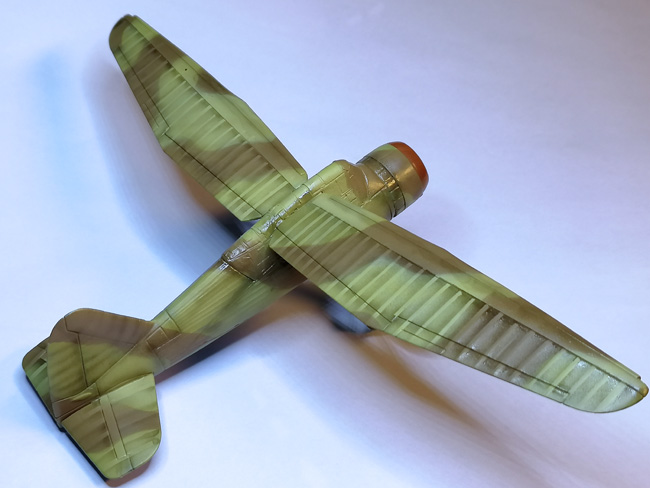
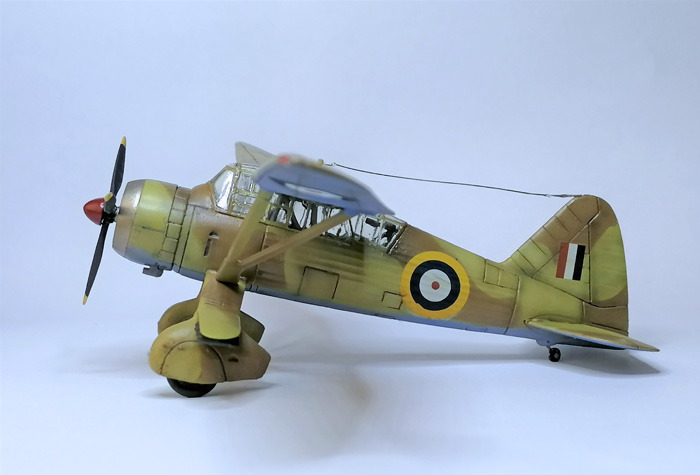
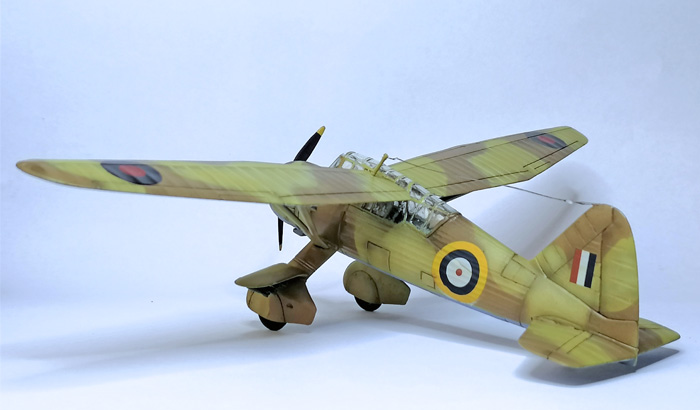
The painting scheme requested was the desert one, which I applied and it’s straightforward enough.
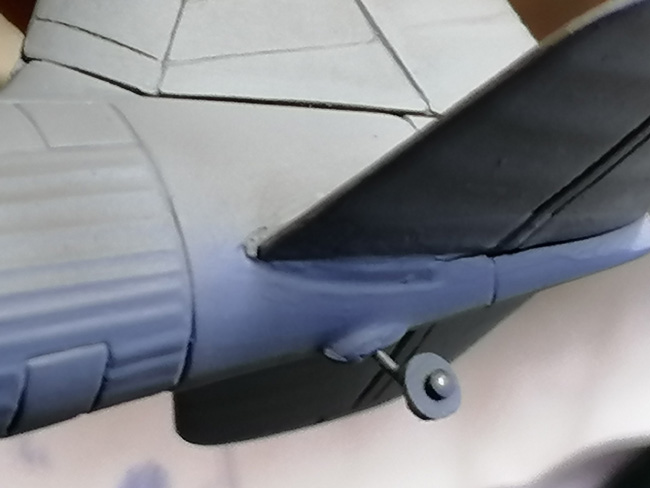
To enhance the canvas cover of the wings and tail, I applied tape strips to the structure area and darkened around it with a layer of diluted Tamya Smoke (X-19). The effect corresponded to the intended one, although a little broad. Next time I’ll make it a little thinner.
As I did not have all the necessary decals, some had to be masked and painted. Fortunately, this plane (according to the chosen reference photo) did not have any flight code or registration number.

The front of the engine cowling was painted with Gun Metal and then Burnt Metal was applied. The spinner was kept in semi-gloss dark red according to references.
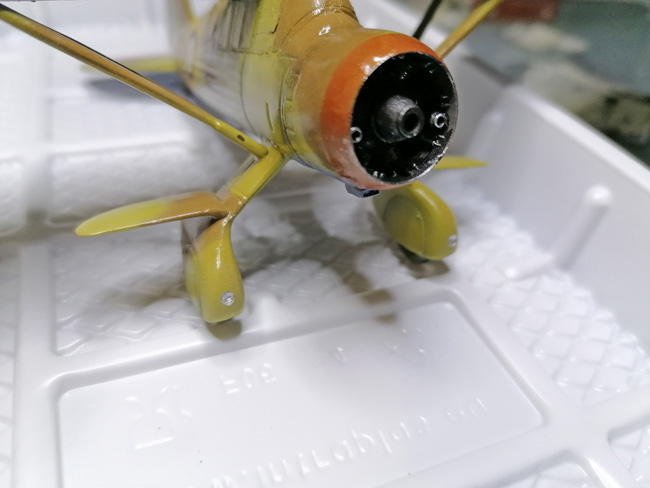

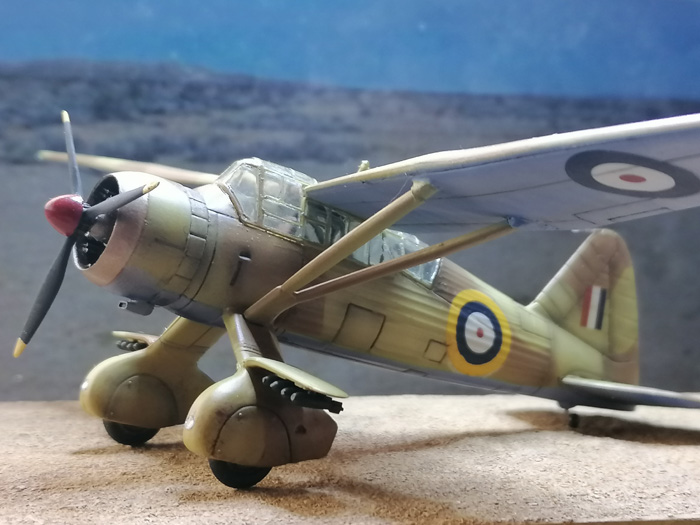
Finally, some dust was applied to the landing gear, rear wheel and bottom of the plane, after which I applied a matt varnish.
Once dry, it was time to remove the tape from the windows and apply a little rinse aid in order to try to recover them a little and apply crystal clear in order to replicate the landing gear headlights and navigation lights.
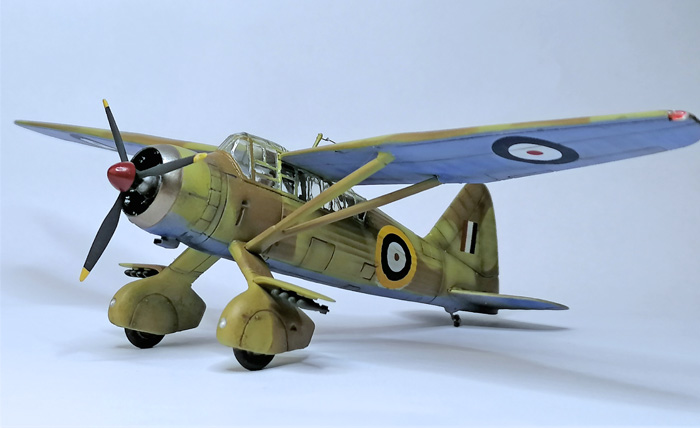
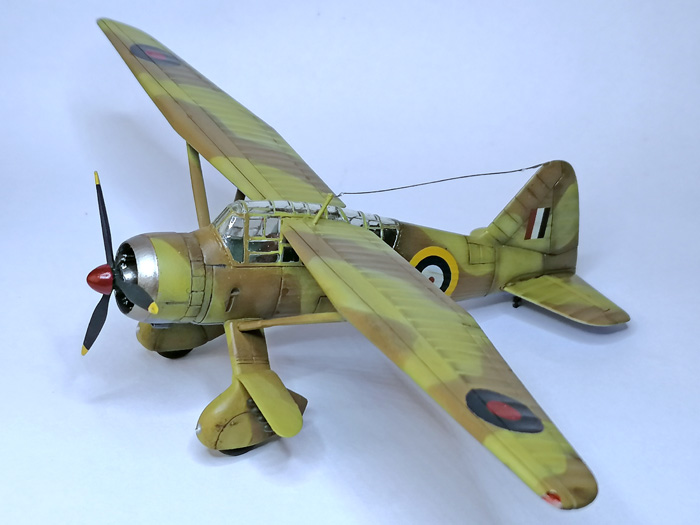
The result, although not excellent, is satisfactory for a 1973 kit and in poor condition, and my friend liked it a lot.
I hope you like it too, cheers!
Manuel M.

Ask a question or add feedback:
You must be logged in to post a comment.