Full Review with Richard Allen
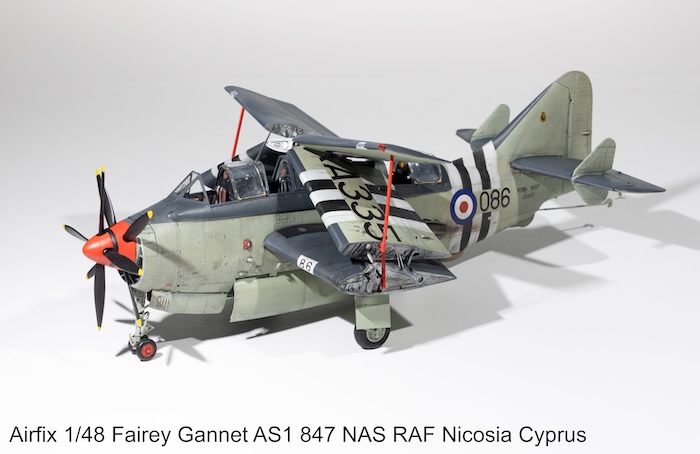
Just before we get started, here’s a look at how it all turned out…
A note from Geoff…
Remember, we have at least two other builds of the Airfix Gannet, from Dave C and Stuart M and so along with this great build from Richard A, you’l have everything you need in terms of information to make a great success of your own Fairey Gannet build :).
Over to you Richard…
Opening Thoughts…
Continuing my recent Fleet Air Arm (FAA) build project, I have finally found the motivation and courage to tackle the impressive Airfix 1:48 Fairey Gannet AS.1 / AS.4!
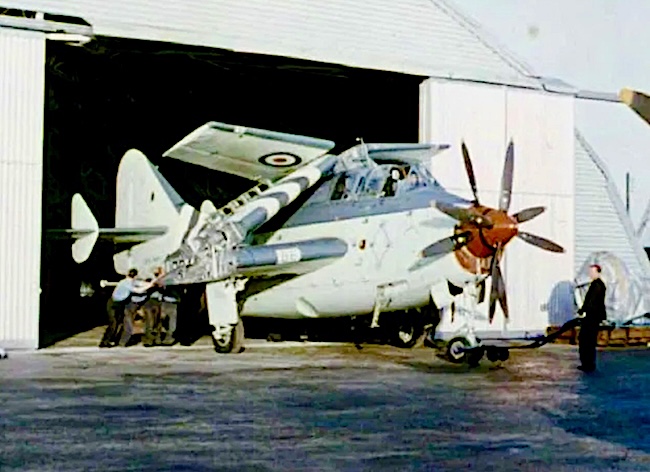
I have always been a fan of the Gannet, despite its ungainly looks, it is quite an impressive aircraft!
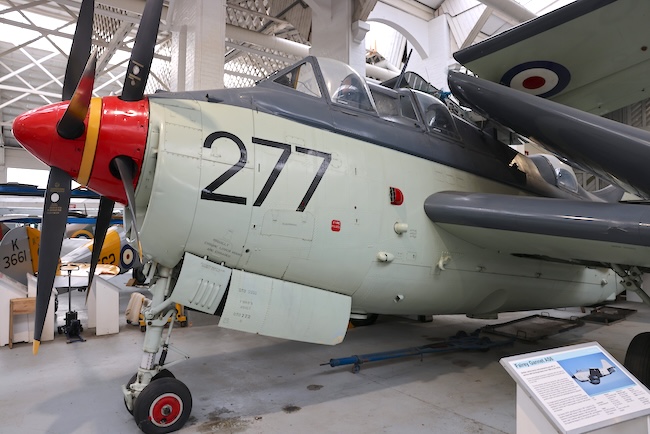
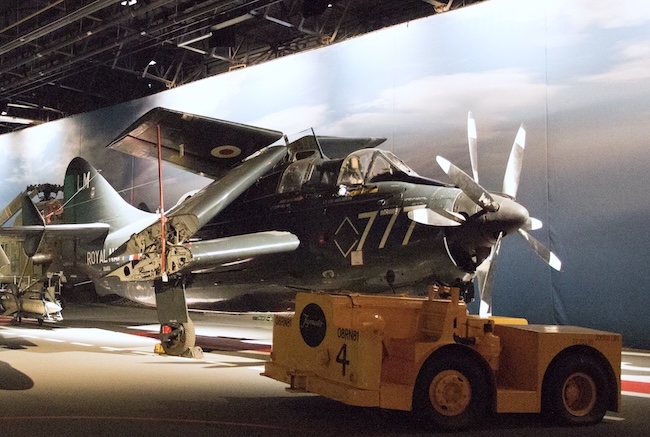
Visiting the Fleet Air Arm Museum, IWM Duxford and most recently The South Wales Aviation Museum at St Athan (Gannet AEW), you can really get up close to this aircraft and appreciate the size of this beast! Also, on completion of the Gannet I can draw the line under my FAA project, for the time being anyway, and move onto other ideas.

References:
Own Images from:
FAA Museum
IWM Duxford
South Wales Aviation Museum
Scalemates Web Site
Airfix
Scale Modelling Now
The Plan…
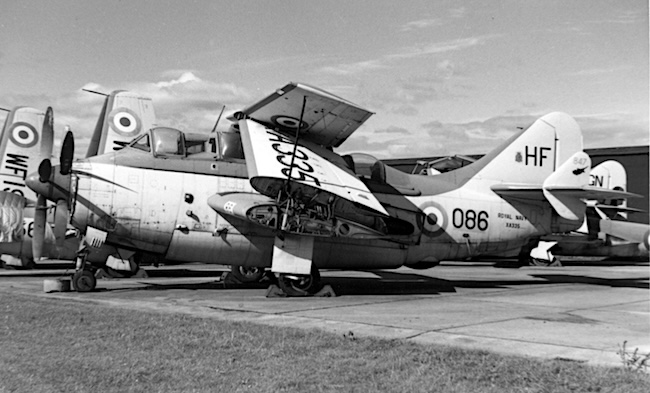
Extensive scrolling through various web sites, has provided me with some excellent images and information on the Gannet. Fortunately, I found one image of XA335 based in Nicosia, circa 1956, was the actual frame I chose to build, and is one of the three options provided by Airfix, for this kit. This specific airframe, at the time, had Op Musketeer identification stripes painted on the fuselage and wings, which I thought would add to the look of my model. The image was sourced after a quick web search and is represented by Airfix as one of the decal options.
Although not a great image, it does show black and white identification stripes, which I had previously read were incorrectly printed by Airfix, and should have shown the musketeer black and yellow, markings. So ultimately, I was happy that this was the correct scheme, to go forward with.
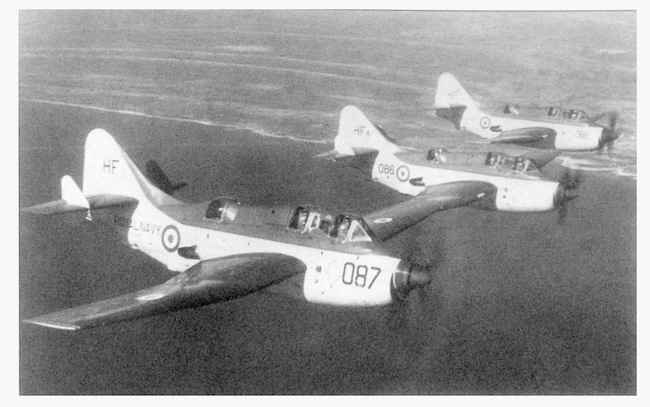
847 NAS who flew XA335, are quite well documented on the web, but predominately show the aircraft in the post Op Musketeer scheme with the stripes removed, however, these images still provide good points of reference.
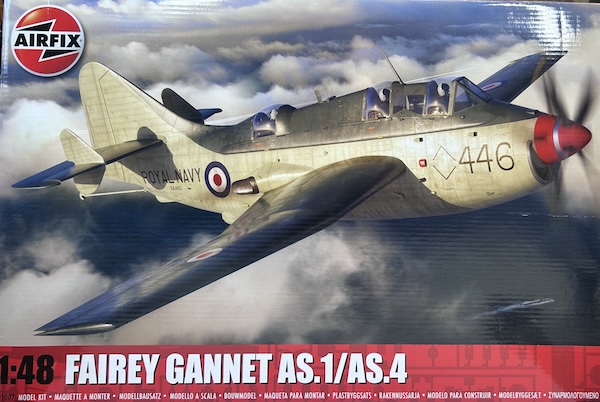
The kit comes in an open top box, fantastic artwork again by Airfix. All the sprues are contained in one plastic bag, with 334 parts included, surely separate bags containing fewer sprues would better protect the contents. This model will certainly provide a formidable challenge! perhaps justifying my initial apprehension to start this build lol.
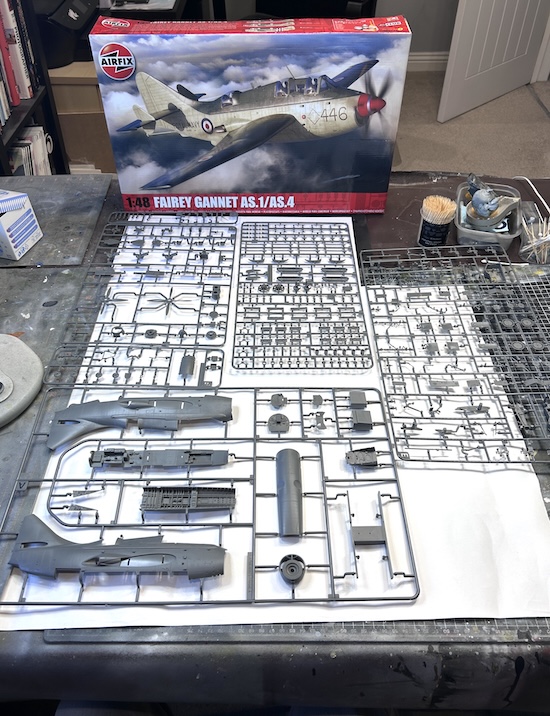
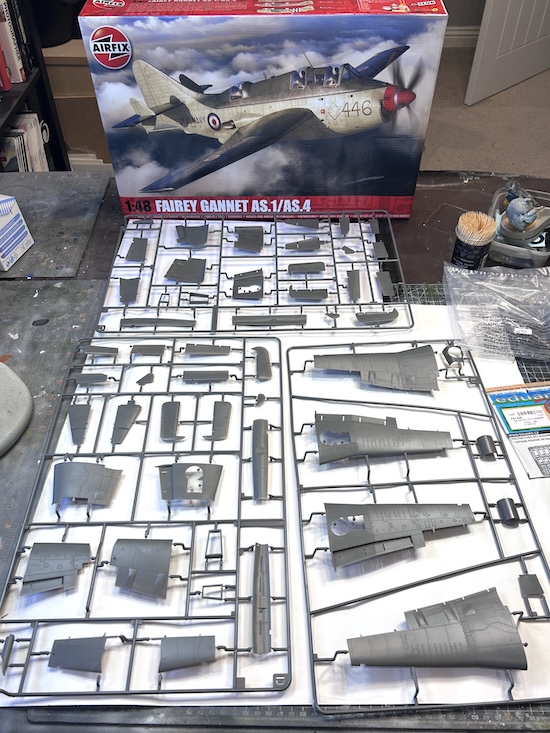
The detail on the plastic is excellent, although perhaps the panel lines are a little deep? Hopefully once painted and varnished this will not be as prominent, Airfix plastic seems quite soft, but hopefully this will not affect sanding down seam lines, and cause too much loss of detail.
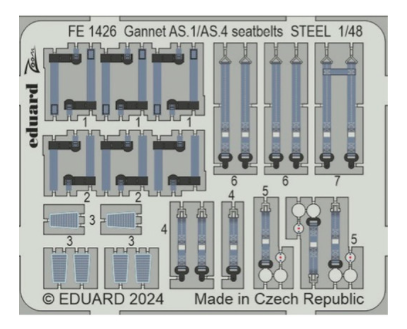
The only additional out of box purchases were Eduard seat belts, which are a norm for all my kits.
The decals provided appear up to the normal Airfix standard, so no need to go down the Xtradecal route on this build.
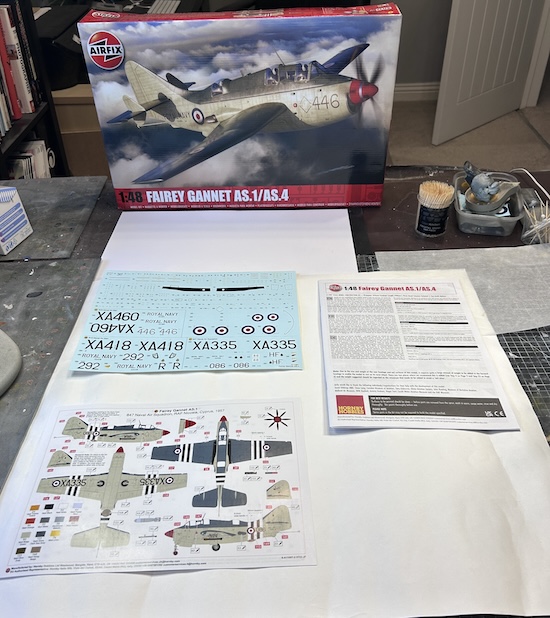
I really like the layout of Airfix build Instructions, they are clear and easy to follow, which I have mentioned previously. The painting and decal guide is straightforward, although understandably only Humbrol paint colours are given, this is not a big issue but a little research needed to translate into, in my case, Vallejo Model Air acrylic paints.
Two build options are given for this model, wings down or folded. I was tempted to build this kit with the wings down, however, having seen numerous excellent builds online, ultimately, I decided that the folded option was more interesting and also saves space when on display.
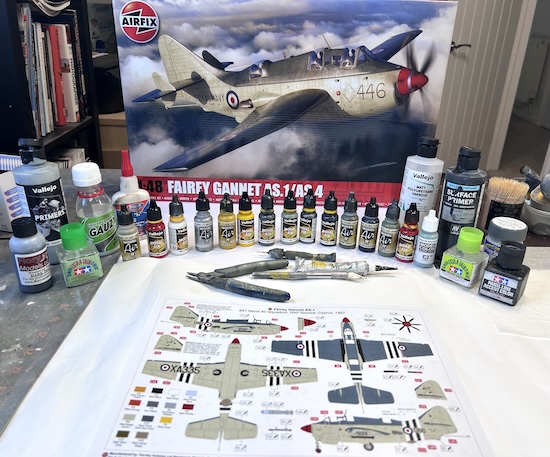
As per usual I will use Vallejo Model Air Paints, I find them consistent and easy to use. Working well with my airbrush. I also use Vallejo primers, and for this model Polyurethane Satin Varnish, along with Gauzy Intermediate varnish. My go-to for weathering is Tamiya Weathering Master and Flory Wash.