back | page 1 | 2 | 3 | 4 | 5 | 6 | 7 | 8 | 9 | 10 | 11 | 12 | 13 | 14 | 15 | 16 | 17 | 18
Moving onto step 5 of construction: Test fit all the previously assembled road wheels to check their alignment to the axles and hull sides, I found that some of them would not sit straight on the axles which would make fitting the tracks very difficult if not impossible. (In hindsight I think it would be better to slide the wheels onto the axles while the glue is still wet and twist them around to make sure they sit straight then remove them to dry.)
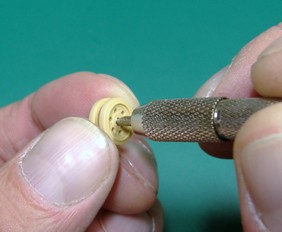
However it’s not a problem to correct the sit of the wheels after assembly, just use a drill bit or round dental burr of the same size as the opening in the wheels and simply twist it around inside the wheel to open it up inside a bit so the wheel has a bit of slack so it can be made to sit correctly. Don’t press the drill/burr hard as you do not want to drill into the back of the wheels front section, you are simply opening the hole out a bit where the two halves are a little out of line with each other.
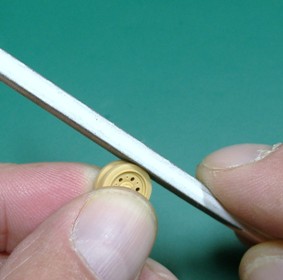
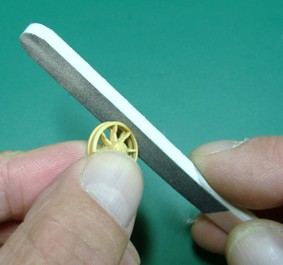
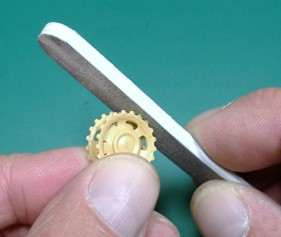
Now use the sanding stick to remove all traces of mould seams that run around both halves of the wheels, you can use the rougher side as this leaves a nice impression of worn rubber texture when painted, Make sure you keep the wheel and stick moving around so you don’t sand any flat spots into the wheel keeping the profile round. Do the same with the small return rollers and idlers, then do the sprockets but only the tops of the teeth you don’t have to clean up inside the teeth edges. Finish them all off with some fine steel wool to smooth them off a bit and remove excess plastic debris left over from the sanding.
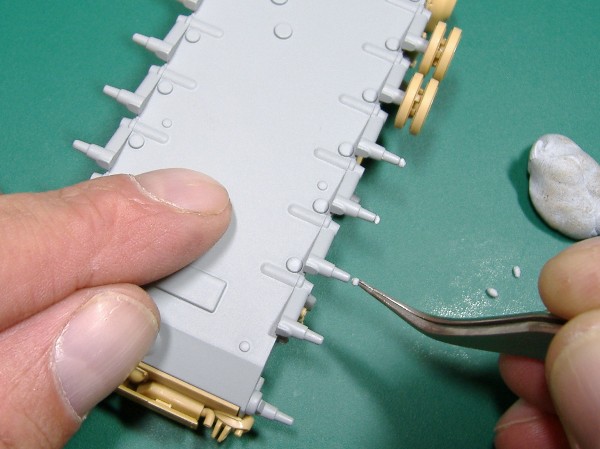
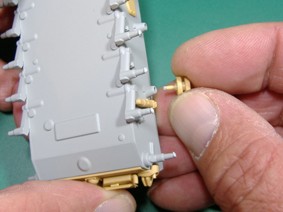
All the running gear (wheels, return rollers, idlers and sprockets) can now be fixed in position temporarily by using blue tack. Put tiny blobs of blue tack on the end of the axles and press the Road wheels, return rollers and idlers onto them and press them firmly into place making sure they are pushed all the way onto the axles, the sprockets don’t require any blue tack because of the poly caps system used to attach them.
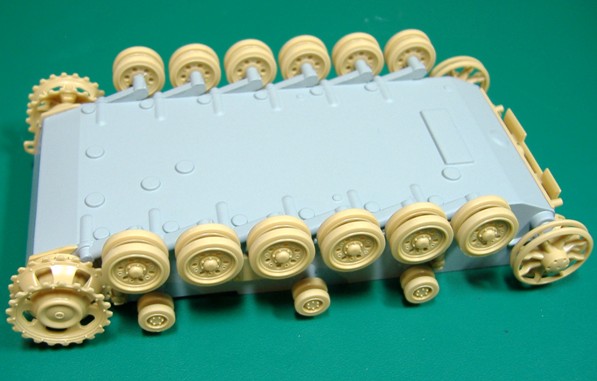
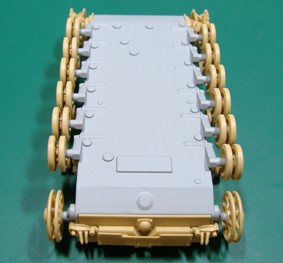
Once you have all the running gear attached look down the hull from different angles and straighten them all out so they sit square and flush to the hull sides, straighten any that are out of line. Last minute adjustments can be made later when the track sections are fixed to the running gear.
As mentioned earlier the reason for deviating from the kit instructions and only fitting the wheels etc. temporarily with the blue tack is so that once the tracks are fixed in place onto the running gear each track section can be removed from the completed model in one piece with all the wheels, return rollers, idlers and sprockets attached to the tracks which will make painting the track sections and rubber tyres much easier than if they were permanently fixed to the model.
Next we will be preparing and attaching the link and length track sections.