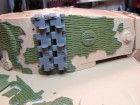
I had one issue with the book though, according to the excellent plans, the turret vision slits looked symmetrical on each side of the turret, but the kit items were not. I decided to cut off the right hand slit, and reposition it so that the slits were symmetrical, filling and repairing the mess left.
It was only when talking to our resident Tiger ‘Guru’ again, that I found out that the slits were indeed asymmetrical, so I had done this work for nothing.
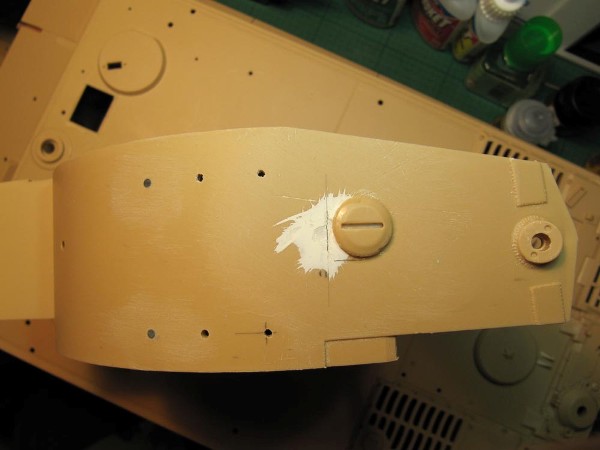
Perversely, I then read on page 33 of the book, “Contrary to most of the Tiger plans published to this date, these were not symmetrically set, the gun layers slit was forward of the Loaders one”
Must be my eyes!
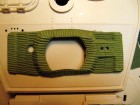
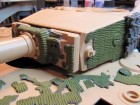
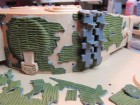
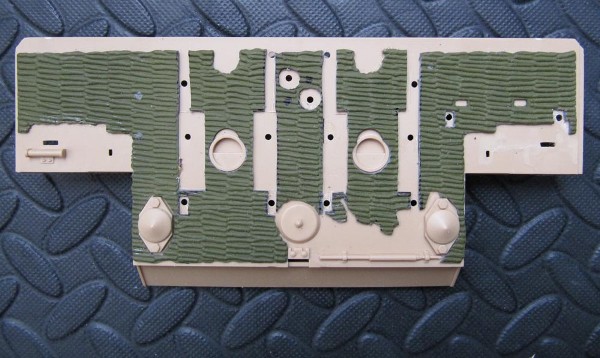
Anyway, I decided to make a start on the zimmerit by applying it to the turret. As I stated, there were fit issues, but by the time I had ‘damaged’ it, I got the effect that I was after. The mantlet was a little tricky, two pairs of hands would have been ideal, but the Bostik worked, and an acceptable result was achieved.
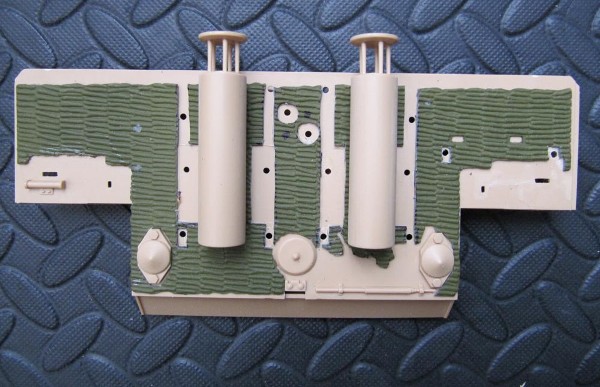
It was slightly more difficult applying the zimmerit to the rear bulkhead as there are the exhausts and shields to fit too, and as the coating is quite thick I had to cut around them to allow a good fit. This took a while…
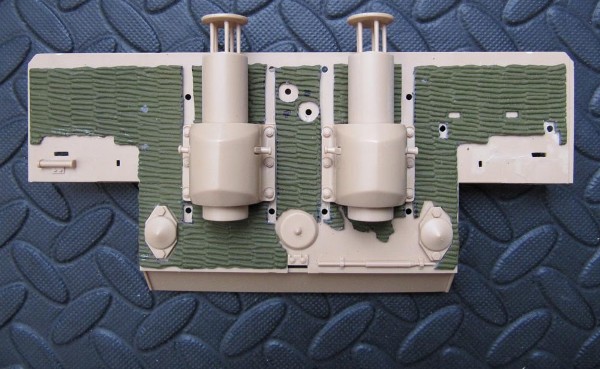
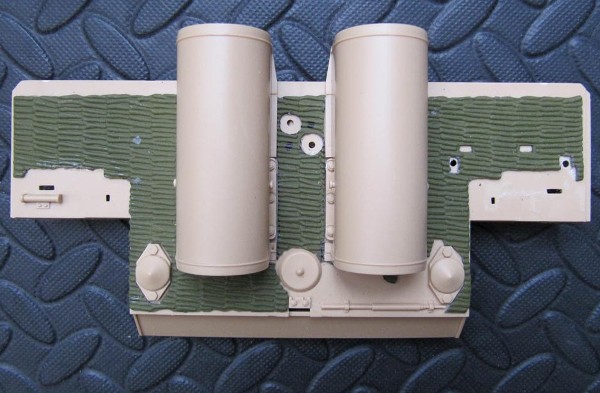
I can’t wait to see what it looks like painted!
Commander’s cupola
Another ‘weak’ area was the commanders cupola, but only because there were great holes where the periscopes would be, so I decided to cut up some clear acrylic sheet to make blocks to fit in to the spaces, which will look quite good when completed, oh, and the guards also require weld seams around them as they are quite pronounced on the real item.
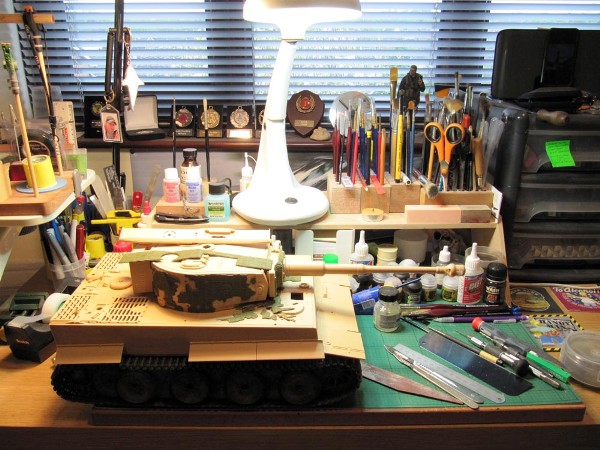
It’s starting to take up quite a bit of space!
