Short feature build by Paul Ainsworth
The Lightning in all her guises and variants is a well-documented and featured subject and one which captures the heart and imagination of enthusiasts and modellers alike and popular here in ‘SMN’ and showcased with Geoff’s superb in-depth build of the Sword T.5 version.
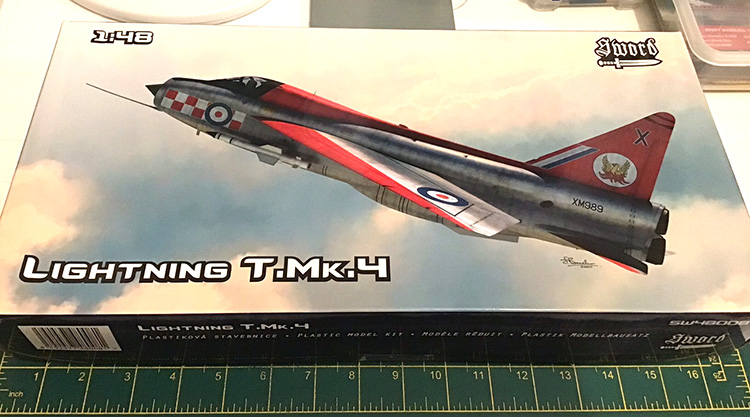
For this project, I’m tackling the dare I say ‘infamous’ Sword T.4 kit in 1/48 scale.
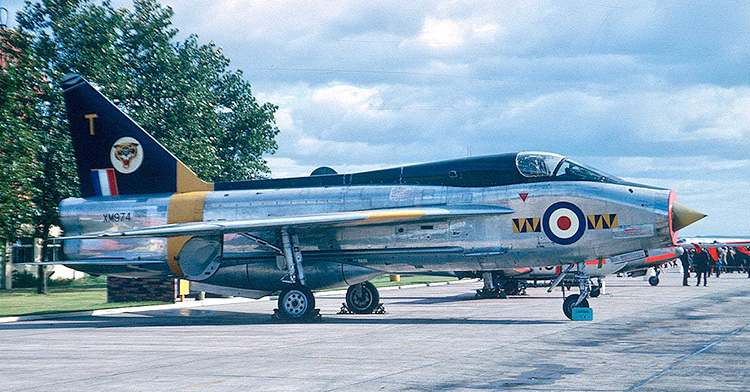
The plan is to complete the model as depicted in the above photo featuring XM974 ‘T-TANGO’ in the glorious 74 ‘Tiger’ Squadron markings.
English Electric Lightning XM974, nicknamed ‘T-TANGO’, was part of the Royal Air Force’s 74 “Tiger” Squadron. This squadron was known for its distinctive tiger-striped markings and its role in the UK’s air defense. The Lightning, with its impressive speed and capabilities, was a key part of 74 Squadron’s operations, particularly during their time based at RAF Leuchars in Scotland and later in the Far East.
The initial construction underway. Having just completed the Airfix F.6 kit the extra work involved with this limited-run rendition was readily apparent. The mating-pins and slots on the fuselage halves were more hindrance than help and sanded flush.
To obtain a better join I added bracing tabs from Plasticard. Suitable nose weight was added inside the Radar Bullet and also just behind the top of the Intake Duct. Some care and patience is required to get these parts fitted and aligned correctly.
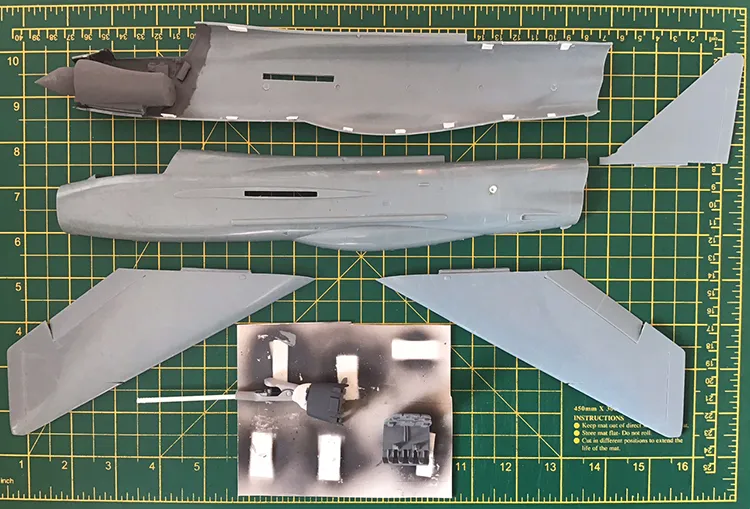
The fit of the wing-halves was commendably good and the main flaps were added at this point and in a slightly ‘drooped’ position. The reasons for this were twofold.
I found they fitted best in that setting and also added a little extra feature.
The initial painting of the cockpit interior is taking place.
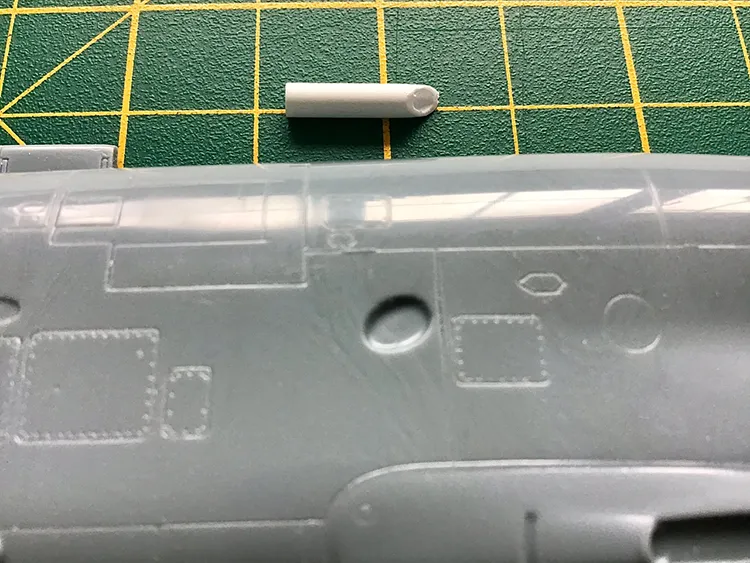
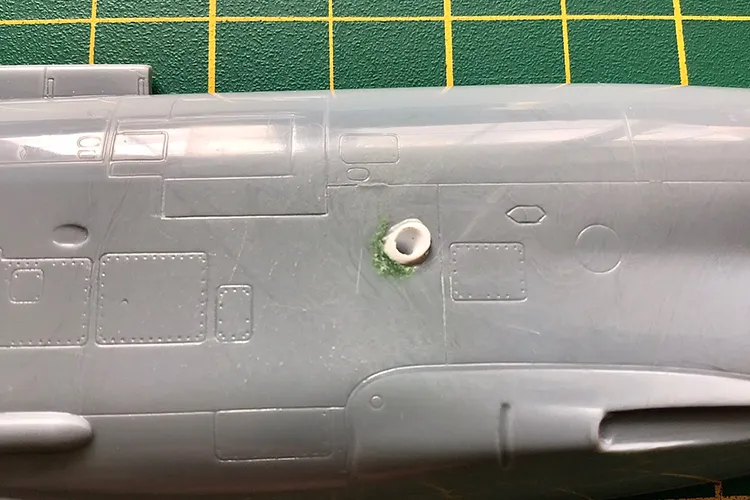
A bit of cosmetic surgery to try and improve the look of the auxiliary vent.
The kit’s recess was drilled out and a piece of fine plastic tubing then inserted through and trimmed diagonally.
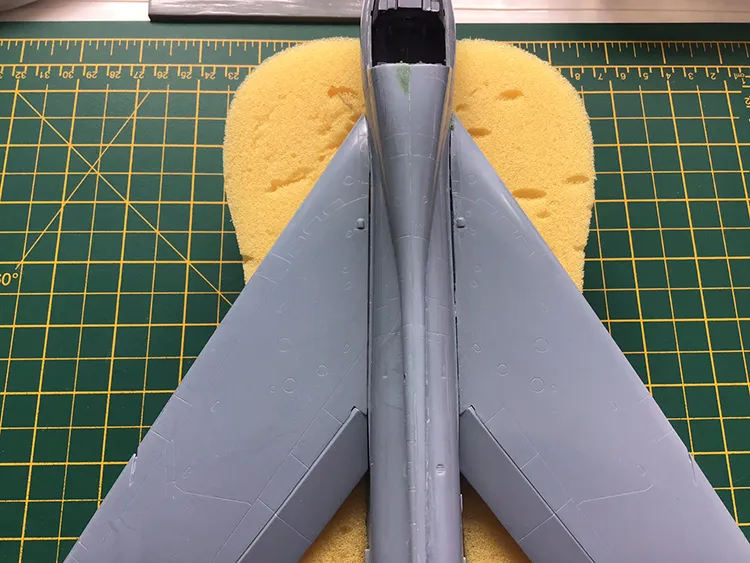
Let the ‘buttoning-up’ begin. . .
The fuselage halves mated together satisfactorily due to the added bracing.
Try as I might the wing-to-fuselage joins were a different matter and despite my best efforts the resultant gaps were left.
Rob Ruscoe says
Simply excellent Paul. This is not a kit for the faint hearted and you have made a lovely job of it. I think that, like myself, producing a good result from a limited run kit gives you more satisfaction than assembling a mainstream kit. Superb! 👌👏👍
Stephen Weston says
Great job Paul. It is a shame (1/48) Lightnings are in short supply or people want stupid money for them.
Paul Ainsworth says
“Hello,Rob” – Thank you.That’s very kind and much appreciated.
Yes,I share your sentiment.Apart from my recent Airfix 56 Squadron Lightning all my recent builds have been of a more challenging nature.My biggest skills challenge to date remains the Valkyrie.
My full compliments to you also on your superb builds.
Paul.😉👍
Paul Ainsworth says
“Hello,Stephen” – Thank you so much.
I agree and know there’ll be a plethora of modellers who feel the same about the Lightning as a subject.
I somehow feel confident that Airfix will turn their attention to this type again and either re-release the previous kits or better still release an all-new one as they’ve done with Buccaneer and Jaguar in 1/48 scale.Fingers-Crossed!!
Paul.😉👍
Ian Black says
Lovely stuff Paul – as ever ! – I think the Twin Seat Lightnings are perhaps the hardest aircraft to replicate – The forward fuselage which is bulged and the twin canopy are complex shapes – Your model is superb ! – Having started to restore a Lightning or two I have learnt a lot about how they were built – In essence they are big meccano kits ! – The hard part is the aluminium – It is not uniform some different alloys were used and some panels were never polished but painted – I don’t know why. Great stuff and thanks Geoff for allowing me to join – If anyone wants to follow our progress on P1B you can on.
Ian Black says
https://callsign-collective.ghost.io/
Best wishes for 2026 – Ian
Geoff Coughlin says
Nice one Ian and thanks for getting involved – great to have you aboard! Did you see that we have created you a page for your restoration here in SMN: https://www.scalemodellingnow.com/p1b-lightning-xa847-restoration
Do let me have any updates when you would like to post any news going forward. Geoff C.
Paul Ainsworth says
Hello,Ian – Thank you so much for your reply and welcome to ‘Scale Modelling Now’.It’s great to see you here.
Thank you also for your valued and informative feedback and we all wish you every success with your 1:1 scale projects!
Scale inspiration indeed and what a wonderful subject.
The Lightning Bug is like Phantom Phever – There’s no cure thankfully!🏆🏆
Paul.😉👍.