Short Feature Article with Bill Curtis
A note from Geoff…
This article is different from our usual in-depth build articles that have many build up photos and often videos. What it is, is an exercise in weathering that Bill has kindly put together following his attendance at a recent SMN Modelling in a Day skills workshop run by master modeller, Lester Plaskitt.
Bill’s article below focuses on the weathering approach that he used and as you can see, all turned out very well – an excellent final result.
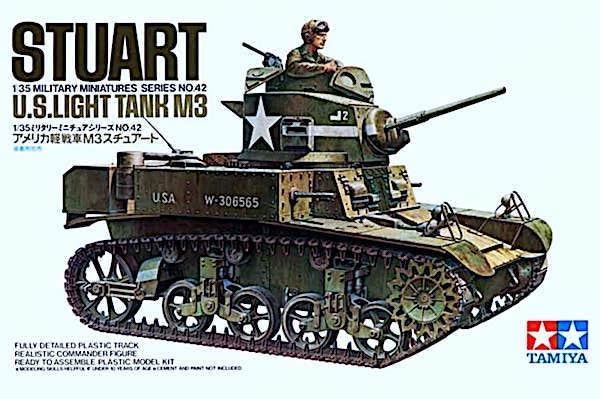
This kit was first produced in 1974 with a designation of the MM 142 a latter incarnation of which this kit is one – a 1988 re-boxing with a part number of 35042.
For the age of the kit it goes together very well without any filler and is a tribute to Tamiya’s expertise in moulding techniques.
The kit was built in for a modelling workshop organised by Geoff at Scale Modelling Now and carried out by Lester Plaskitt who wanted a green and tank from all who attended. This vehicle had to be completed up to the weathering stage.
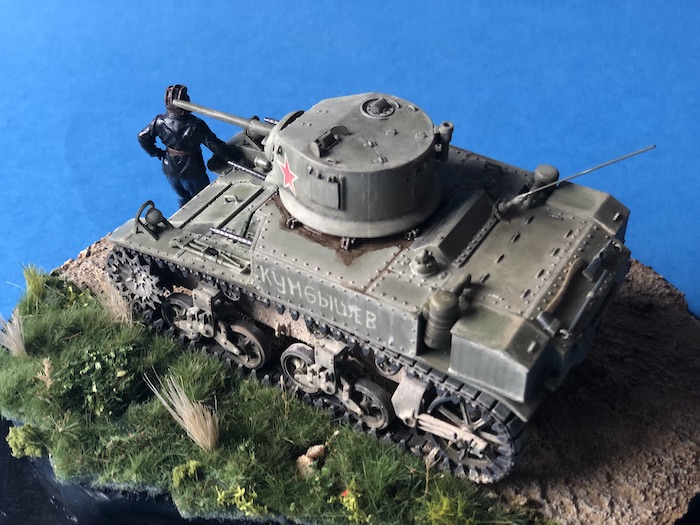
We start by adding dust to the vehicle; this is done by using acrylic paint in a warm grey spectrum. This is mixed with a Tamiya flat base and water to the consistency of a wash. A mixture of water with a drop of washing up liquid is made and this is then added to a single panel making sure not to flood the panel and cover the whole panel.
The paint mixture is then added in a small amount and with a dry brush pushed into all the corners and along each side, this is then allowed to dry. If this looks too excessive that brush can be used to remove the excess material and the paint can be then moved around the panel until you have the desired effect. I found the action best suited for this was to use a stippling motion with a fairly stiff brush.
A second layer of paint consisting of grey and buff and flat base was then applied to the panel, the above actions were then taken again but this time no water with washing up liquid was required.
You now should have a panel which has got discoloured paint in the centre and dust around the edges and in the corners. If happy with this one then move on and work on each panel on the model in the same manner.
To get some variety on the panels a sponge can be used to distribute the dust and also on vertical panels a brush can be used to drag the paint downwards to form streaks. If this spoils the effect of the dust a damp brush can be used to move the paint around and redistribute to areas where it has been moved from. Depending on the amount of dust that you want on the vehicle you can go over all the panels again and reapply the dust paint until you are satisfied with the result.
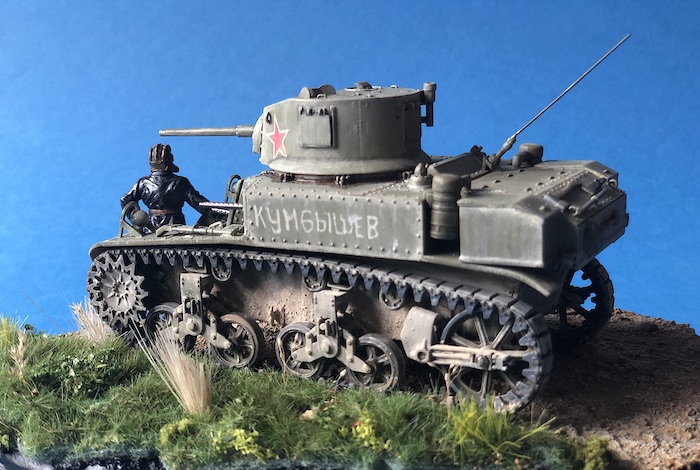
I applied wet effects and oil effects around the turret base to simulate grease and oil seeping out from under the turret. These wet effects were also painted into some of the panel lines where this liquid would have travelled.
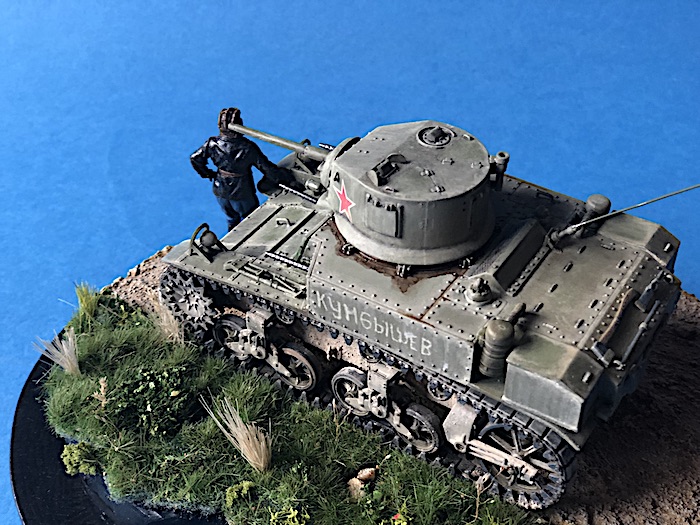
Pigments were applied to the front sides and back of the lower hull and fixed in place with Tamiya thinner. Once allowed to dry, the acrylic dust mixture was then applied to all the brackets holding the rope, wheels, drive and idler wheels. Again several coats were added and taken off with a dry brush until the correct look was achieved. At this time the tracks were also covered with the dust mixture and then with a brush slightly dampened and some of it was removed until the right dusty look was achieved.
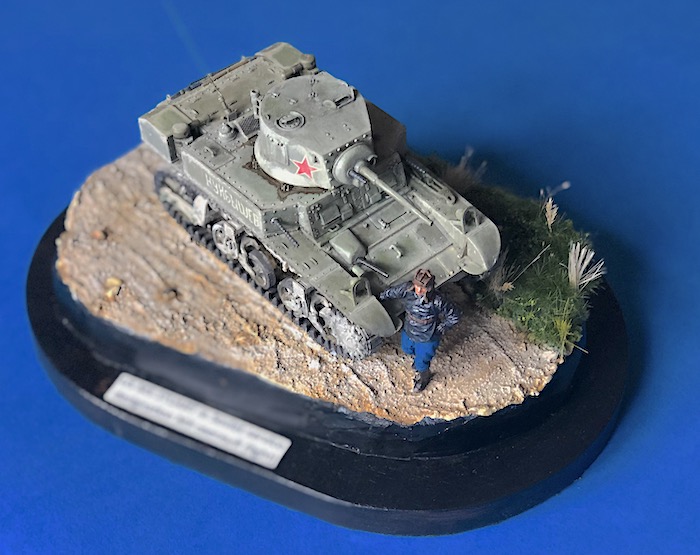
Base
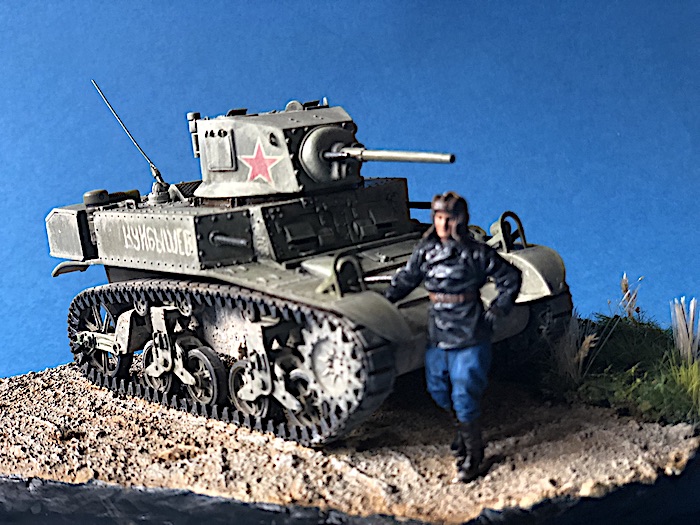
A suitable wooden base was found, PVA then brushed over the surface and fine grit, small stones then applied to the roadway. The grassy bank was then brushed with diluted PVA glue and two sorts of fibre were applied to represent the grass.
Some areas had been left with no glue and into these small stones and vegetation was planted with adhesive. For longer grass, tufts of 12 mm grass were glued into holes pre drilled in the surface. Other forms of vegetation were also used to add a variety and colour.
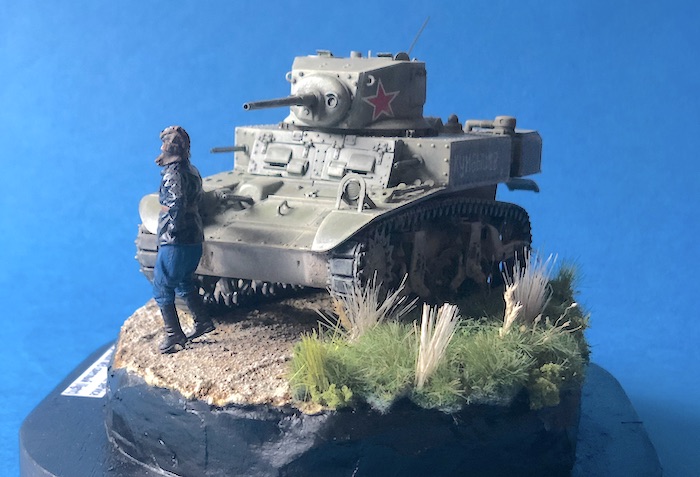
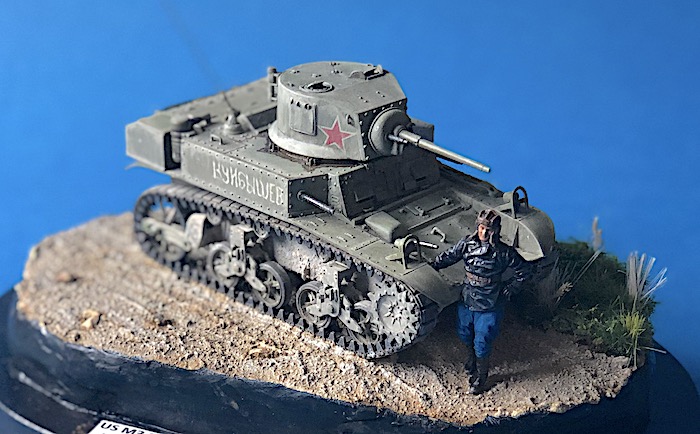
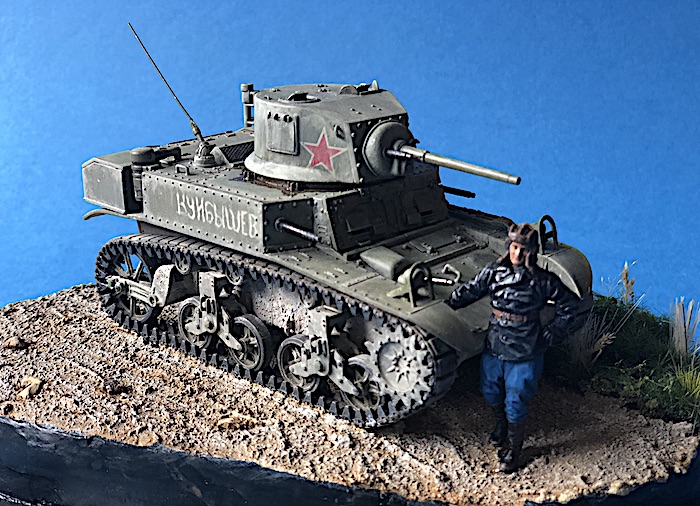
To give the viewer an idea of scale of the vehicle I added a figure of a Soviet tank commander. A set of Soviet tank crew was purchased and a figure selected. As can be seen their trousers were painted in a blue colour, boots in black, the helmet painted in brown leather and the jacket painted in a black leather colours.
The final touch on the figure was the belt and he was added to the model and the last item was a nameplate.
Final thoughts…
This was a very enjoyable project which took longer than I expected due to the amount of time taken going backwards and forwards applying the dust. Nevertheless this is the start of another learning process that I will endeavour to improve. The most important point I would make on this project is to take one’s time allowing the paint to dry and then making corrections and applying another level of dust.
Happy dusting, you know you want to try it!
Bill C.

Ask a question or add feedback:
You must be logged in to post a comment.