by Jamie Haggo
For an introduction and in box look at the kit please refer to the Here Now article which can be found here. https://www.scalemodellingnow.com/hn-armour-dragon-stug3g.
Take a look at: Conclusion, gallery and pdf…
The first job is one of the most tedious, which is sorting out all the wheels and things. As I mentioned in the Here Now review, the return rollers are moulded in one piece so they are fairly easy but the main wheels come in 2 pieces and are quite fiddly to clean up. The idler and drive wheels are multi part and go together well but again are fiddly and the plastic is fairly soft so it wouldn’t take a lot to damage them so it’s best to go easy with the sanding sticks when cleaning them up. Some of the attachment points are on the guide teeth which is not ideal but I’m no moulding expert and I suspect Dragon had little choice.
Hull:
I decided to start the main construction with the lower hull. This comes in a slide moulded single piece and has some very nice detail. Various suspension parts are moulded integrally however there are some separate components which are required to be added.
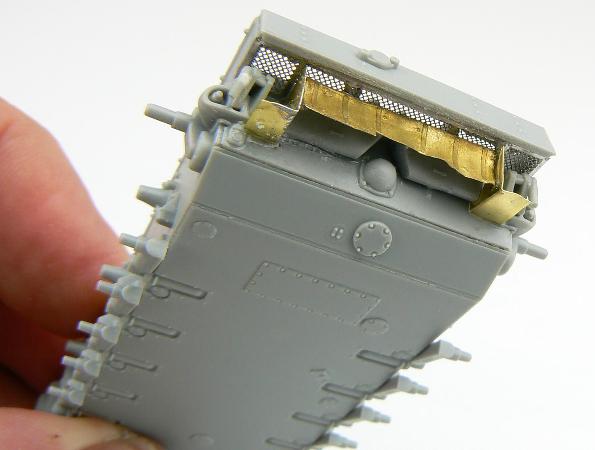
The first of the photo etch to be added was the exhaust mesh and baffle plates. These were glued in with small amounts of superglue and when fully hardened they were distressed with some small pliers. These areas could get really bashed up so some dents and dings really will add that little bit of extra realism.

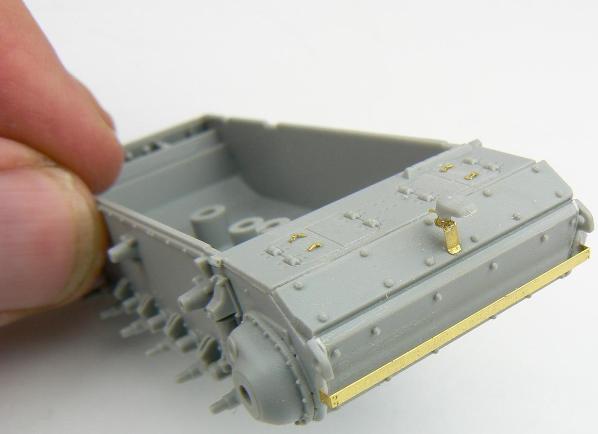
Attention then turns to the front of the hull. There are some small hinges for the transmission hatches which are unbelievable fiddly to bend into place. I used some tweezers and a small piece of fine wire but it was frustrating. The mount for the Notek light was made from a number of small parts and when bent into place it was glued with super glue. The kit part comes in a single moulding so the mount has to be removed, go careful as it would be easy for the vital part to ping off never to be seen again.
The mounting for the spare links was the final part to be glued in place. StuG IIIs usually had this full of spare links placed in here however none are included in the kit which is a shame.

Fighting compartment:
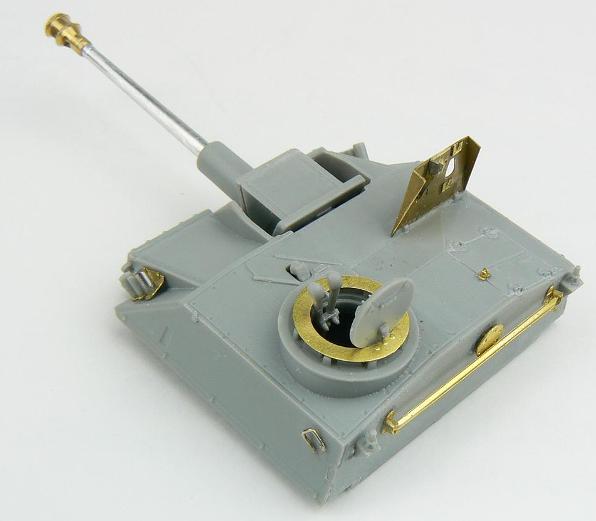
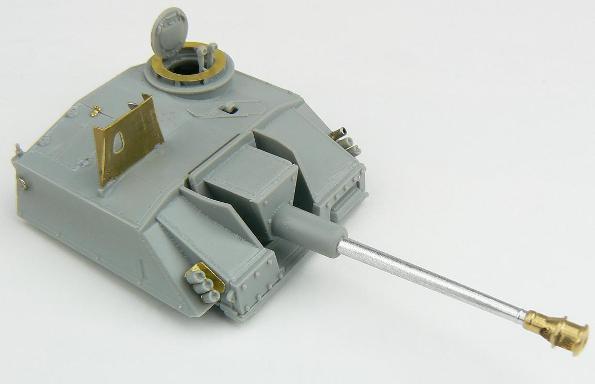
Next up was the fighting compartment. Again there are numerous photo etch parts here, some of which were again fiddly hinges. The smoke dischargers are again a partnership between Voyager photo etch and kit plastic with the smoke dispensers having to be removed from the plastic mounting. You maybe able to just make out the left hand one has a hollow dispenser, that’s because one disappeared off the bench so it was replaced with some brass tubing from Albion Alloys and depicts a discharged unit.
The vent plate at the rear was mounted ion tiny brass pins. Just adding it to the rear of the compartment would be too flat and the plastic part would stick out too far to allow the storage rack to fit so it was worth the fiddle.

The barrel is from RB barrels, it was purchased off EBay and was really cheap, only a couple of quid direct from the manufacturer. The machine gun shield is a multi part affair and was soldered together however as it’s really small I ended up losing a few components which were scratch built using metal foil. In these photos it’s in the upright position which isn’t correct when the loader’s hatch was shut. This was corrected later.
