Whether you’re a seasoned modeller or just getting started, this gallery is a place to share your work, appreciate the craftsmanship of others, and draw inspiration for your next project.
Each submission has a ‘gallery’ of thumbnails which you can click on to see an enlarged image and read the short text describing the model – enjoy!
Not a subscriber yet?! We warmly encourage you to become part of this community. By subscribing to Scale Modelling Now, you unlock full access to 4,500+ in-depth build-reviews, exclusive how-to videos, regular technique masterclasses, and fresh content added weekly — all for just £1.50/month (£18/year).
Our Aircraft Scale Model Galleries
Focke-Wulf and Fokker Scale Model Gallery
Messerschmitt Aircraft Scale Model Gallery
Supermarine Spitfire Scale Model Gallery
A | B | B-2 | C | D-E | F | G | H | I-L | M | N-R | S | T-V | W-Z
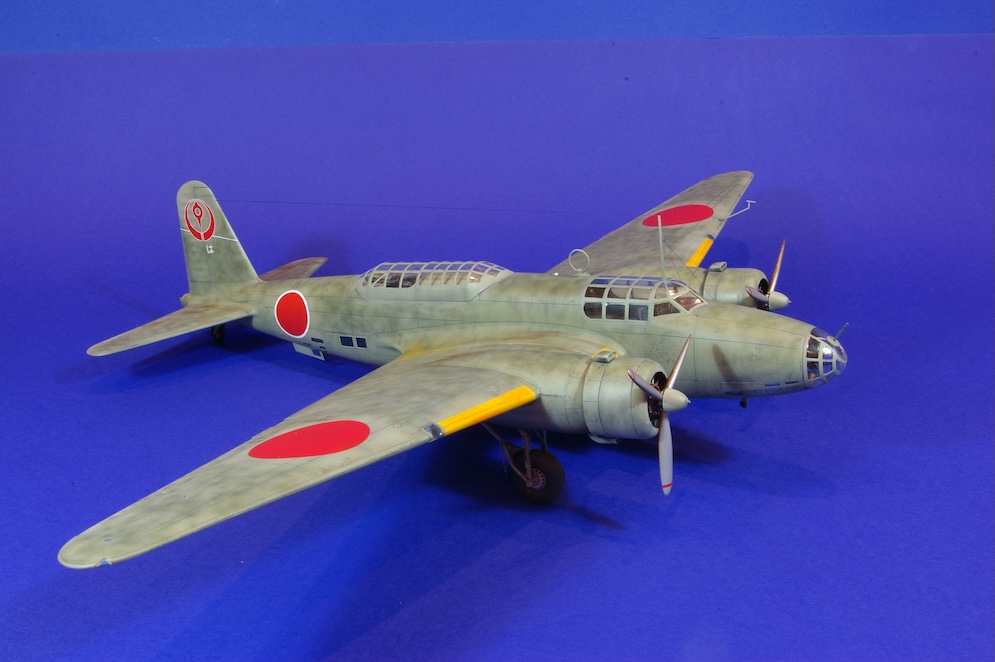

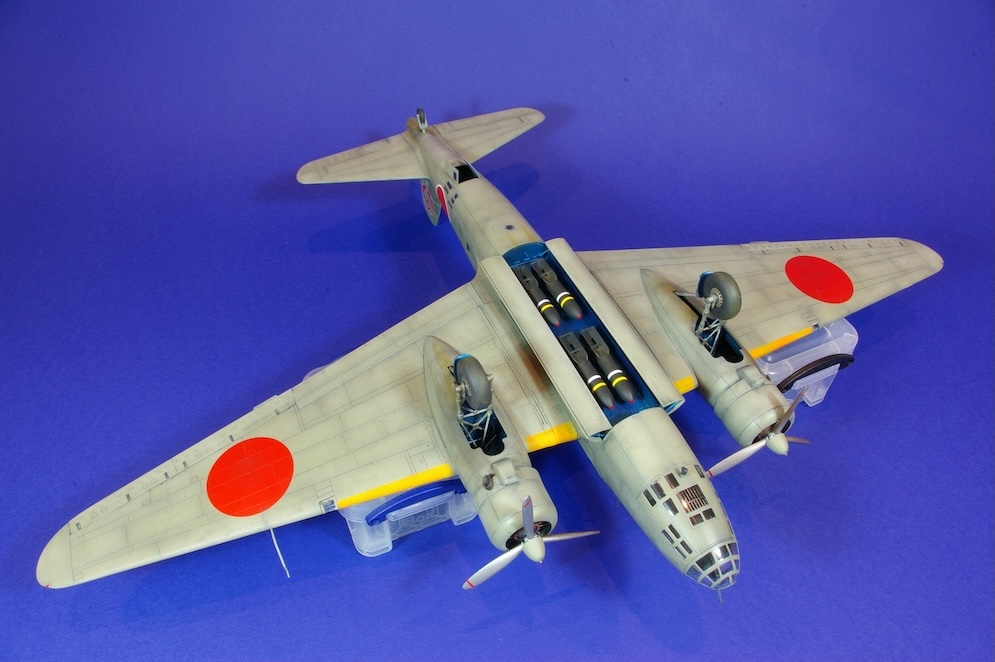

I found that the kit was easy to build apart from installing the transparent panel on the underside of the fuselage. This had to be inserted into one side of the fuselage before the two fuselage halves were joined together. Once the fuselage was assembled it was impossible to adjust the position of this part and despite my best efforts this led to an ugly step on one side of the panel.
I eventually had a profound sense of humour failure and cut out the panel completely and installed two doors made from clear acetate sheet. I couldn’t find many images of the Ki21 online, so I hope that this was the way they looked on the original aircraft!
The removal of the clear panel resulted in little pieces of plastic ‘swarf’ becoming lodged under the clear parts. This became apparent at the end of the project when the masks were removed from the canopies. After some ‘language’ was used, the plastic swarf was blown away / sucked out using a straw – which was delightful.
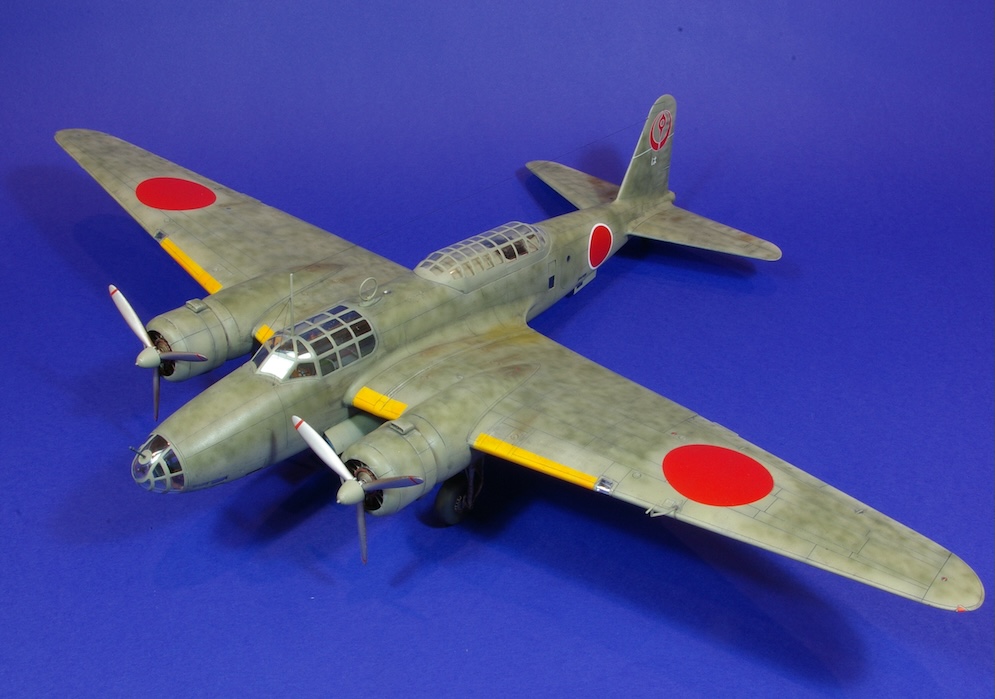
The pre-shaded model was sprayed with RLM 02 from Mr Hobby which I thought was a good match for the greenish-grey base colour used on these aircraft.
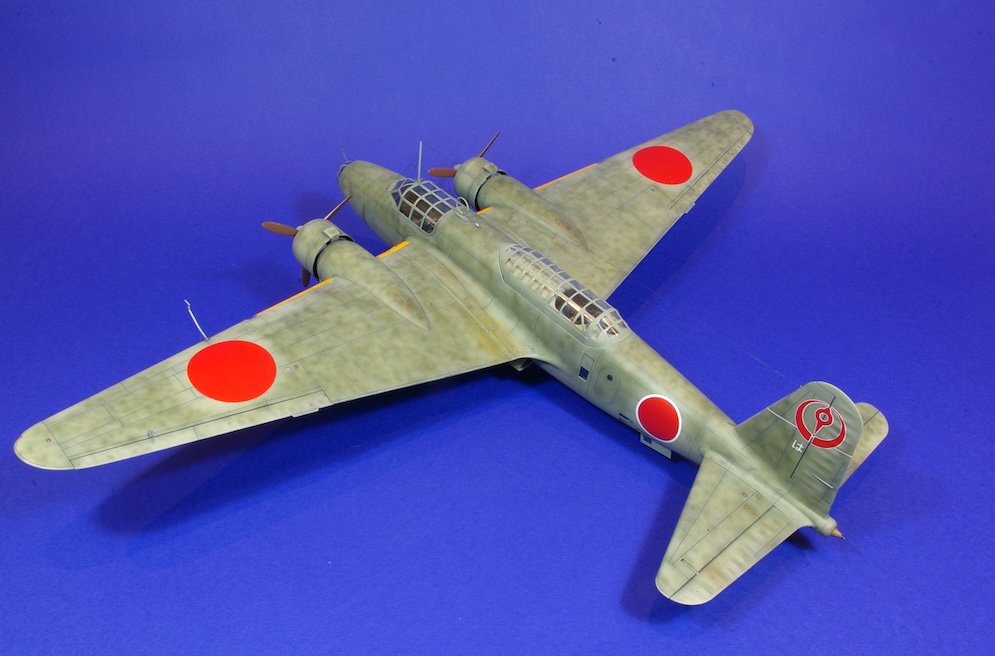
The mottling was done with Mr. Hobby Japanese Army Green. I sprayed this on to make it appear that it was done roughly and quickly, in the field, around the existing markings. I took care to represent what I thought a 1:48th scale figure perched on a ladder was likely to be able to achieve with a spray gun (hence the photo of a 1:48th scale figure taken from a Fine Molds kit for scale).
I think that this is a really odd-looking aircraft and whilst I cannot see the purpose of the huge greenhouse on the top of the fuselage (it seems far too large just to cover the gunner’s position), I think it makes the model look rather interesting.
On the subject of the greenhouse, I invested in a set of pre-cut masks for the model. Many of the numerous windows on the Ki21 seem to have had rounded corners which I thought would be a nightmare to deal with if I’d gone down the road of cutting my own masks – life is too short for that!
Dai W.


Thanks in advance for looking.
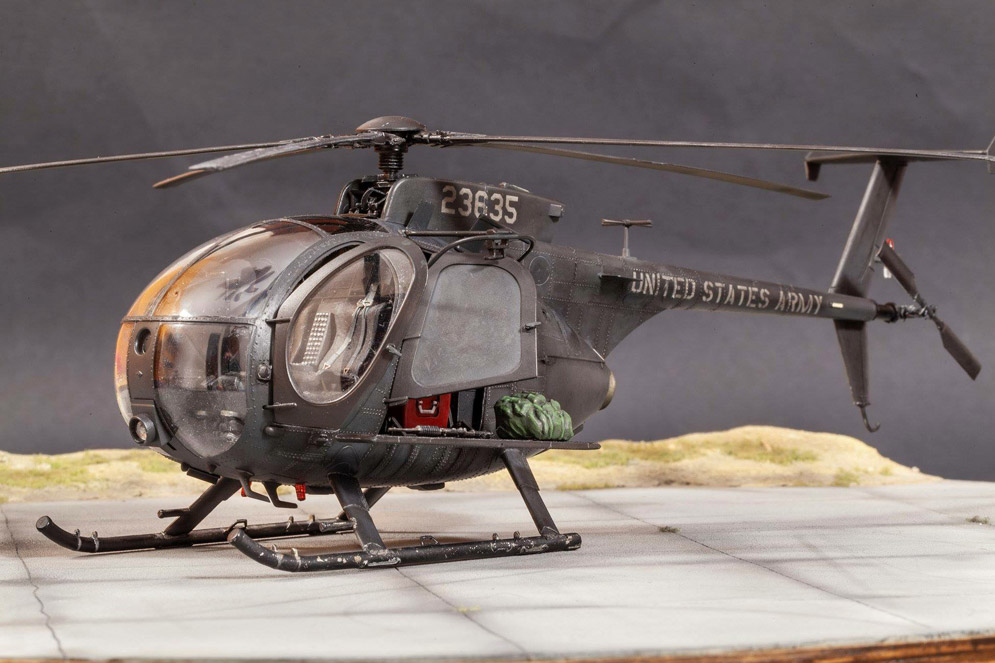
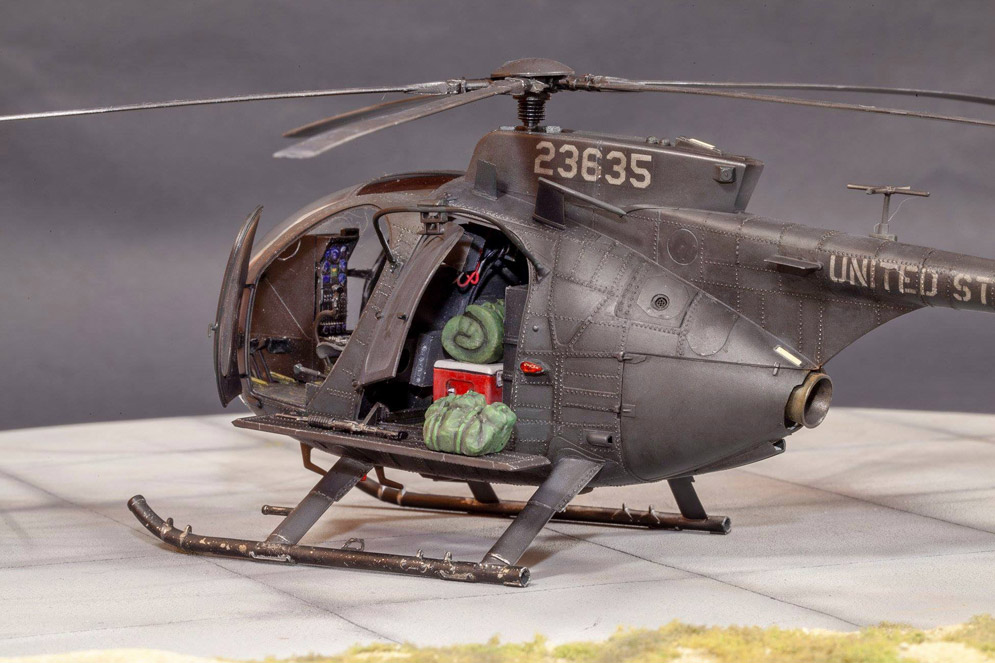

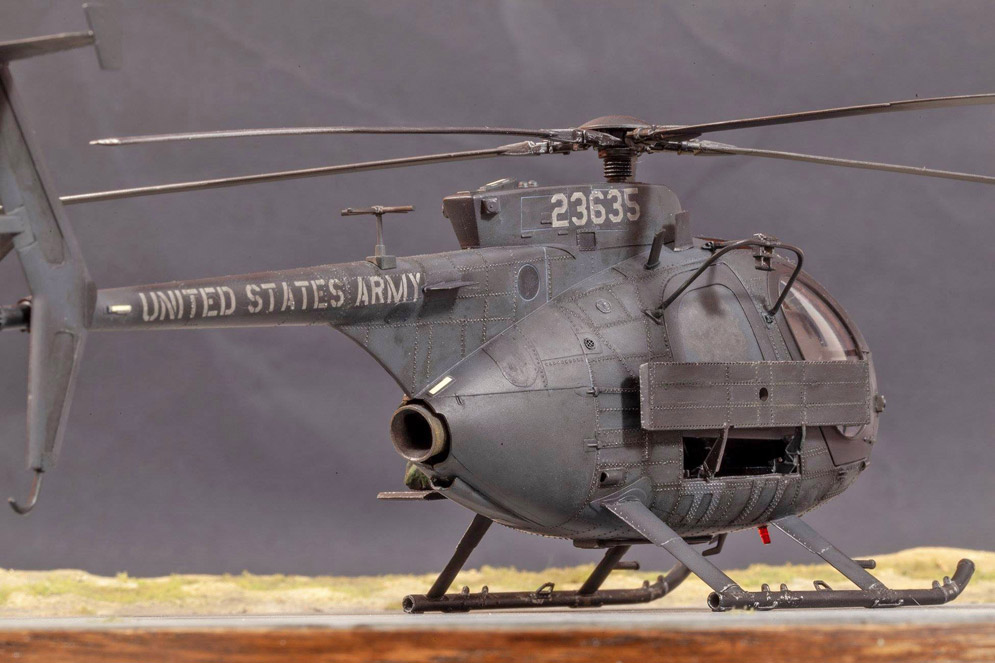

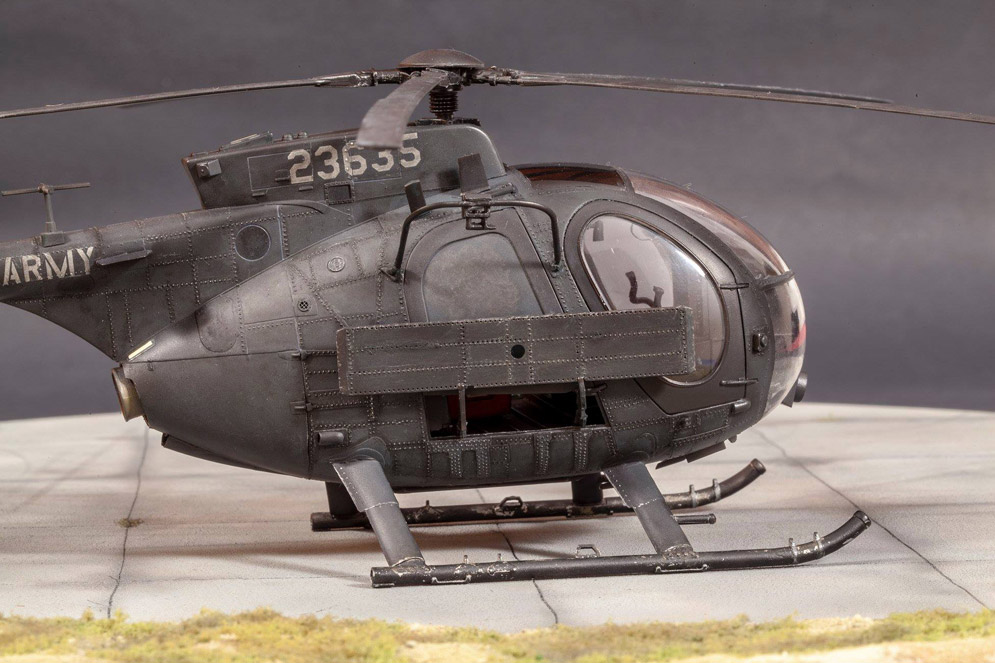
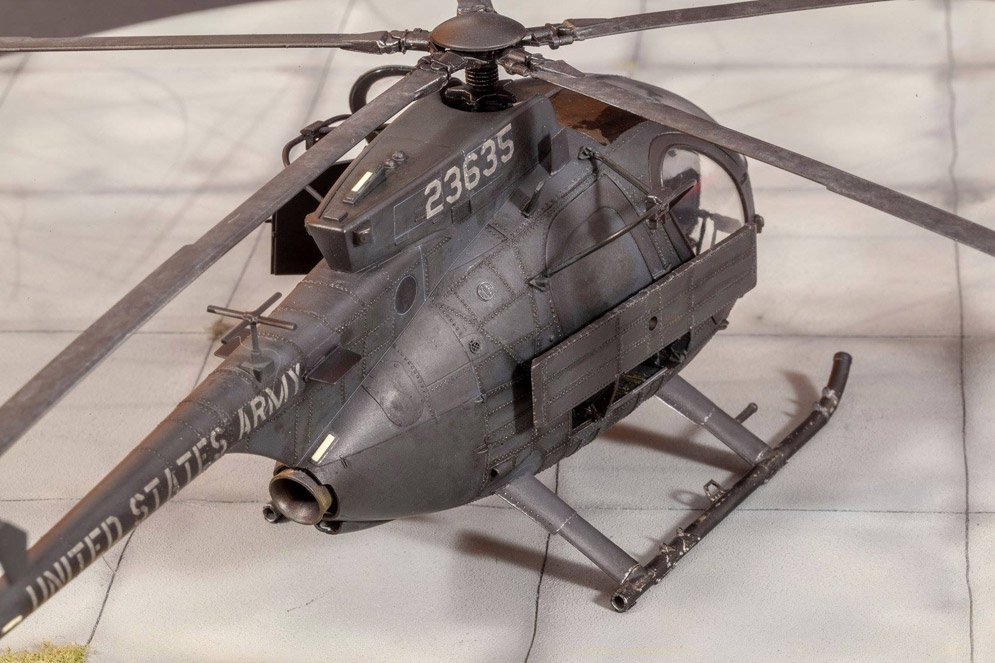
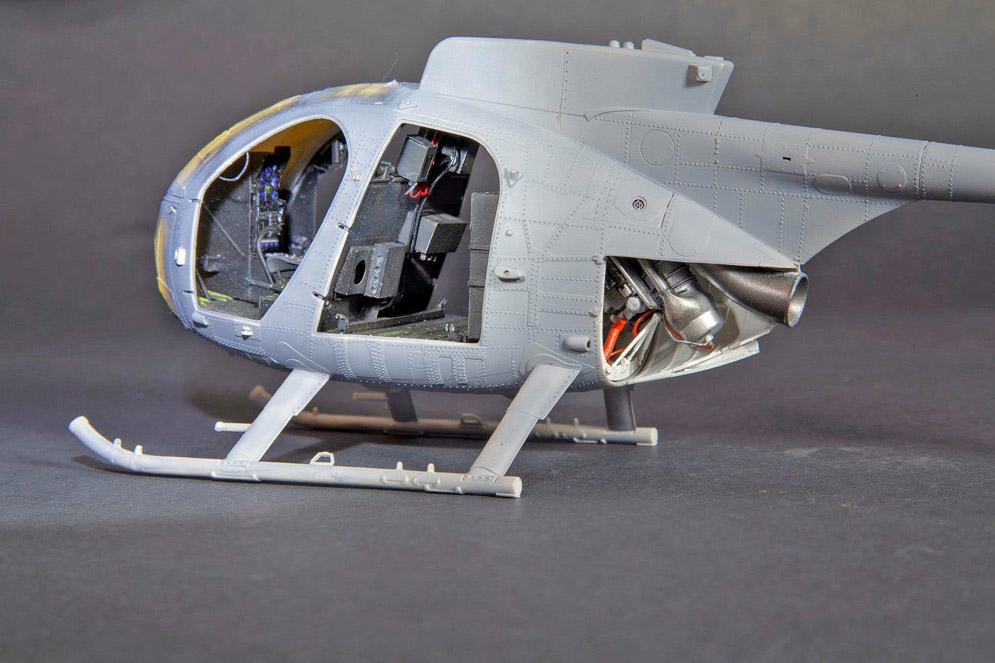
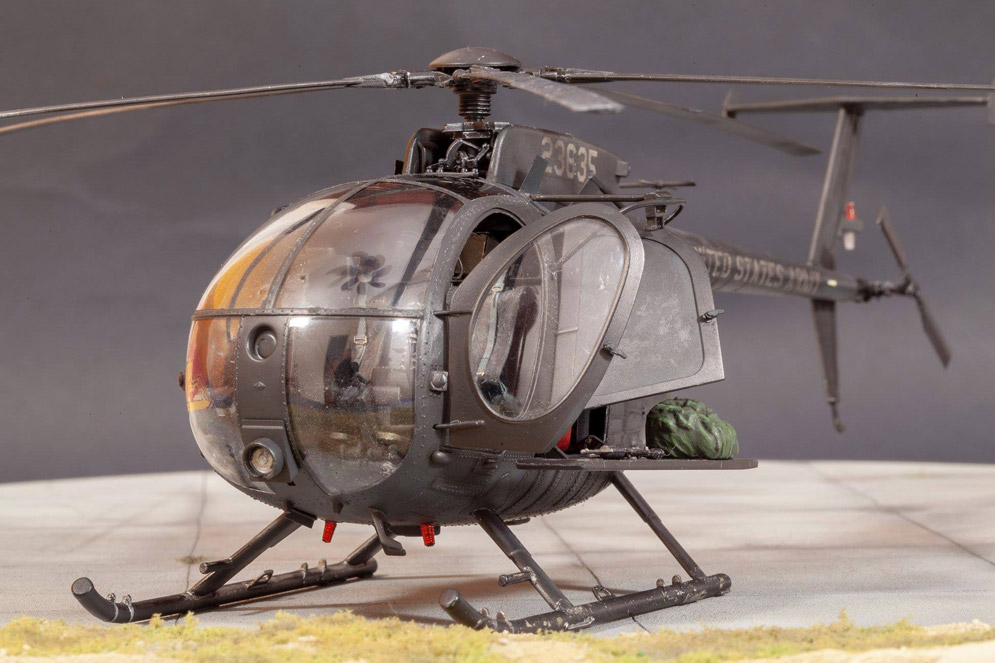
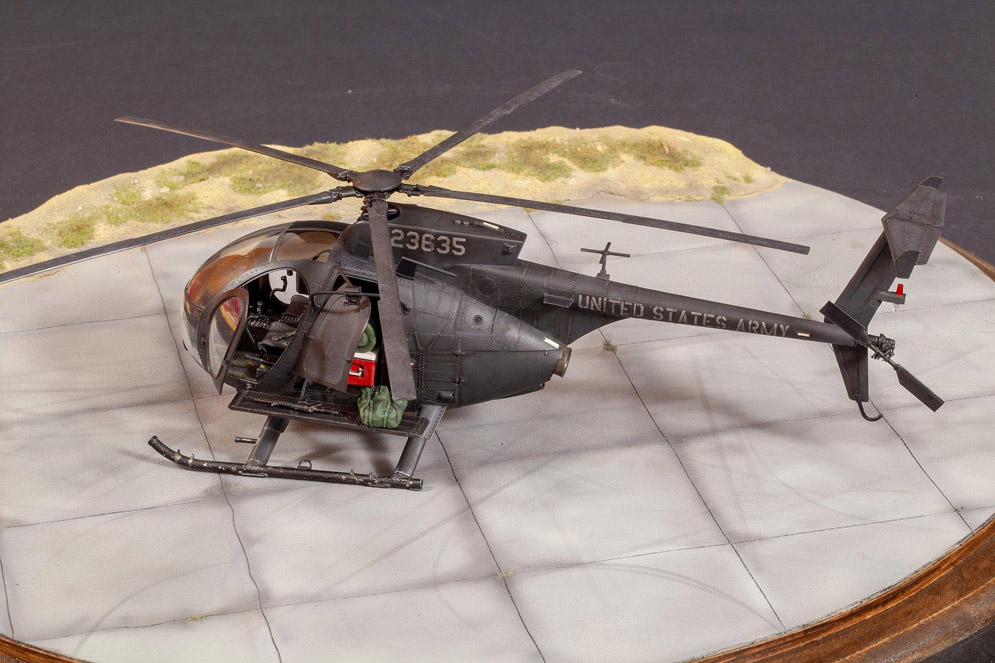
I started Kitty Hawk’s 1:35 AH-6M, so far the fitting is superb, what I didn’t like was the negative rivet on the fuselage, so I decided to add all the rivet in positive, it look much better with them, thanks to Archer for their excellent resin rivets.
Jorge O.
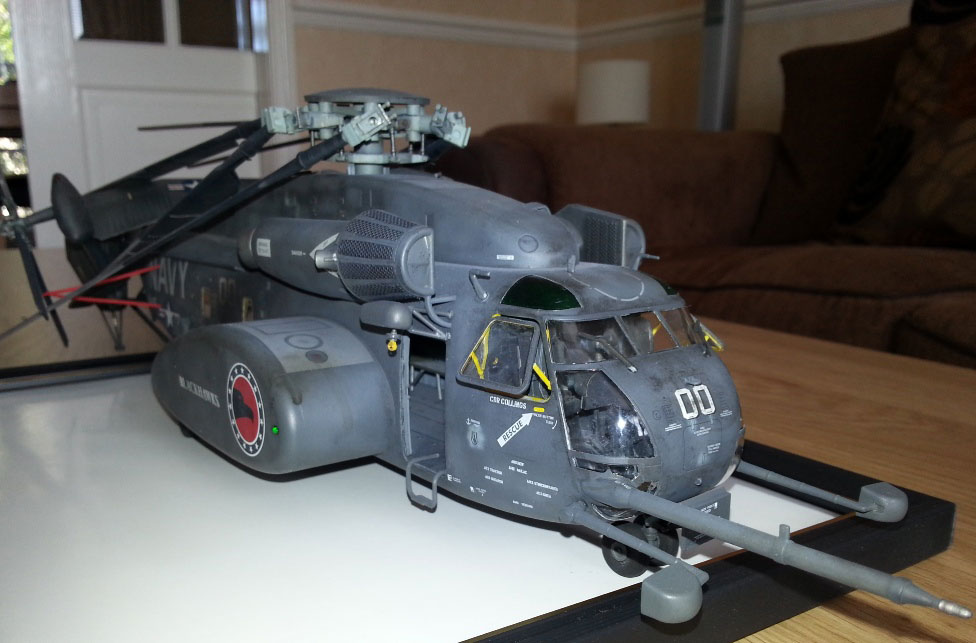
What can I say, this is my first Trumpeter kit and frankly I was impressed. Straightforward build other than a slightly complex nose to handle the side air intakes. I drilled out the various nose scoops and replaced the guns and pitot with hollow tube. Tyres were flatted and then Tamiya and Mr Hobby pointed in its general direction.
There is some shading going on and a bit of chipping where appropriate.
I know some Trumpeter kits get a bad press but I really enjoyed building this and she was a fun painting exercise.
Matthew G.
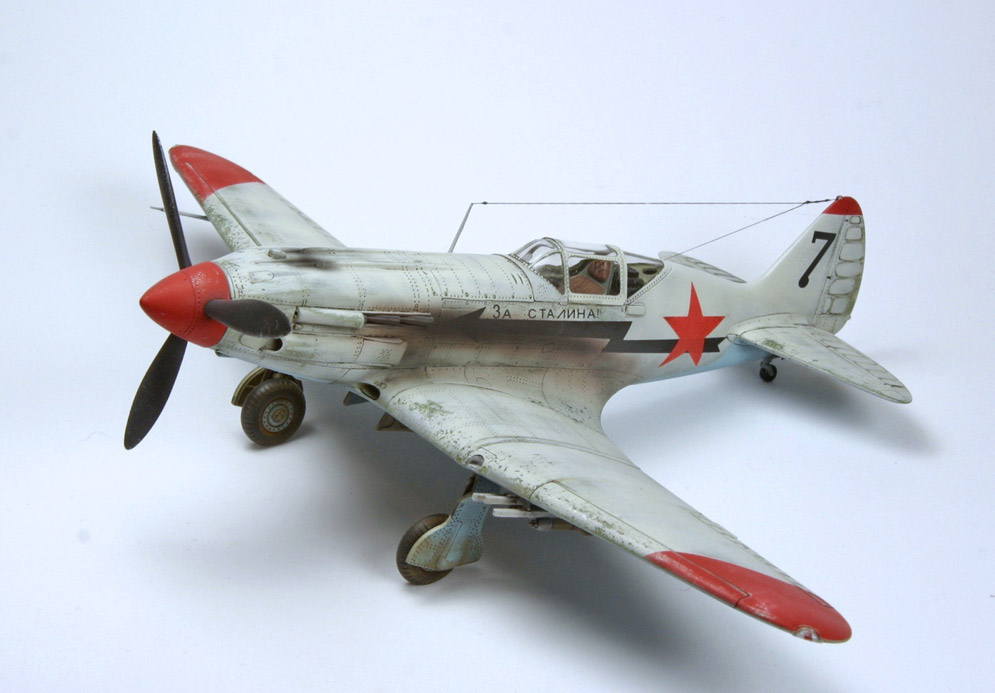

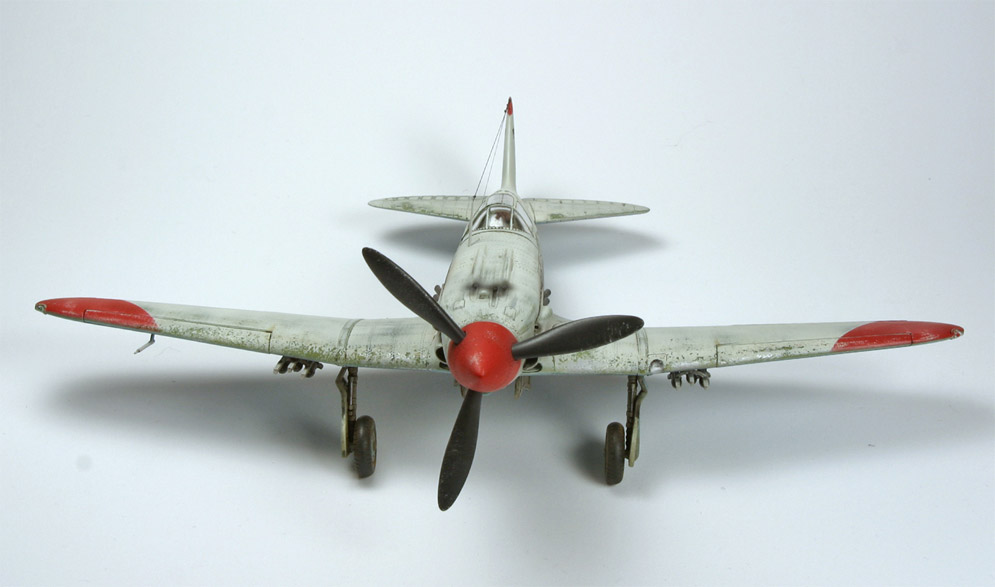
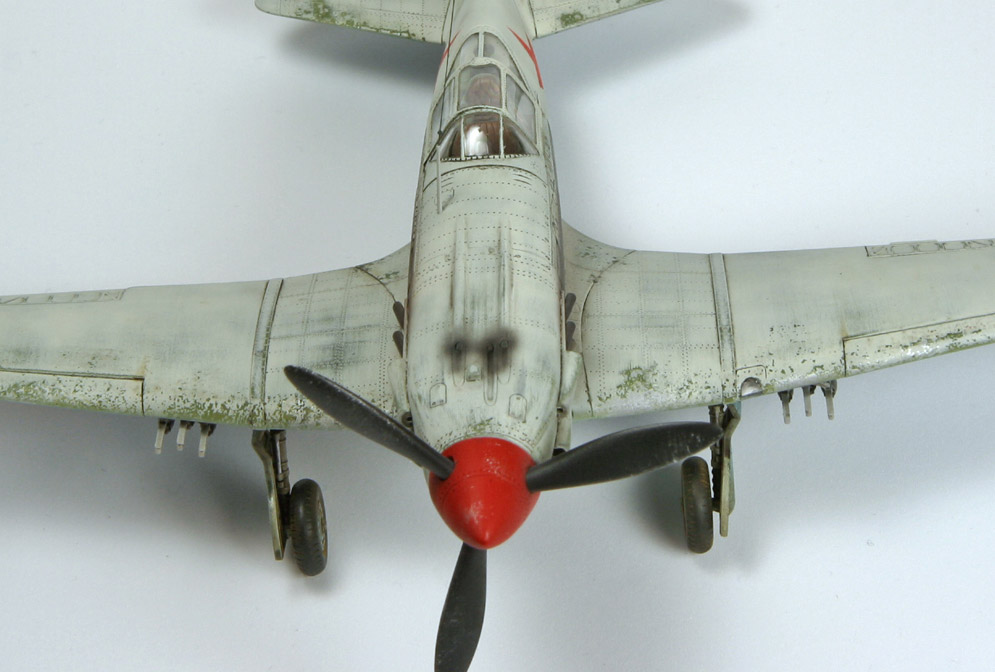
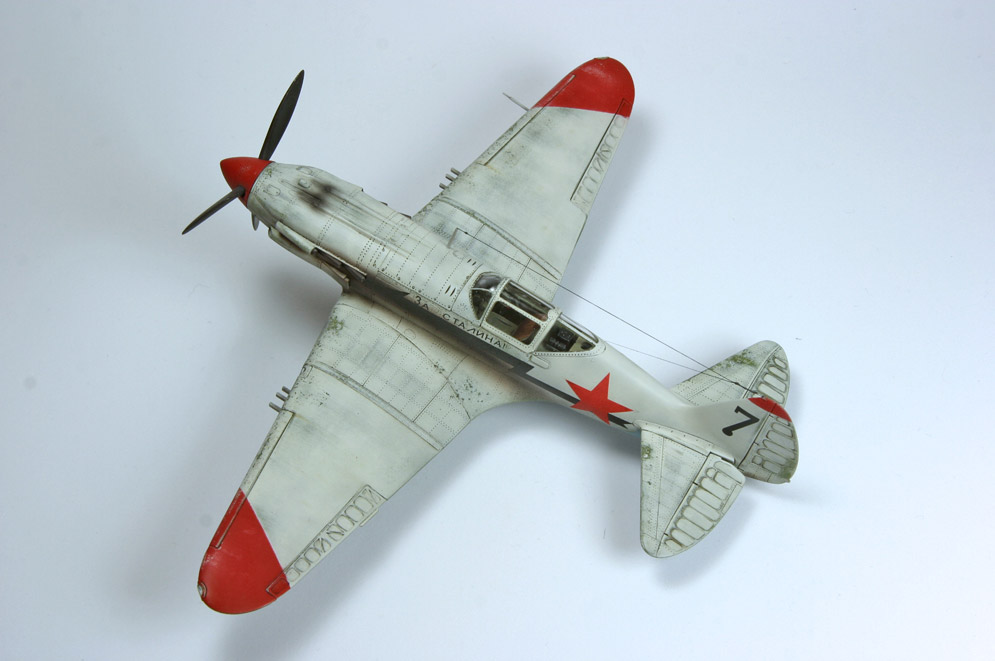
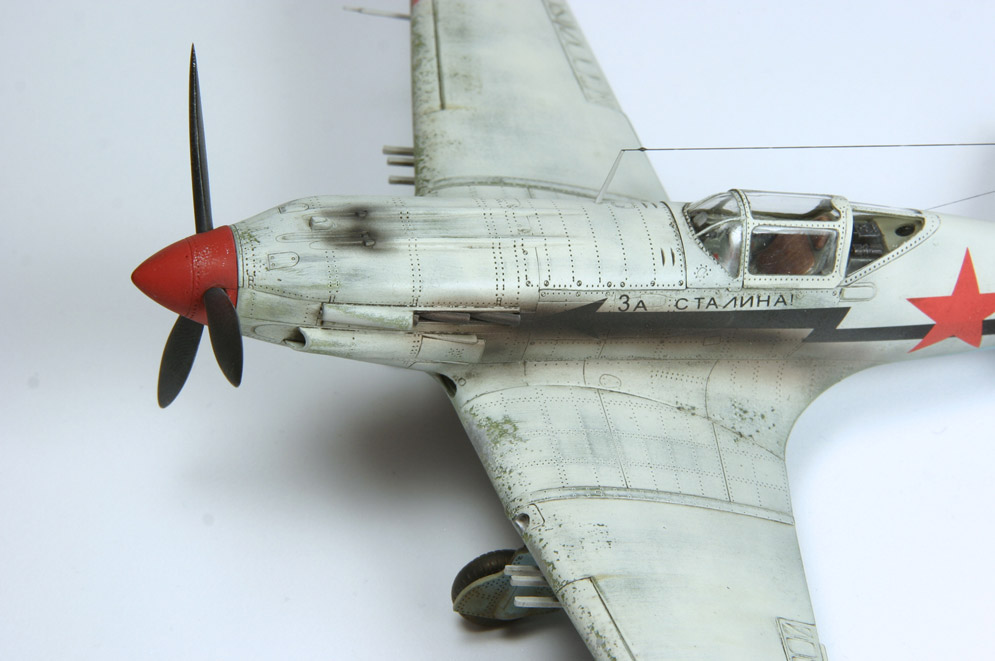
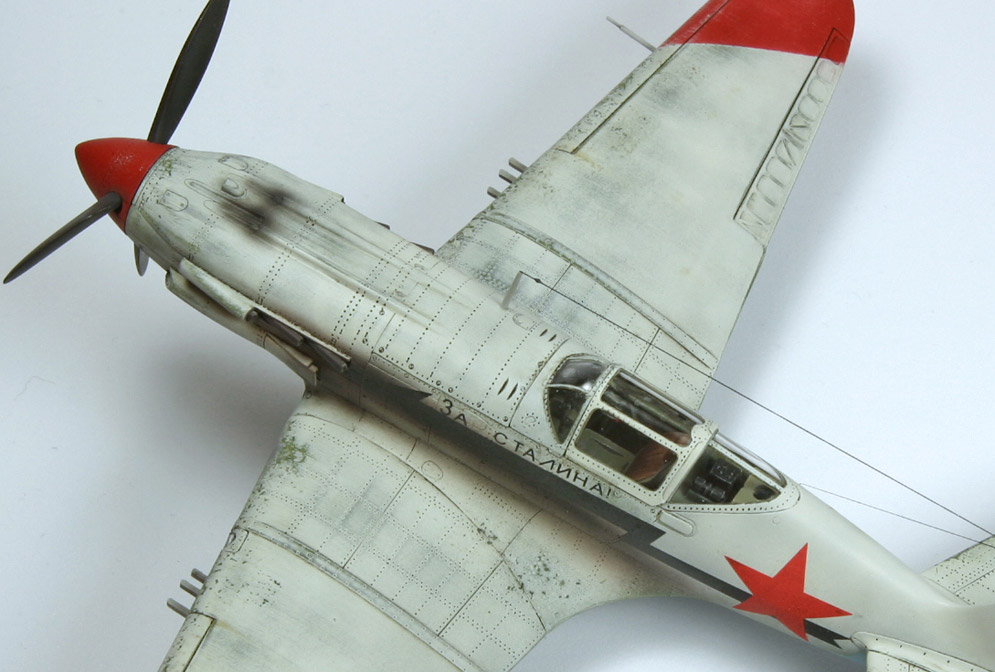
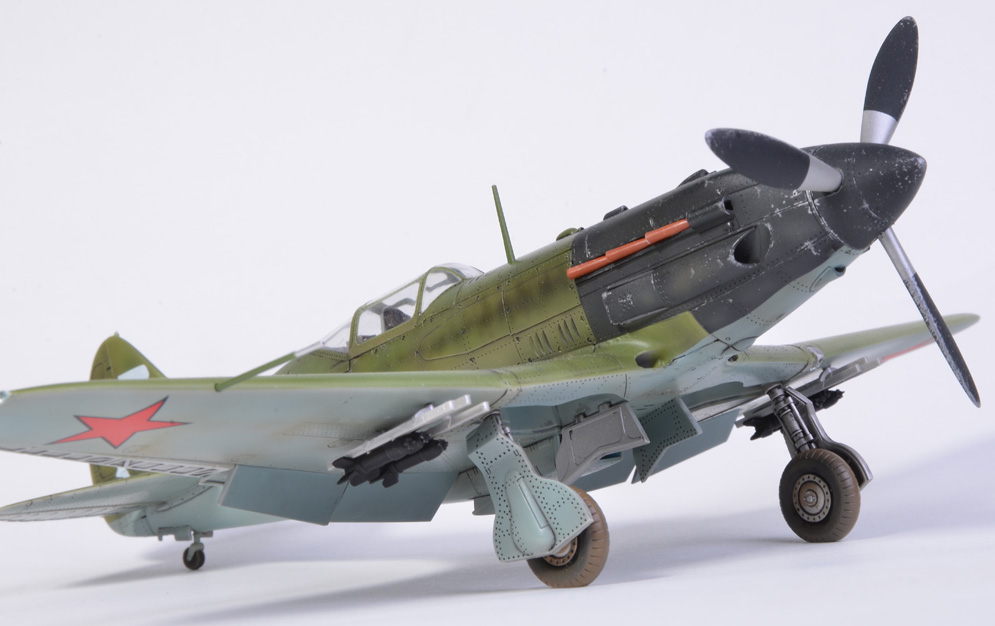
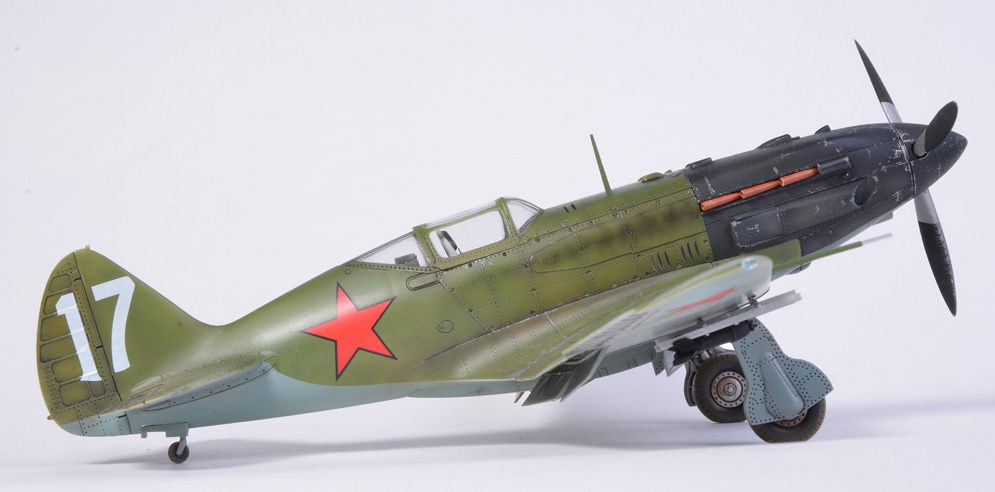
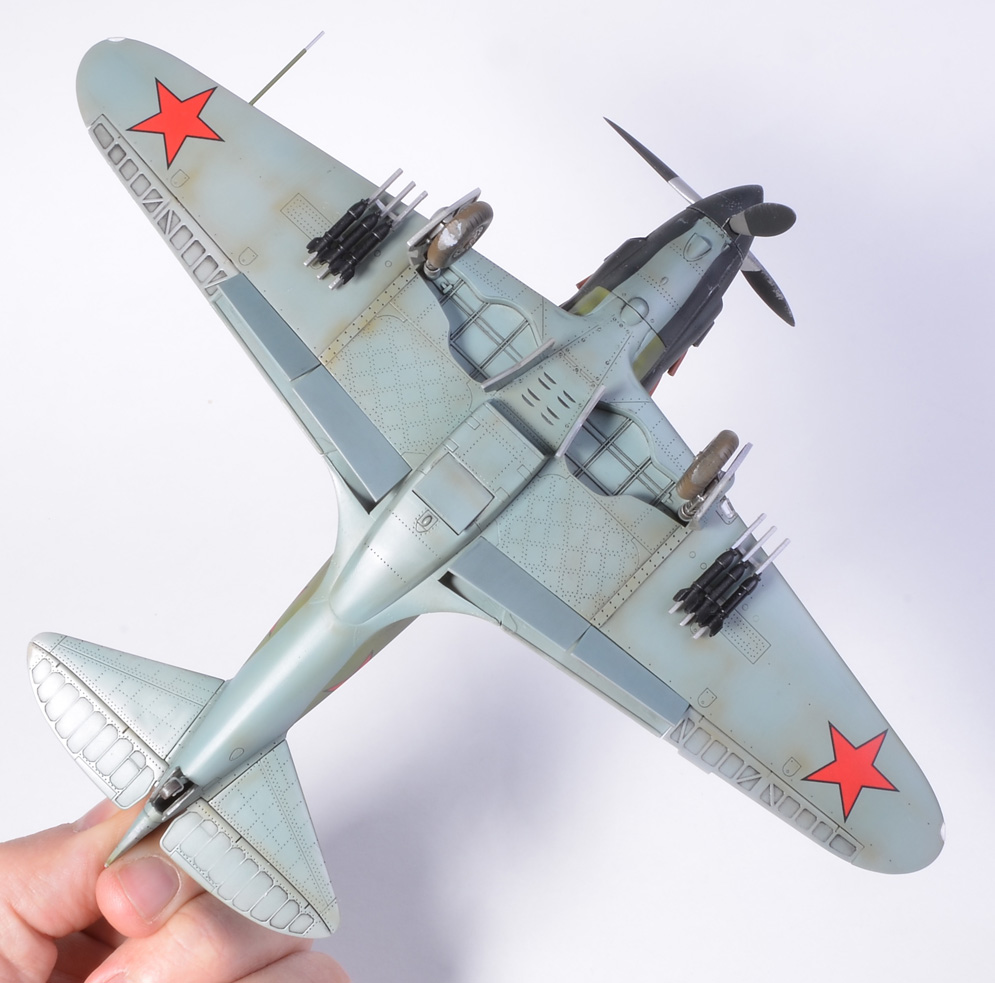
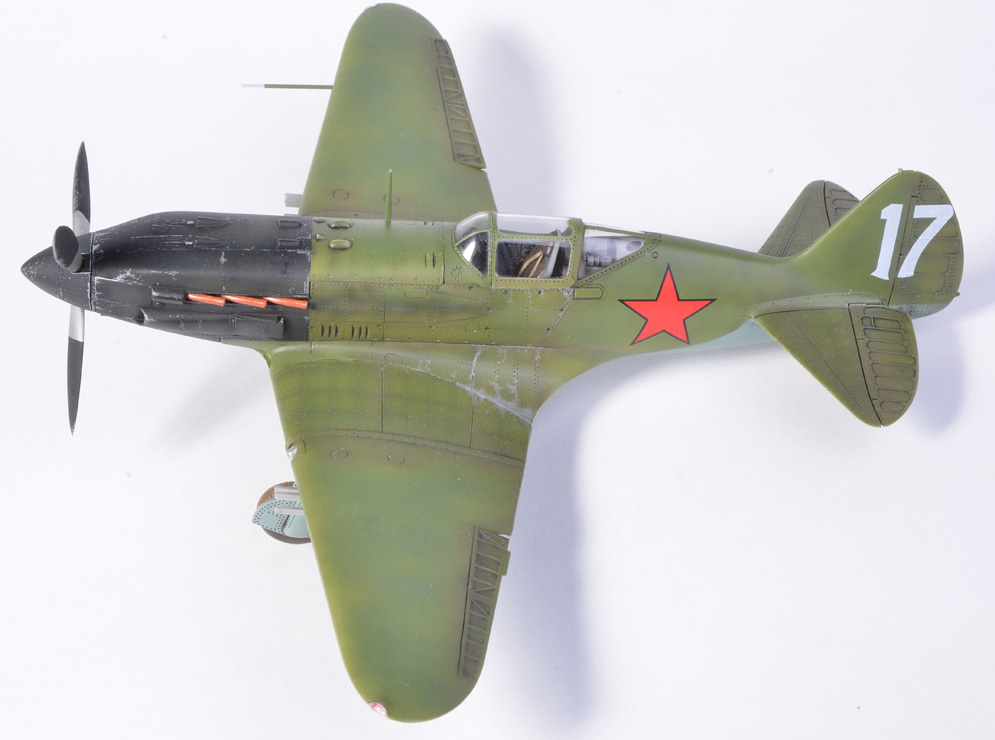
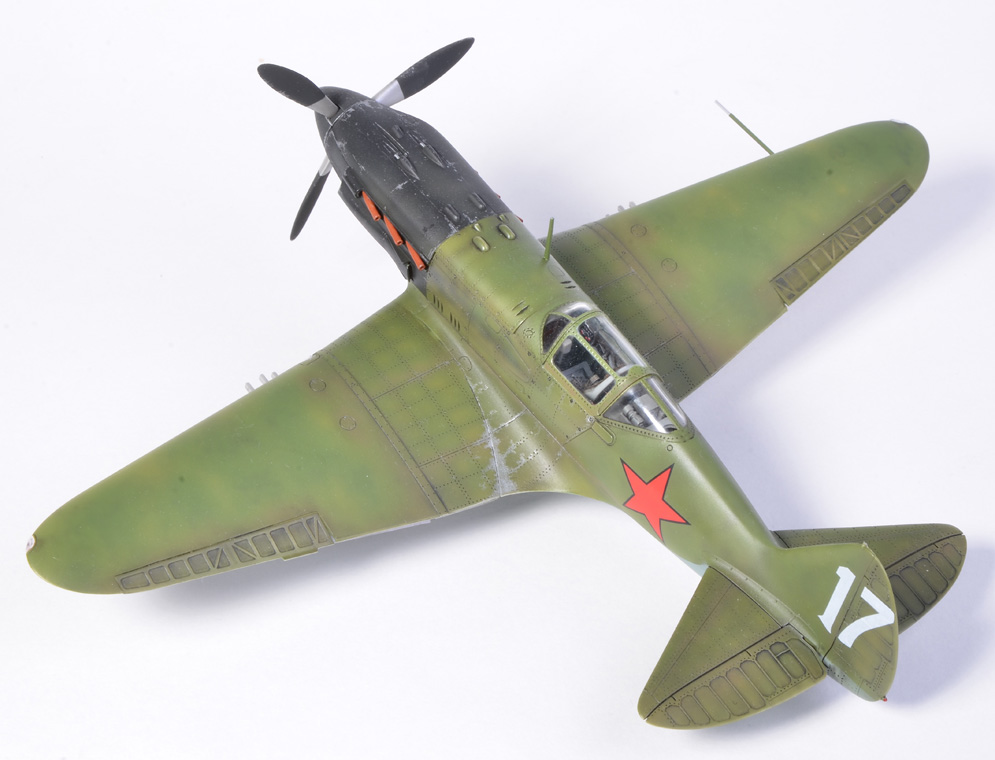
Quite an old kit with a lot of poor fit around wing root front and a lot of sink marks. This was a test piece and so not corrected.
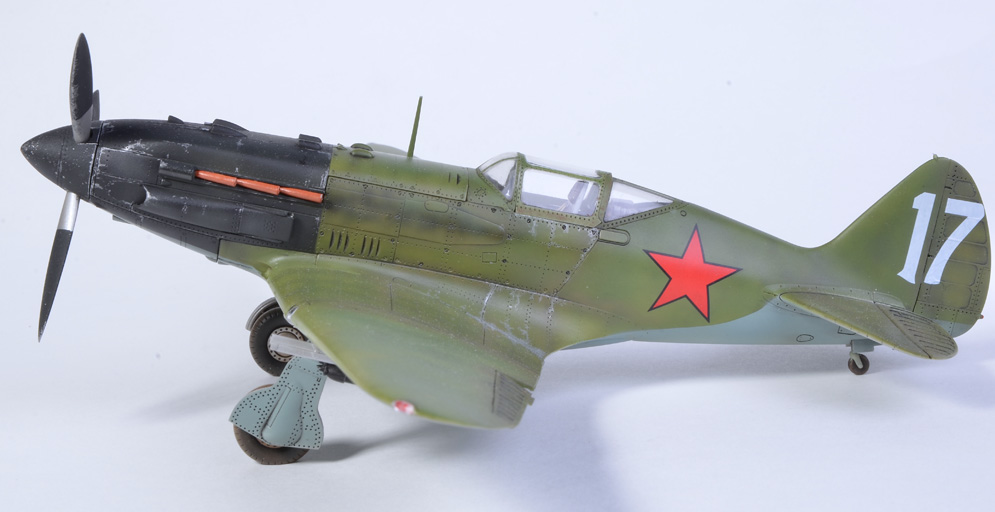
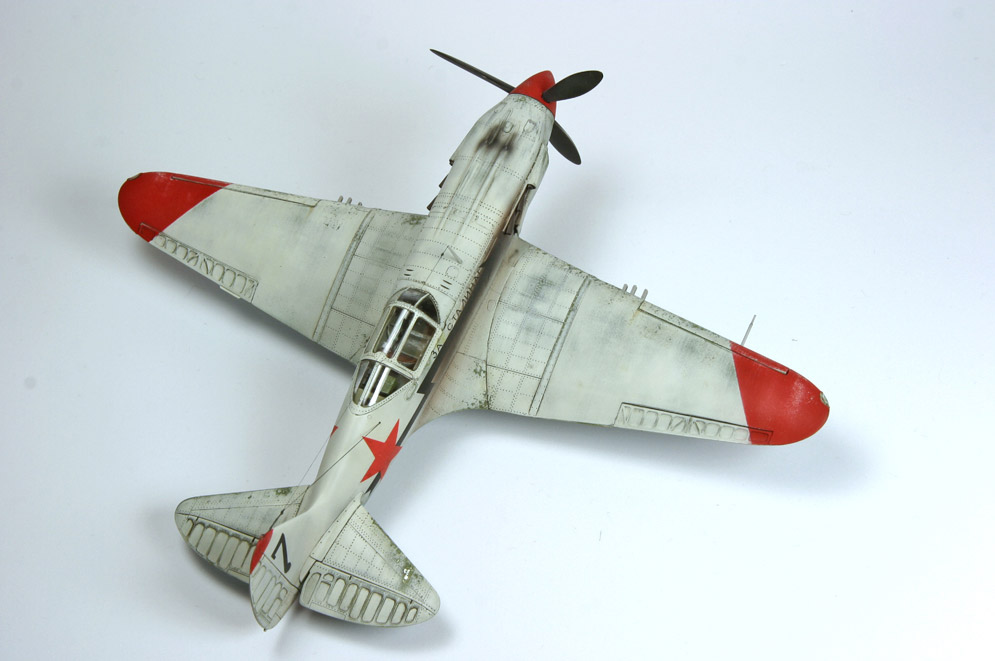
‘Marmite’ weathering technique etc to wing edges. Had to check out the construction of the plane as it was part wood. Made sure I exposed the metal or original green colour. No varnish used between layers… I forgot but it caused no problems.
Used a worn out Flory sponge stick to wear back the white [ grey ] to the green colour.
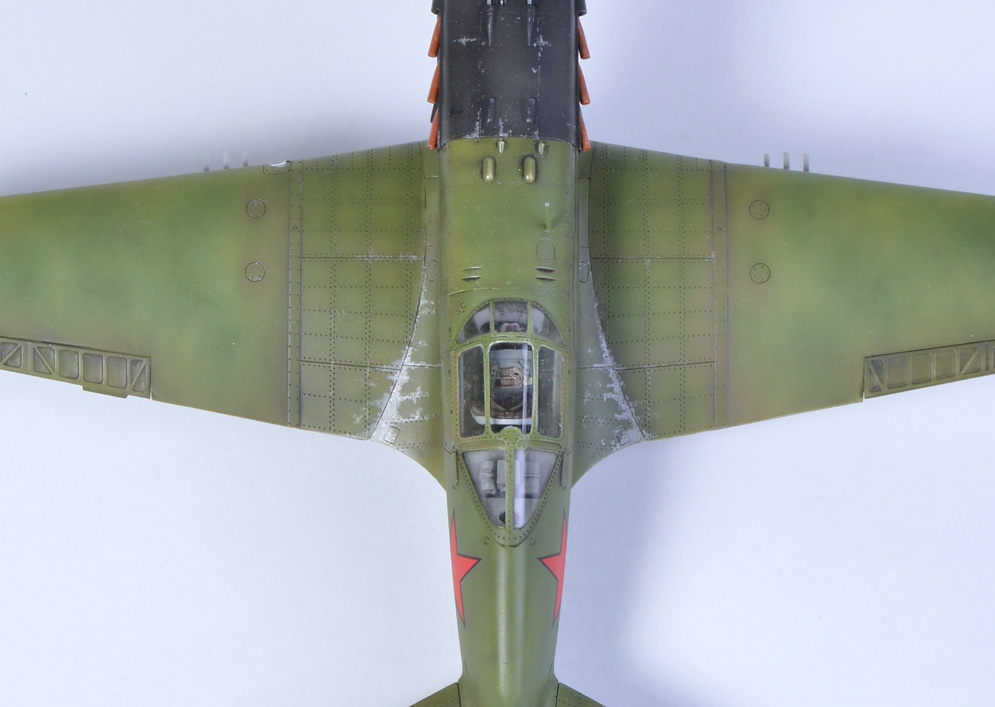
Canopy dipped in Future.
Uschi elastic for Ariel.
Pastel and airbrush weathering.
Cheers, David G.L
Daniel M.
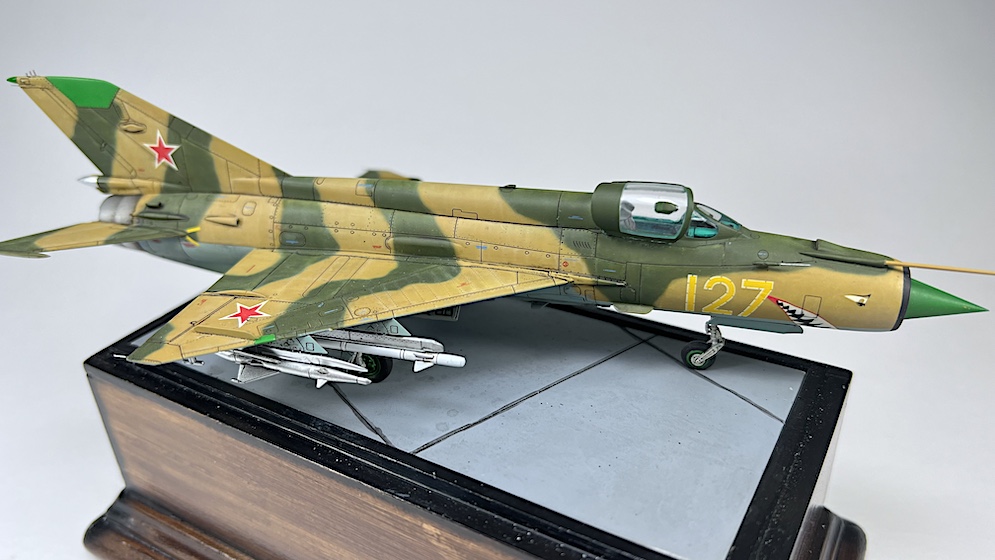
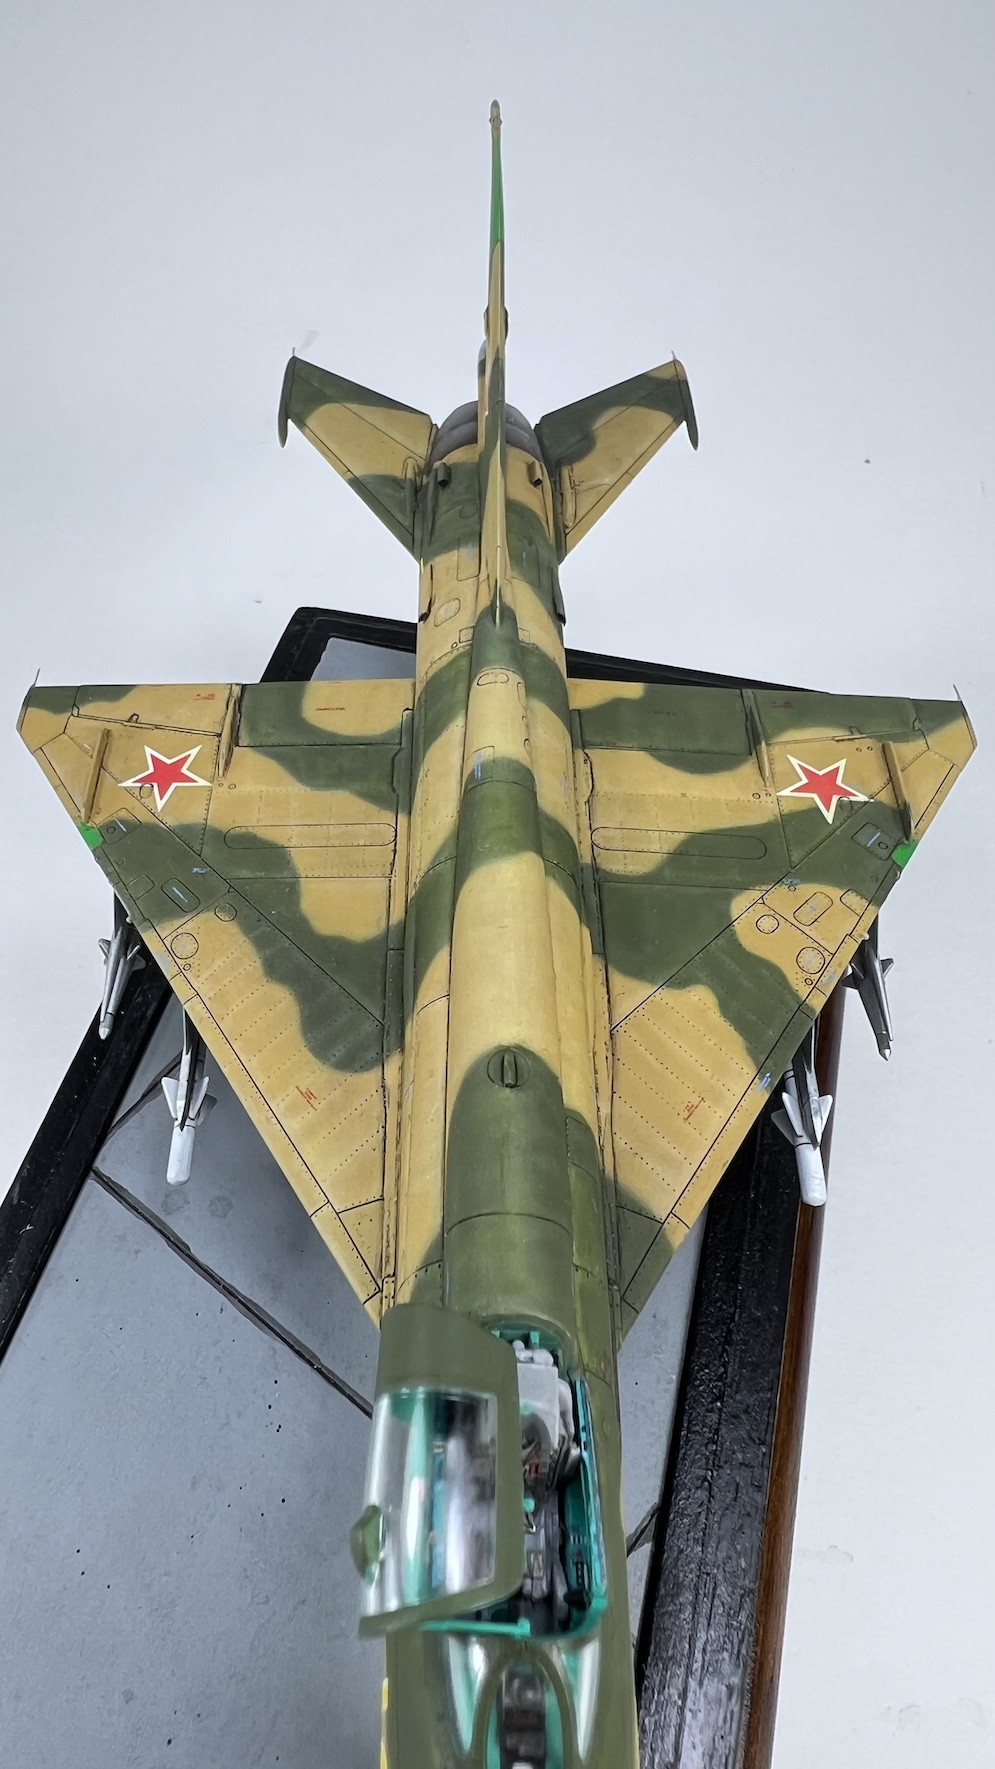
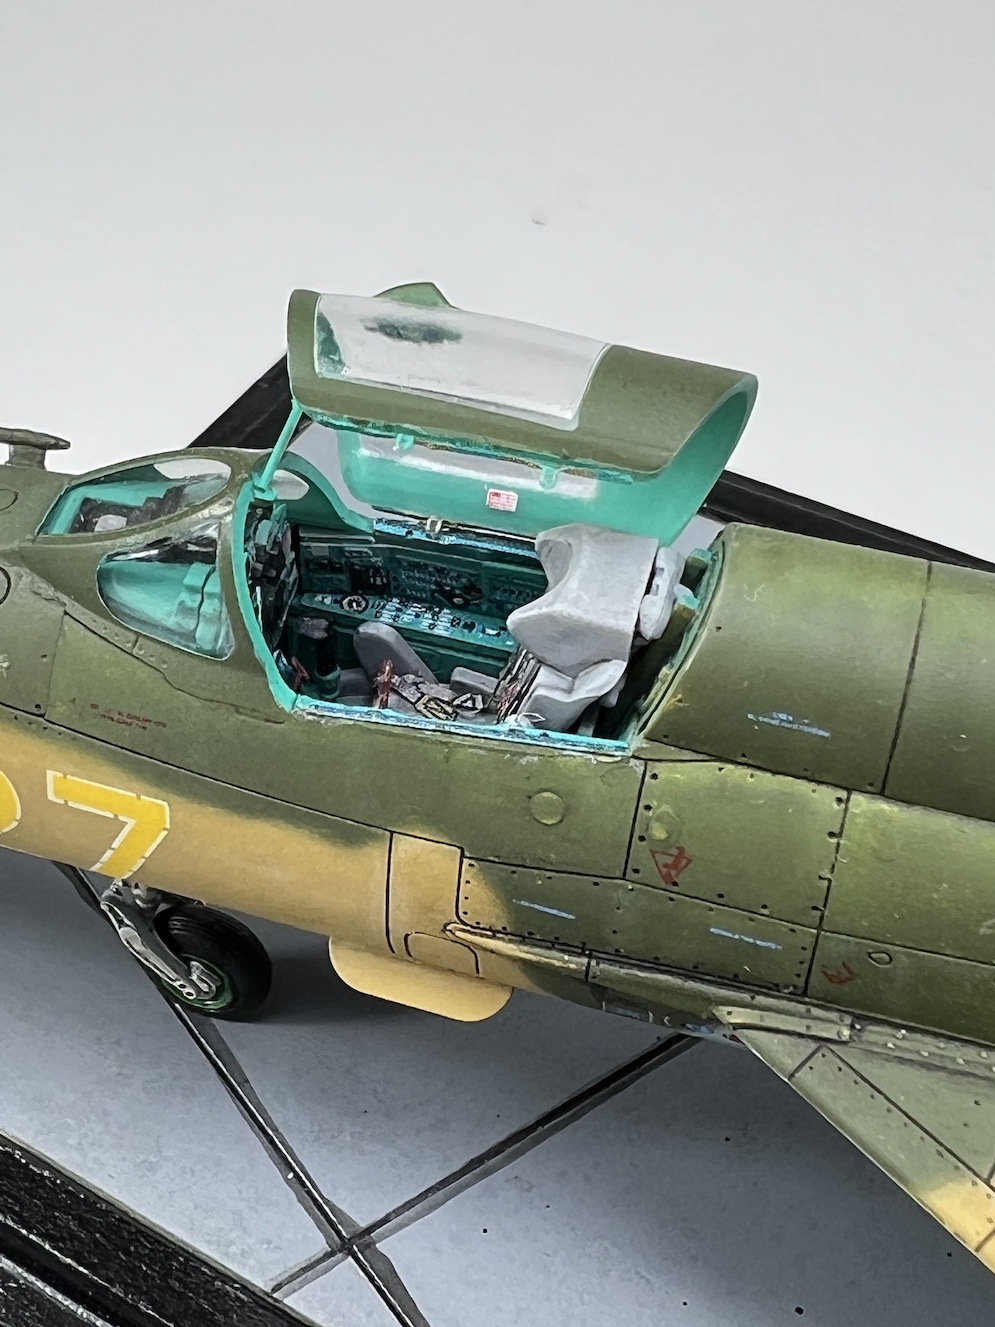
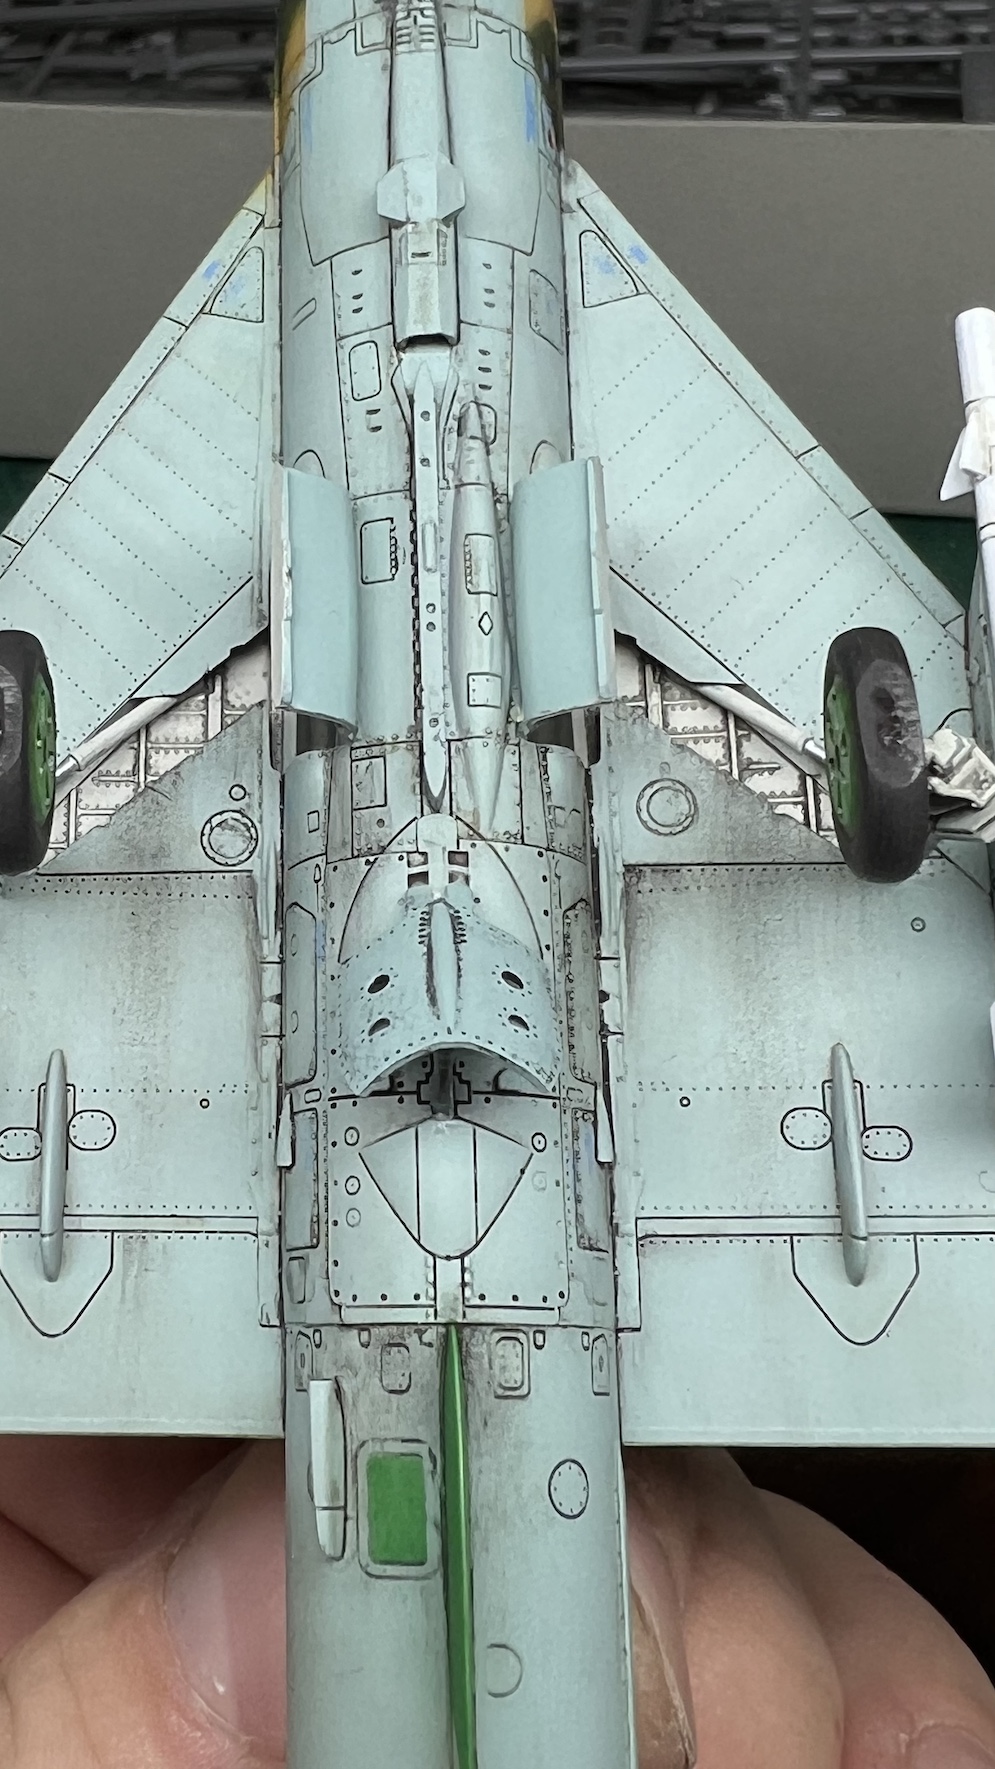
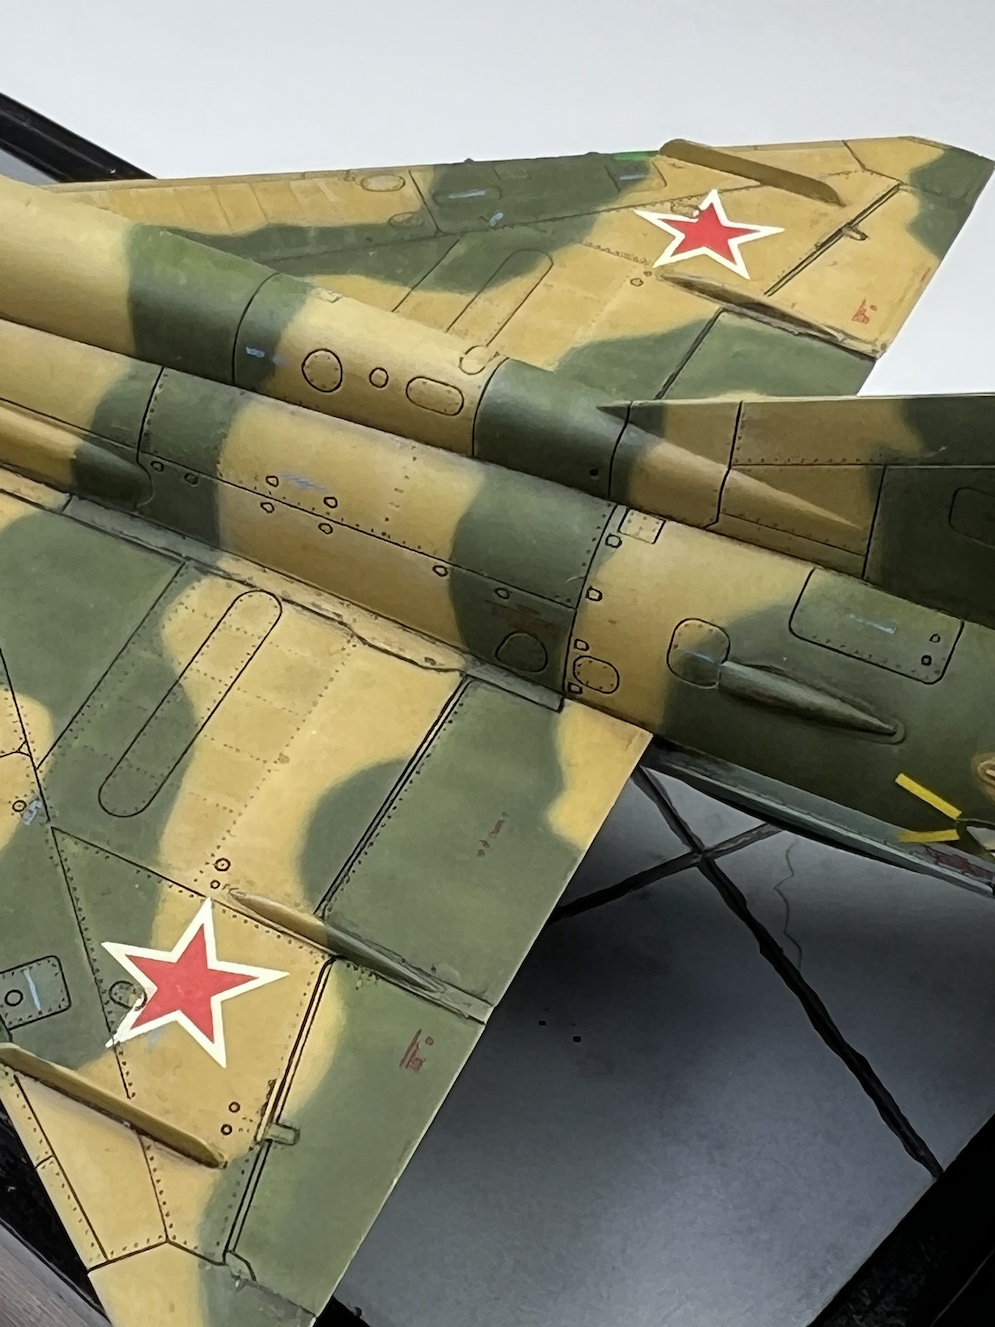
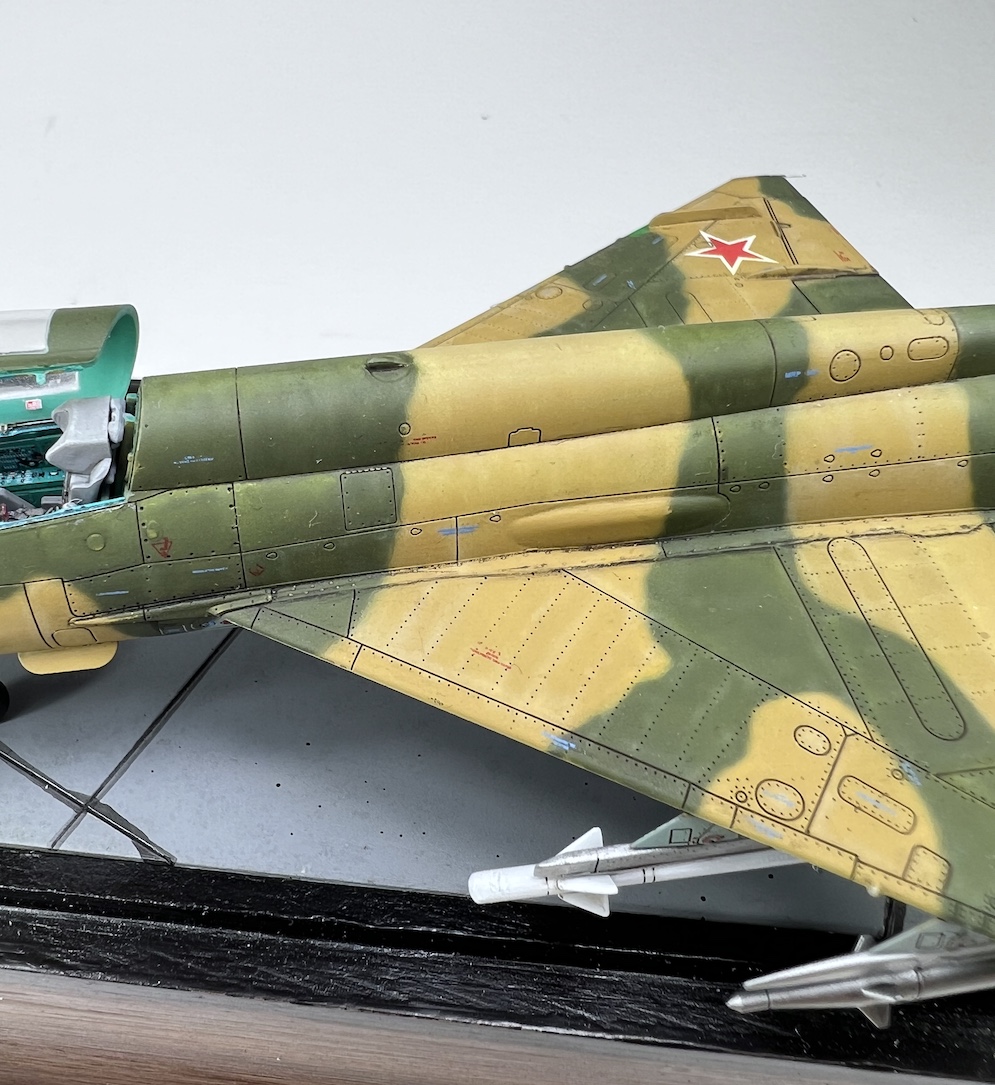

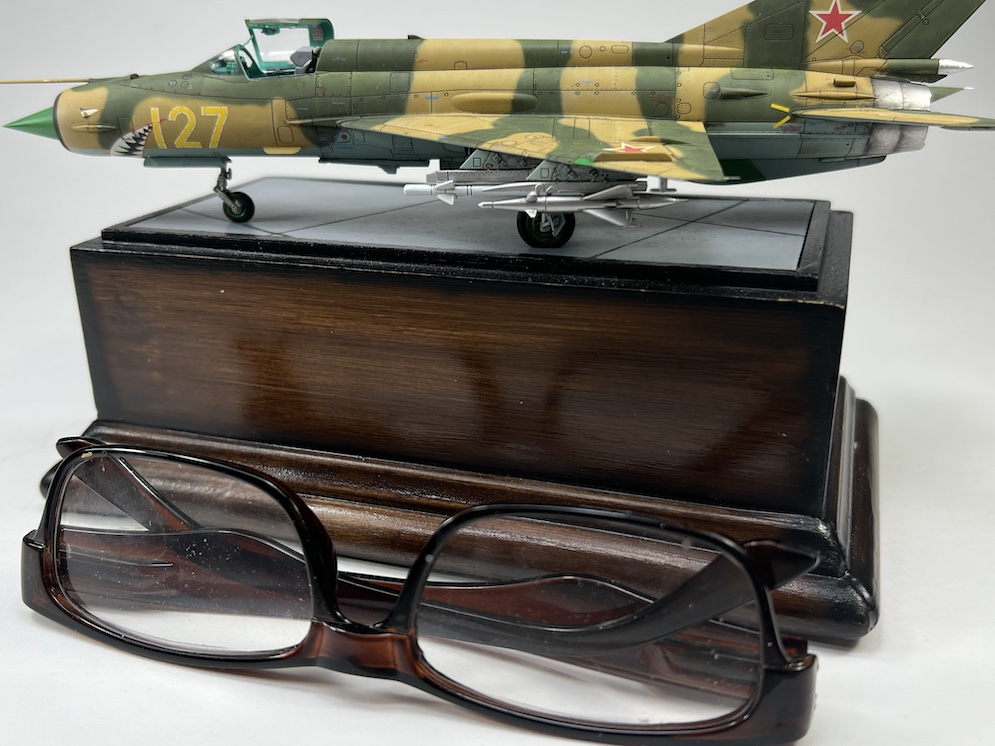
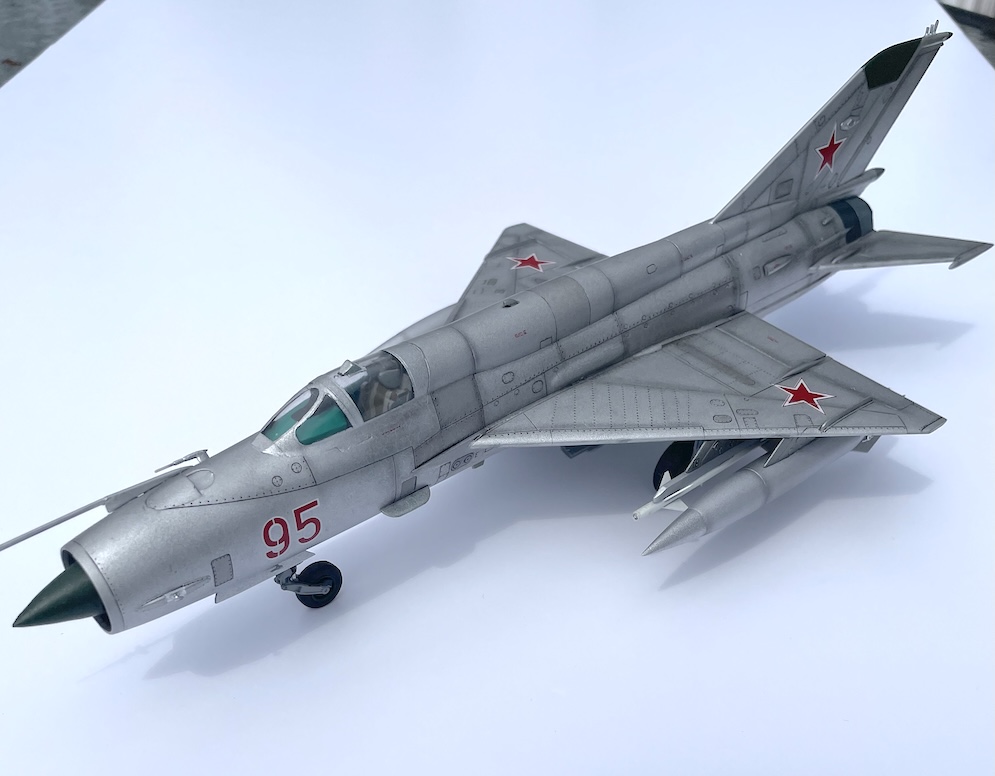
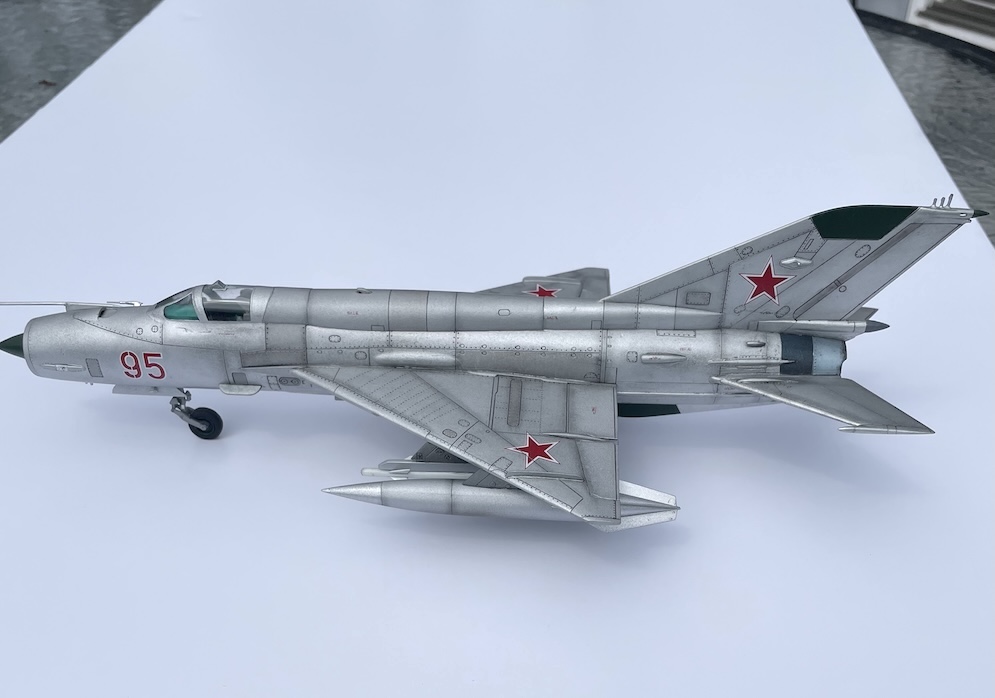
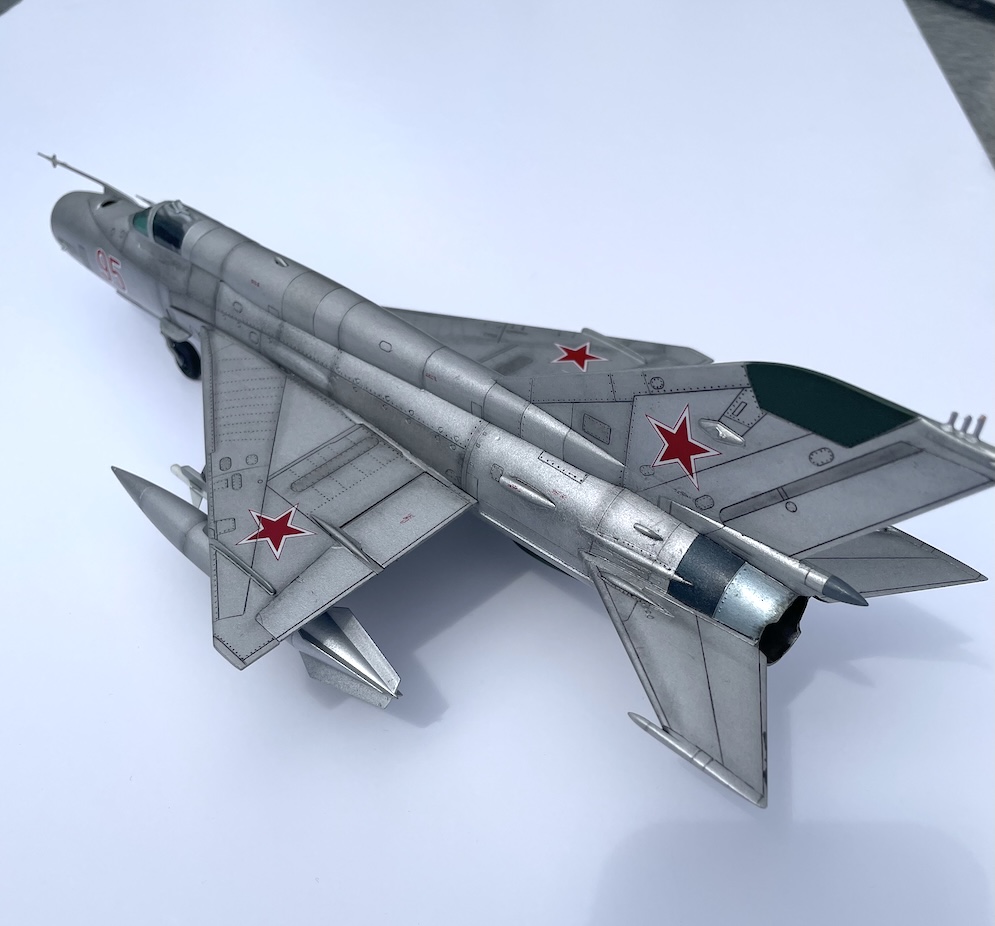
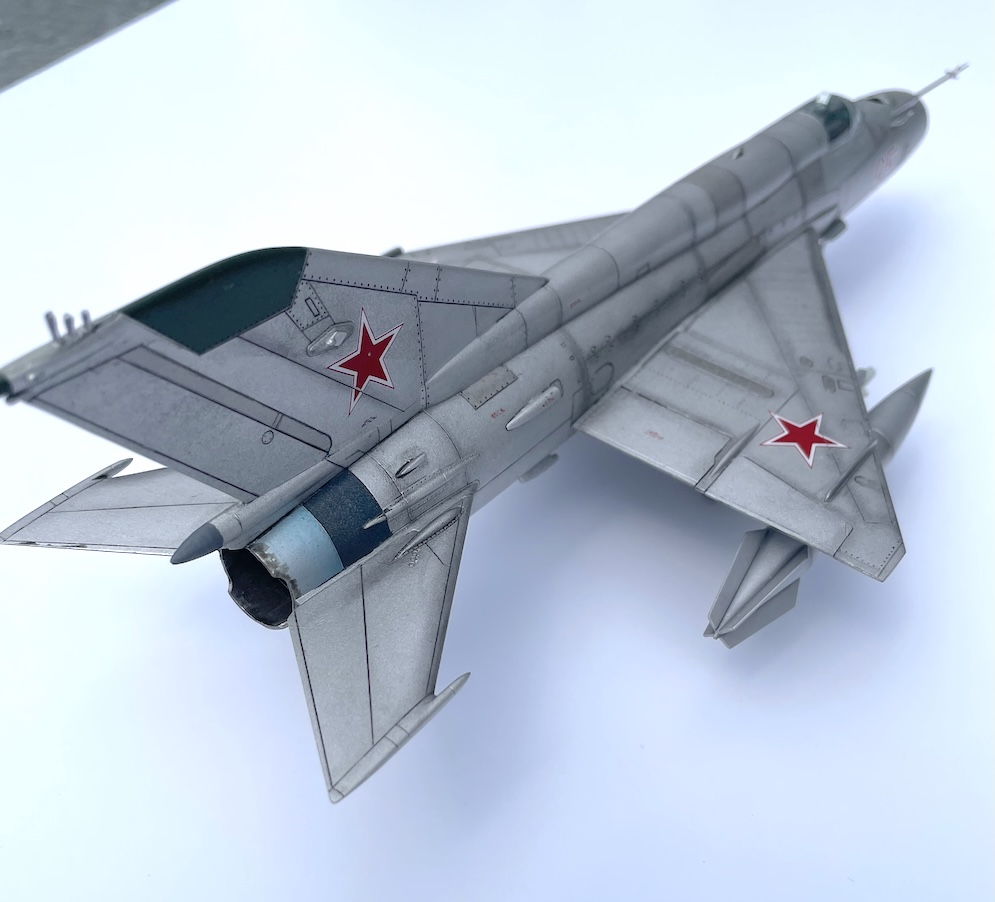
This is my Profipack eduard Mig-21MF in 72nd scale.
My model received an award at the latest Australian model expoG (2023)
Hope you like it.
Regards
George P.
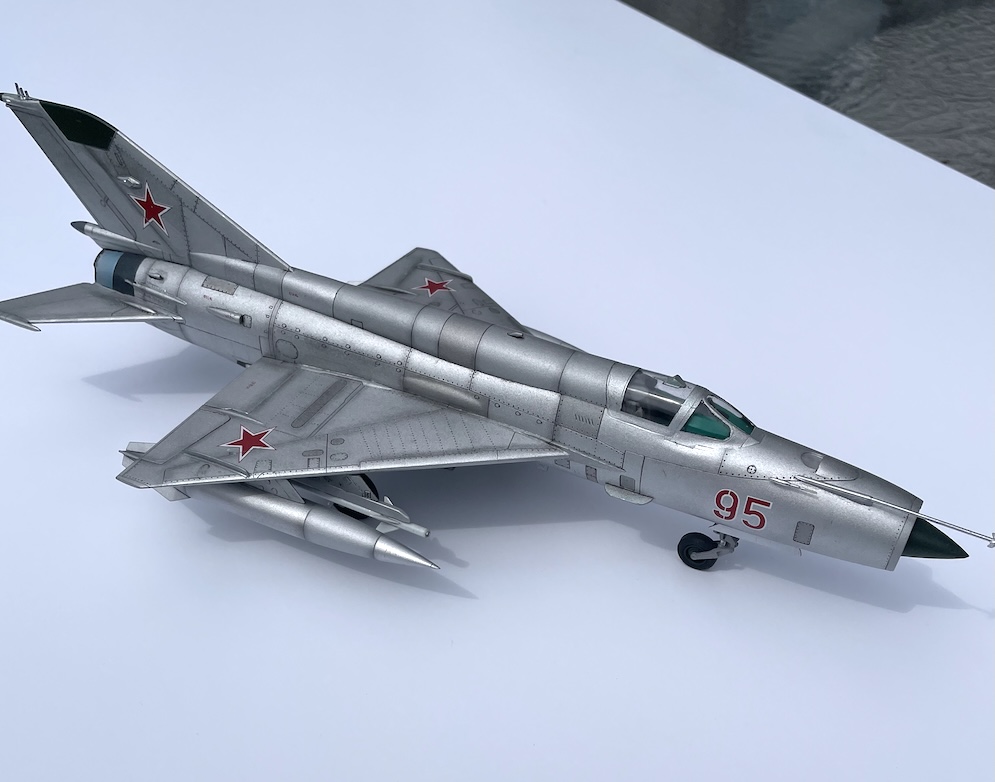
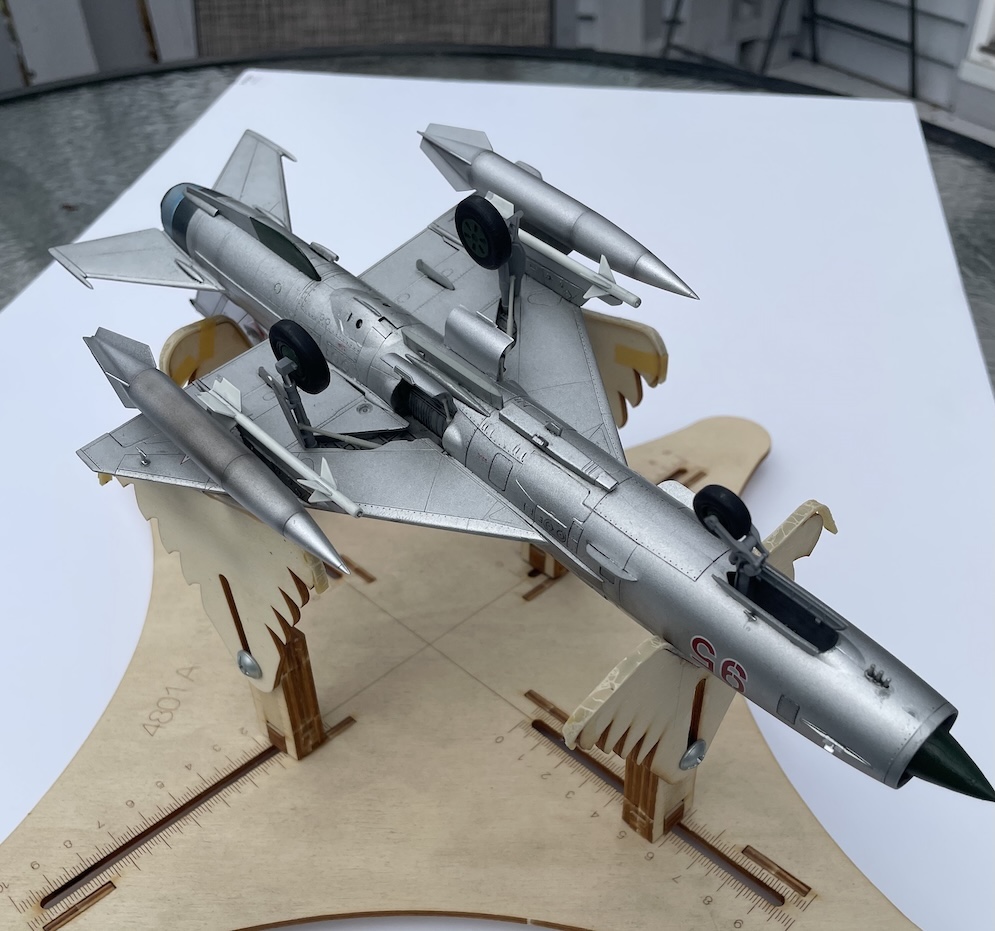
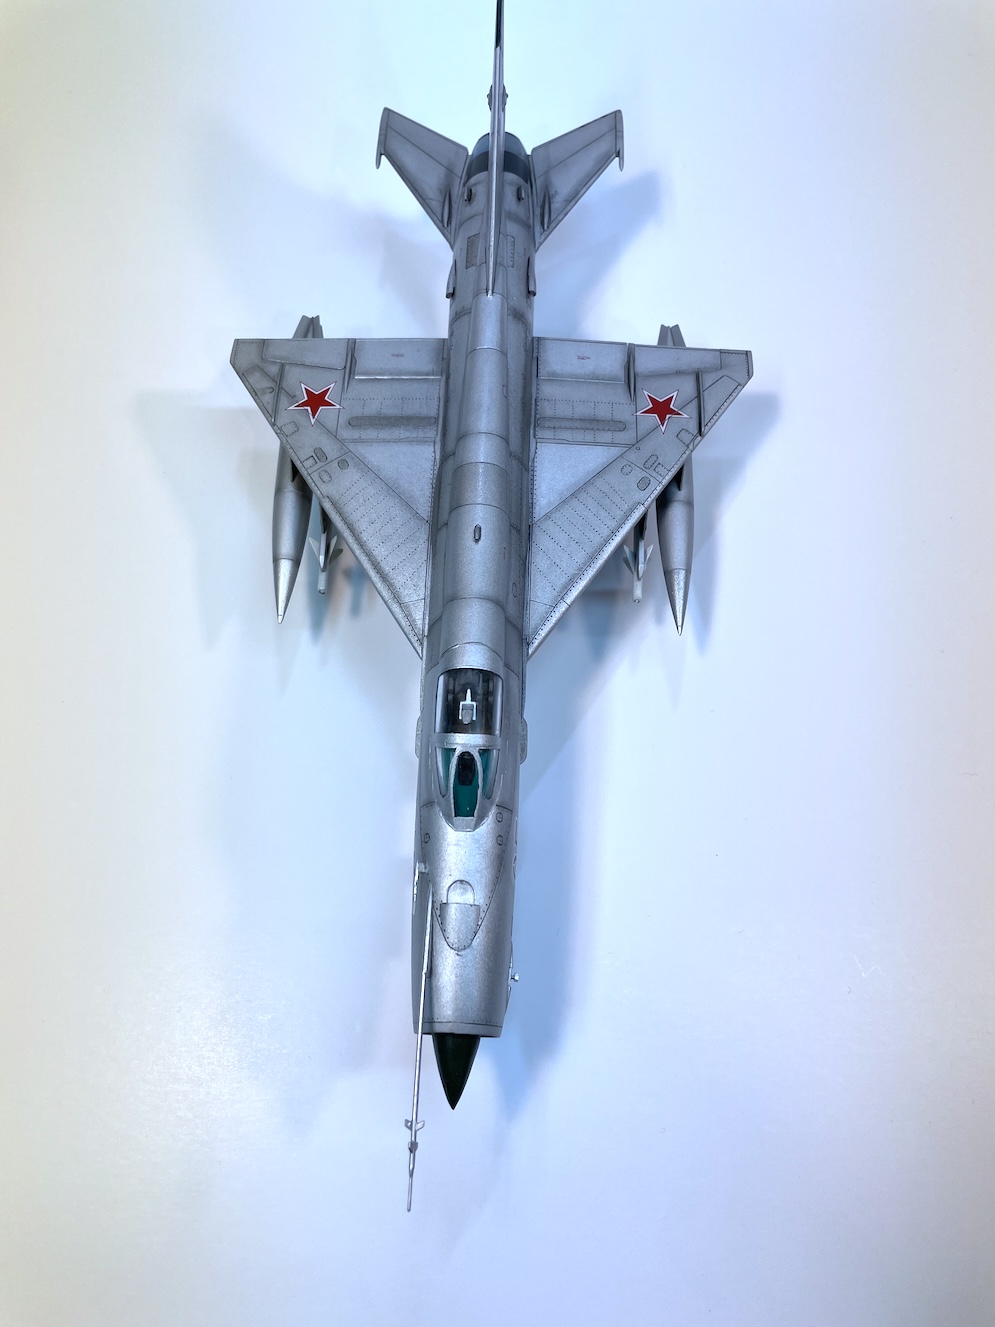
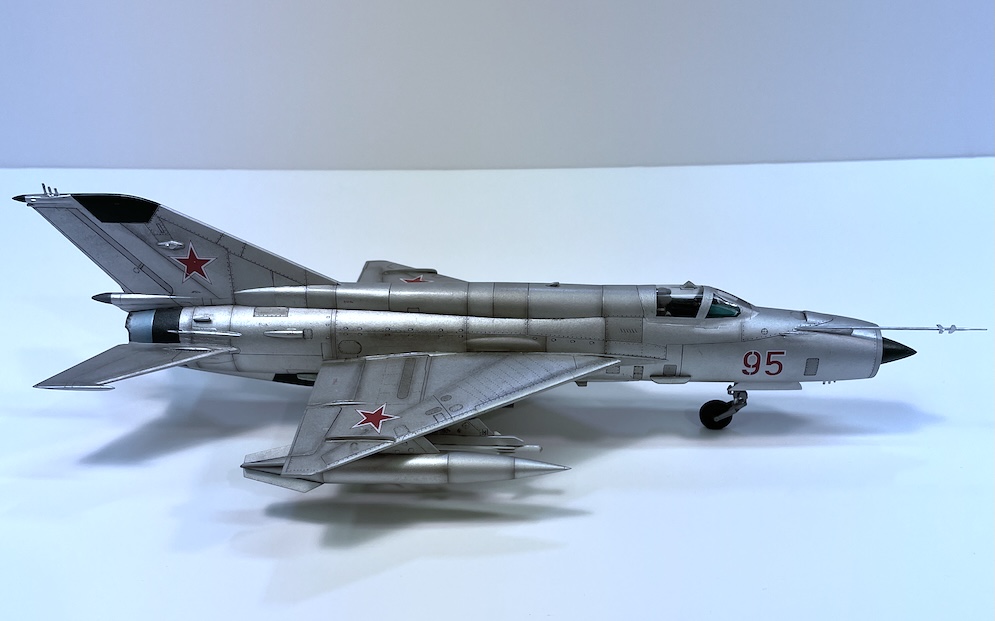
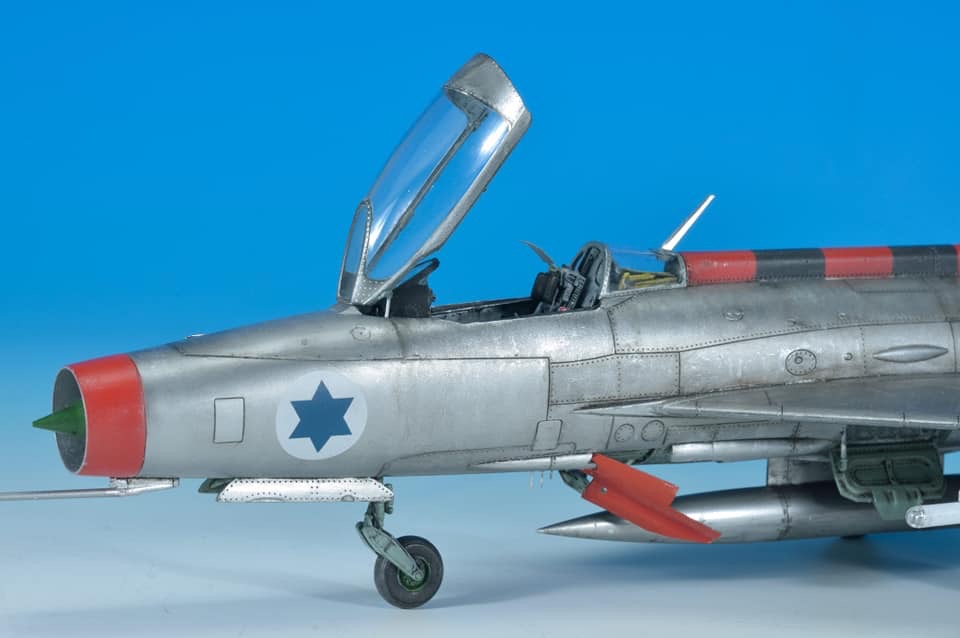
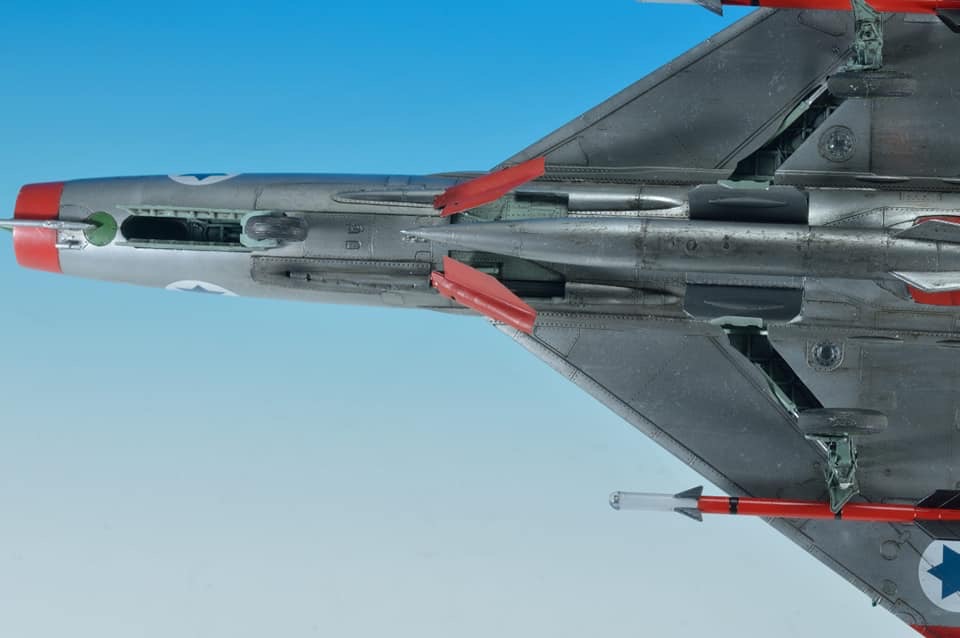
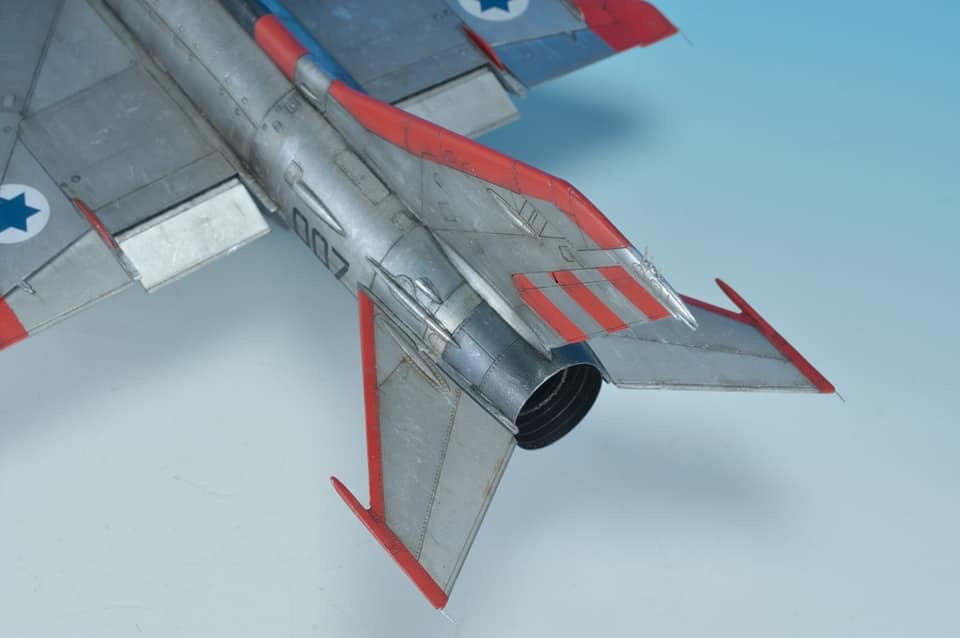
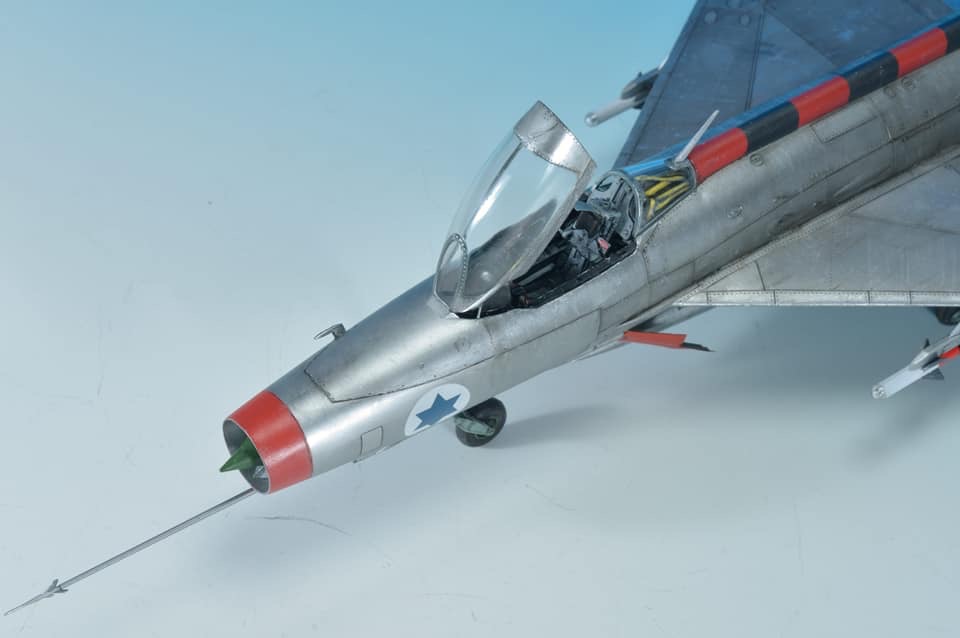
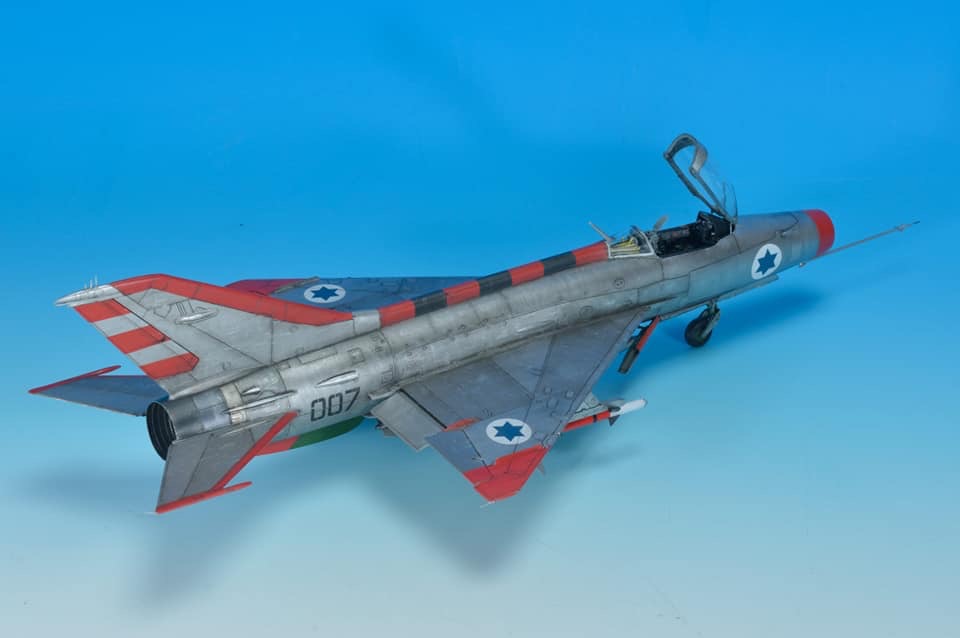
An old kit but still a great one to build. The only addition (apart from decals) was the Cutting Edge cockpit. I really enjoyed building this one as I had the chance to try different weathering techniques that I have wanted to try for a while. This includes hairspray (on the shock cone) and various oil shades (Burnt Umber & Paynes Grey, white and green) which sets off the model and gives it a more weathered look.
James V.


Girolamo L.
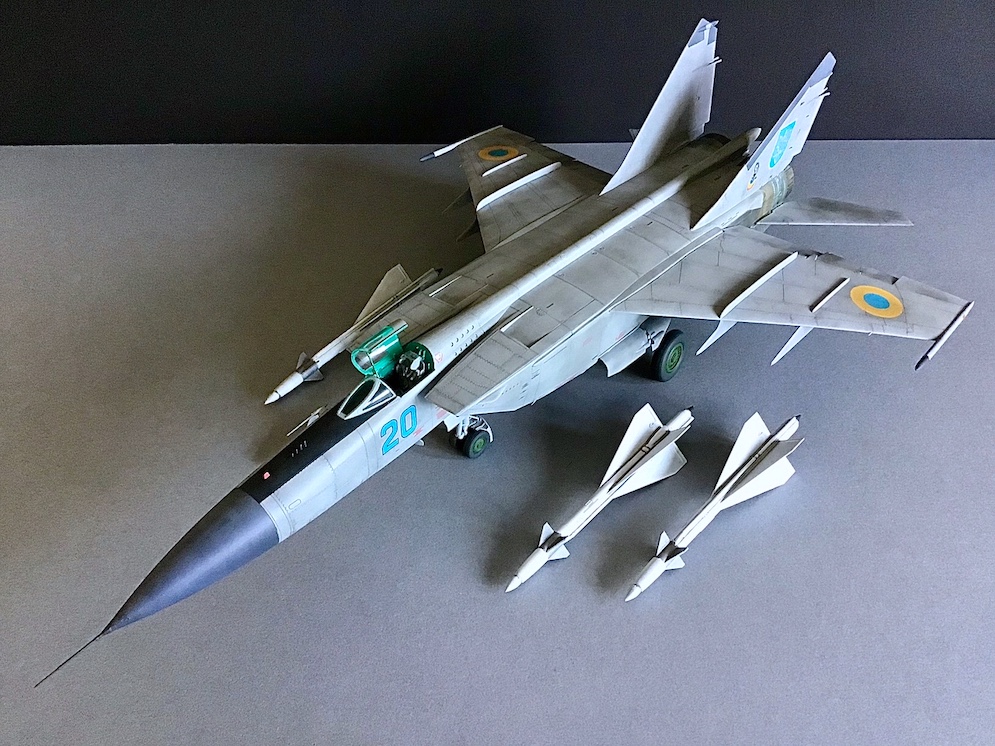
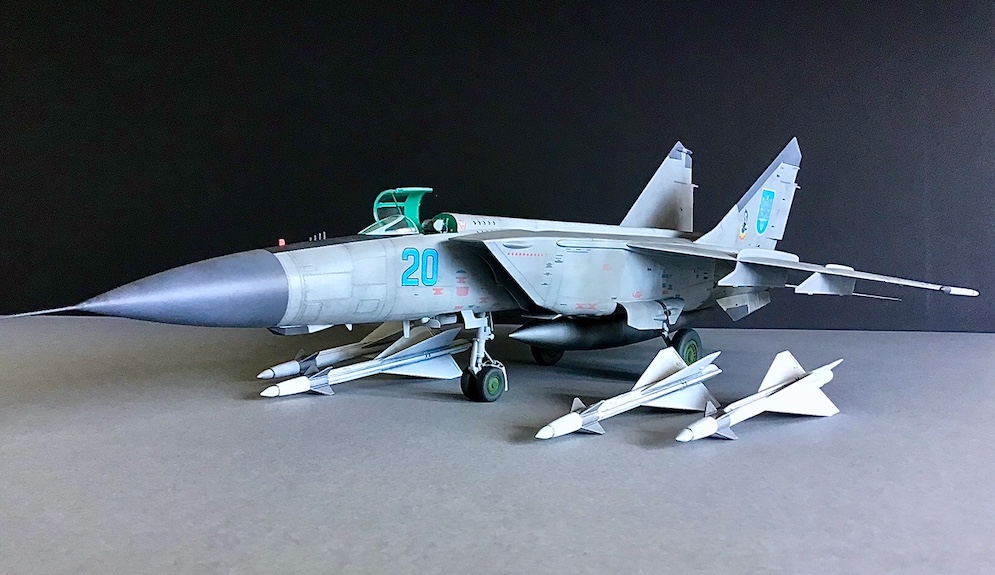
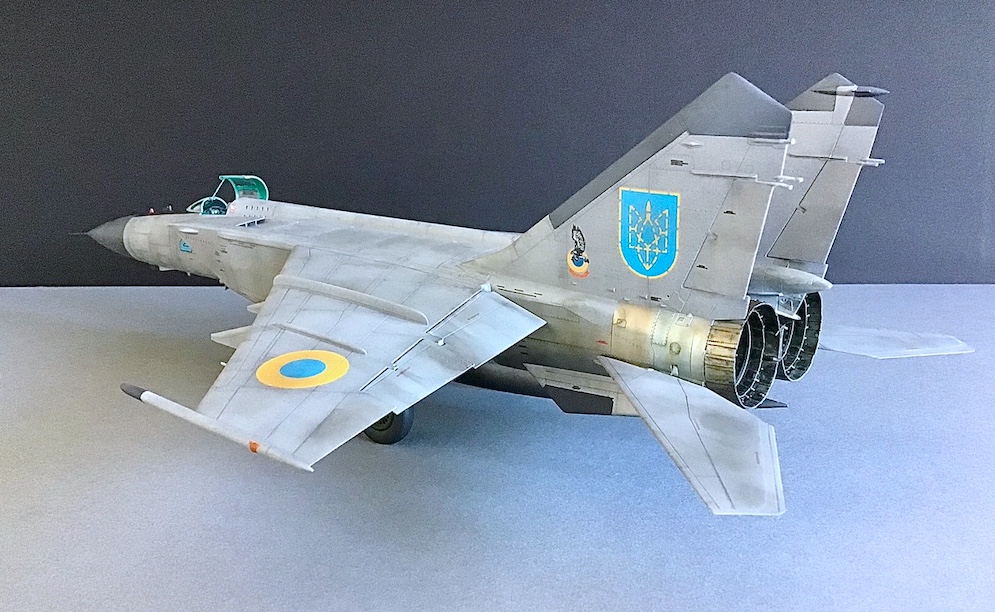
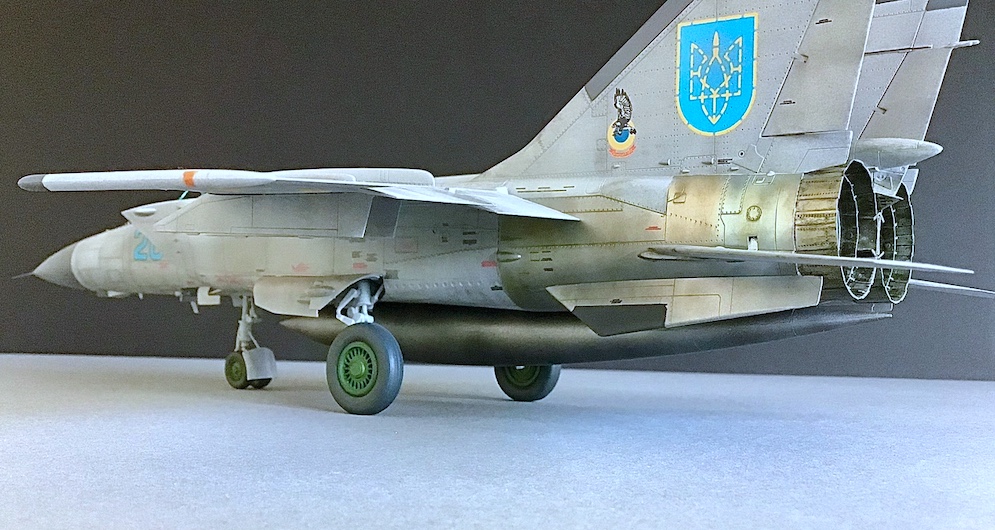
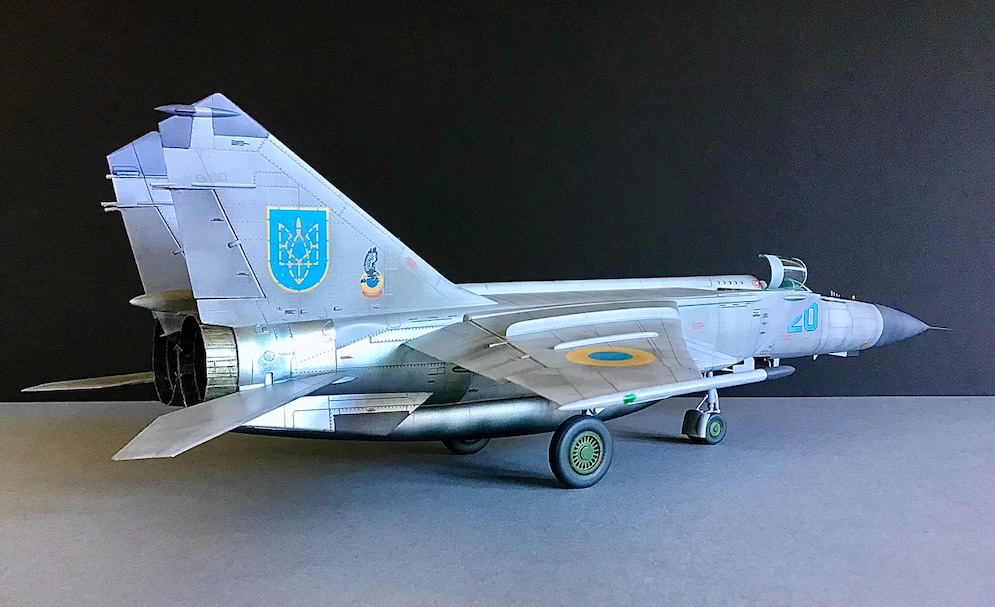
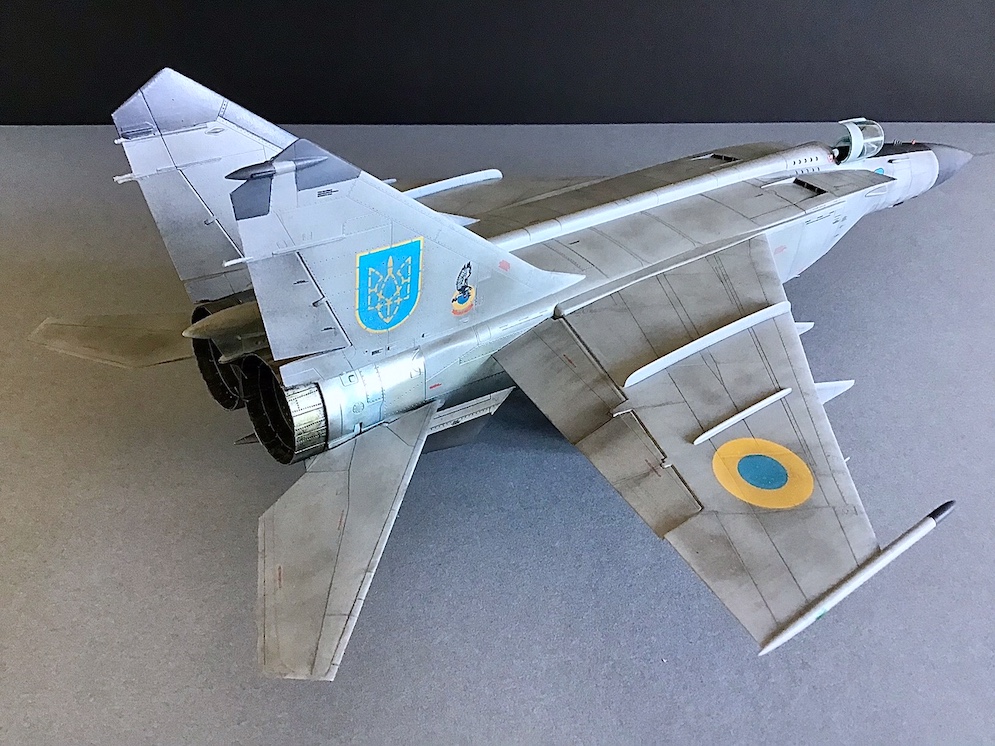
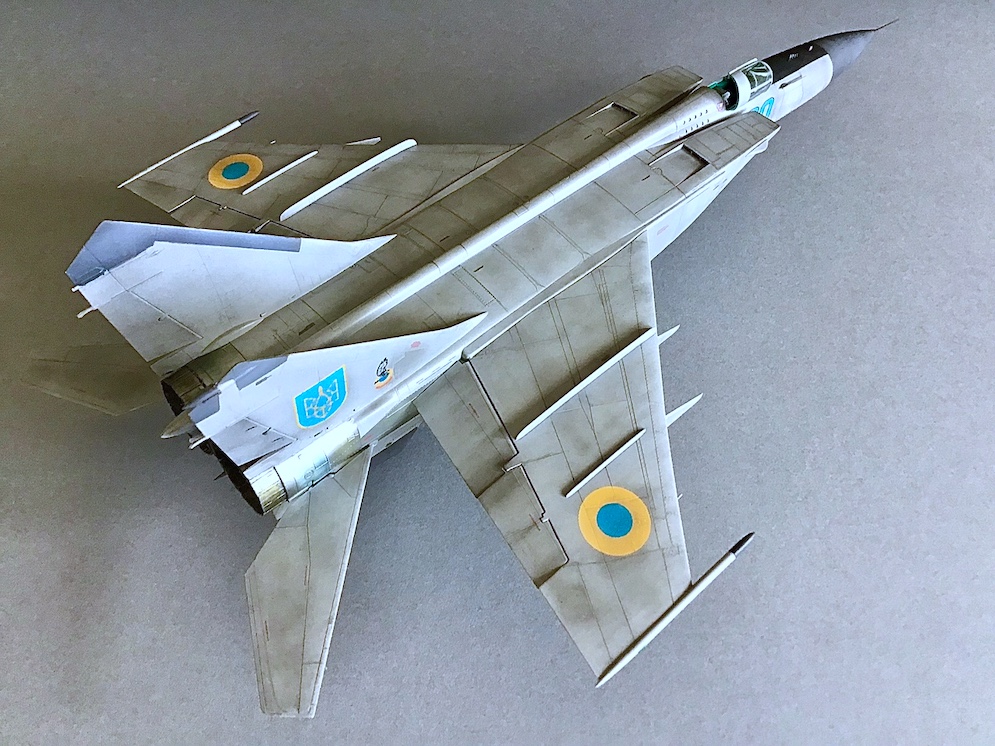
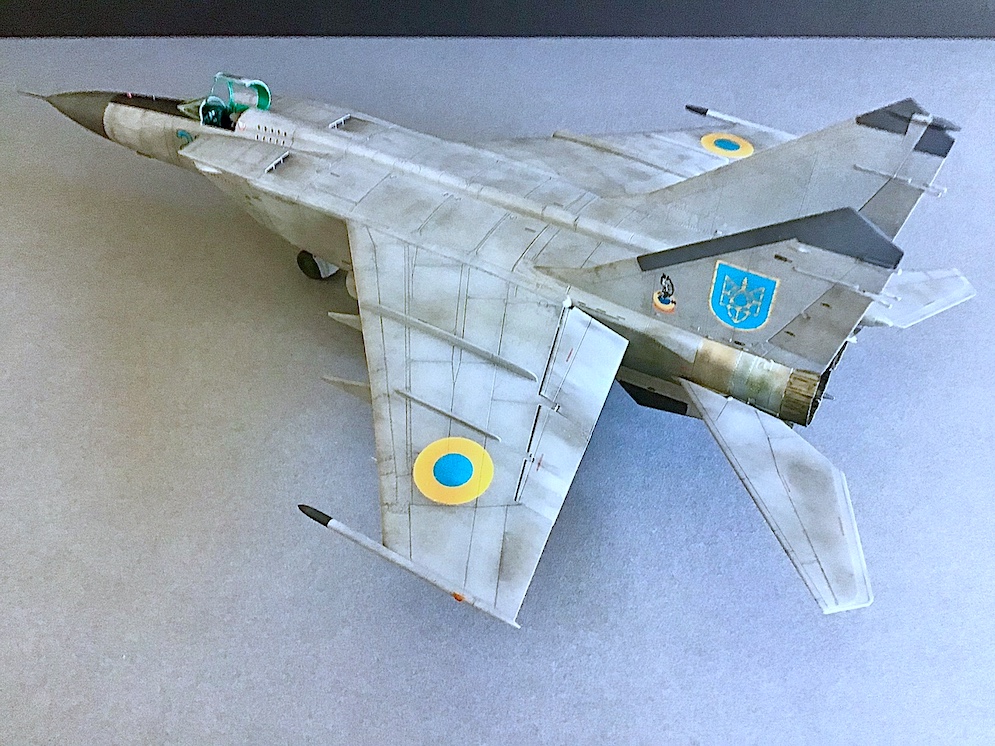
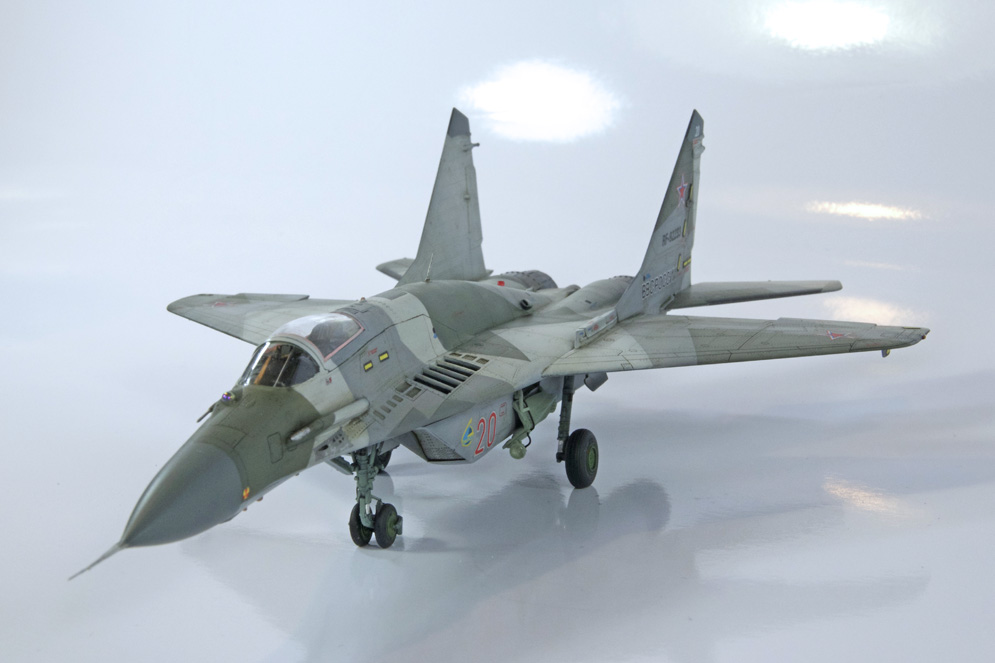
The model was built mainly OOB apart from an aftermarket Metal pitot; resin ejection seat and decals which were chosen as a mark of respect to the Ukrainian Air Force.
A pleasing and well-detailed kit to build. I used Mr.Hobby Aqueous acrylics, Revell enamels, Xtreme Metal enamels and Tamiya Weathering Pastels.
Thank you for viewing.
Paul. A


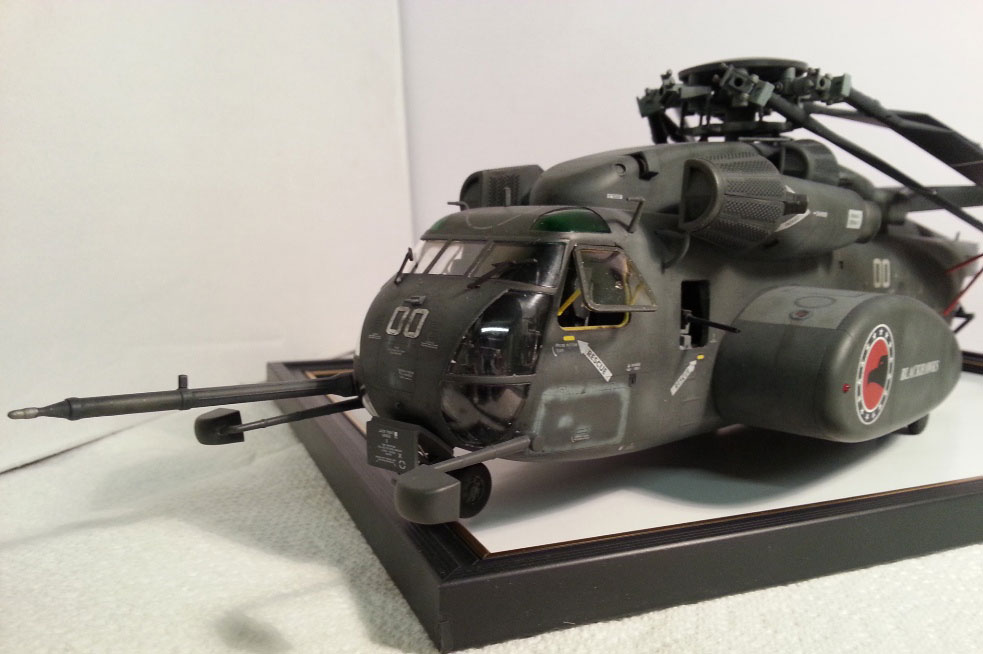
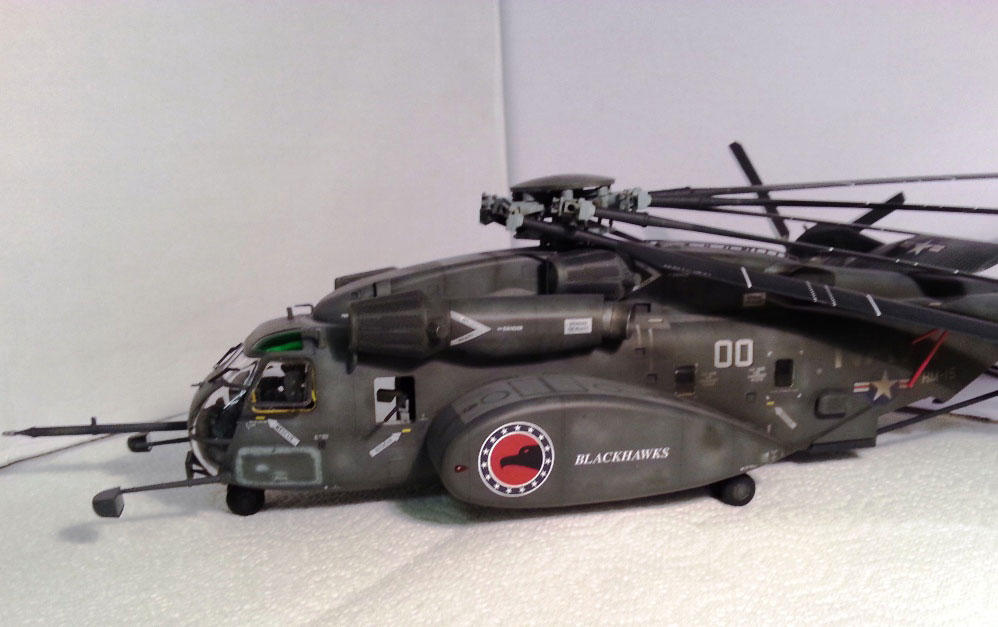
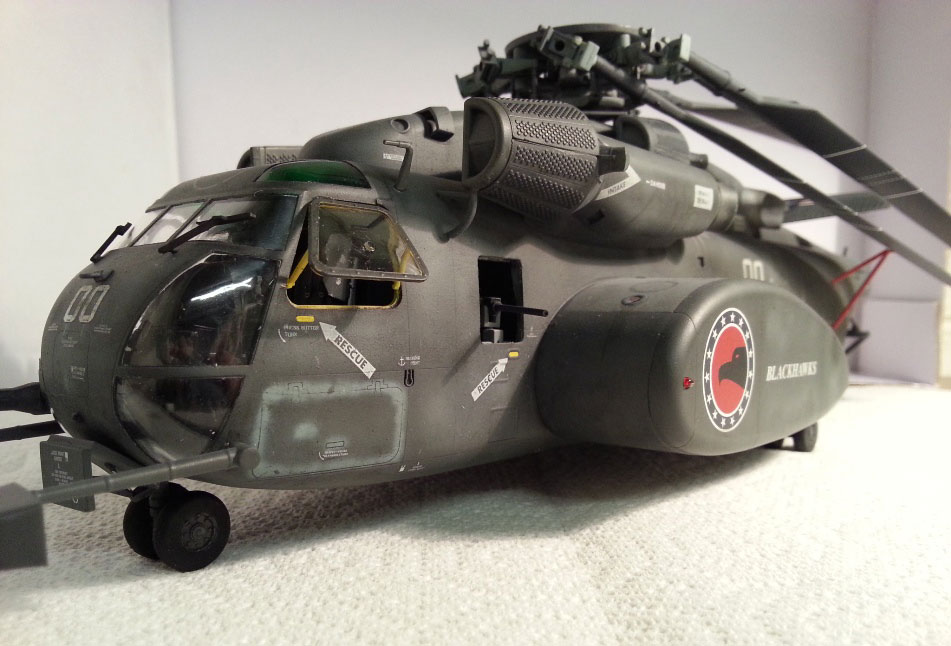
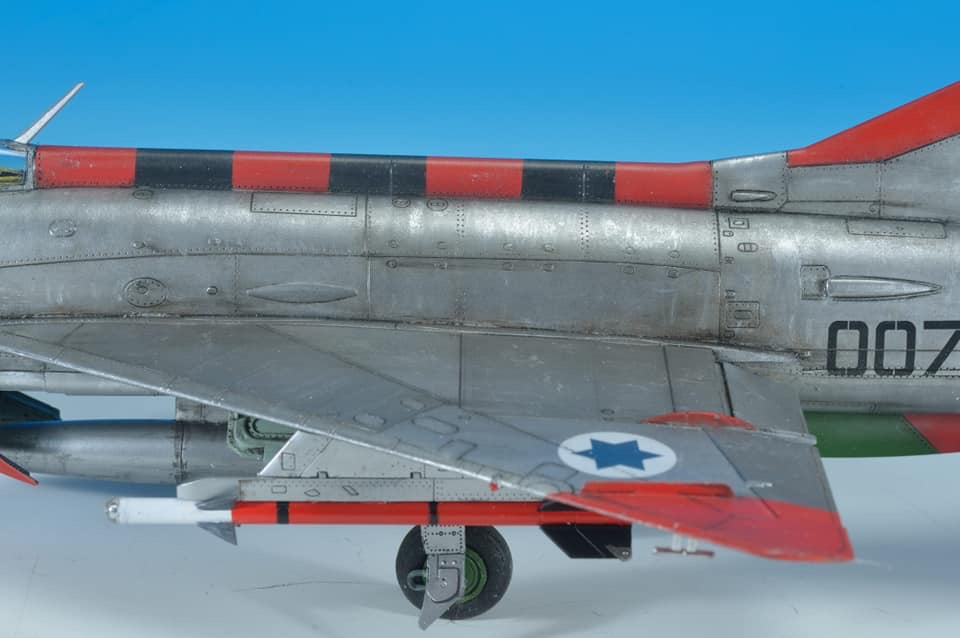
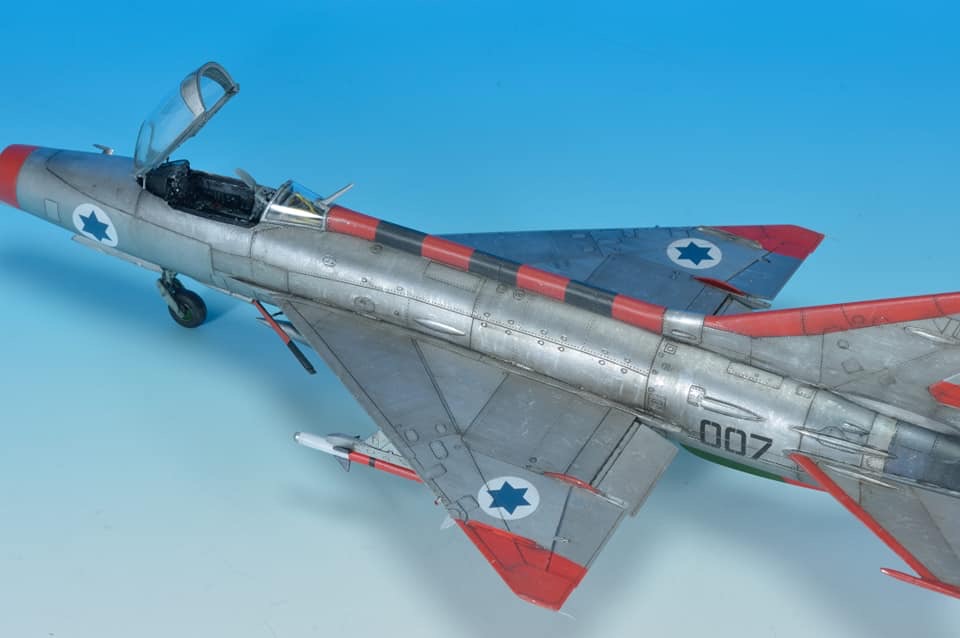
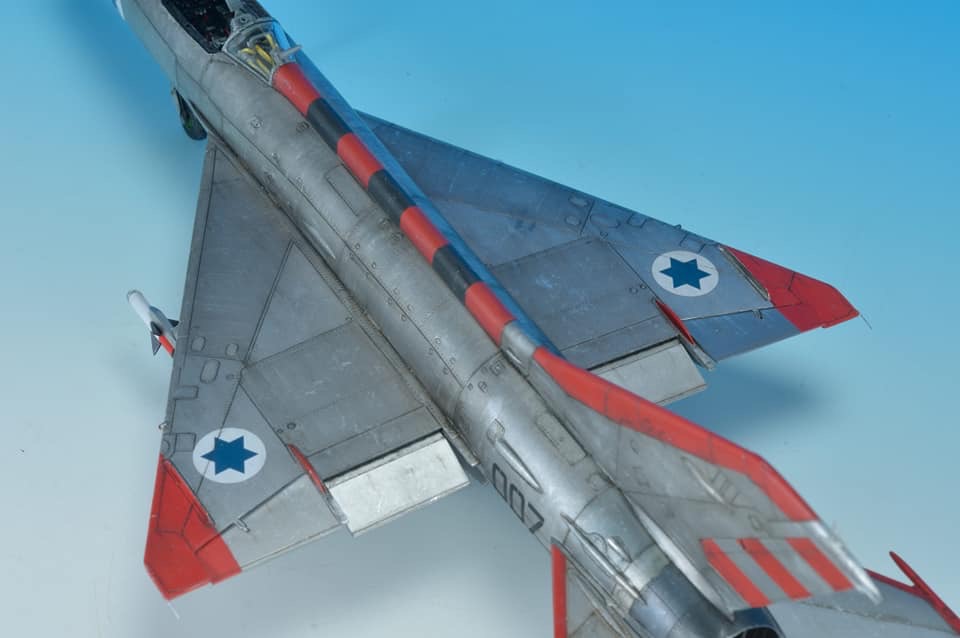
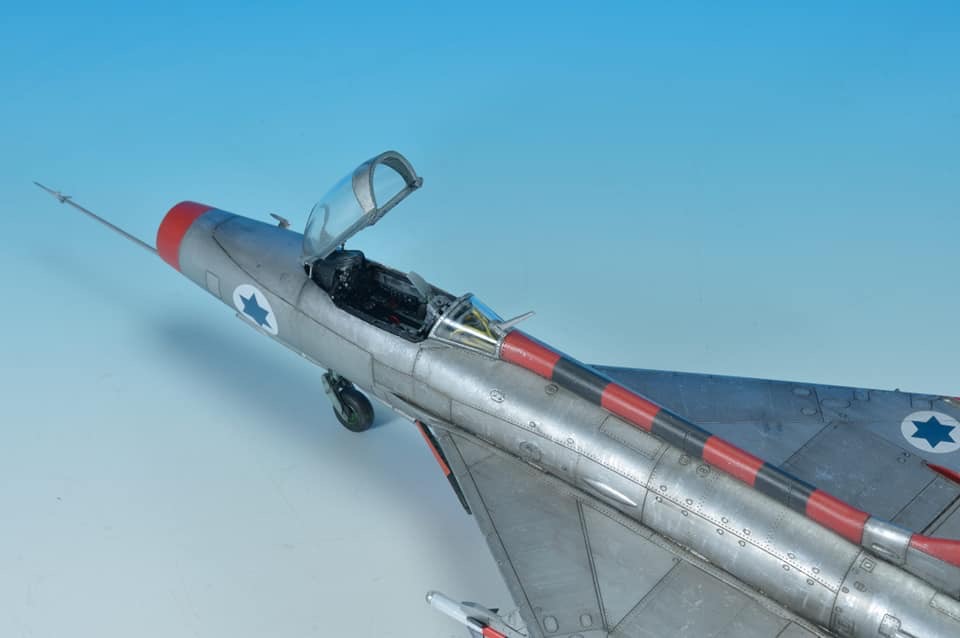
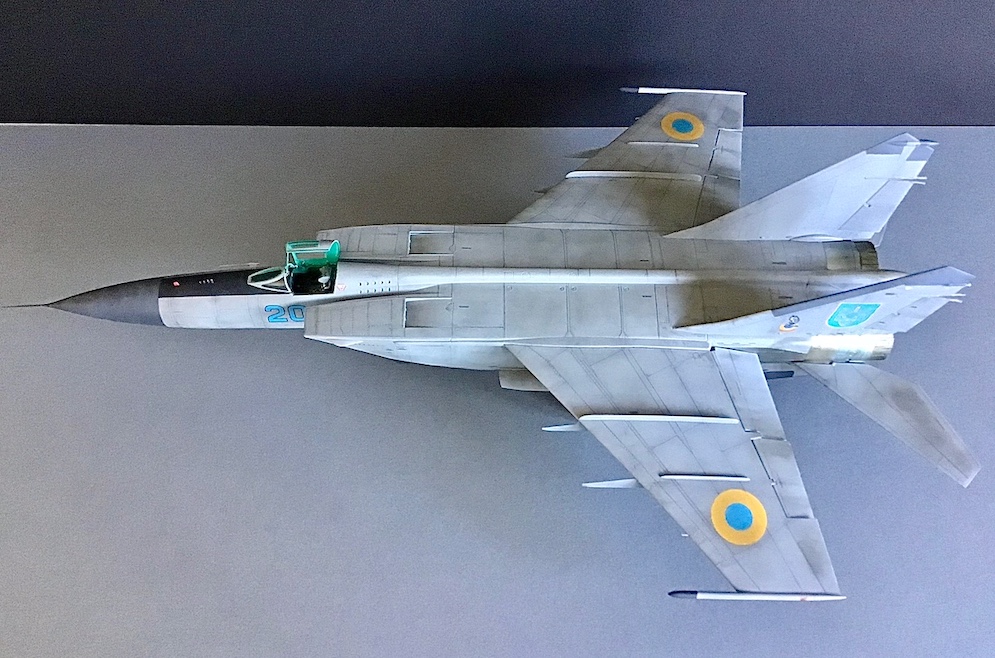
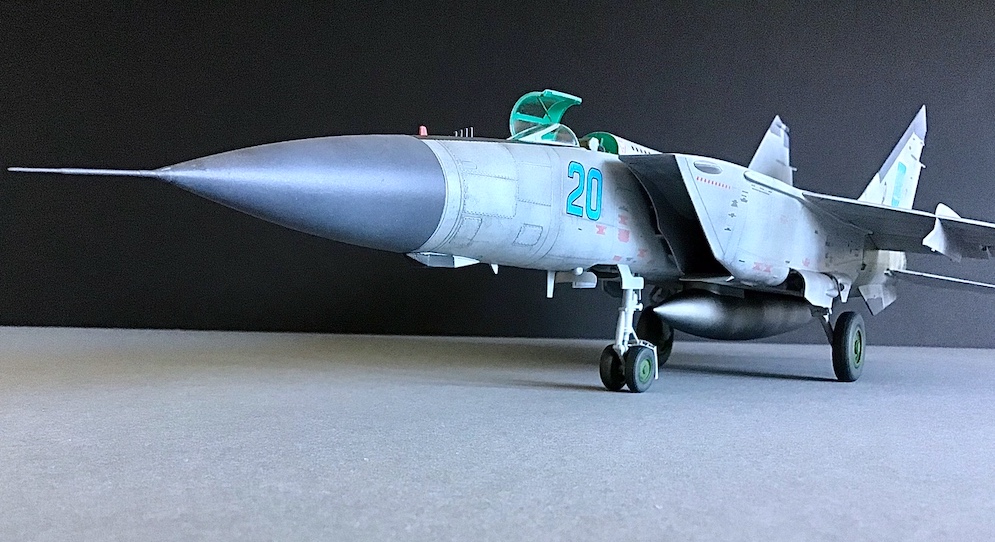
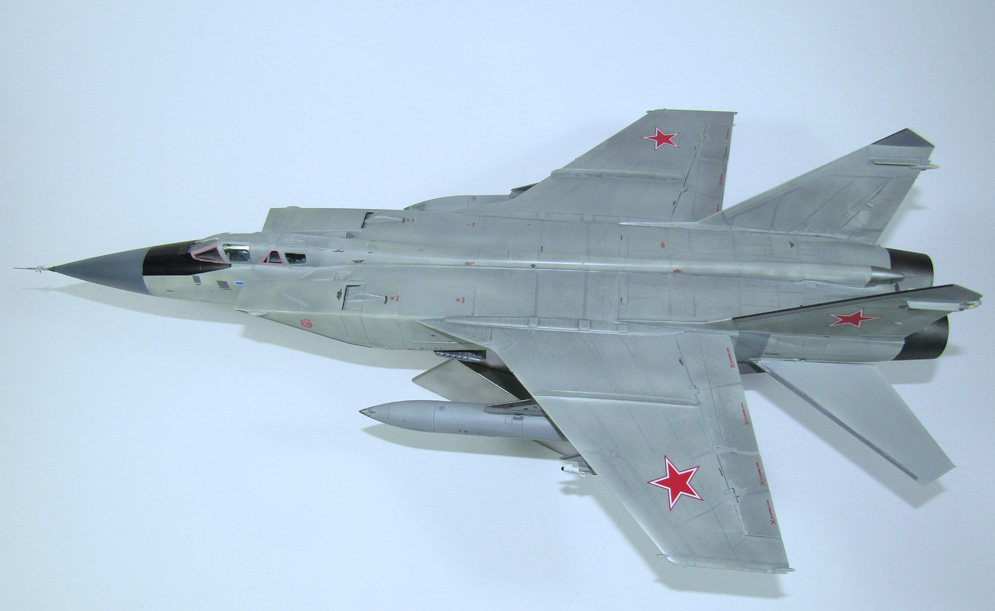
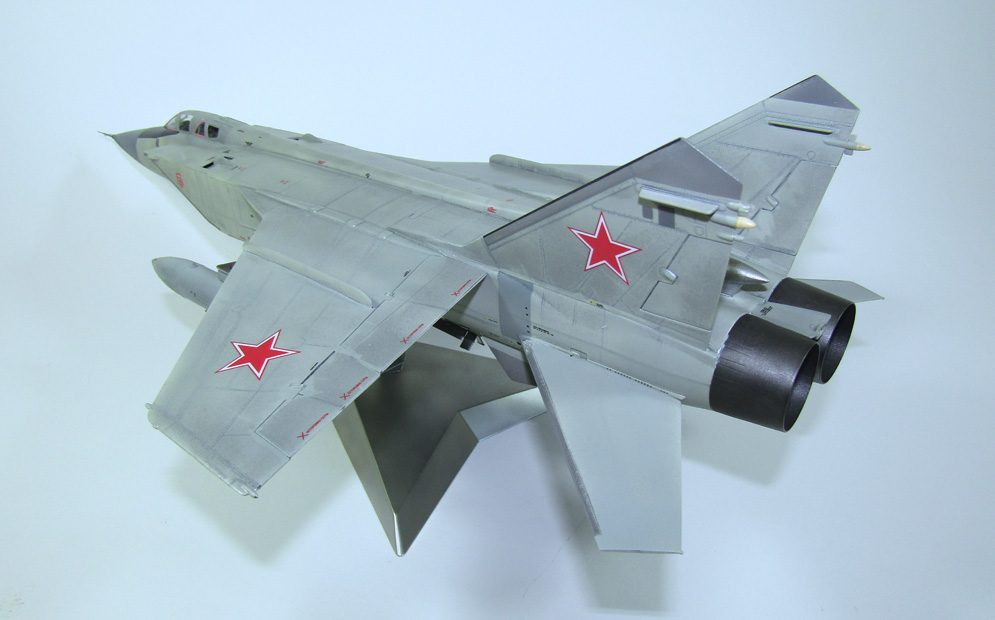
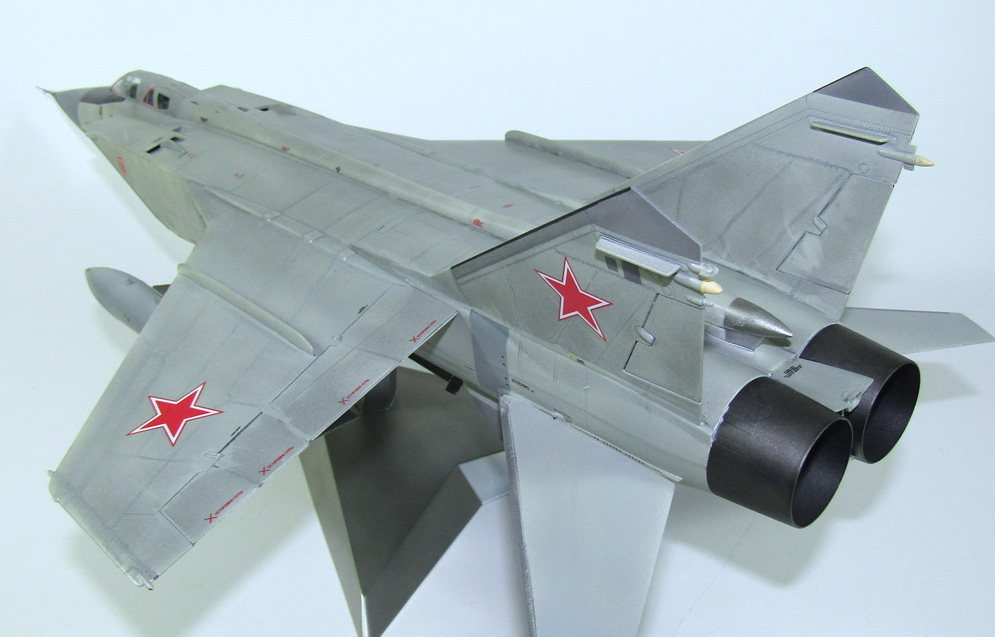
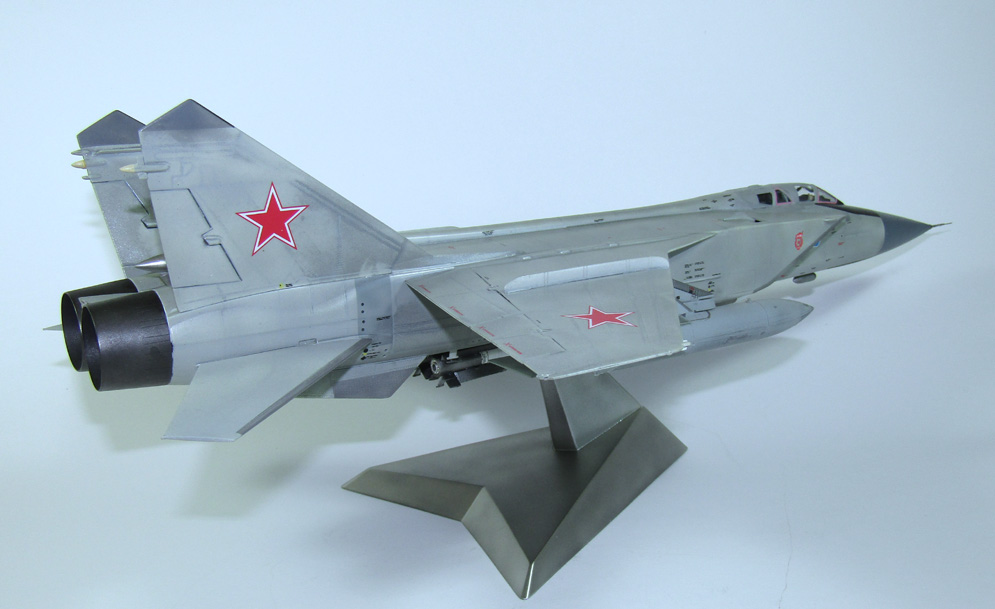
After having built the old Revell kit some time in the 80´s I was really excited about the release from Kitty Hawk. BUT… Having heard about the problems with the kit I was a bit hesitant to start the build.
Nevertheless, Summer time is construction time, even if I needed a bit of freelance construction with this challenging kit.
I did not use any correction sets for the kit as there were none available at the time I started the build.
The front fuselage seems to be a bit too narrow, I did not correct that one.
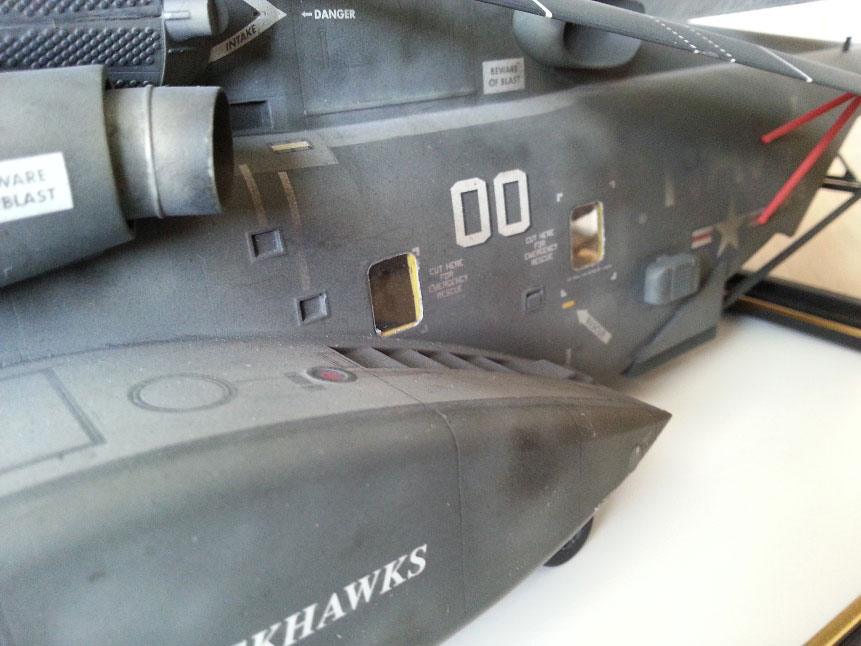
The burner cans are a later, long version. I just cut them in half and somehow made the rest fit.(see pictures)
The Intakes are a mess, the only way is to have them shut, which is possible with the means in the kit. And do not follow the instruction for the respective etched part (see picture)
The rudders and strakes are a VERY bad fit on their inside with the aft fuselage. A seam of 2mm had to be filled with putty. (see pictures)
The surface lines and the other details on the model seem OK to me.
One other hurdle I encountered was the basic colour. After examining several pictures of real aircraft, I went for FS 16375 which is different from most of the recommendations.
The decals for my Algerian bird are from Begemot, who have produced another stunning set with this one for the MIG 25. With all the information provided for each bird covered and the painting instructions you can use these ones even for reference, which corrections and/or modification are necessary on the model.
Today perhaps I would go for the new ICM kit …
Hope you like it!
Jürgen Jaacks
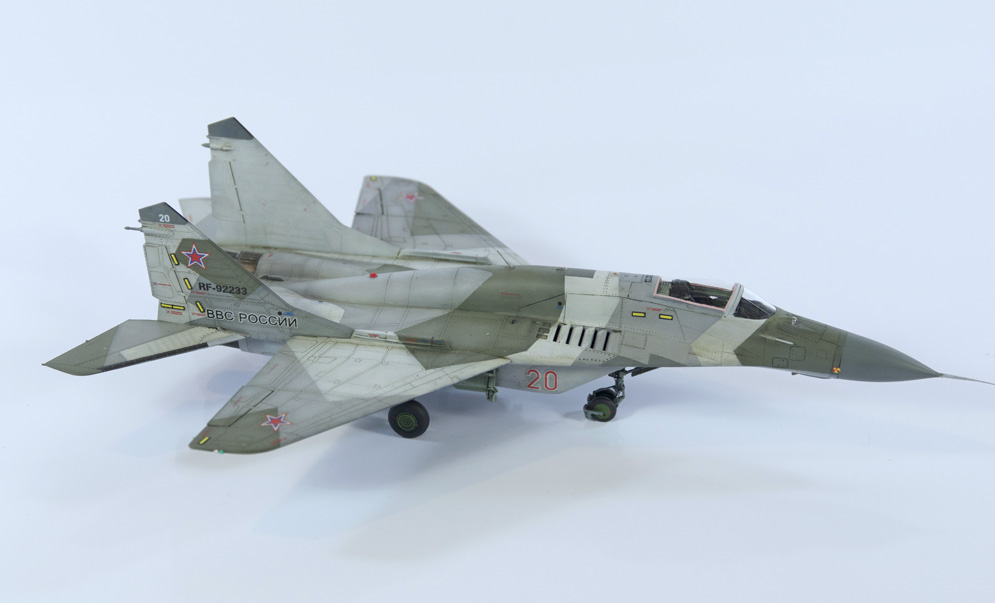
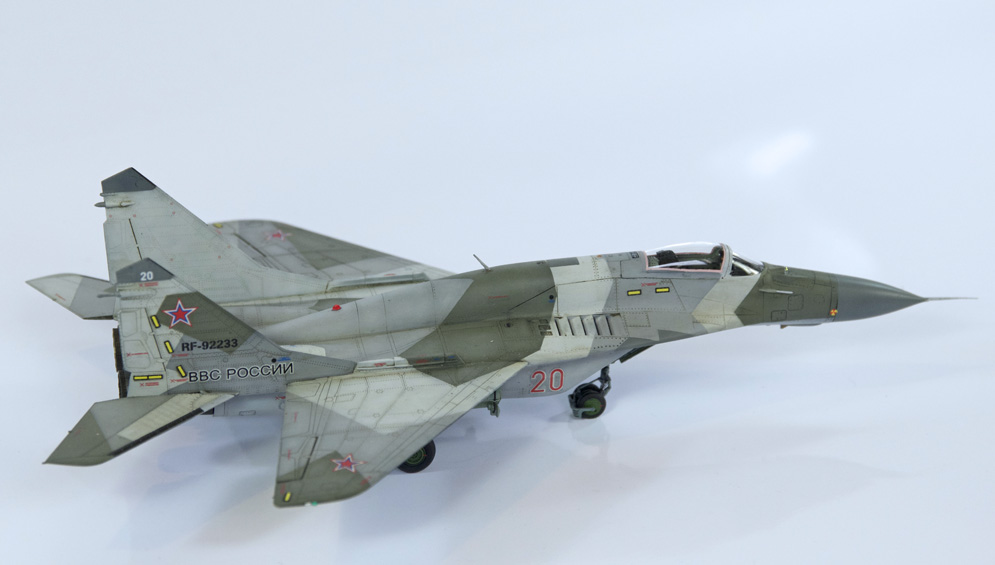
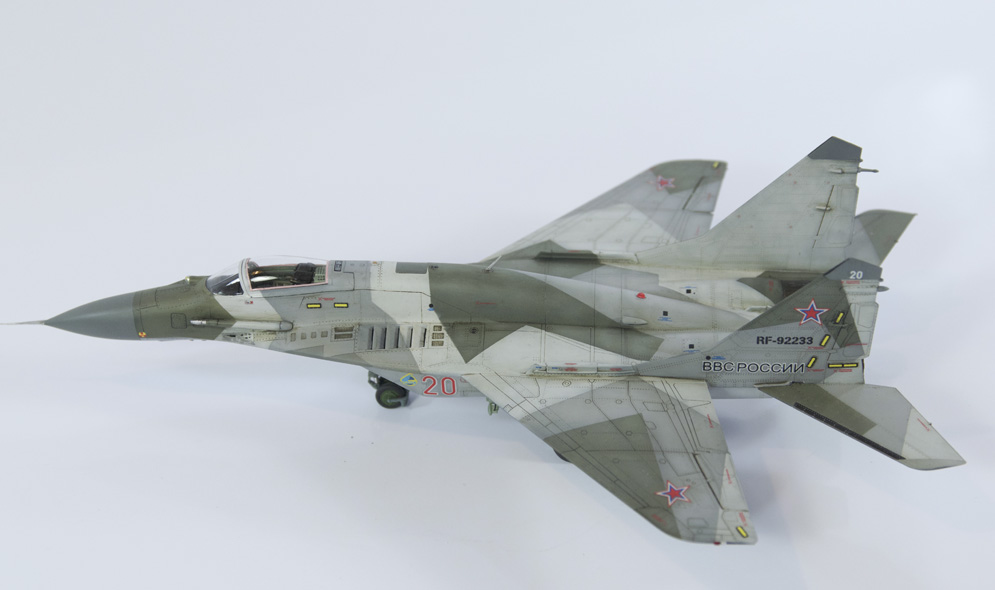

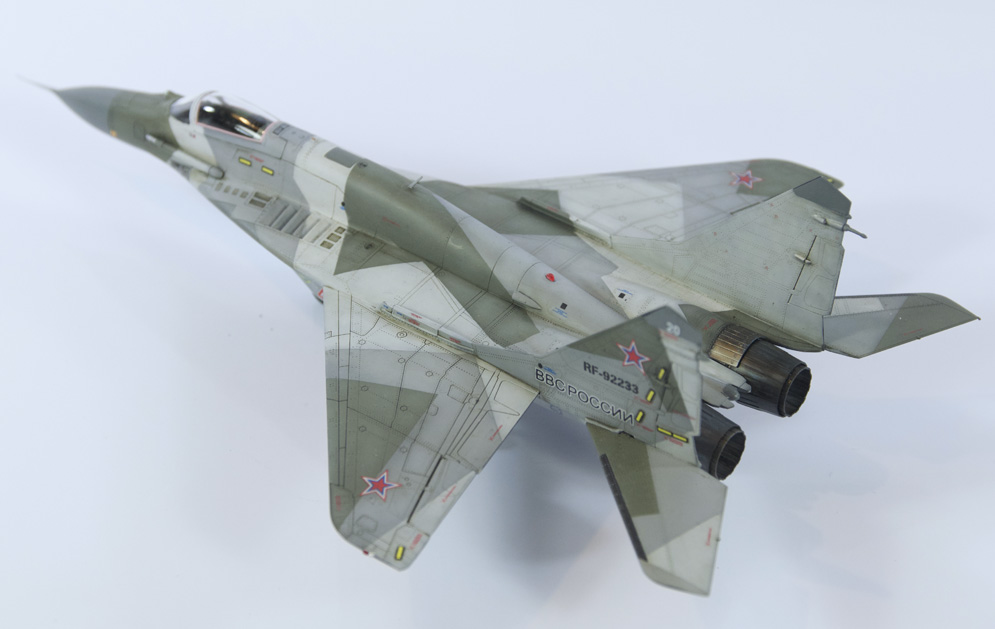
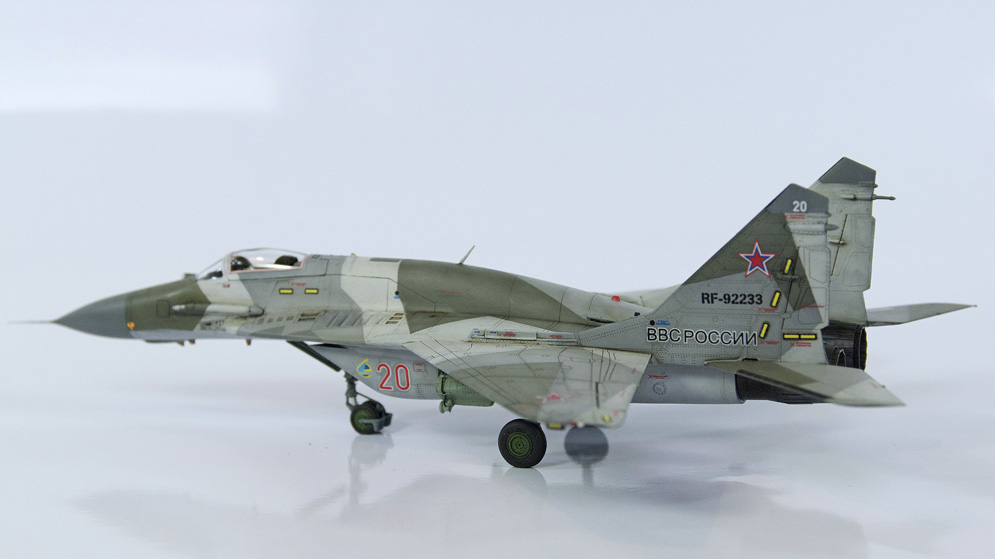
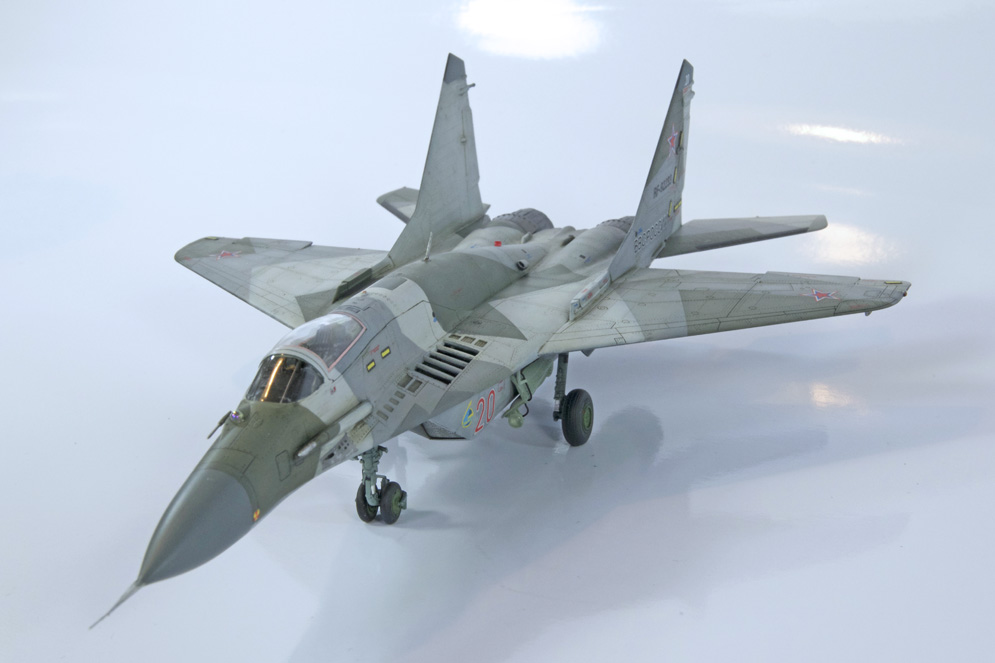
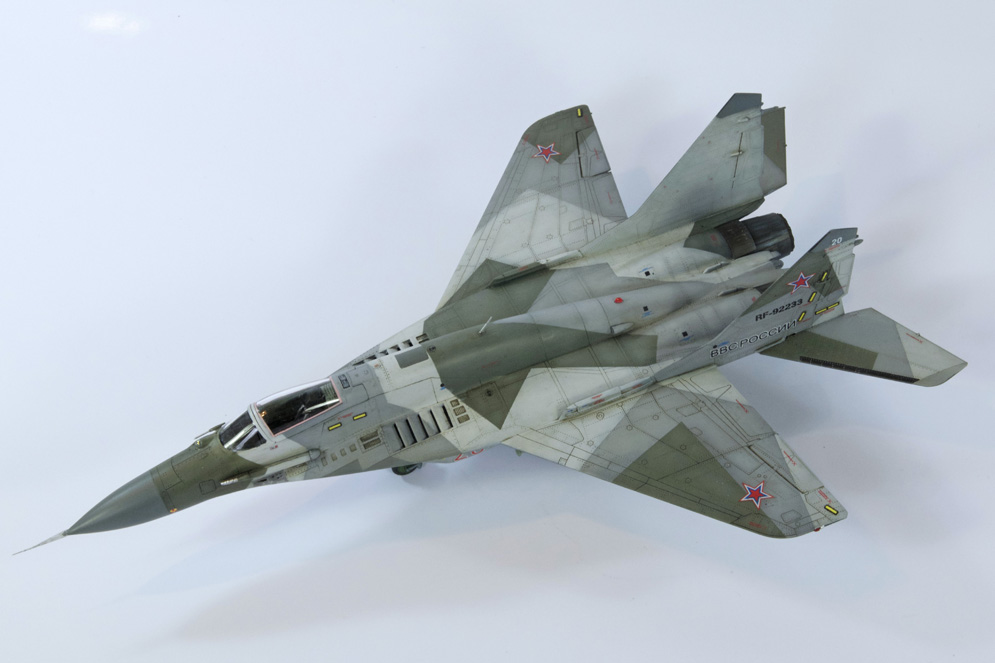

I didn’t do much with the cockpit: kit instrument and side panel decals – fine as the canopy is down. I did buy a few aftermarket bits: Eduard Brassin Exhausts; Master Pitot tube.
My only gripe with this kit is the definite joint seam where Trumpeter have used the standard MiG 29-A nose, up to just behind the canopy then joined the newly moulded rear fuselage to the front its a good place to do that but mine was slightly out of alignment and had a small step where the two came together. Apart from that its trouble free.
There aren’t many schemes for this one and the box art is pretty much it!!
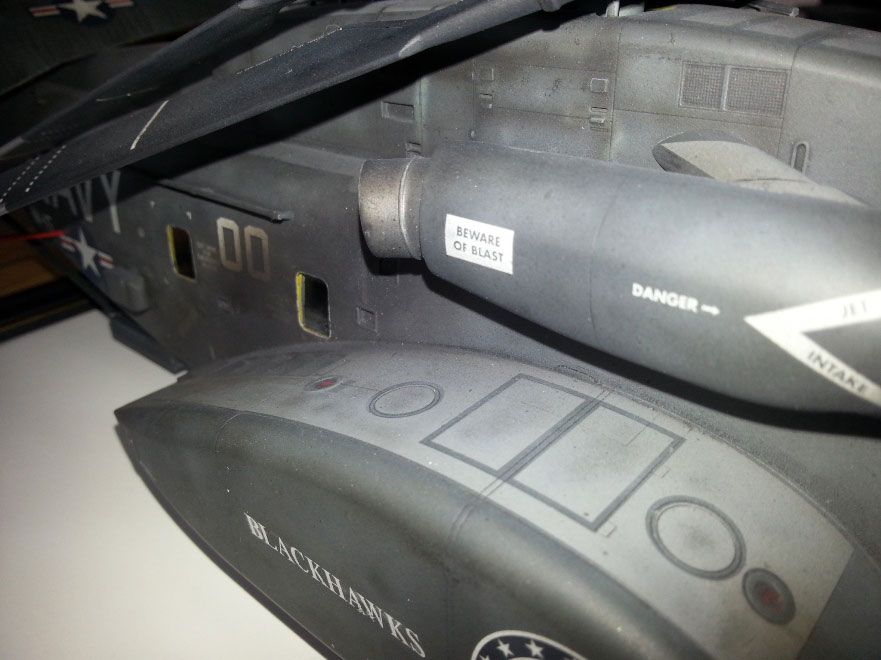
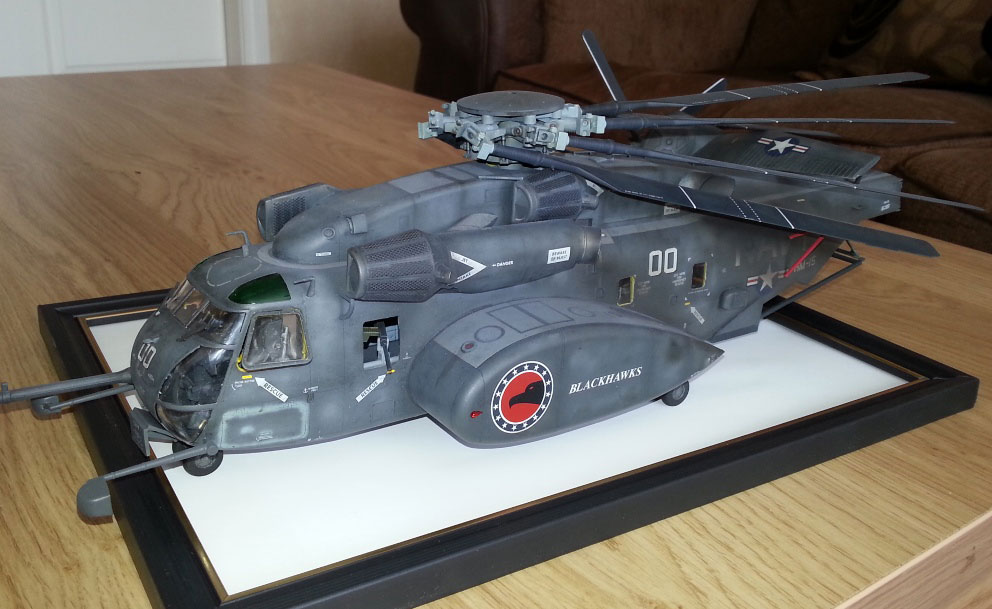
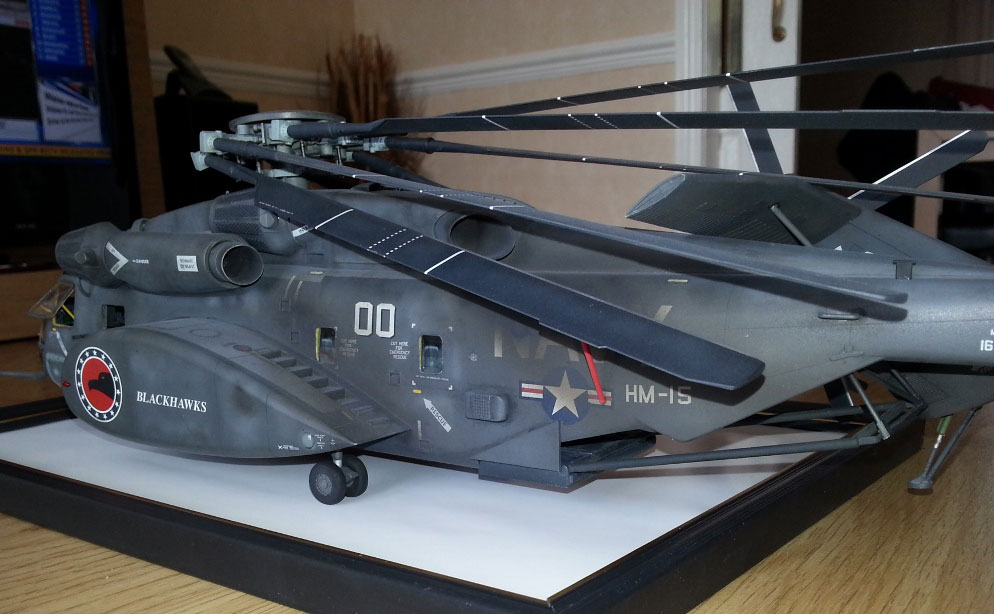
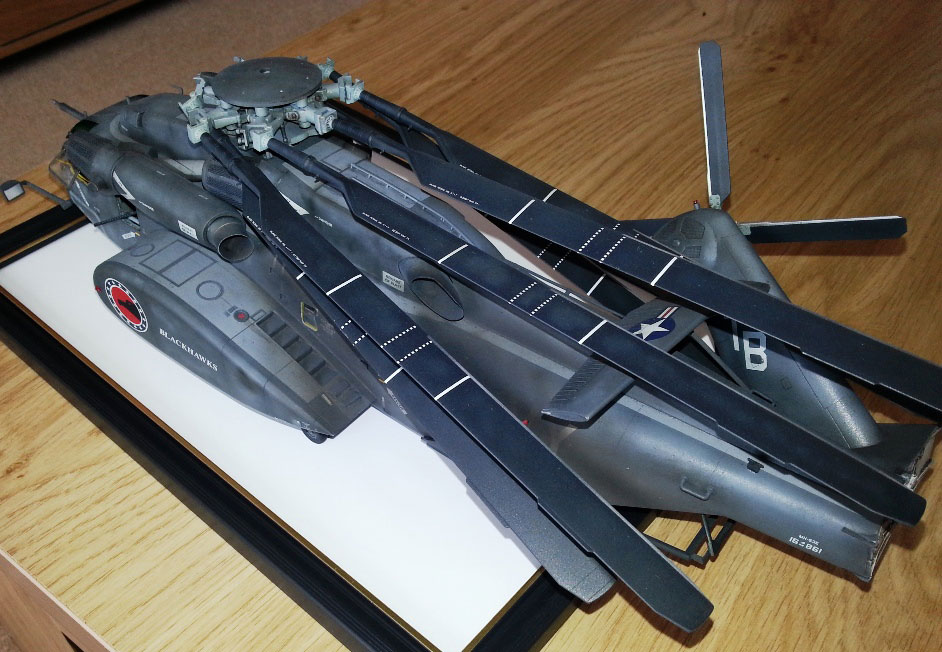
I decided to go down a different route and try this black basing I have read about and gave the whole thing a coat of Mr Paint Matt black primer and very nice it is too! This stuff is great, literally just a few minutes after laying this paint down you can go on and begin spraying so as the norm I started with the underside colour and sprayed the marbling effect so far so good then the lighter top colour so far so good then the next intermediate colour again with good results then the last colour proved a little to dark either that or I over did it but the marbling effect wasn’t as pronounced – well lost actually but as it all looked good I was more than happy with the results.
Hope you like it?
Mark H.

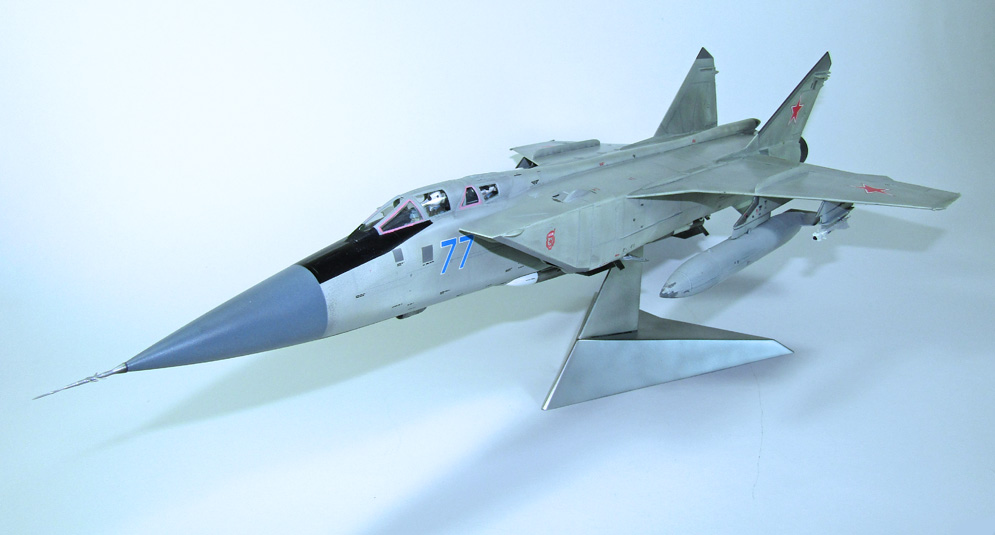

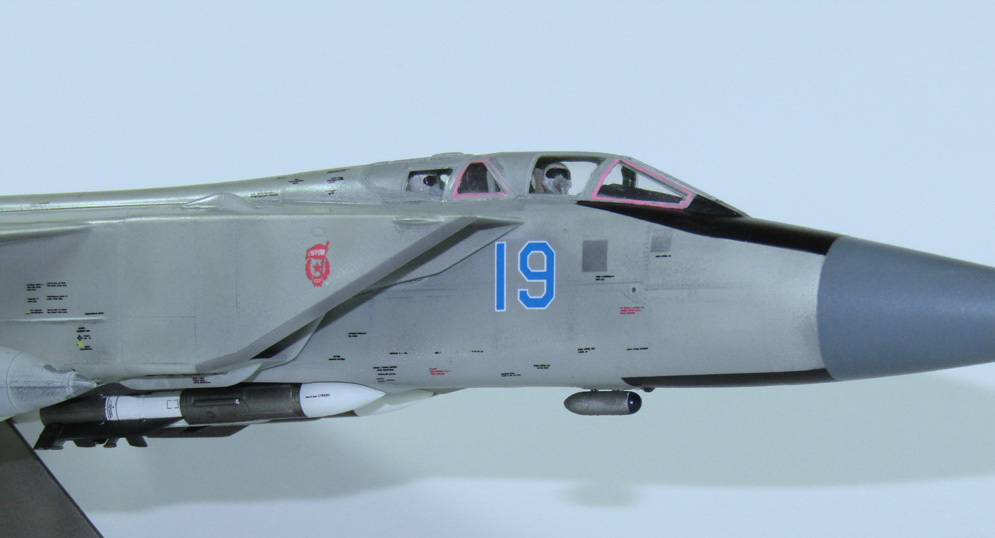
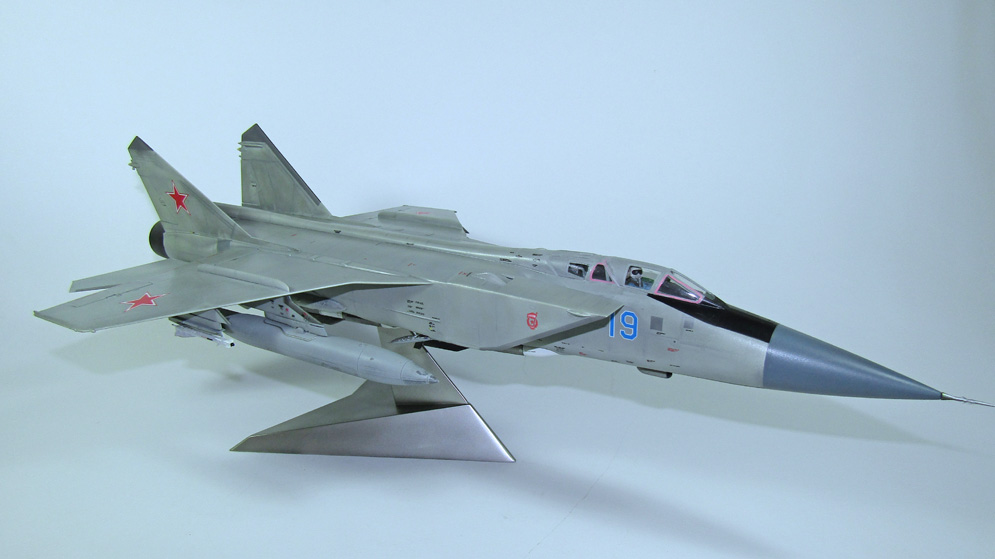
Built ‘in flight’ as a desk display, this is a big imposing kit.
The cockpit has eduard pre-painted photoetch instrument panels and pilots were sourced from the spares bin. There are plenty of weapons to choose from in the kit, but the R33’s are particularly nice on the recessed fuselage stations.
Mick S.


Regards, Hugo L.


The idea for this bird came with the decals from Matterhorn Circle in Switzerland.
Decal sheet 48-003 covers the sole Mirage III C by Switzerland in its last painting scheme after reactivation from temporary storage in 1973.
The painting was kind of work-intensive, as the neon colours RAL 2005 and RAL 1026 needed a white base and masking for each colour, meaning masking most of the bird twice.
The kit has some fit issues here and there, but some putty healed them all.
The decals are ALPS-printed, meaning they had to be cut out each. They are of good quality and colour density. The instructions are comprehensive and detailed with good background information and some pictures.
I hope you like it…
Jürgen J.
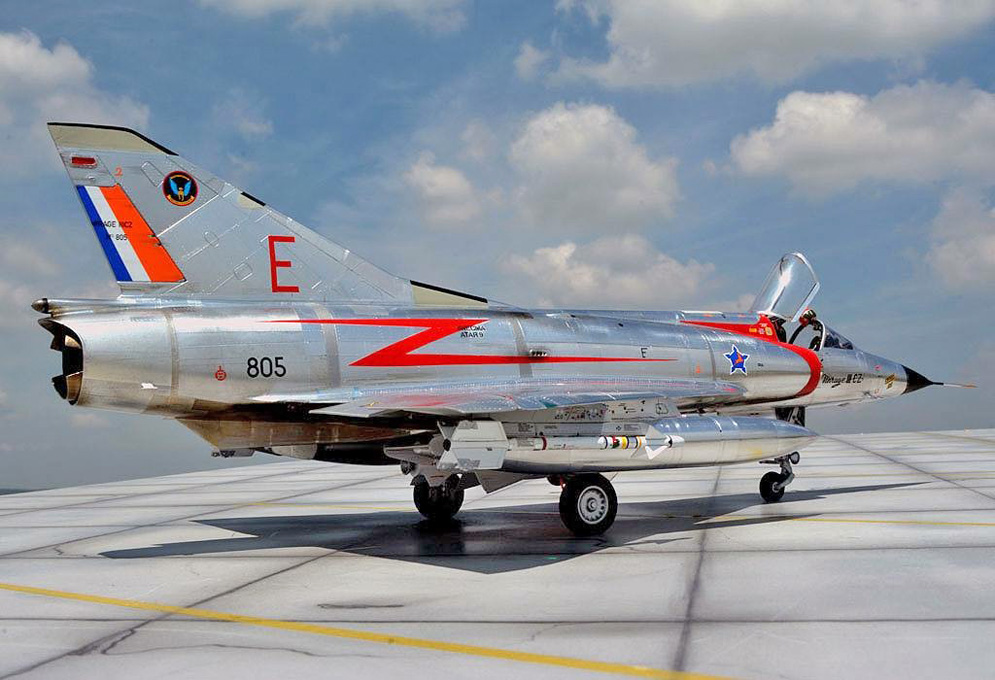

The model is all finished in ordinary kitchen foil!
Thanks for watching. Peter D.


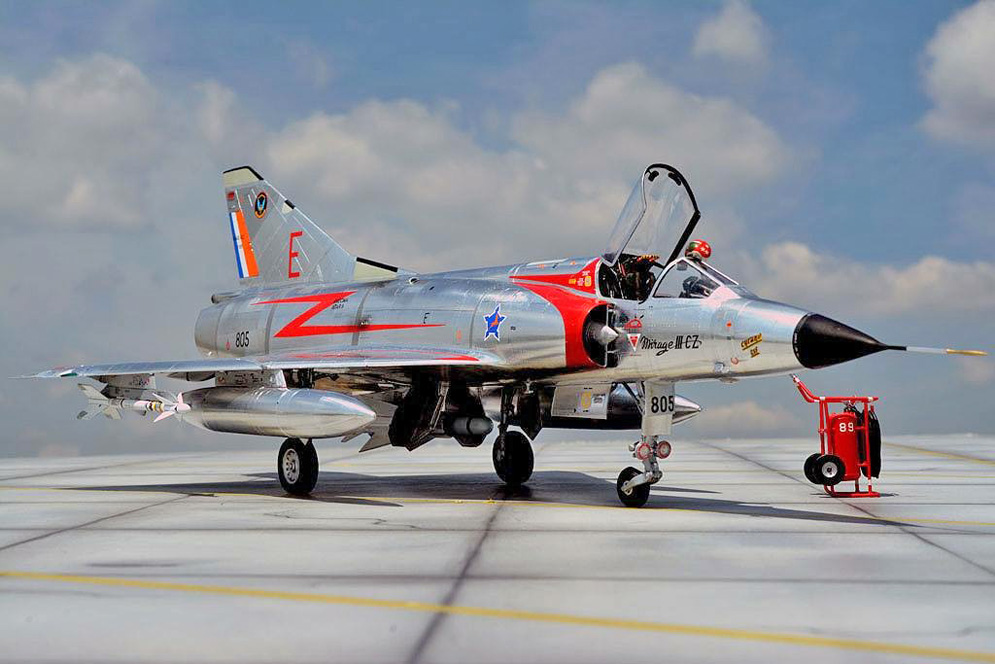
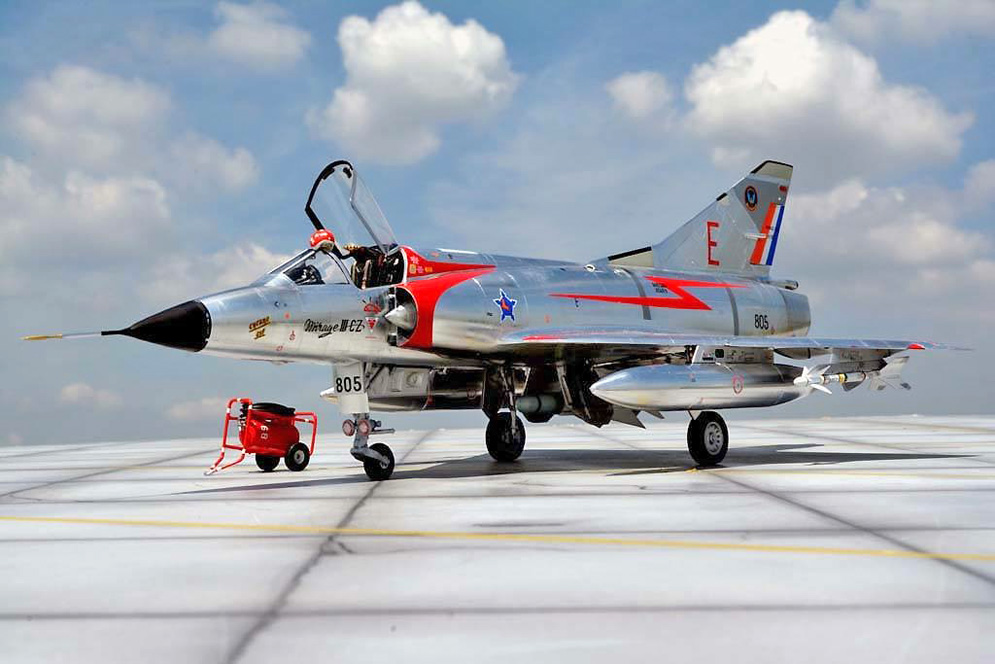
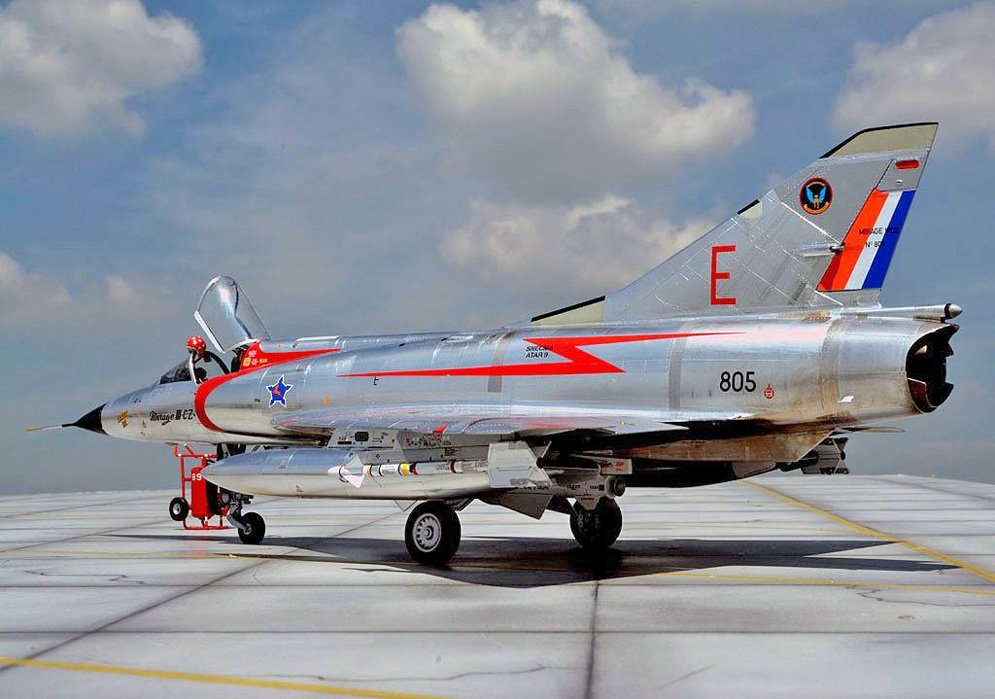
I also added a cockpit resin set. Otherwise the kit was built out of box.
The decals were kind of a challenge as the originally intended CONDOR decals are not available any more in 48th scale.
I printed them from pictures from the internet and also used some decals from the FCM Malvinas set.
The kit, being one of the first attempts from HobbyBoss was easy to build and in the end worked even better than the Eduard kit I did build in parallel.
The result is a Mirage III CJ at the end of its long service life in two very different air forces.
Jürgen J.
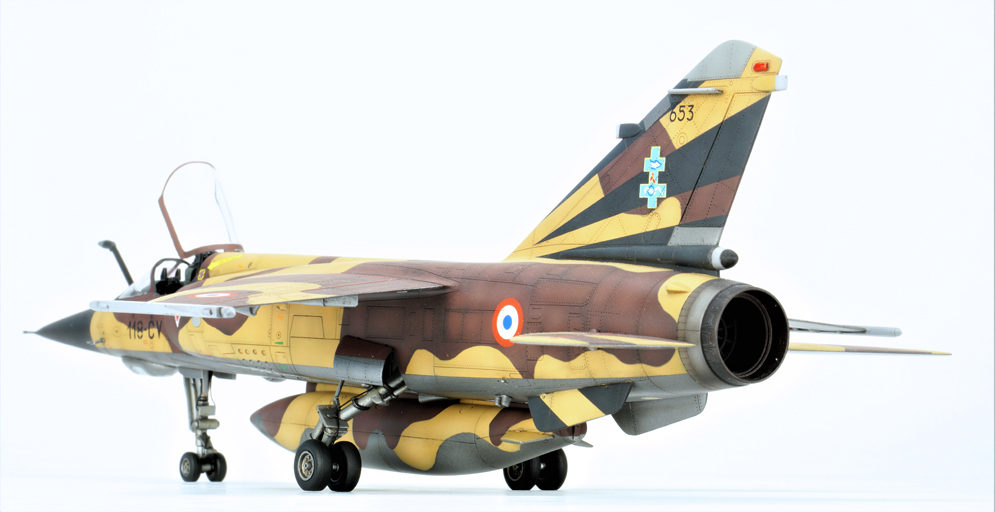
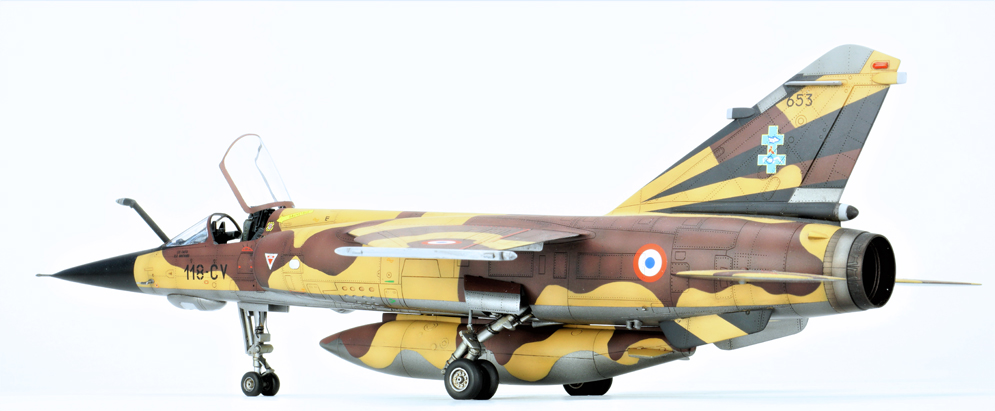
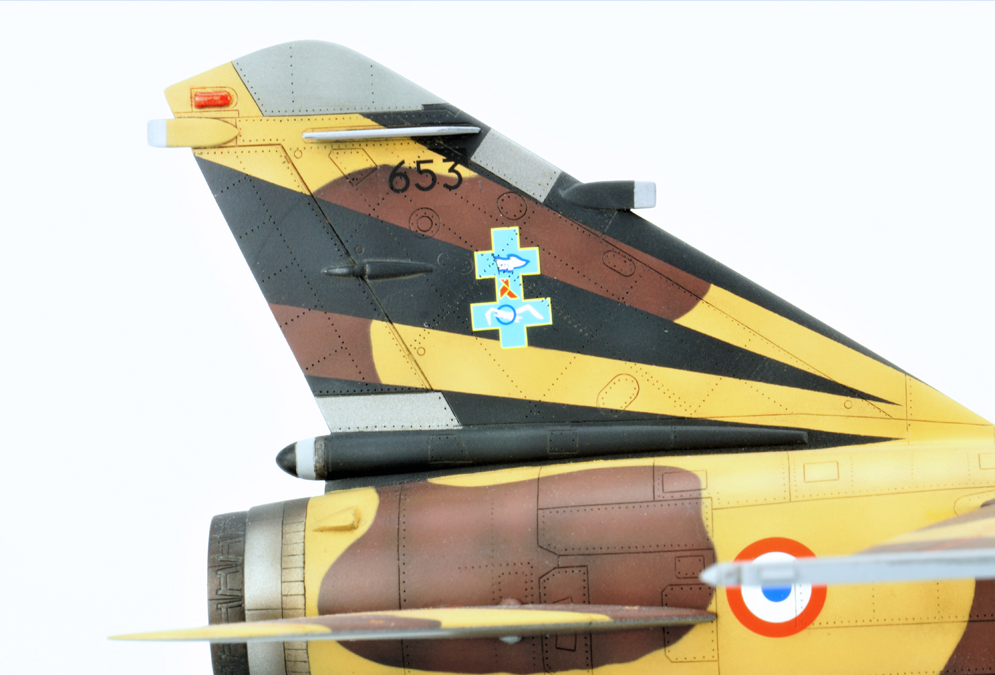
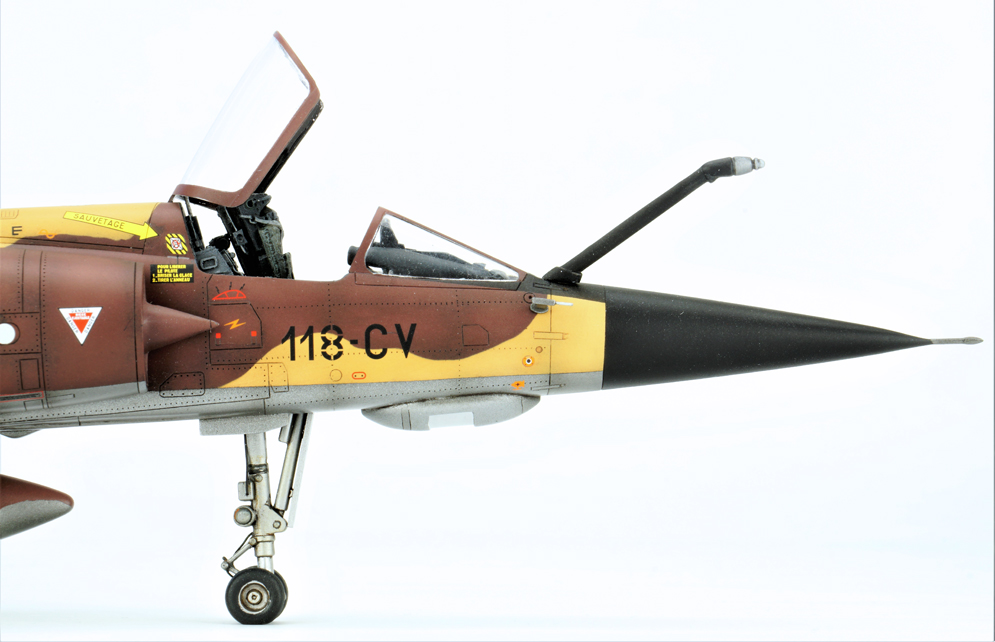
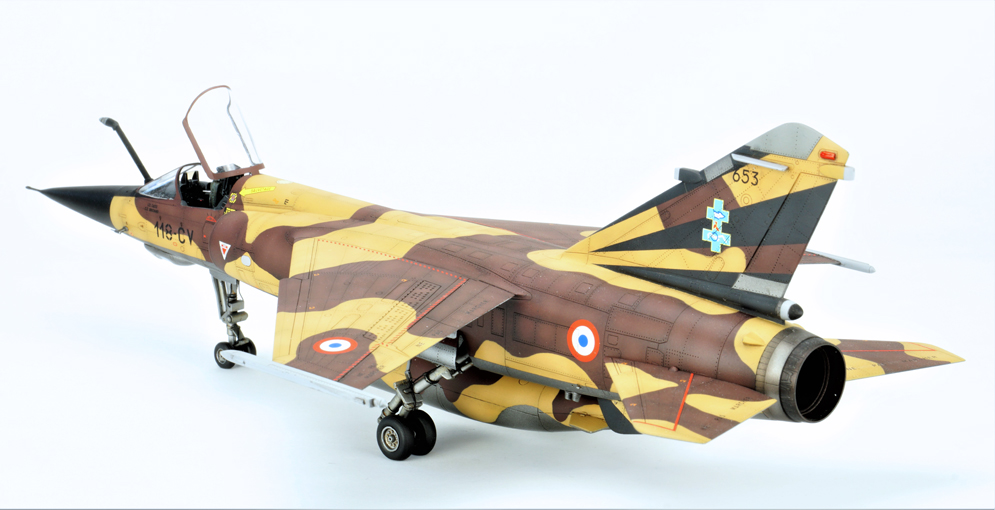
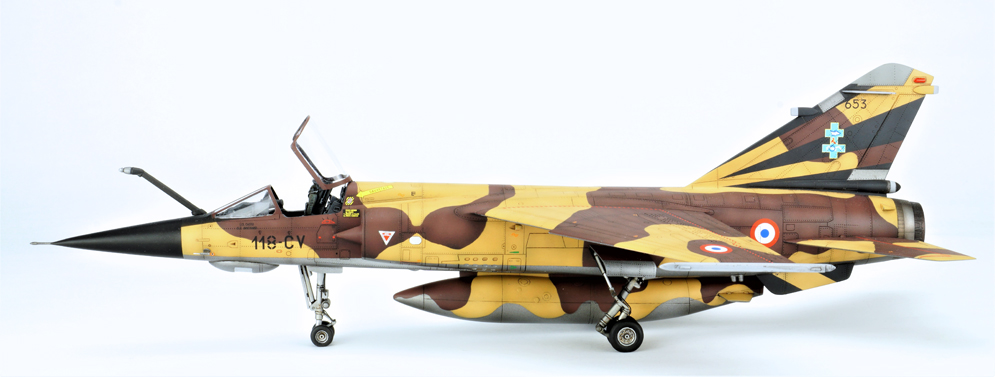
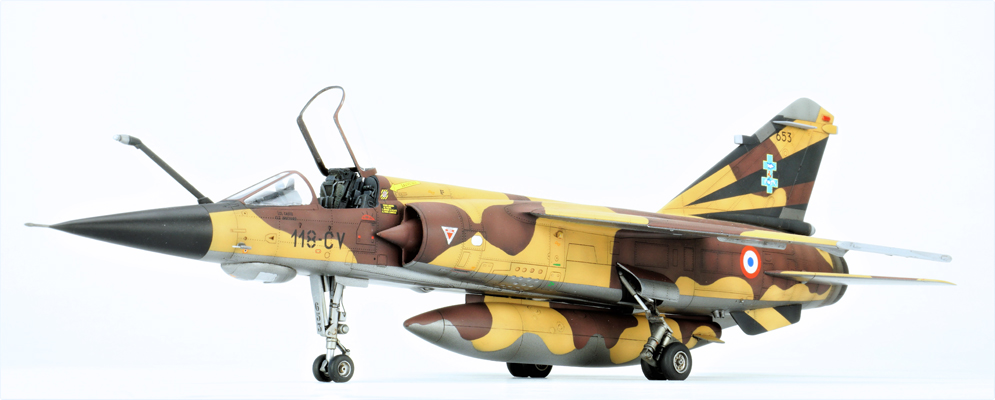
It’s Italeri’s latest 1:48 boxing of this aircraft. The original kit dates from 1978 which was issued by ESCI back then. I riveted the kit to bring it up to more modern standards and masked all the stripes in the tail and fins. Cockpit details were non-existent in the kit, so I fitted a resin cockpit and bang seat.
Jeroen B.


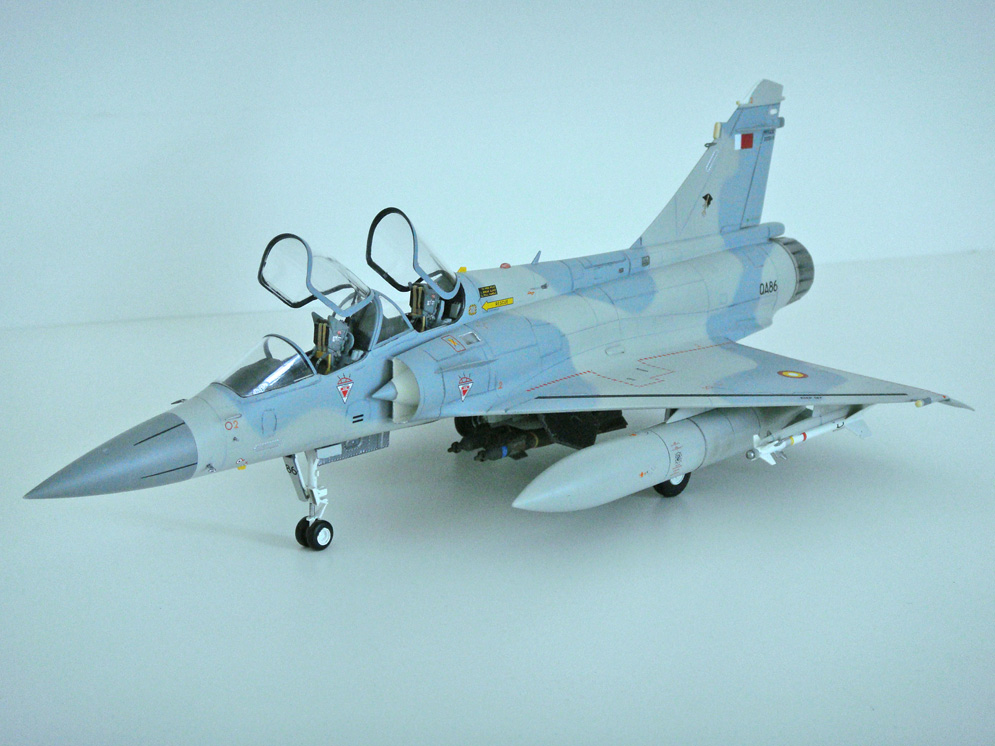
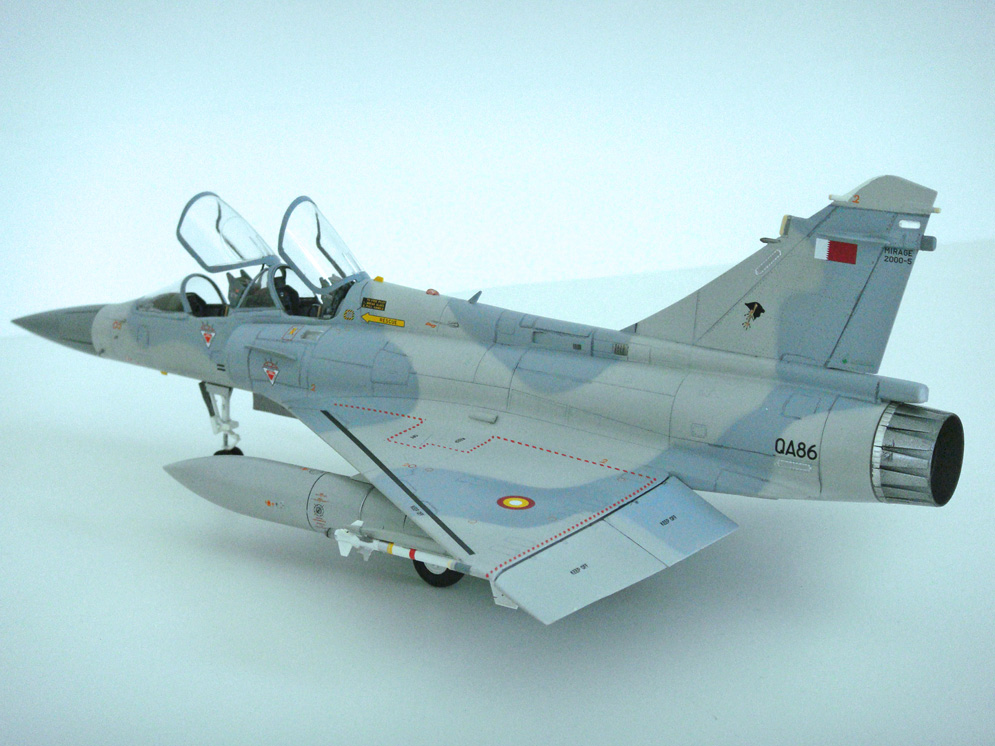
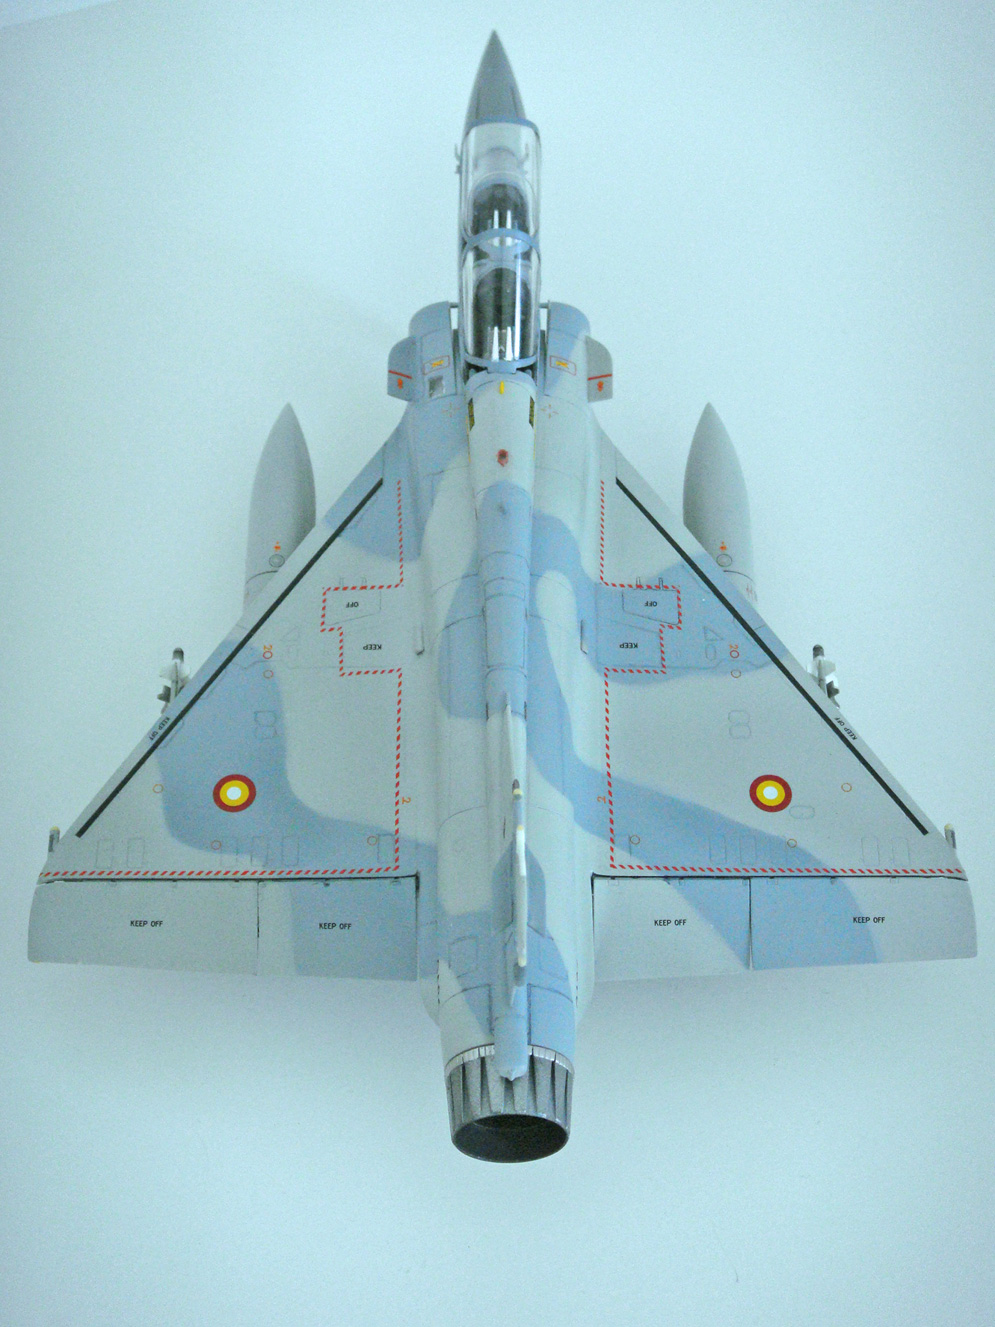
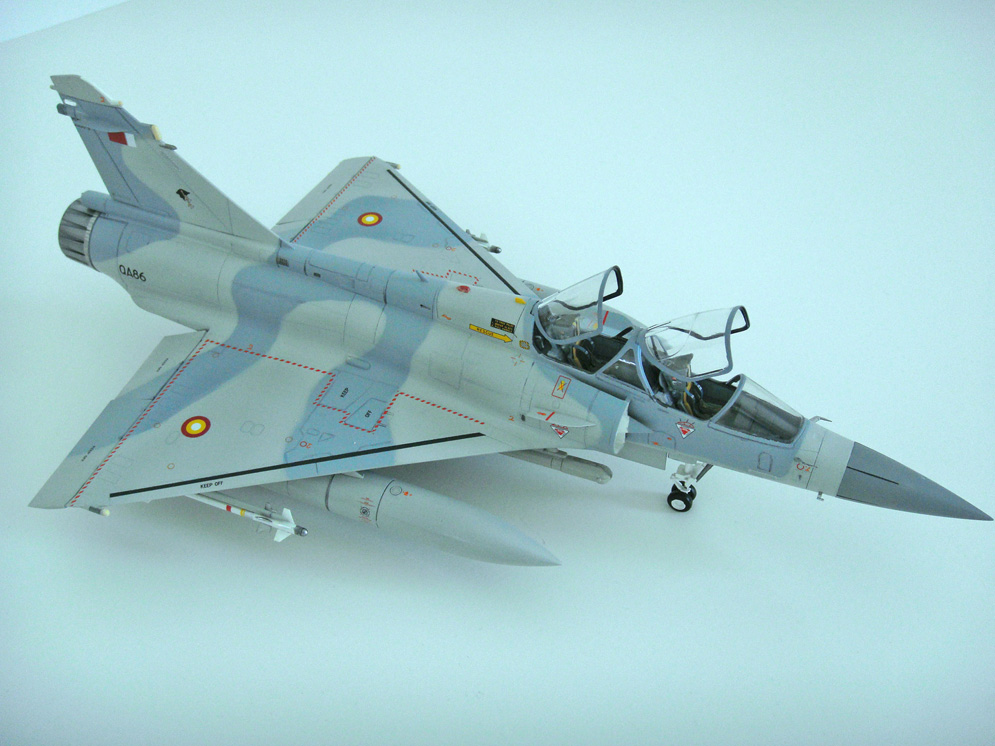
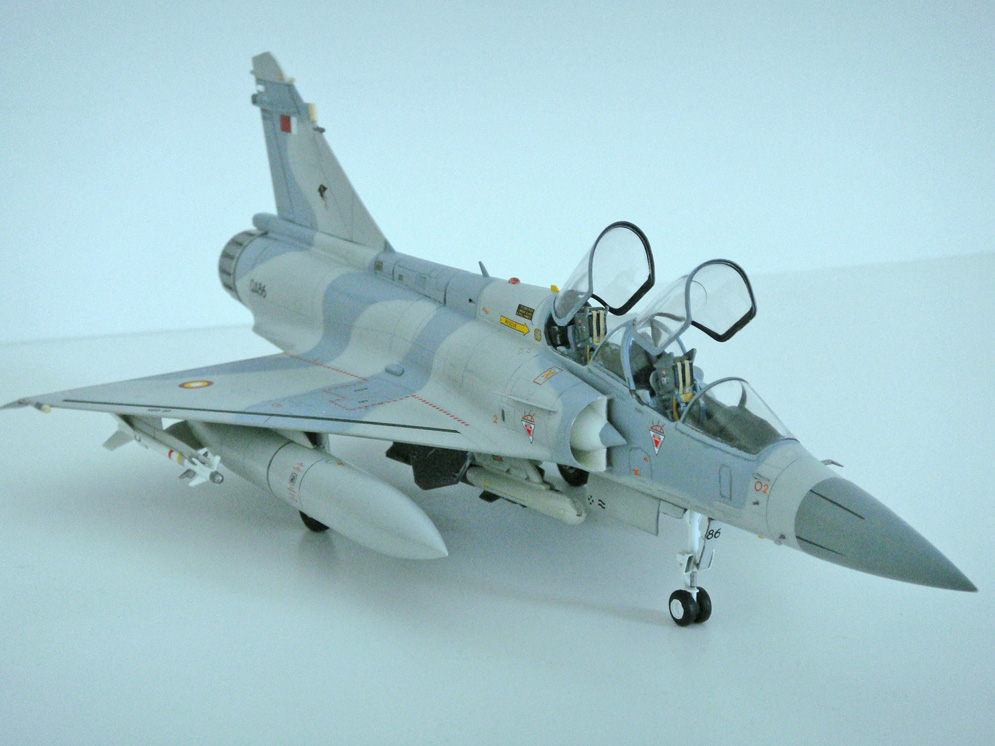
I’d like to show you my Kinetic Mirage 2000B I recently finished. It was mostly built straight from the box. The only additions were resin seats, exhaust and a metal pitot tube.
The model was painted with Gunze Aqueous colors.
The kit went together pretty well and the decals are surprisingly good. I really enjoyed this build and will probably build the single seater as well.
René VDH.
Using the Italeri Mirage 2000 kit and built OOB with only an Eduard Zoom set for the cockpit, this was an enjoyable build of a classic 4th generation fighter.
Mick Stephen


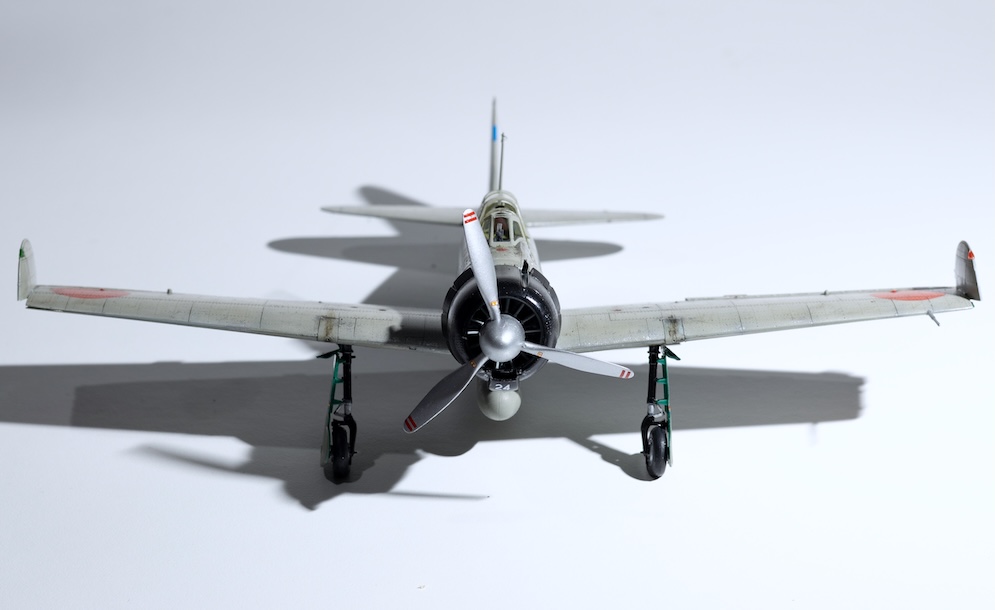
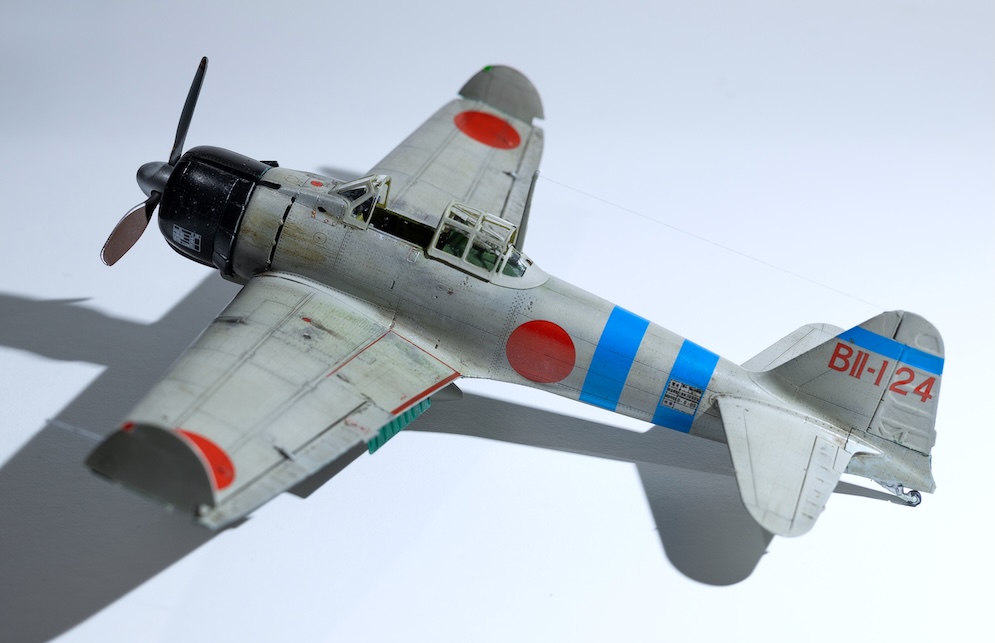
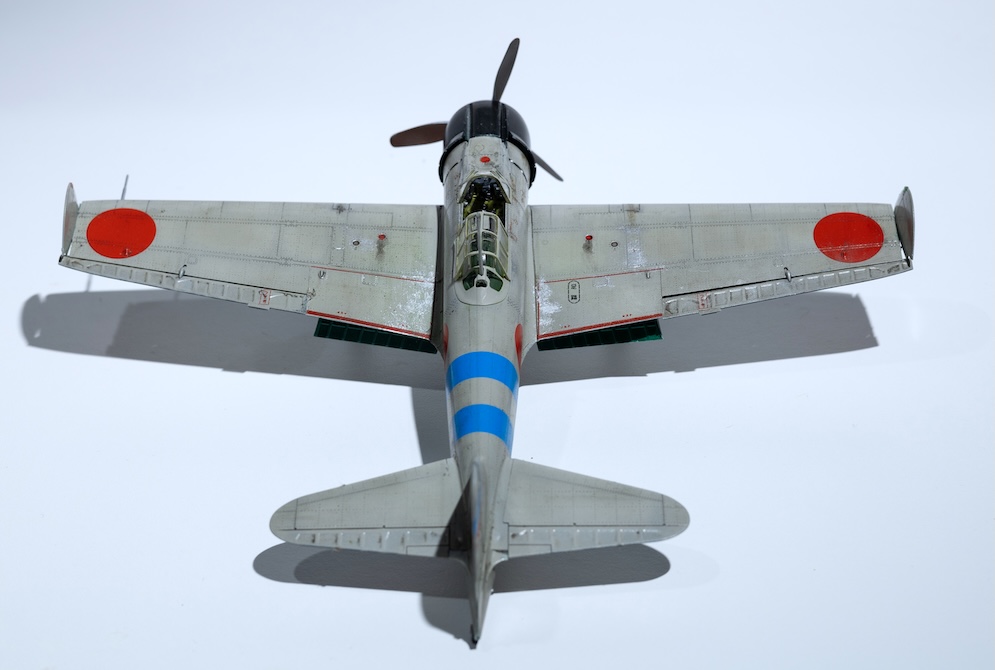
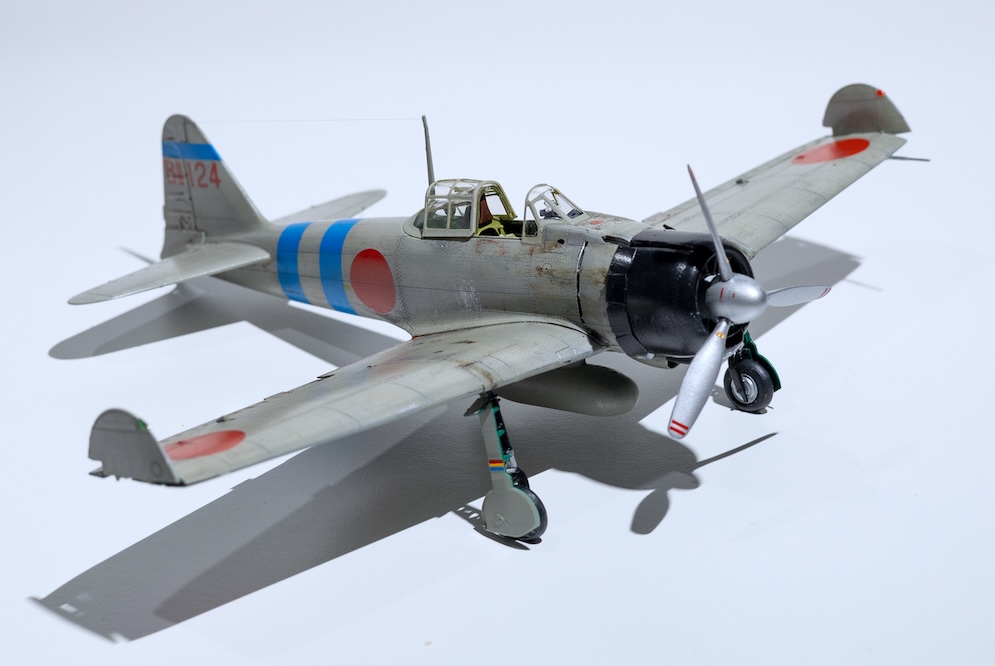
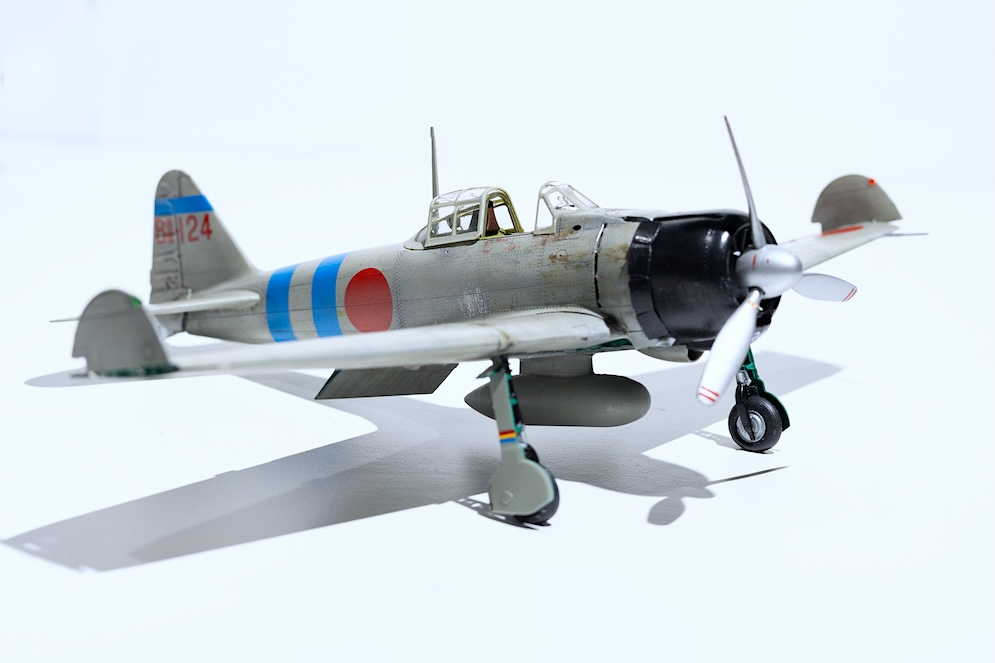
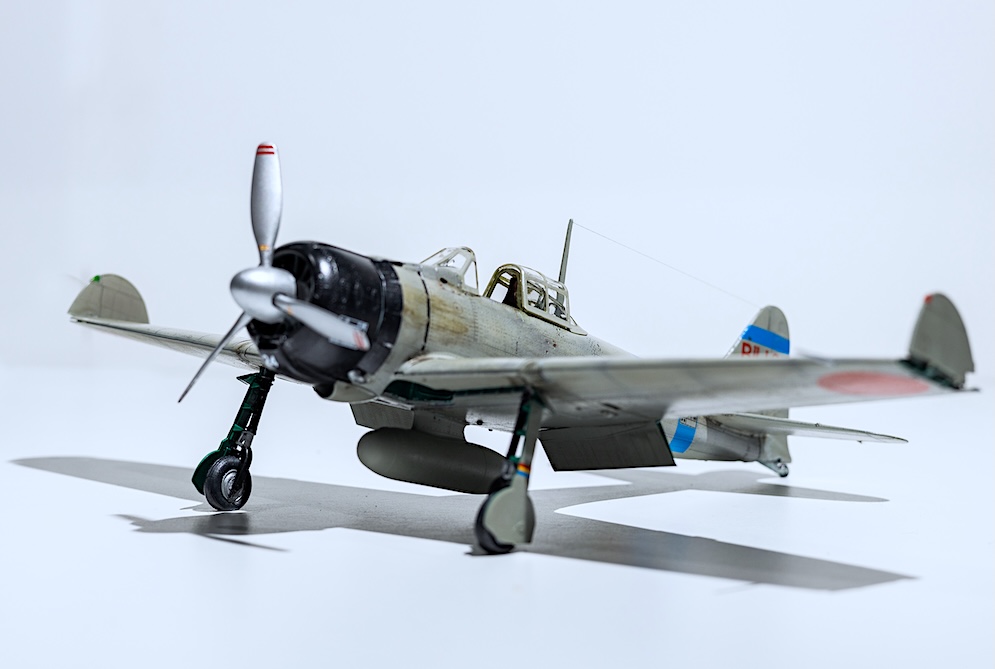
Really impressed with this offering from Academy, lots of detail, pretty straightforward build and fit was excellent with very little filling or sanding required. Extras as usual were seat belts which I McGiver’ed from the spares box which although not accurate do the job. I also believe that the fairing behind the pilot seat may or may not be the correct colour/ I chose dark green from photos of a museum Zero, but have been informed that dark grey or black is more accurate?
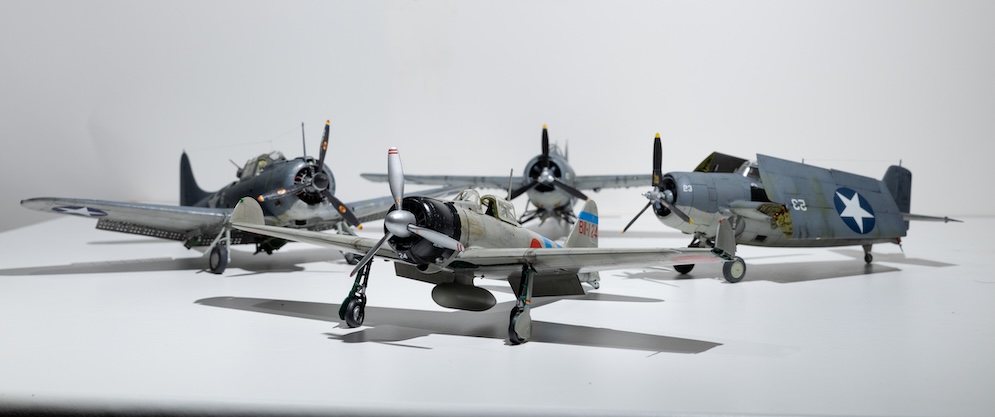
This Academy Zero was brought out a few years ago to commemorate the 80th anniversary of the Battle of Midway and came with several decal options from aircraft that participated in the battle. It fits in well with my ongoing Midway project and my existing 1:48 USN Wildcats (Academy and Eduard) and Academy Dauntless, next up a HobbyBoss 1/48 Devastator!
Richard A.
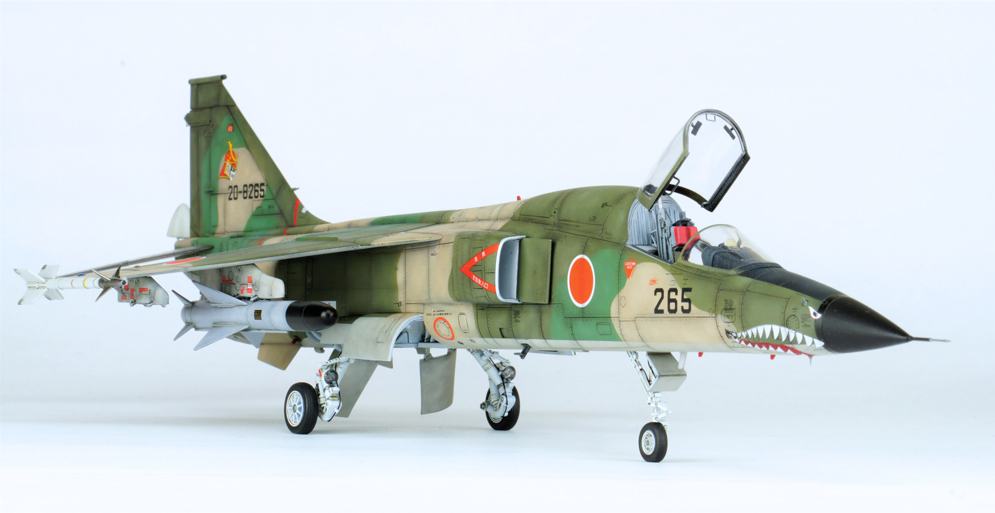
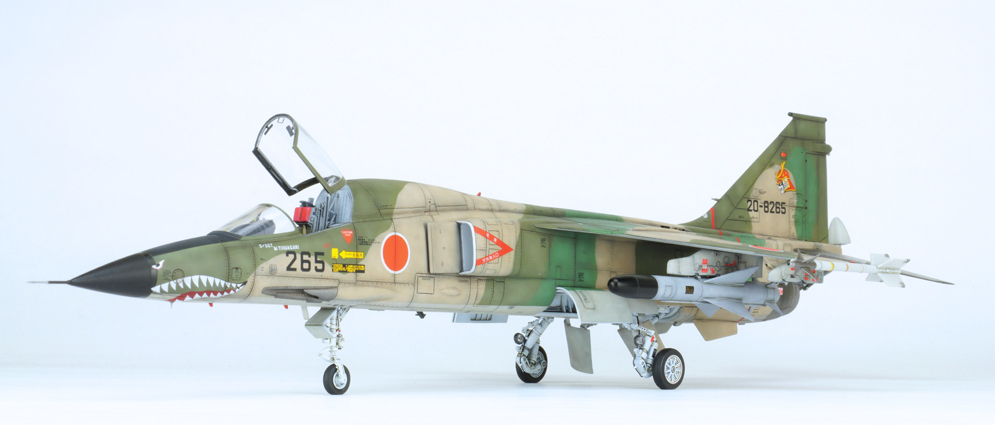
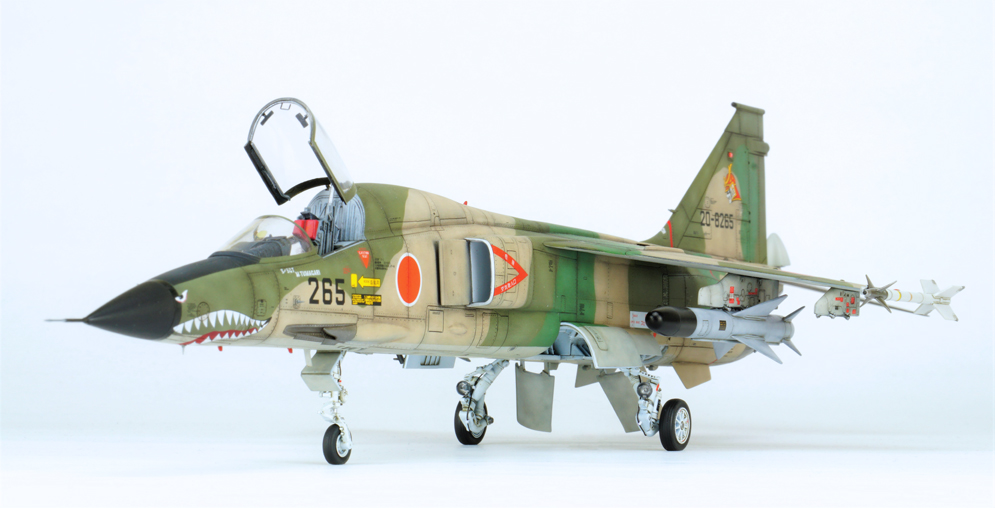

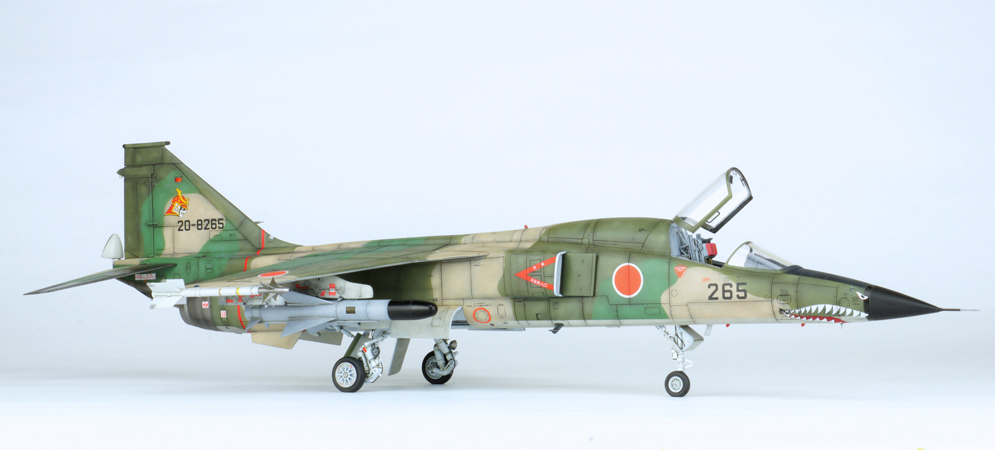
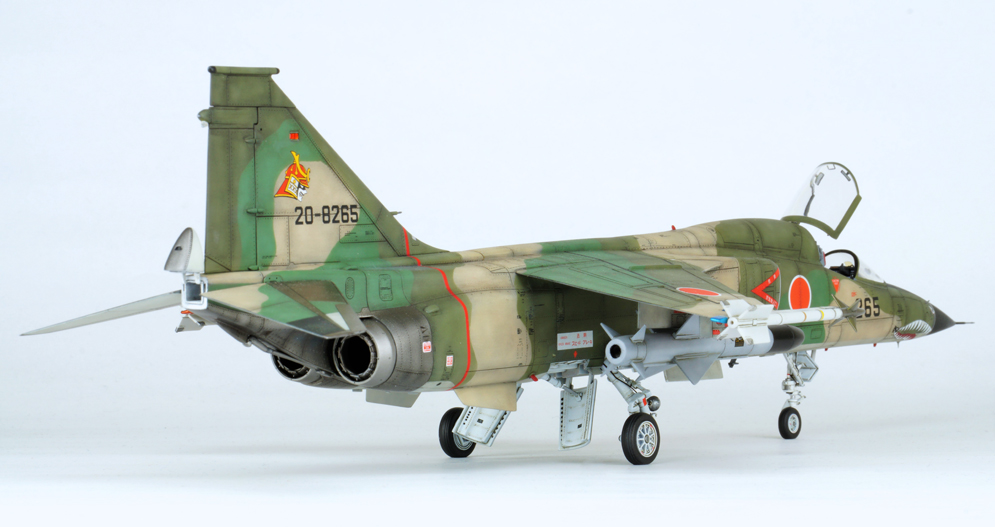

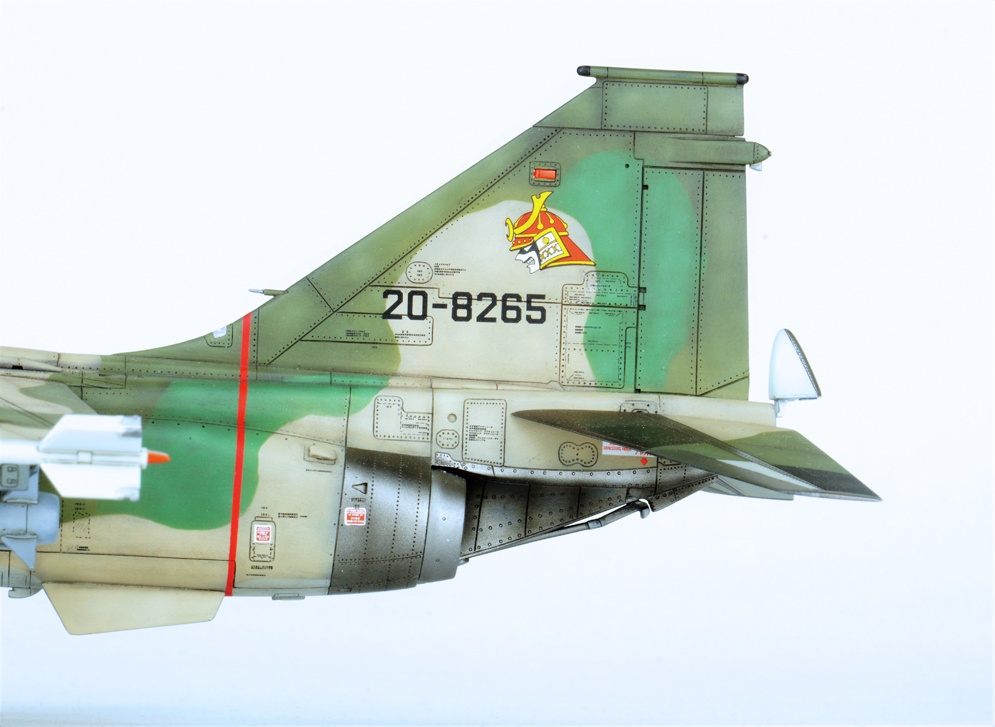


Hasegawa’s 1:48 Mitsubishi F-1 in the JASDF forest camouflage. It’s an old but decent kit. I have used Gunze paints which are spot on and a Platz decal set. The anti-submarine missiles are from the Hasegawa JASDF weapons set.
Hope you like it>
Jeroen B.
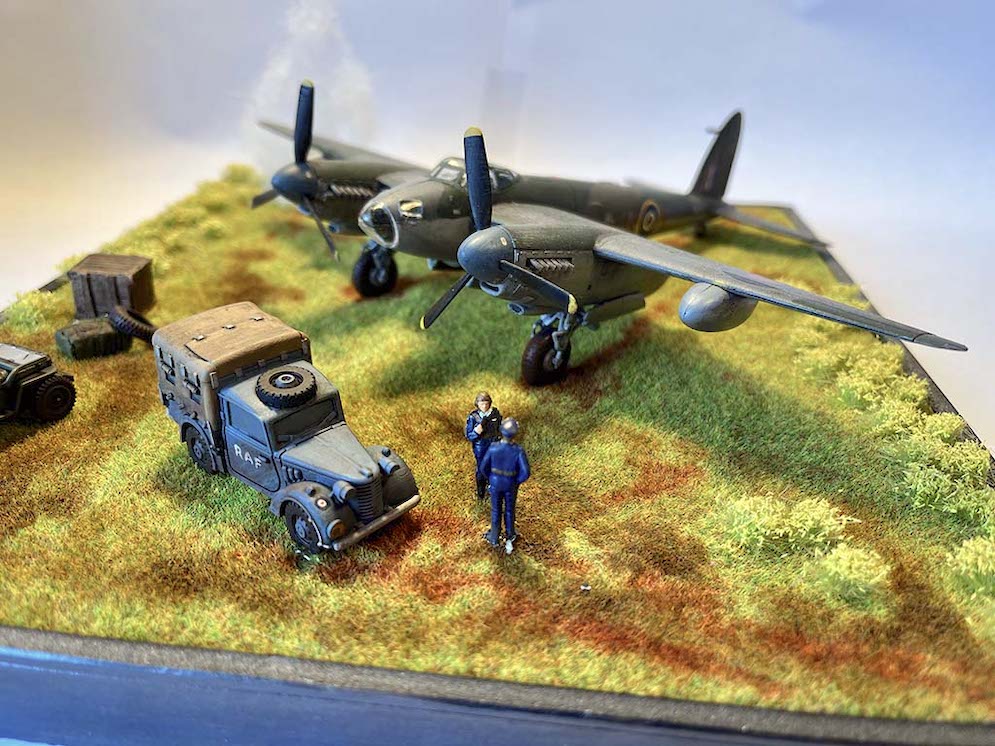
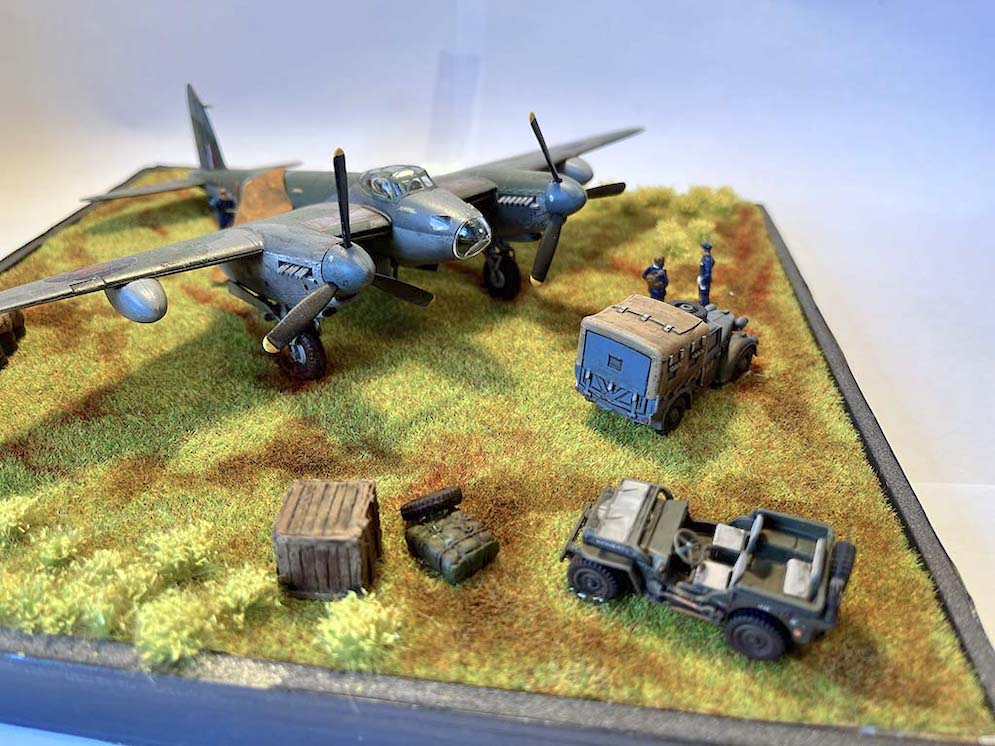

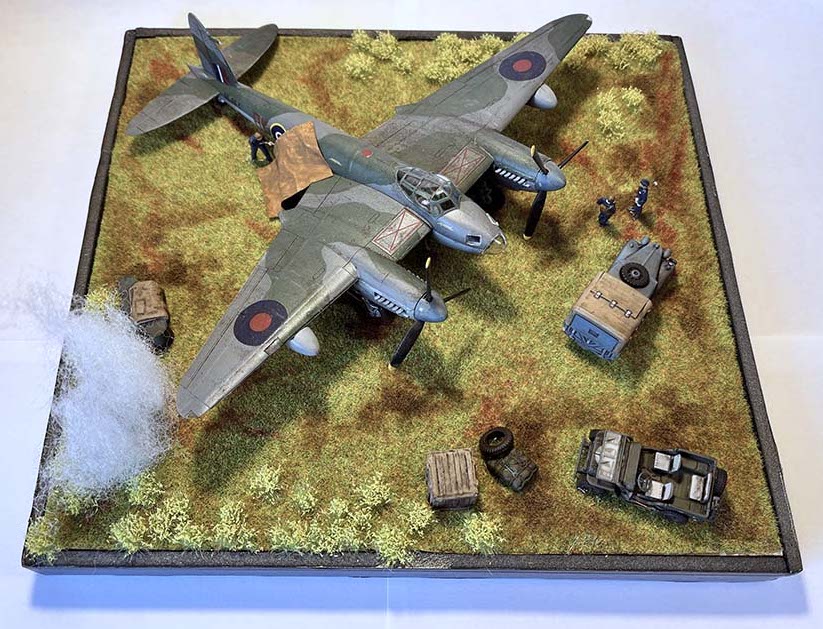
Finished with Humbrol enamels and mainly brushed paint, built straight out of the box except some belts for the cockpit created using the method Geoff explained on here using painted masking tape.
I finished it off with a little diorama using an Oxford die-cast US Jeep and a resin Austin Tilley, with some of the older Airfix RAF ground crew.
Mark S.
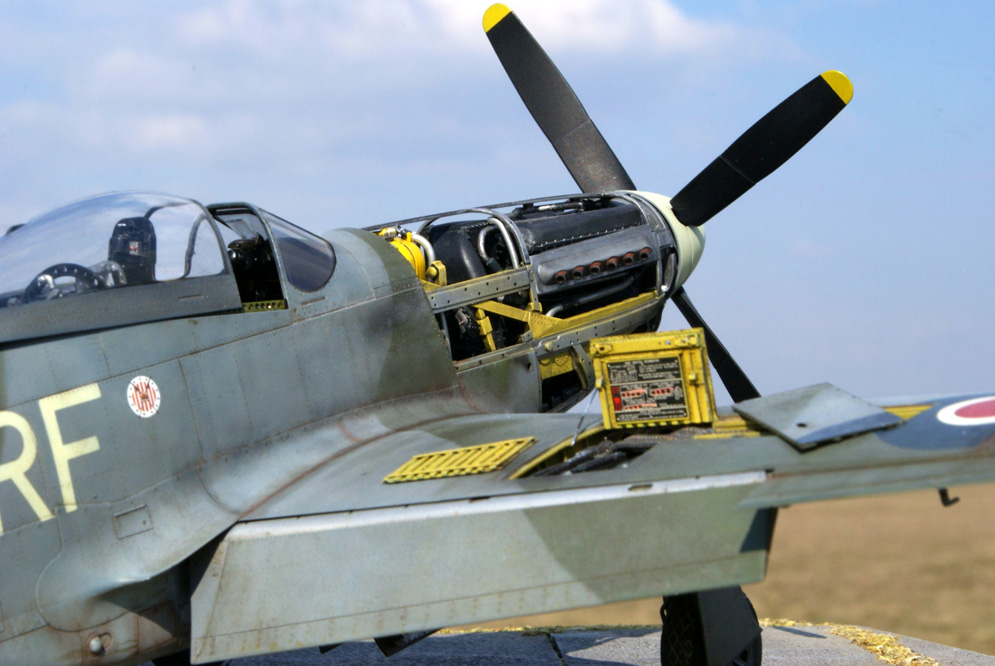
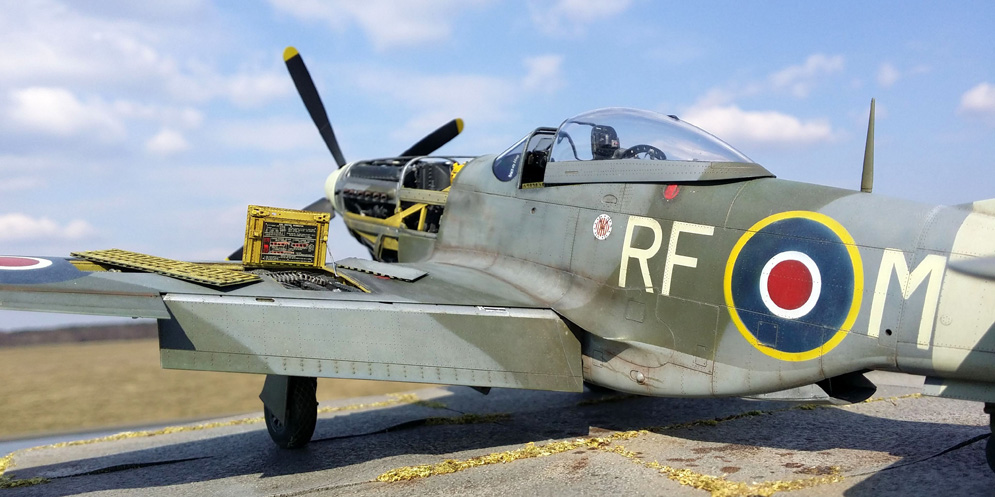
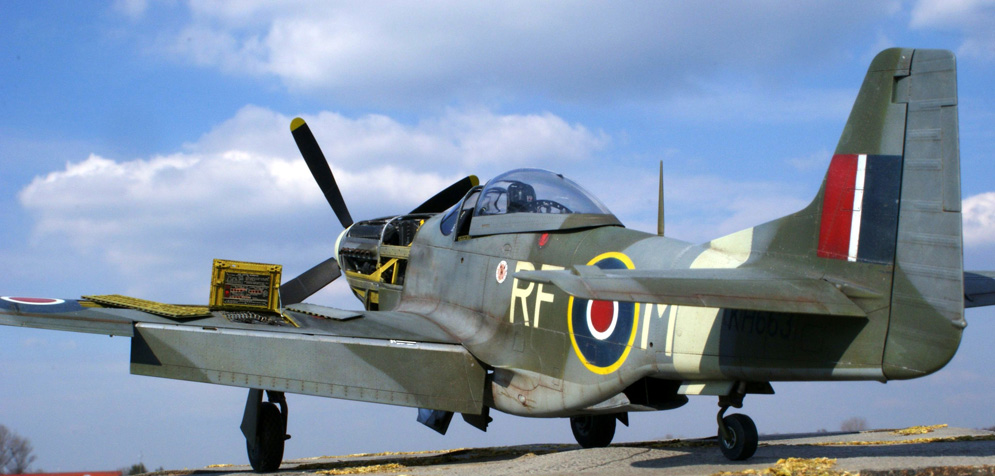
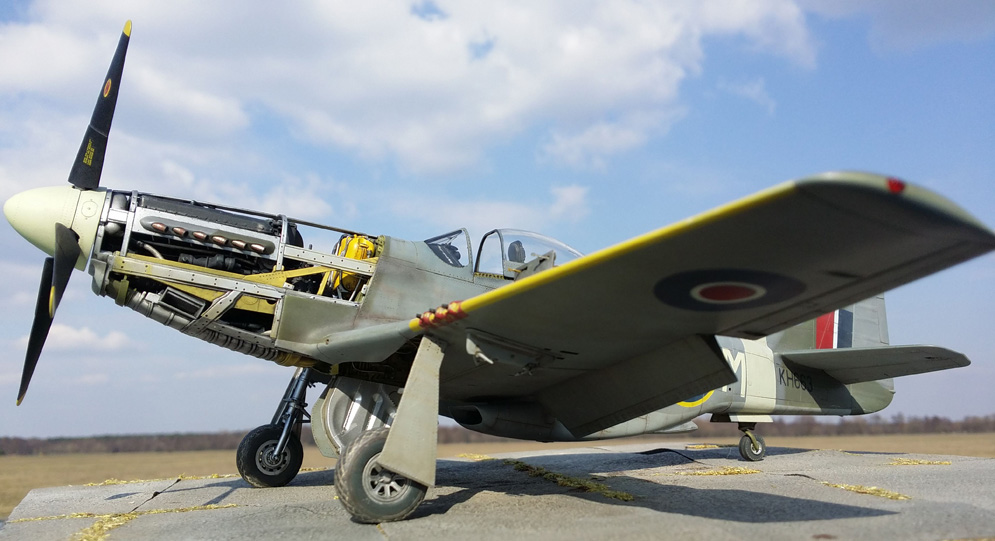
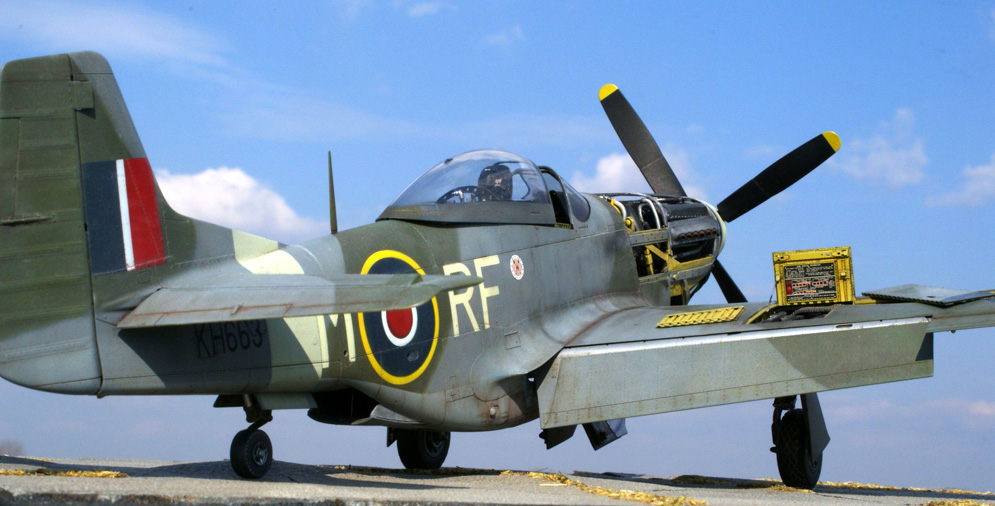
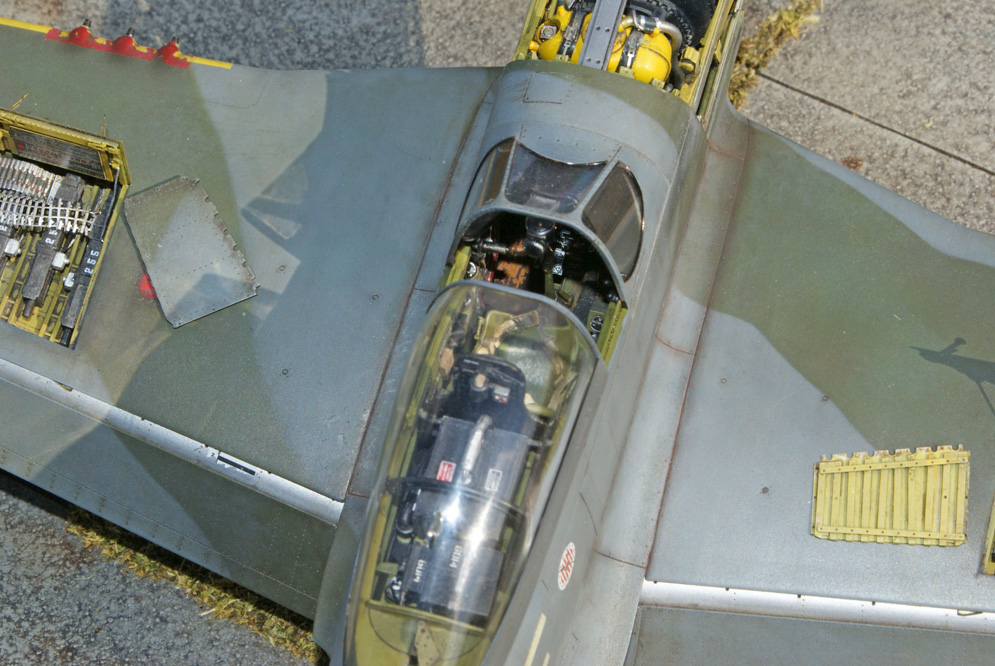
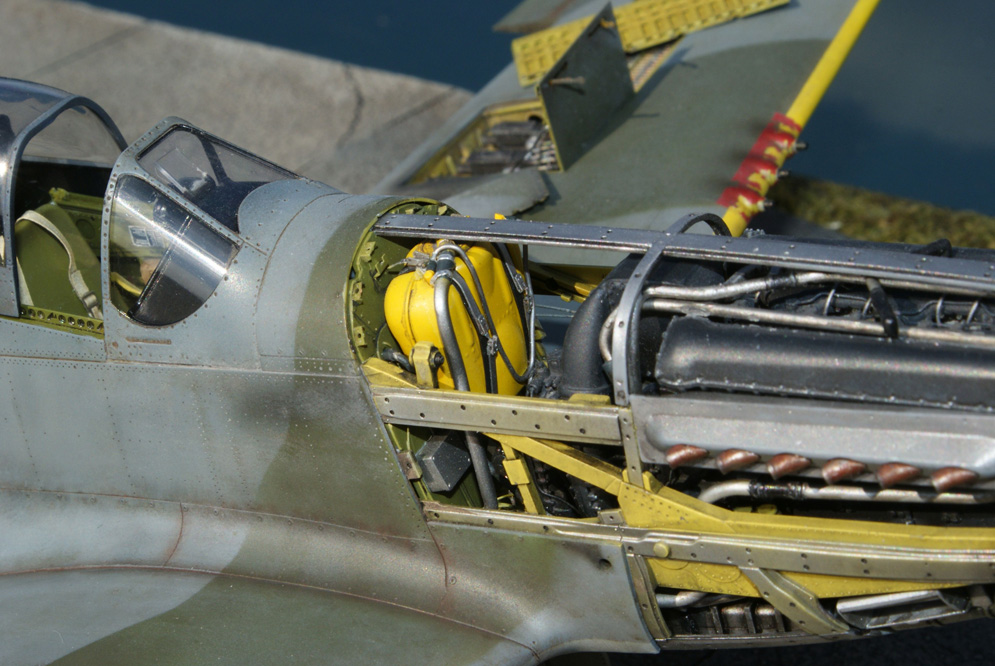
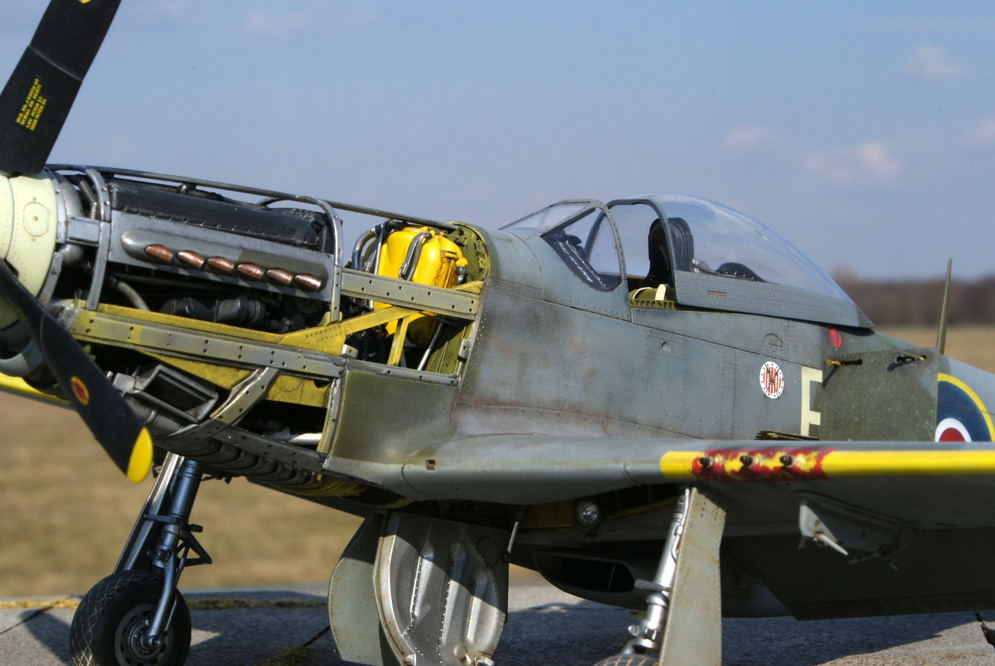
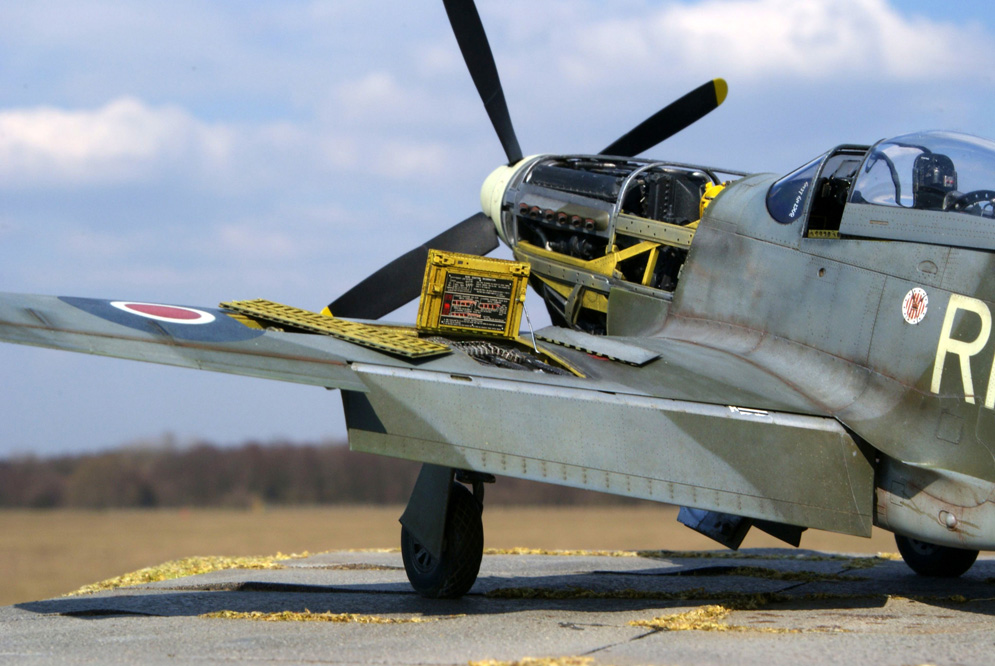
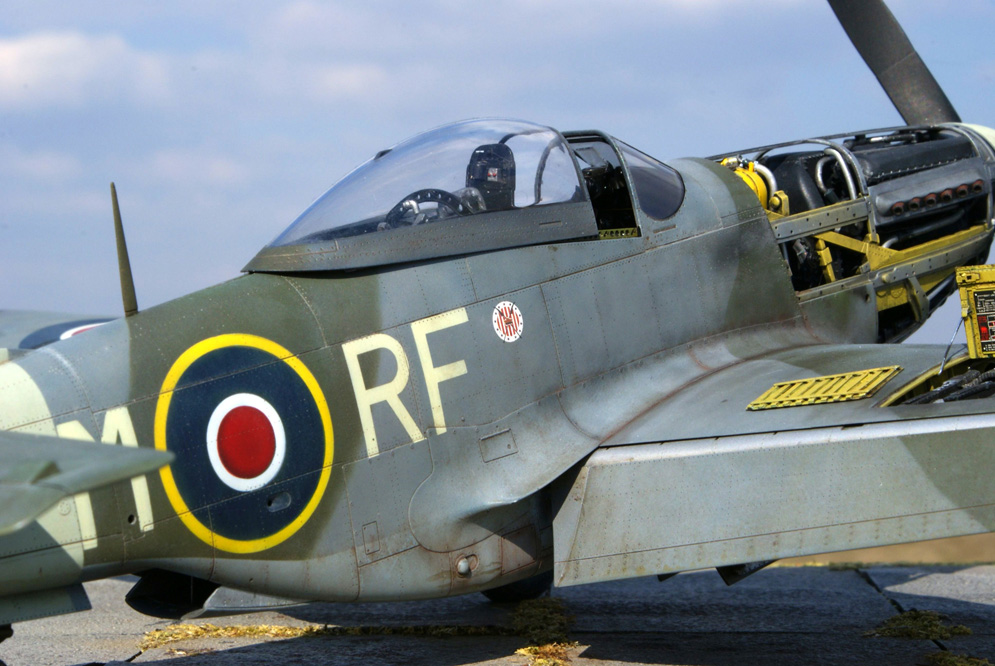
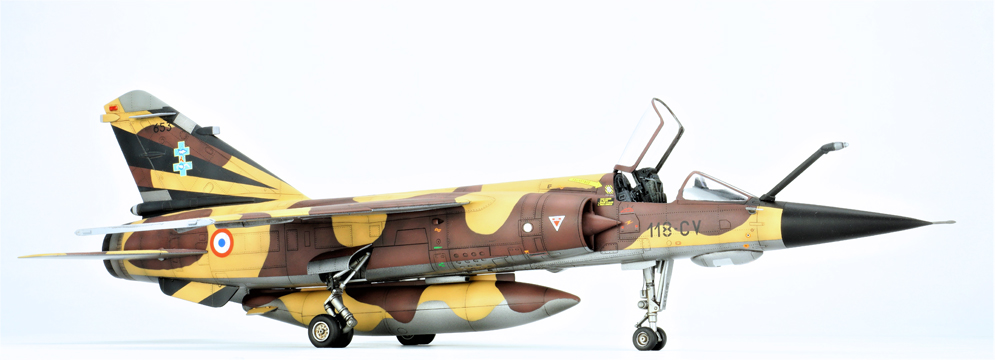
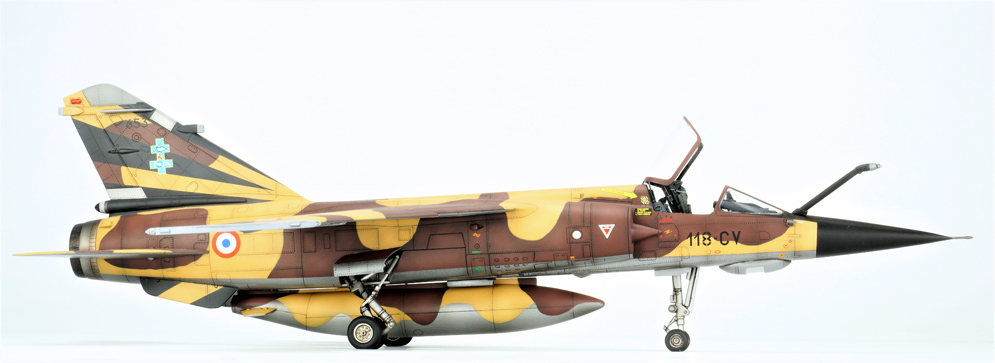
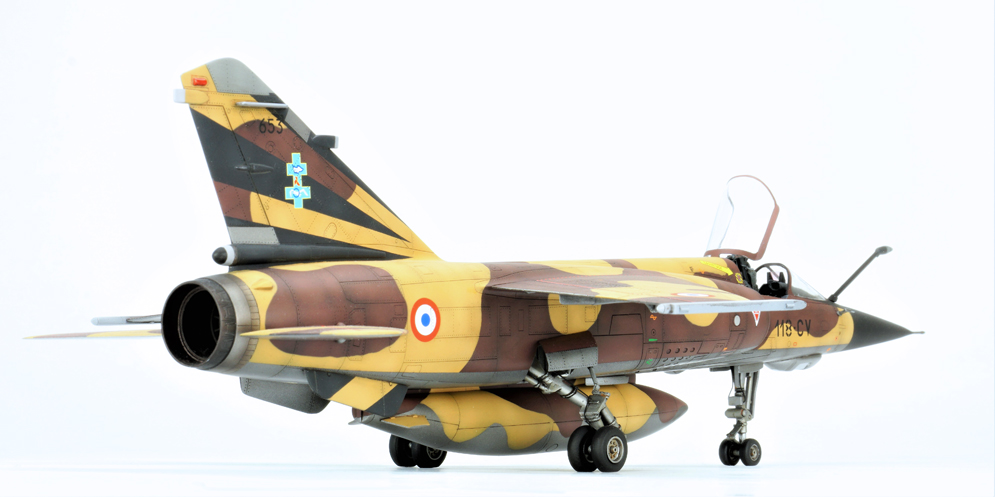
I have finally seen it – the best aircraft scale model I have ever seen in all the years I have been modelling. This one popped up on Facebook and I was simply blown away – I mean, just look at the realism on offer here:
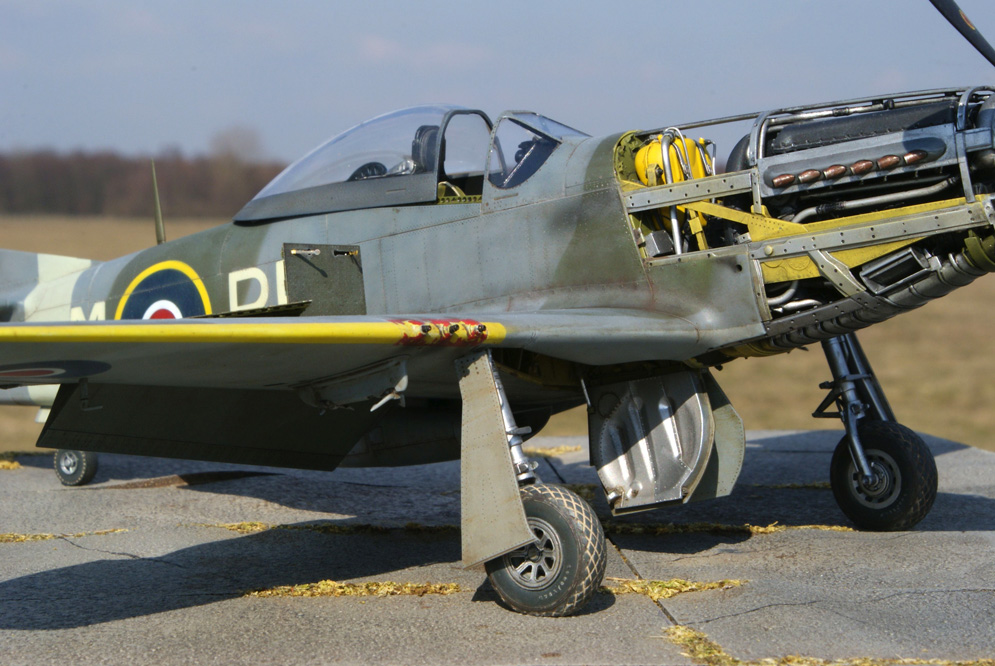
- restrained weathering overall
- paint finish just faded enough to be completely convincing
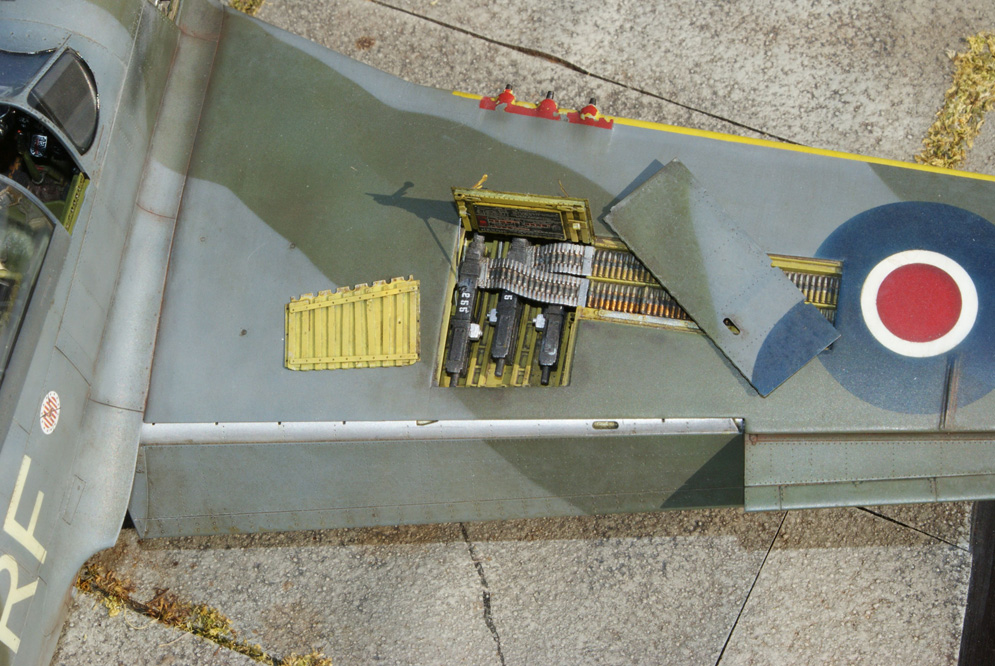
- panel line enhancing that is so often seen on WW2 fighters like the Mustang
- accuracy in the build with no meaningful defects visible to my eye
- decals or markings flawless – they may be painted on, who knows but they look painted and weathered to match the surrounding paintwork with care taken to run the panel line weathering through the markings
- blemish-free canopy with perfect frame painting.
I could go on but I won’t – just enjoy Artur’s end result, utterly inspirational to me and I’m sure many of you too.
Here are some notes from Artur…
- Tamiya 1:32 kit
- Serial: KH663 No 303 Sqn RAF
- Barracuda Studios cockpit upgrade and stencils
- Melius Manu masks
- KoTeBi World Models – the kit
- Szeroka5 – paint
- HGW belts
- Eduard photo etch parts, wheels resin
- Master gun barrels
Thanks Artur for agreeing to share your beautiful work.
Geoff C.
Ask a question or add feedback:
You must be logged in to post a comment.