Each submission has a ‘gallery’ of thumbnails which you can click on to see an enlarged image and read the short text describing the model – enjoy!
Gallery C
Other Galleries:
Focke-Wulf and Fokker Scale Model Gallery
Messerschmitt Aircraft Scale Model Gallery
Supermarine Spitfire Scale Model Gallery
A | B | B-2 | C | D-E | F | G | H | I-L | M | N-R | S | T-V | W-Z
Each submission has a ‘gallery’ of thumbnails which you can click on to see an enlarged image and read the short text describing the model – enjoy!

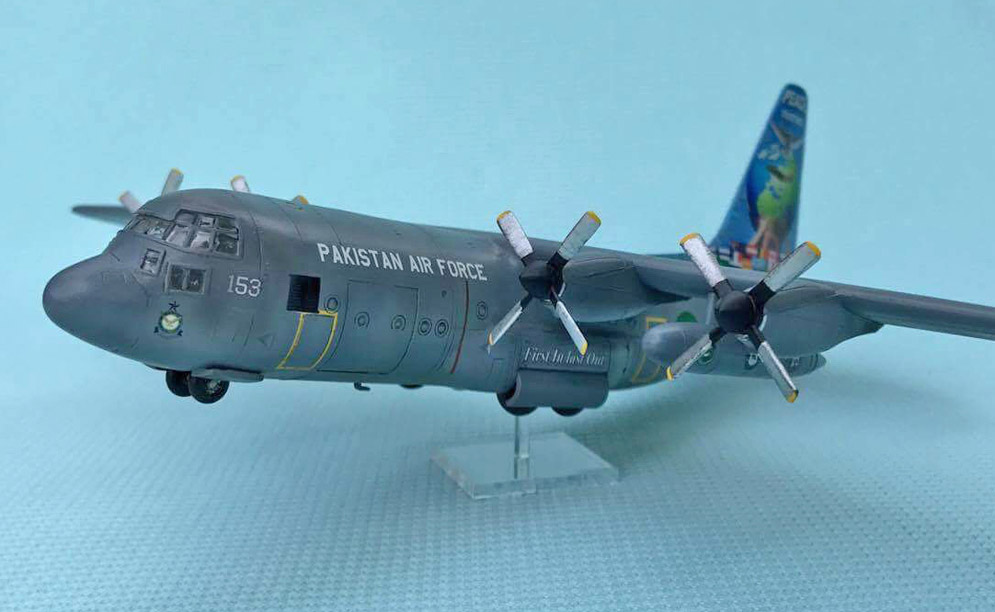
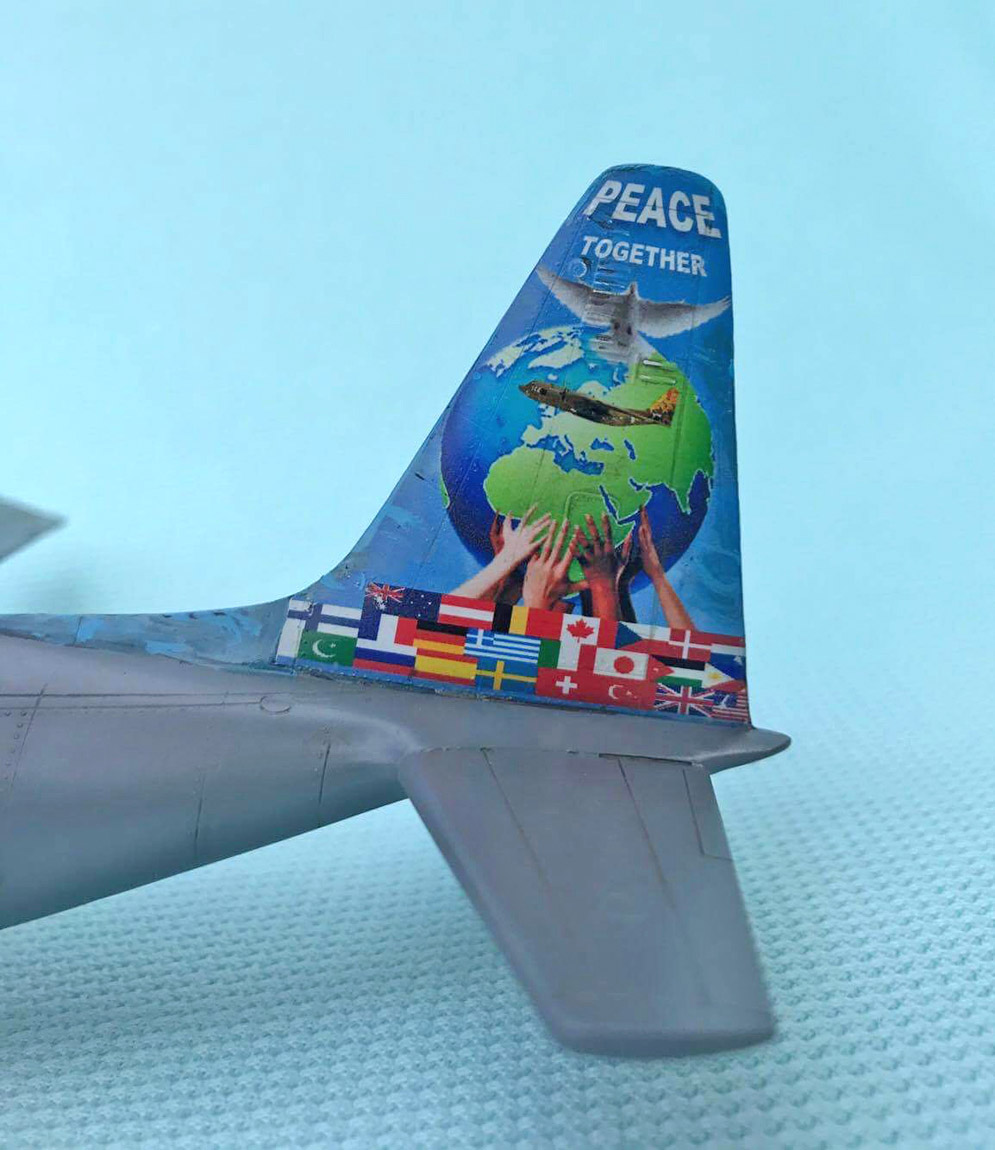
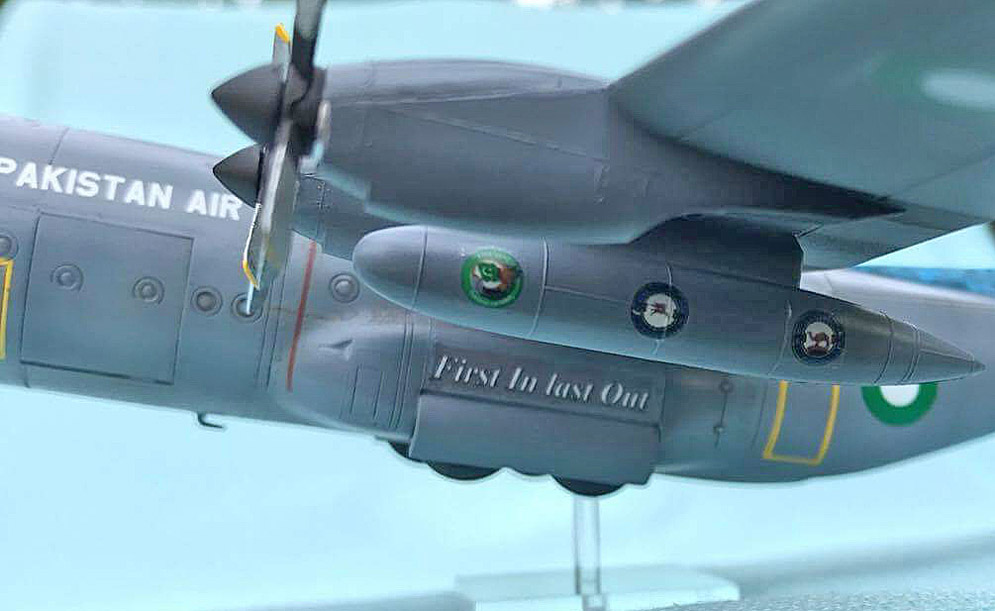

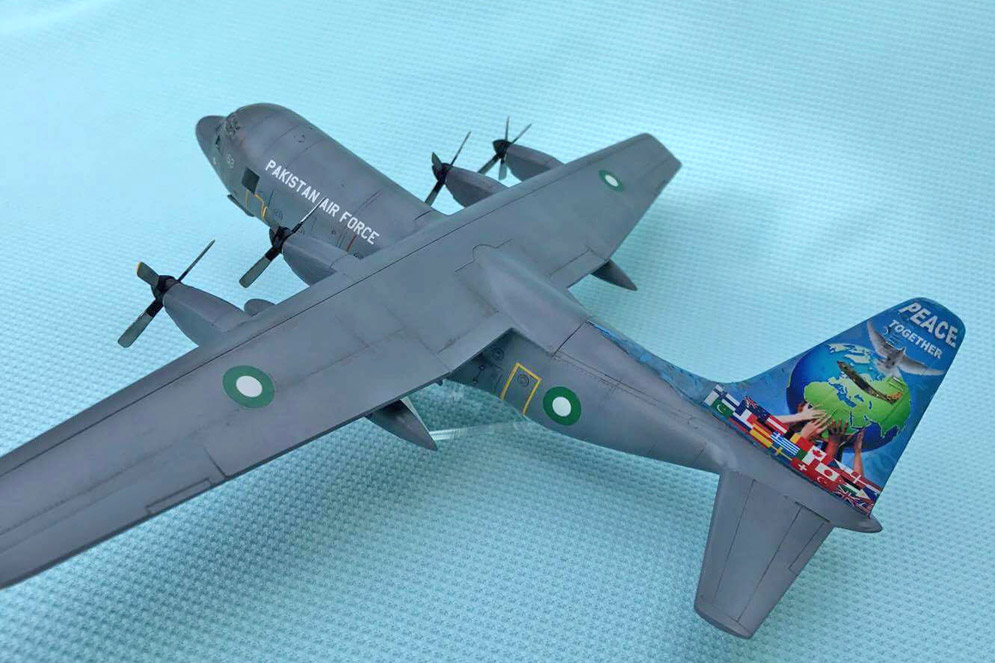
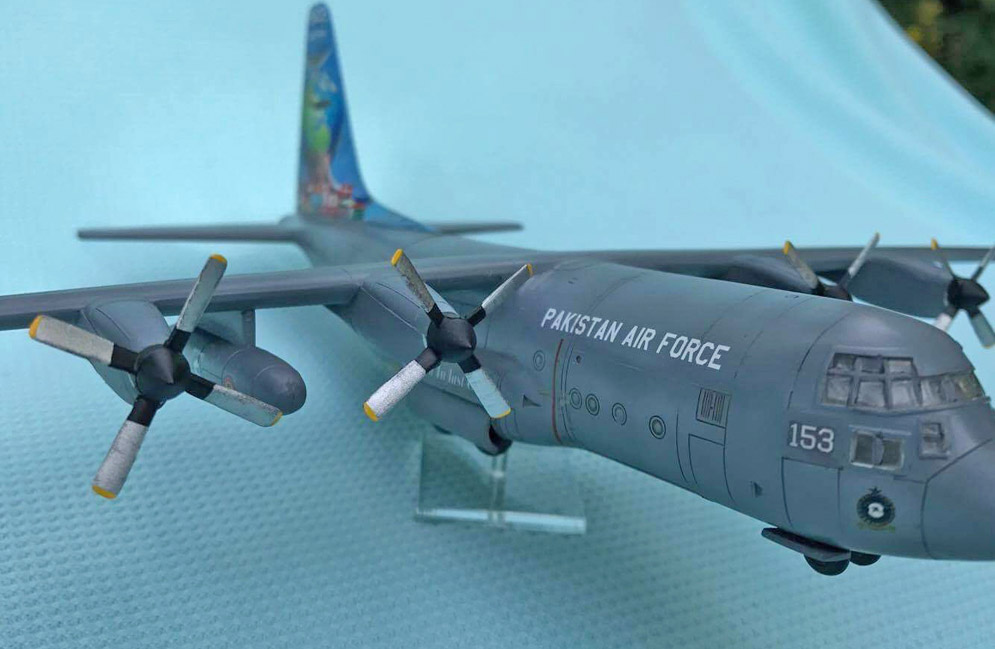
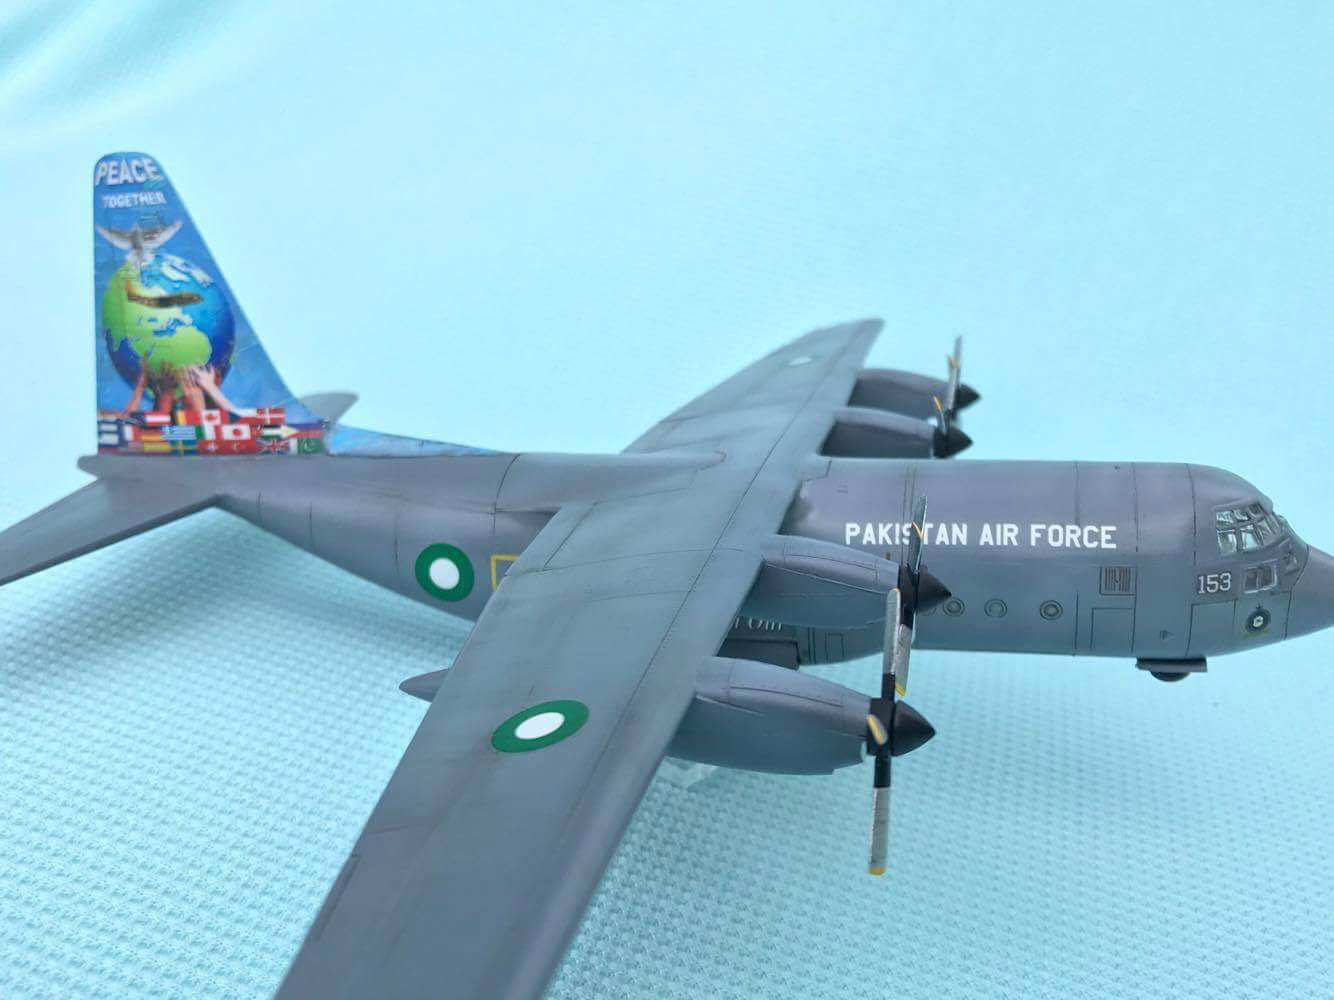
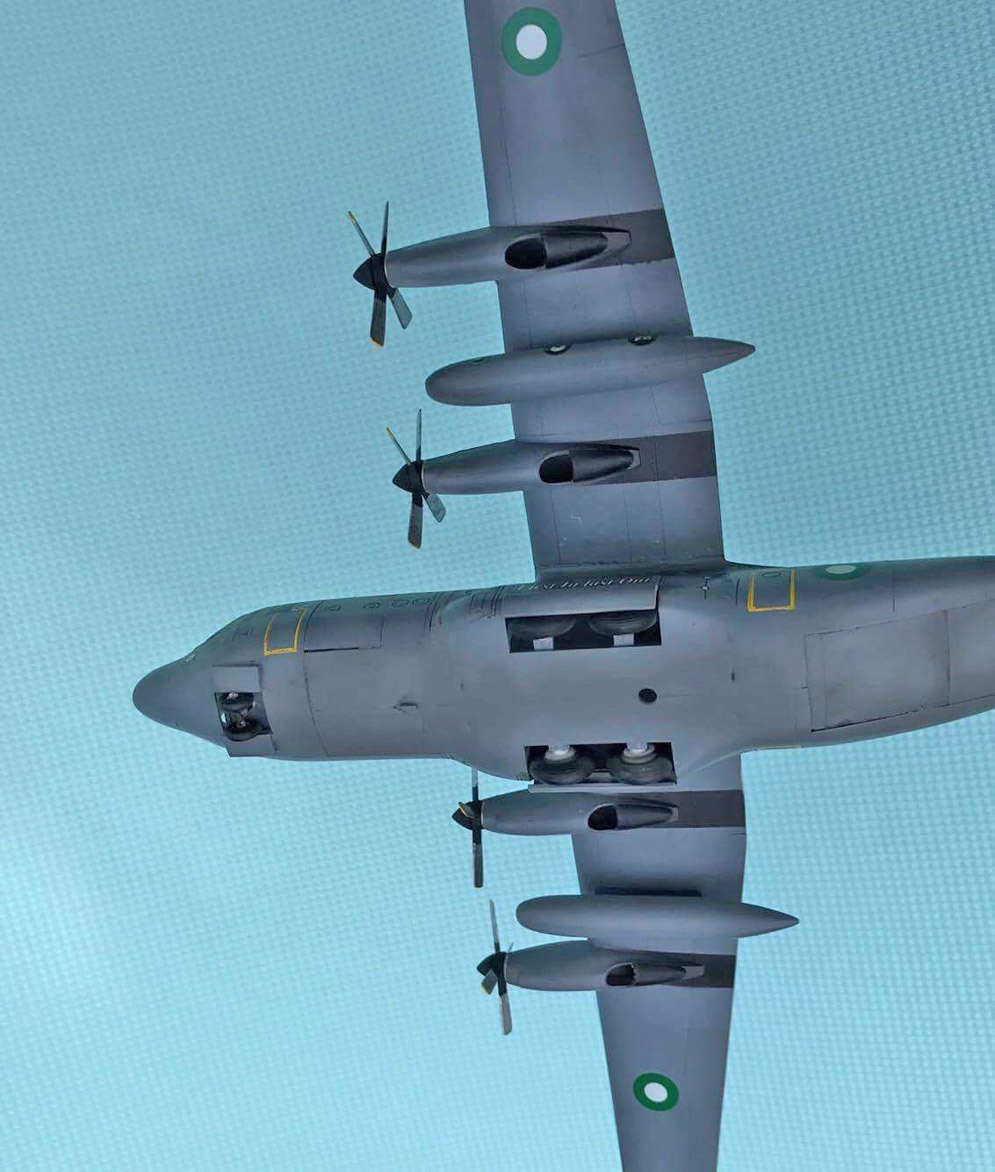
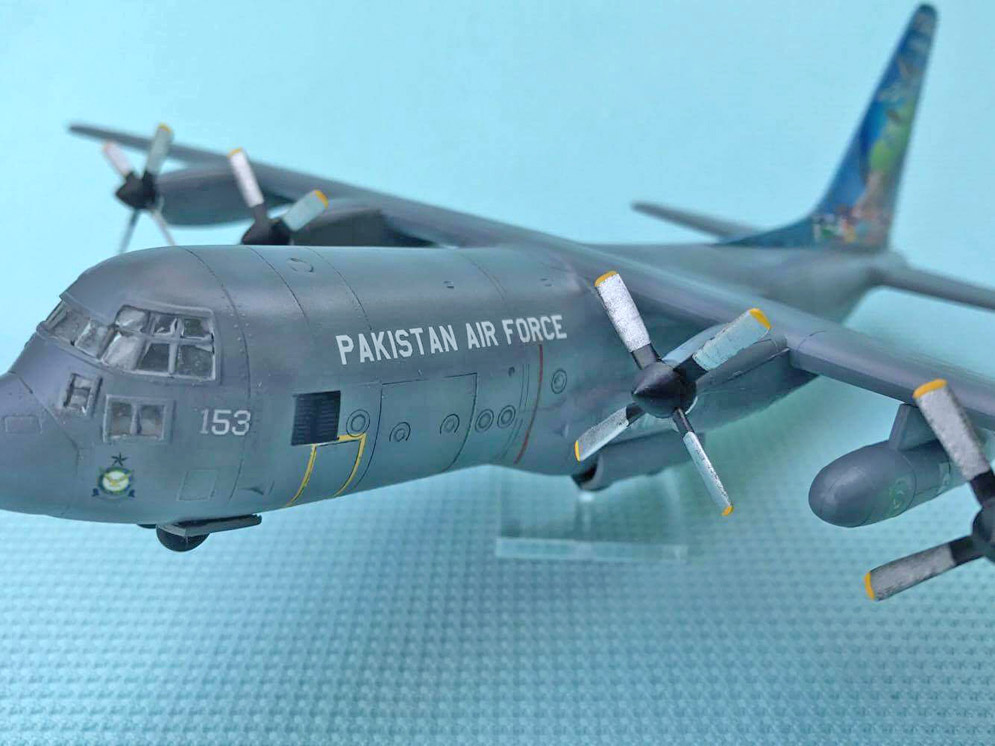
Thanks for publishing my model.
Best wishes,
Imran A.


Alexander P.

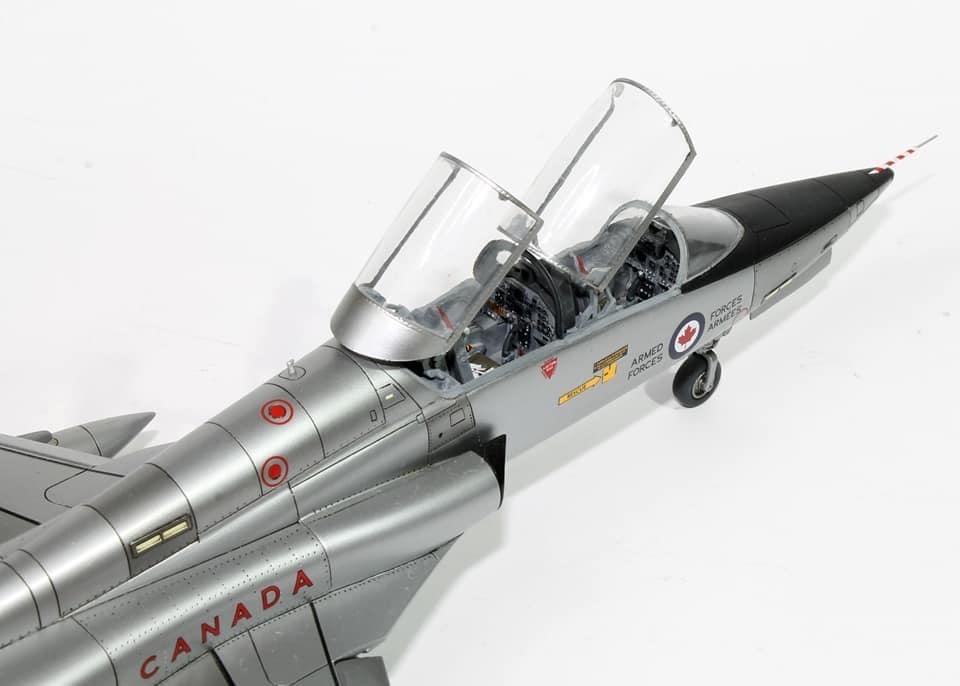

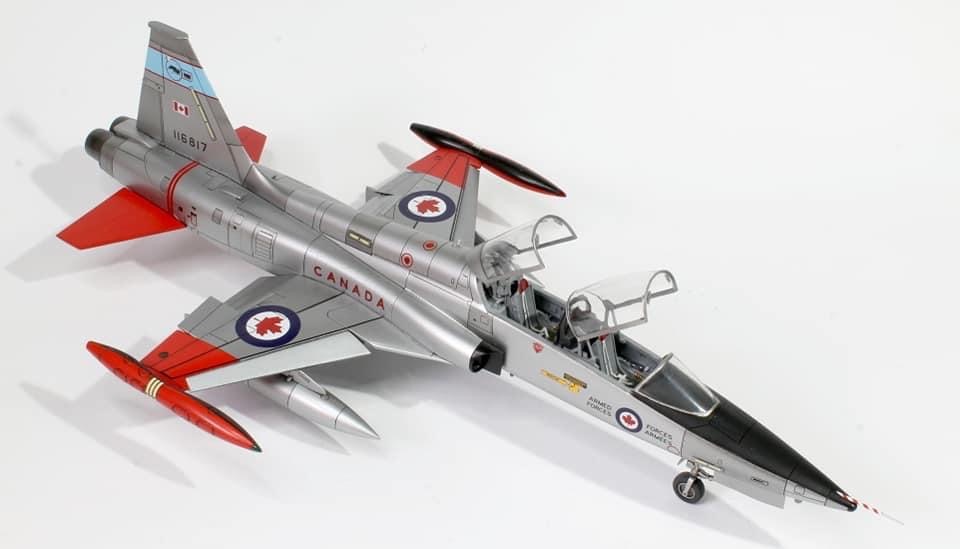
Kinetic kit 1:48 out of box build a couple of years ago
Got a Bronze in class 12 at Scale Model World back in 2016 :)
Hope you like it?
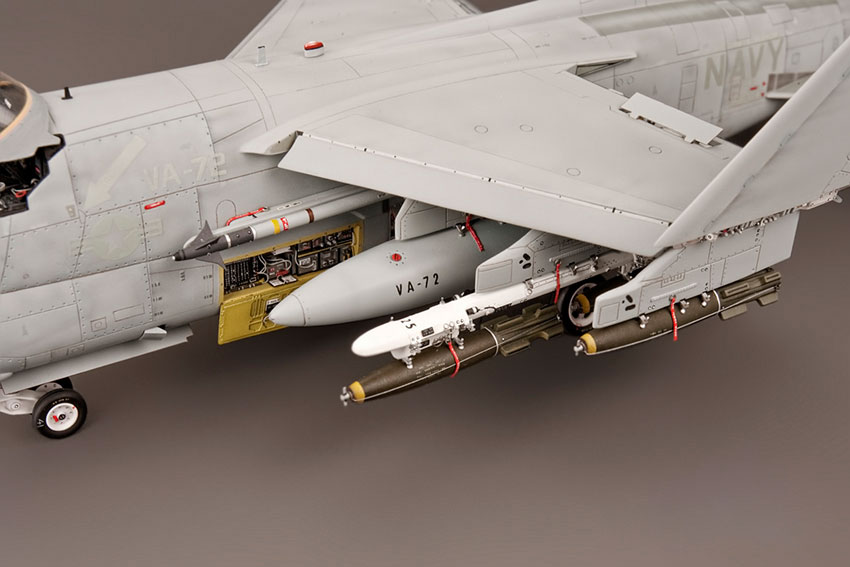
Joseph F.
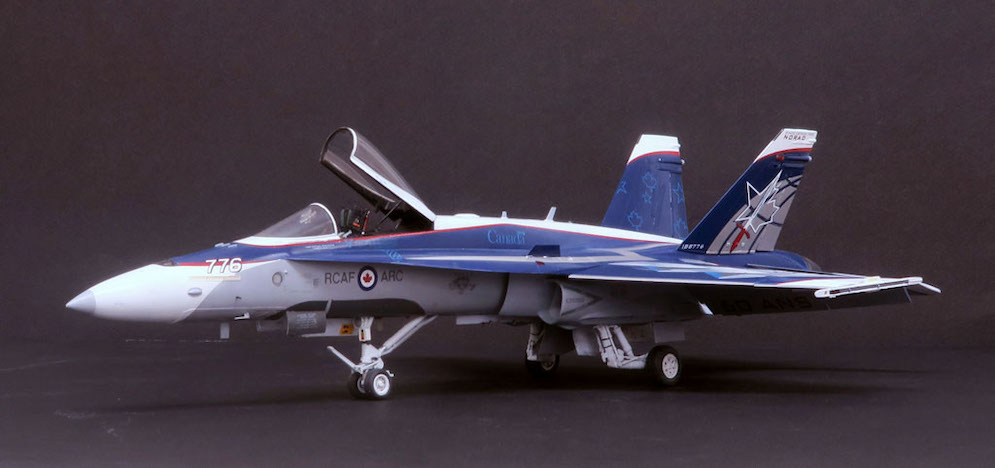
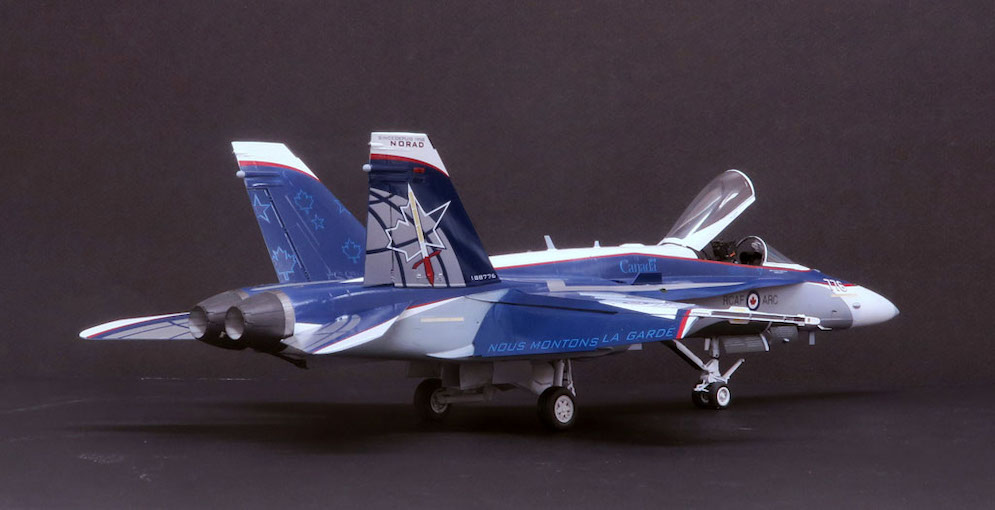
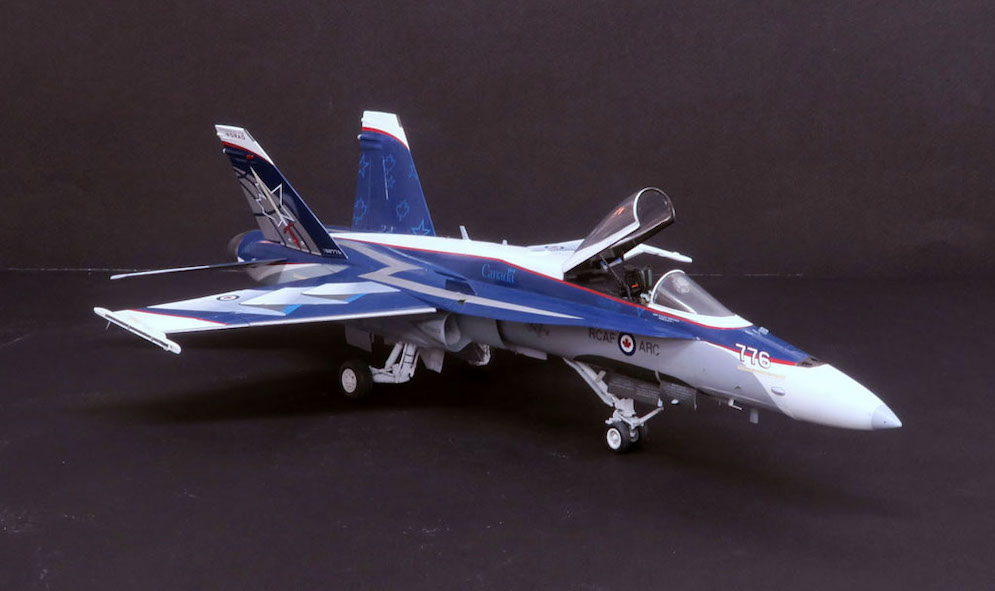
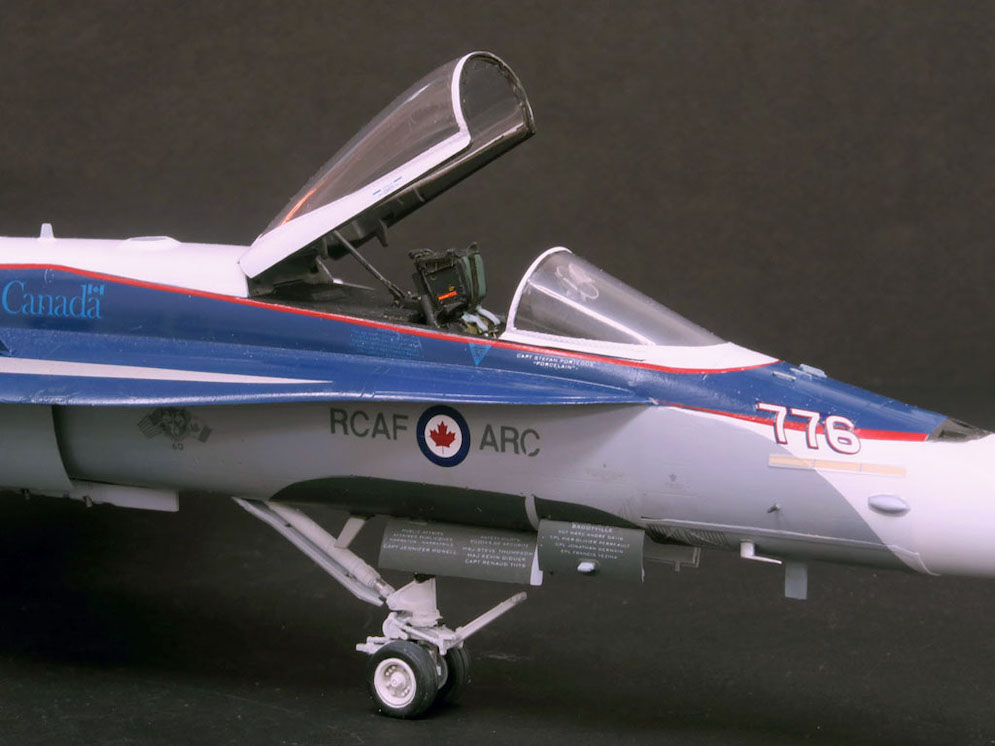
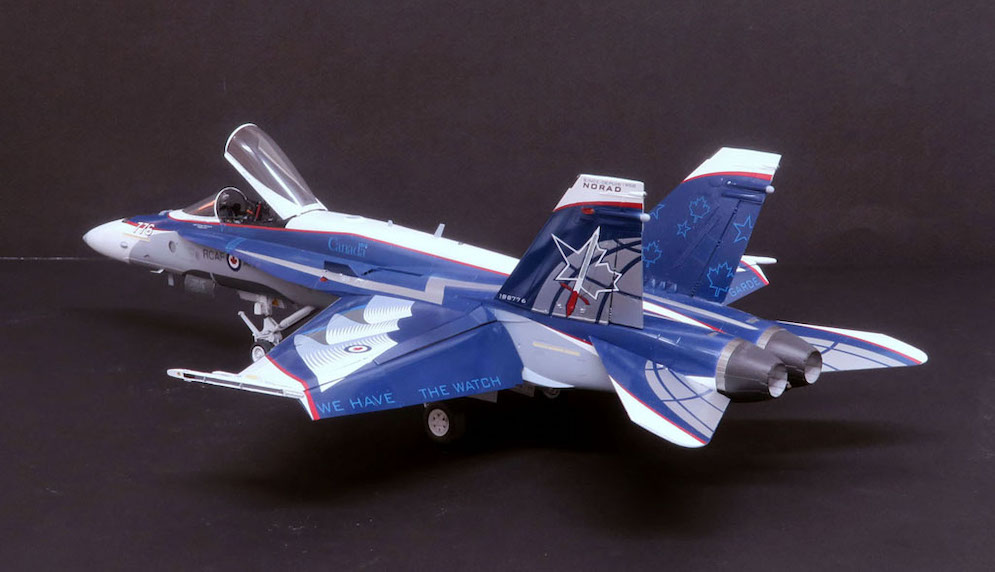
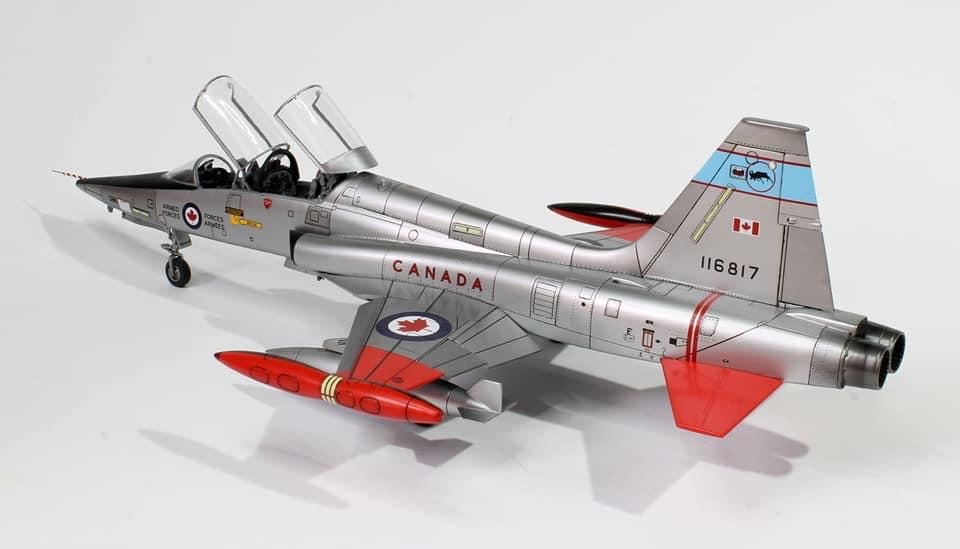
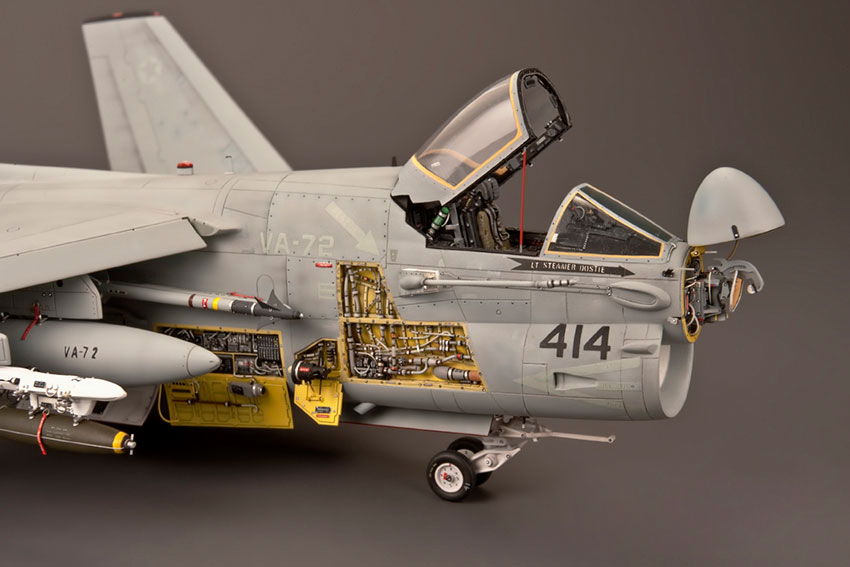
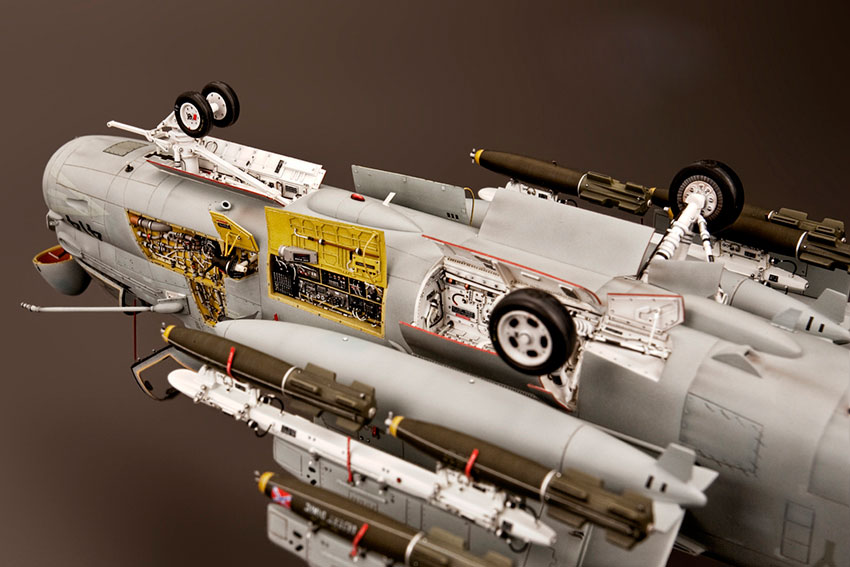
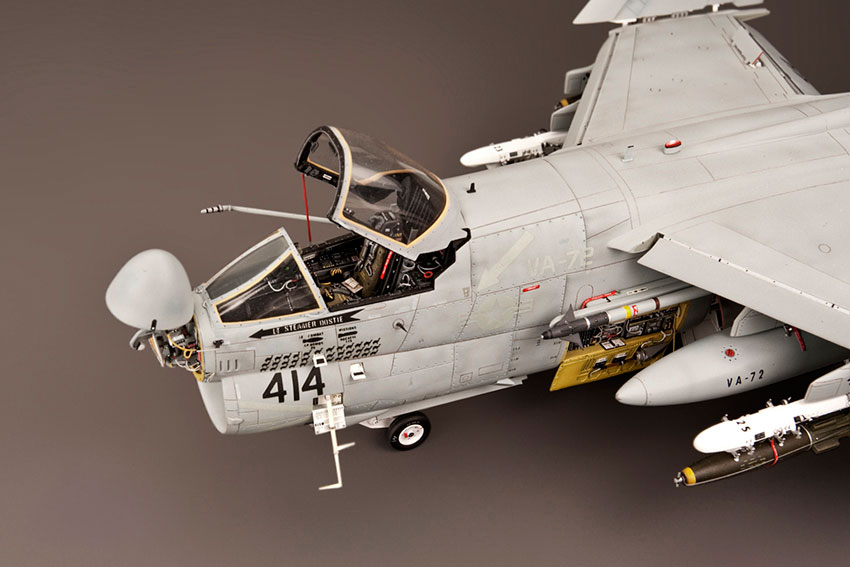
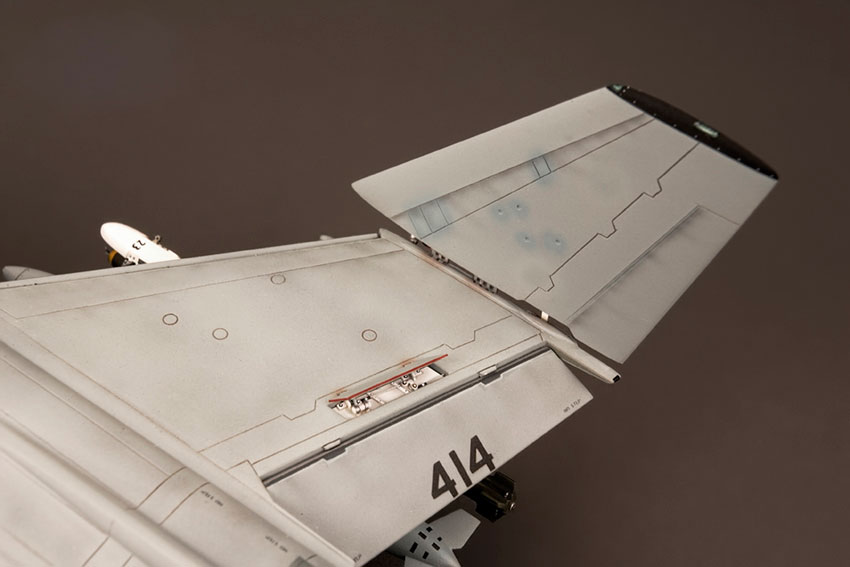
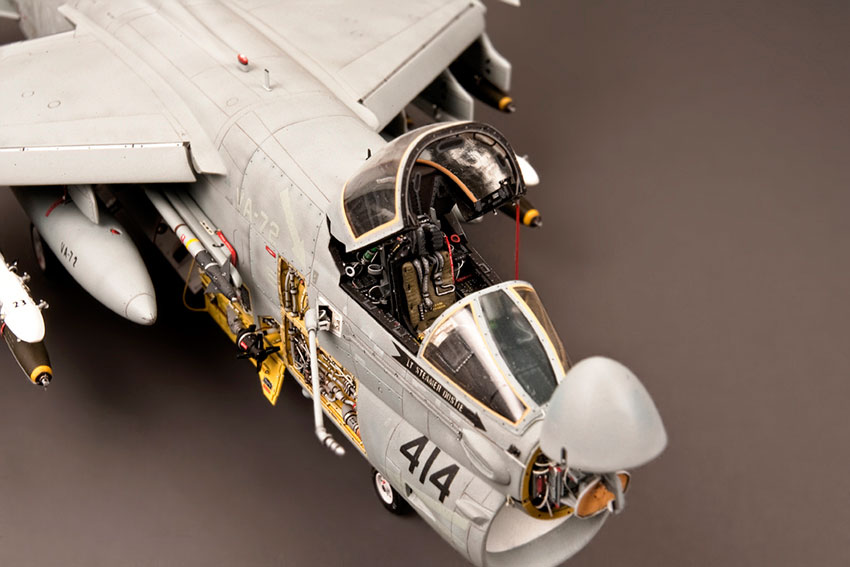
Aftermarket items include:
Quinta Studio 3D decal cockpit set
Resin seat from Black Box
3D printed HUD from Flying Leathernecks
Wheels from Royale Resin.
The circular anti-jamming GPS antenna on the fuselage spine aft of the cockpit was scratch-built from three circles cut from .010″ styrene cemented together and shaped with file and sanding stick. Paints are MRP Light Ghost Gray, Mr. Color Gloss White, and a dark blue mixed from Mr. Color Blue Angle Blue and a small amount of Mr. Color Purple. All blue, white and gray on the model is paint; all the red striping and graphic artwork came from a Two Bobs decal set.
Seawinder
AKA Pip Moss
Lincoln, Massachusetts, USA
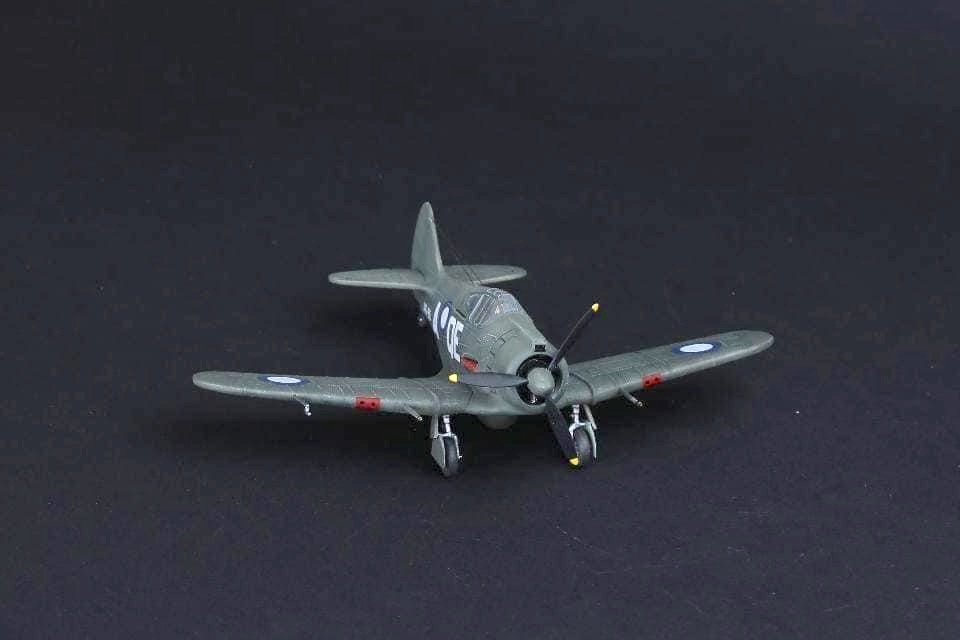
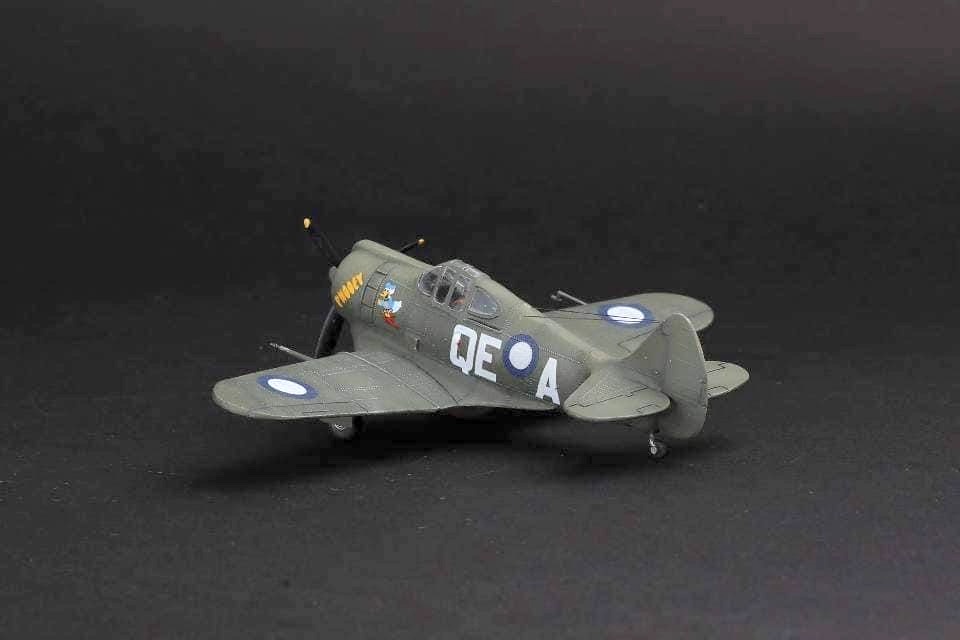
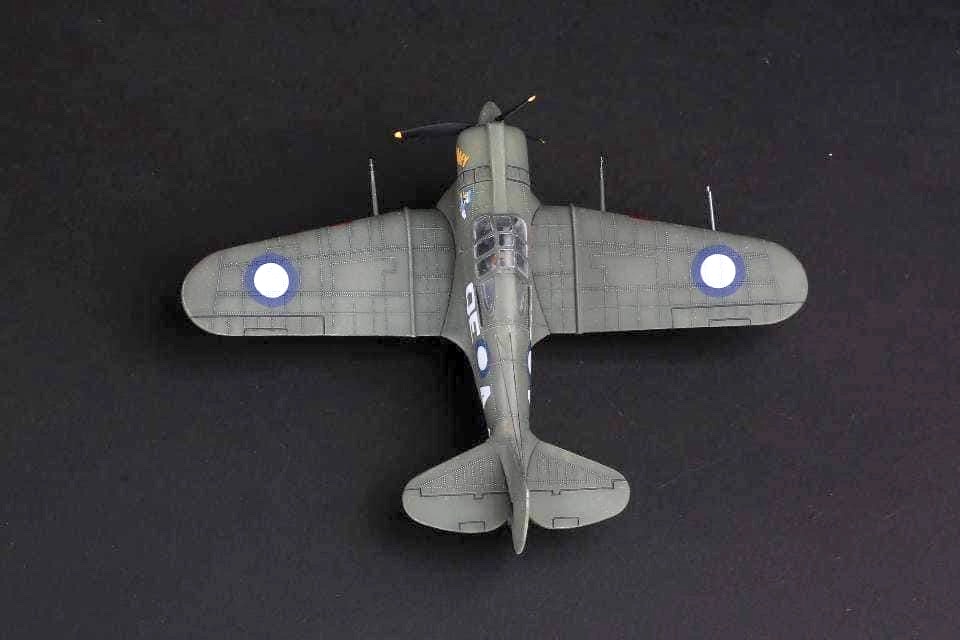
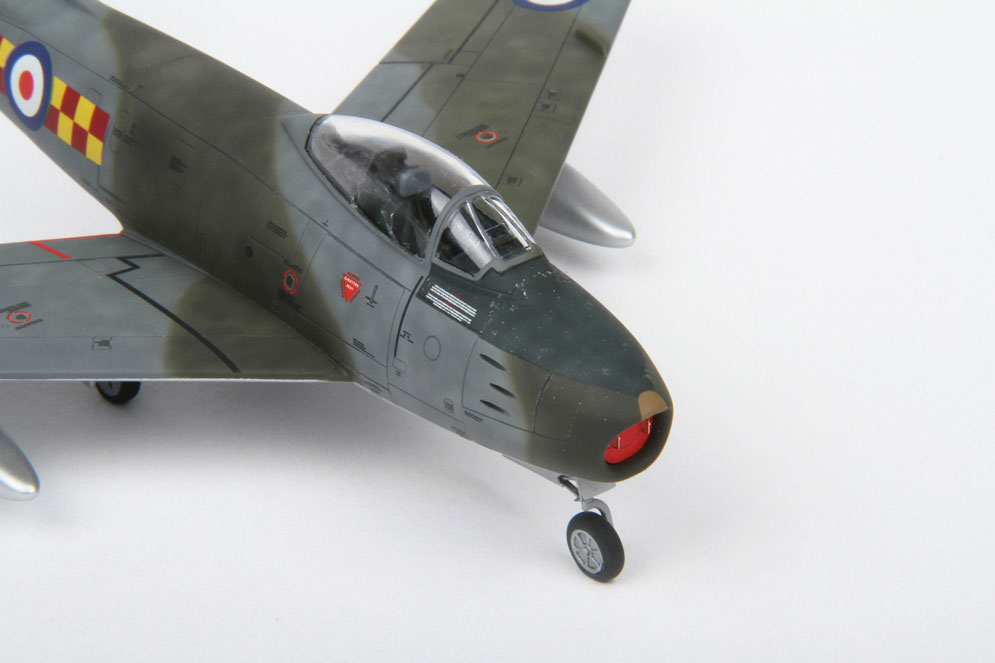
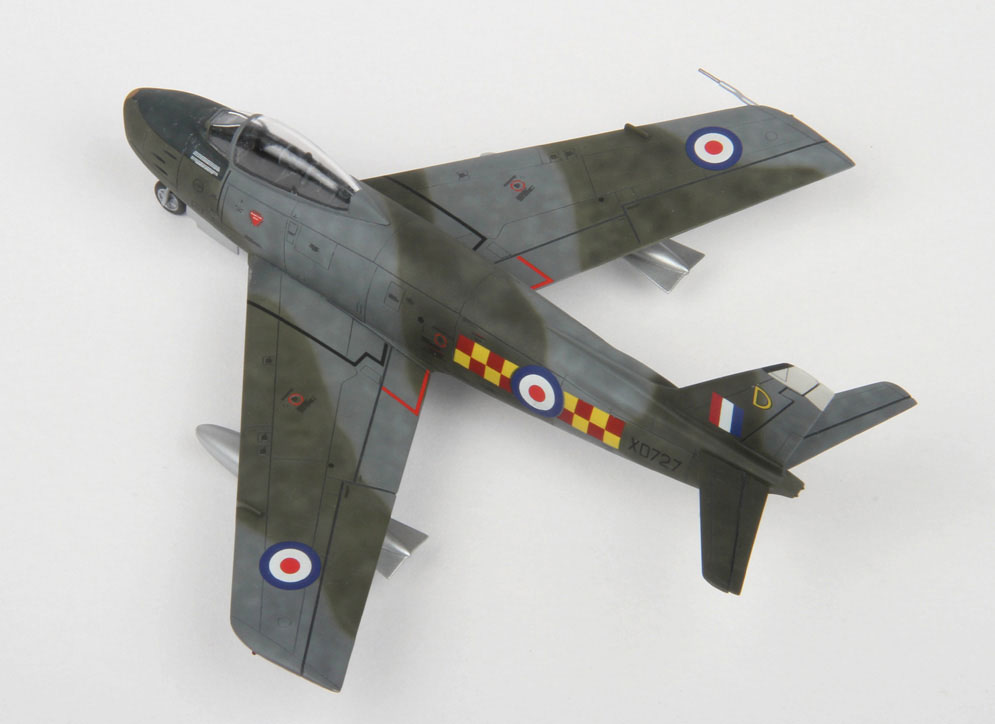
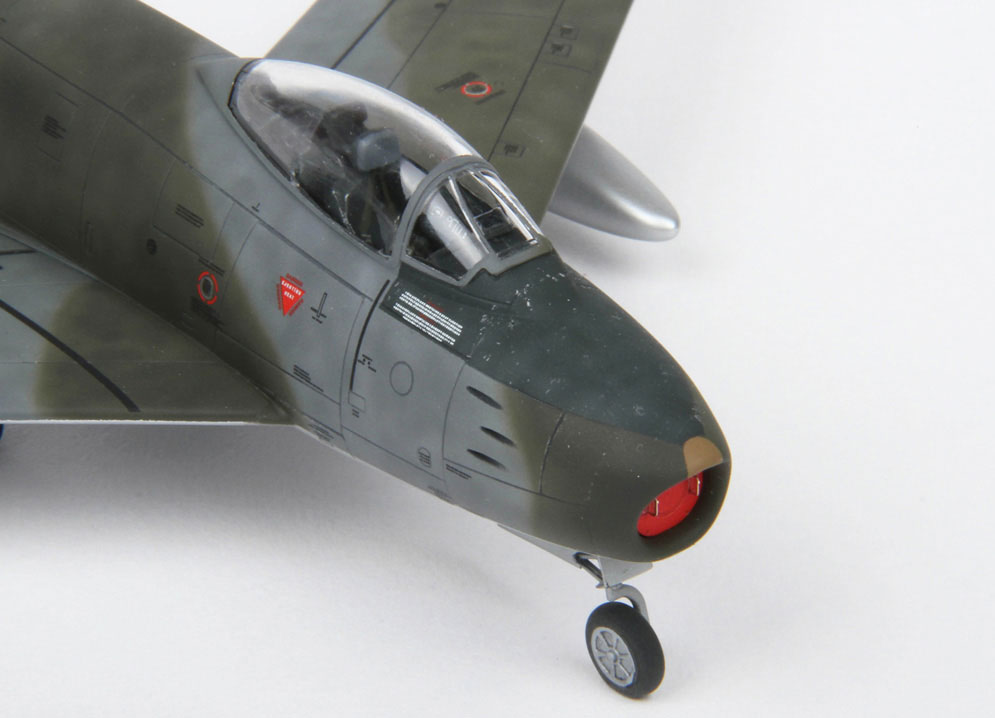
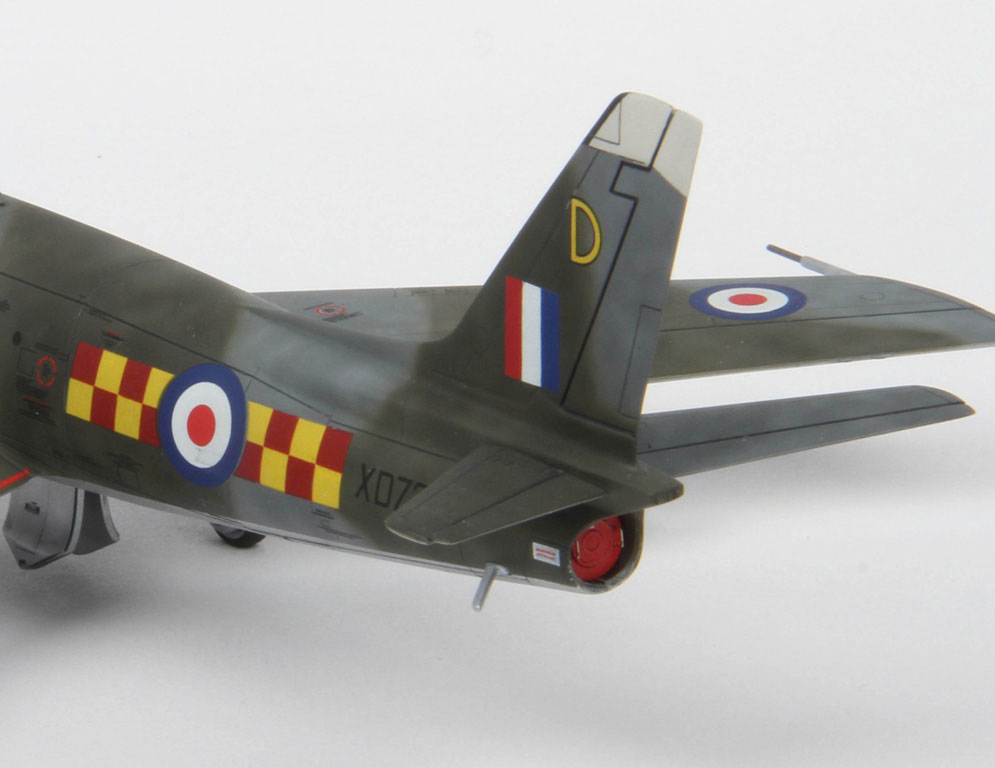
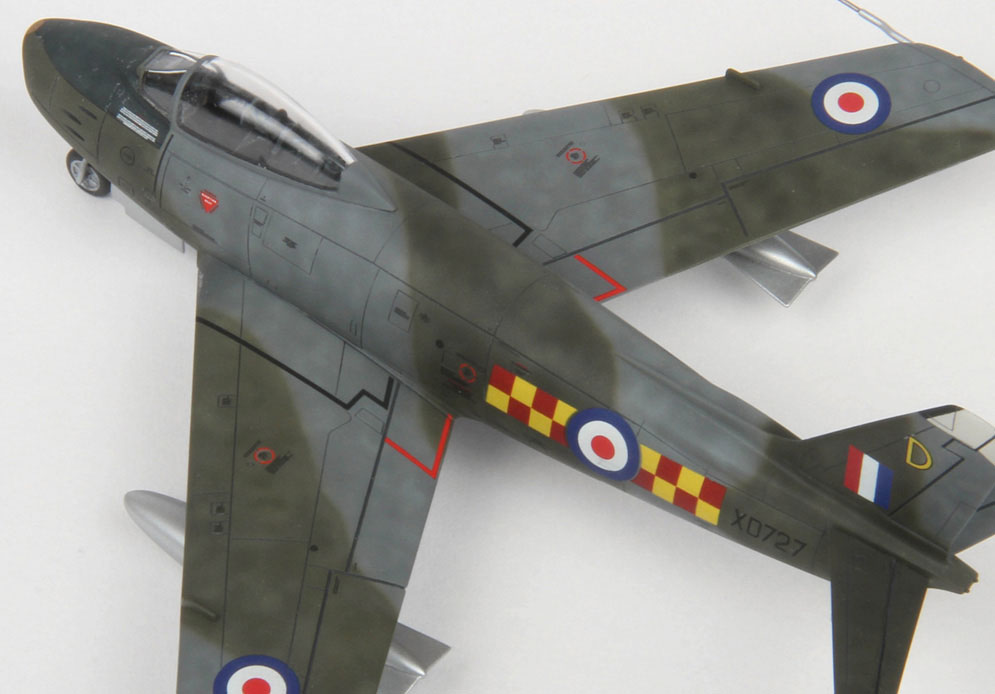
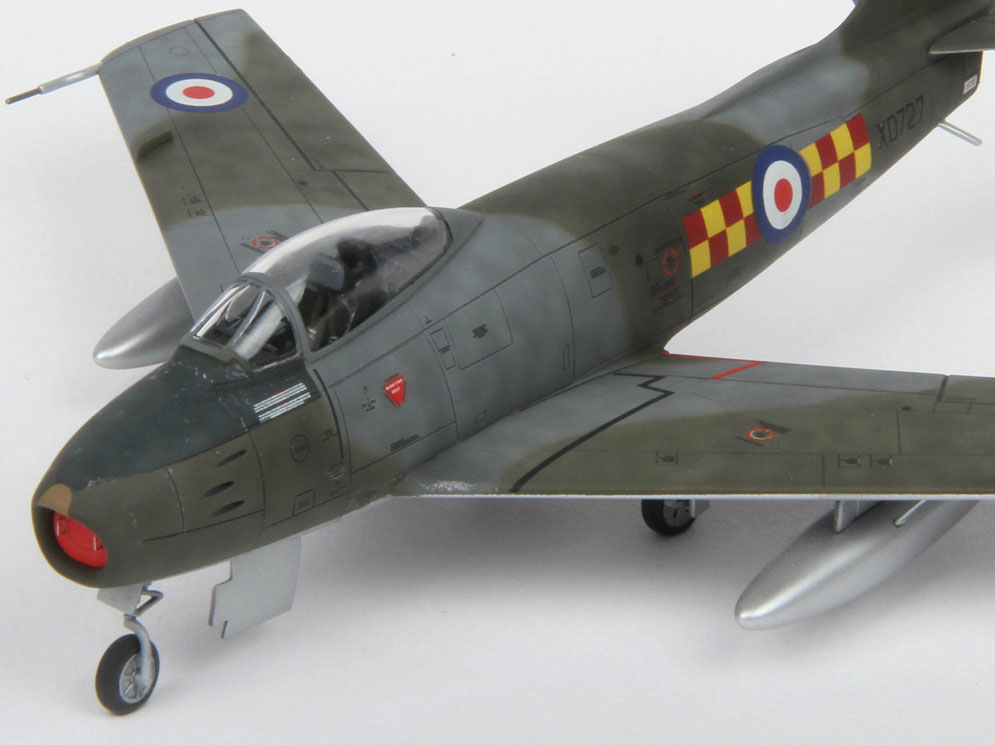
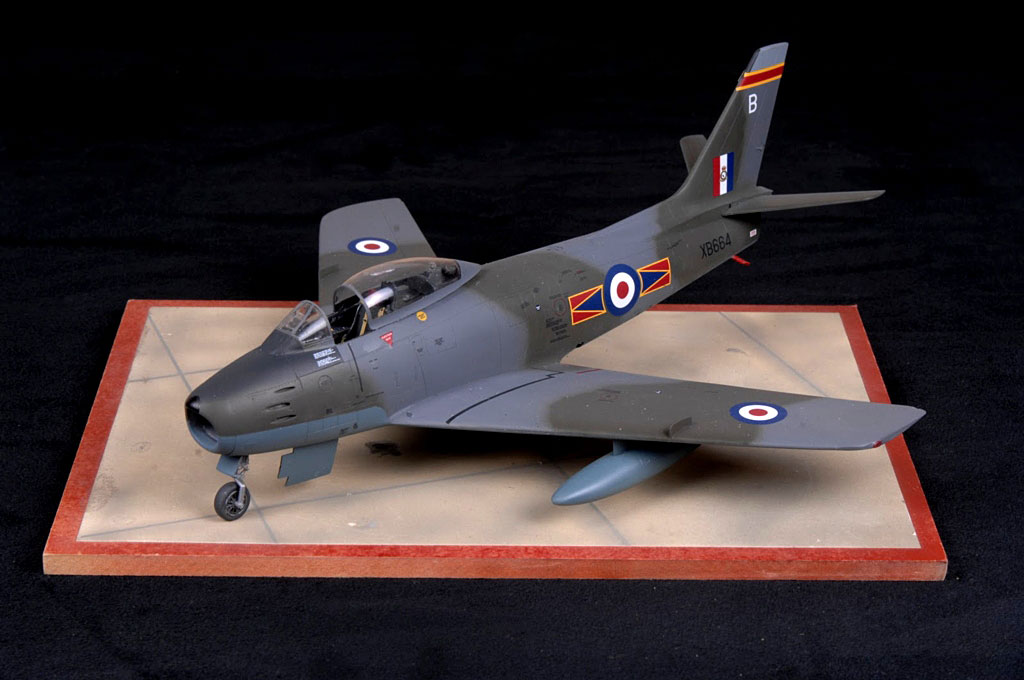
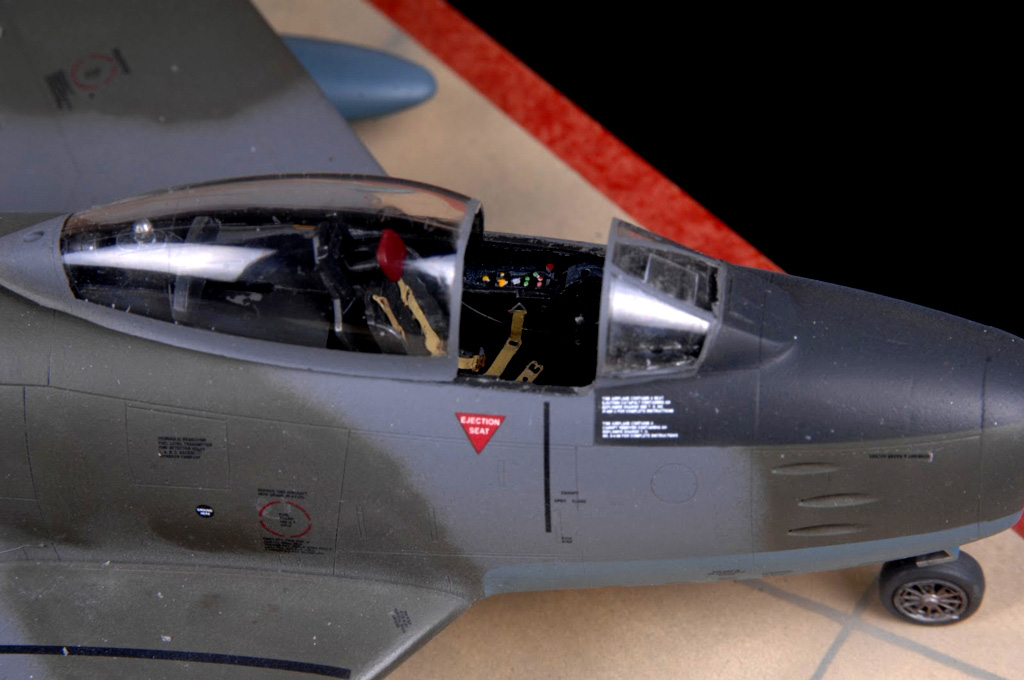
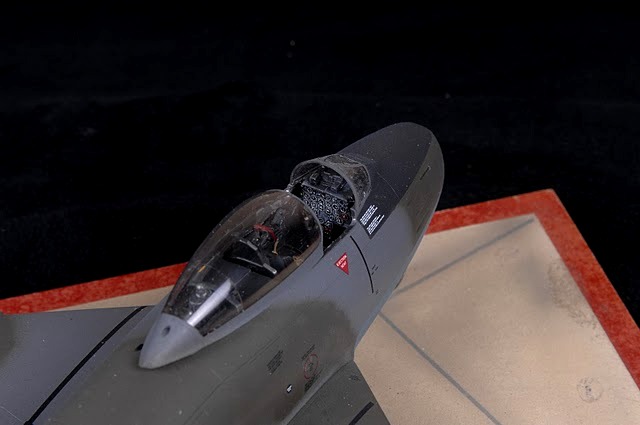
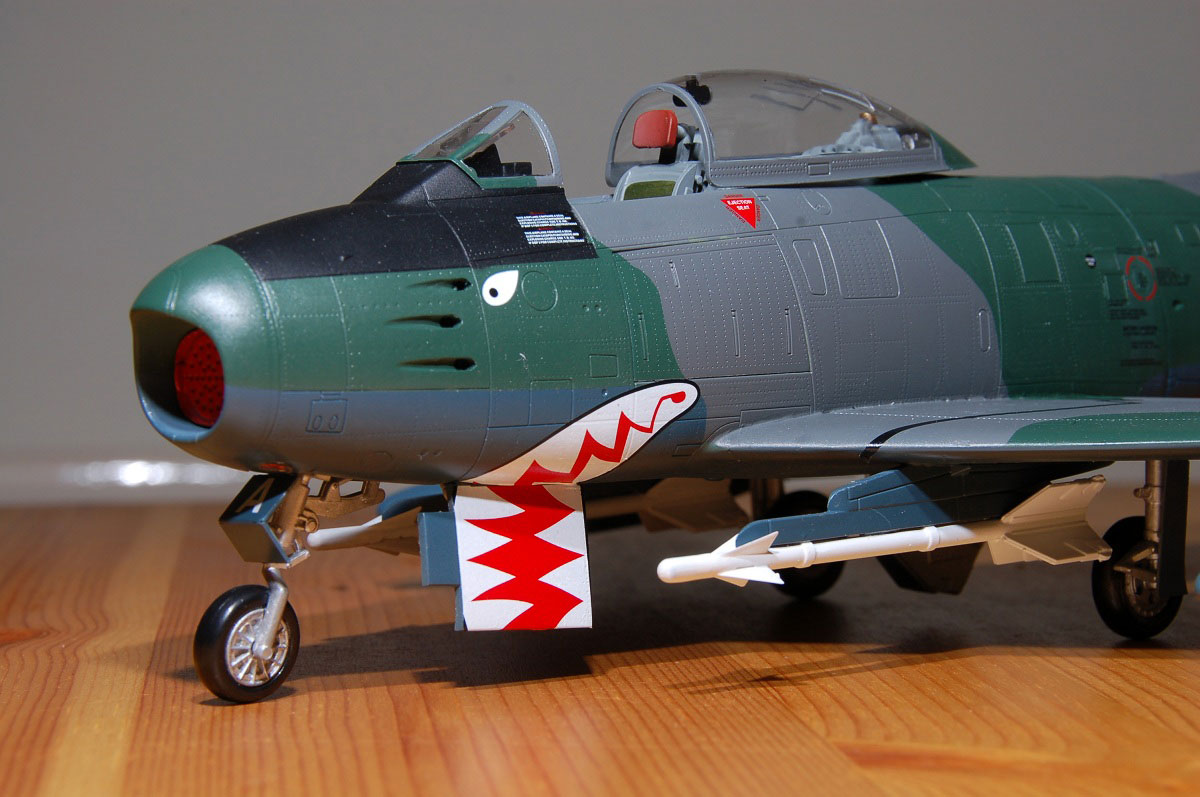
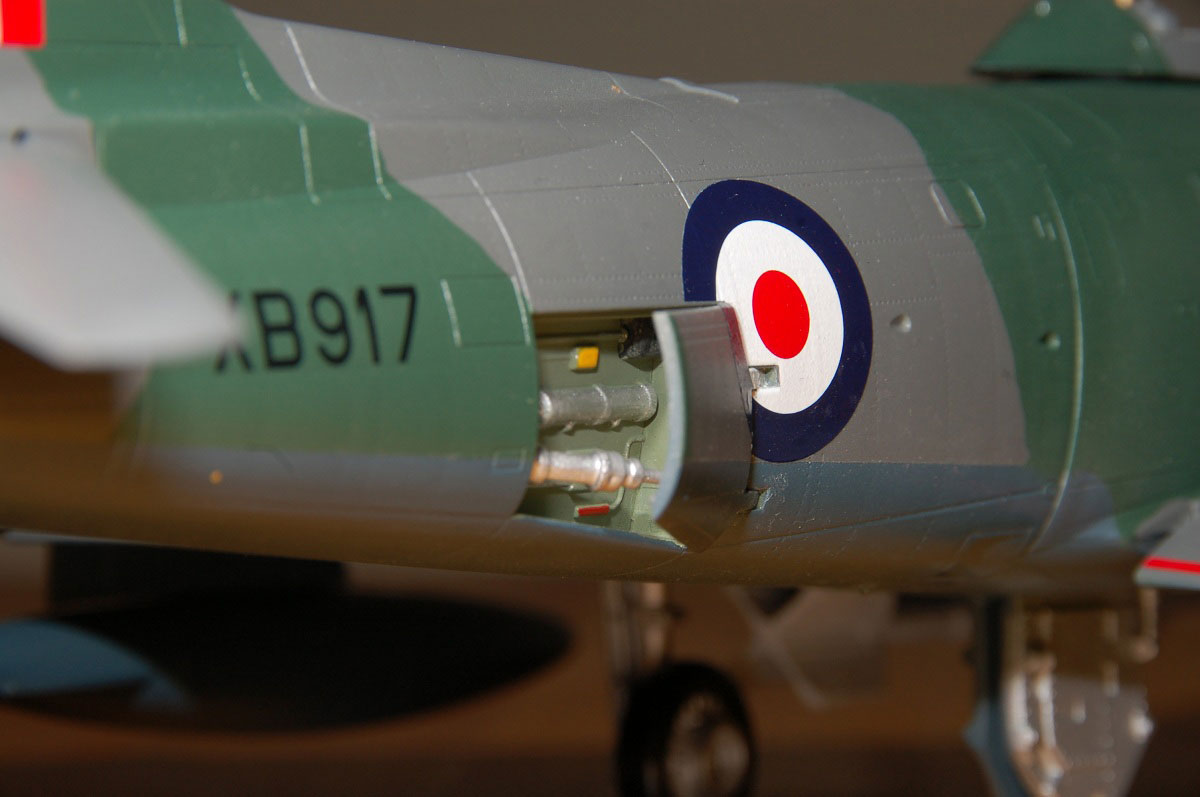
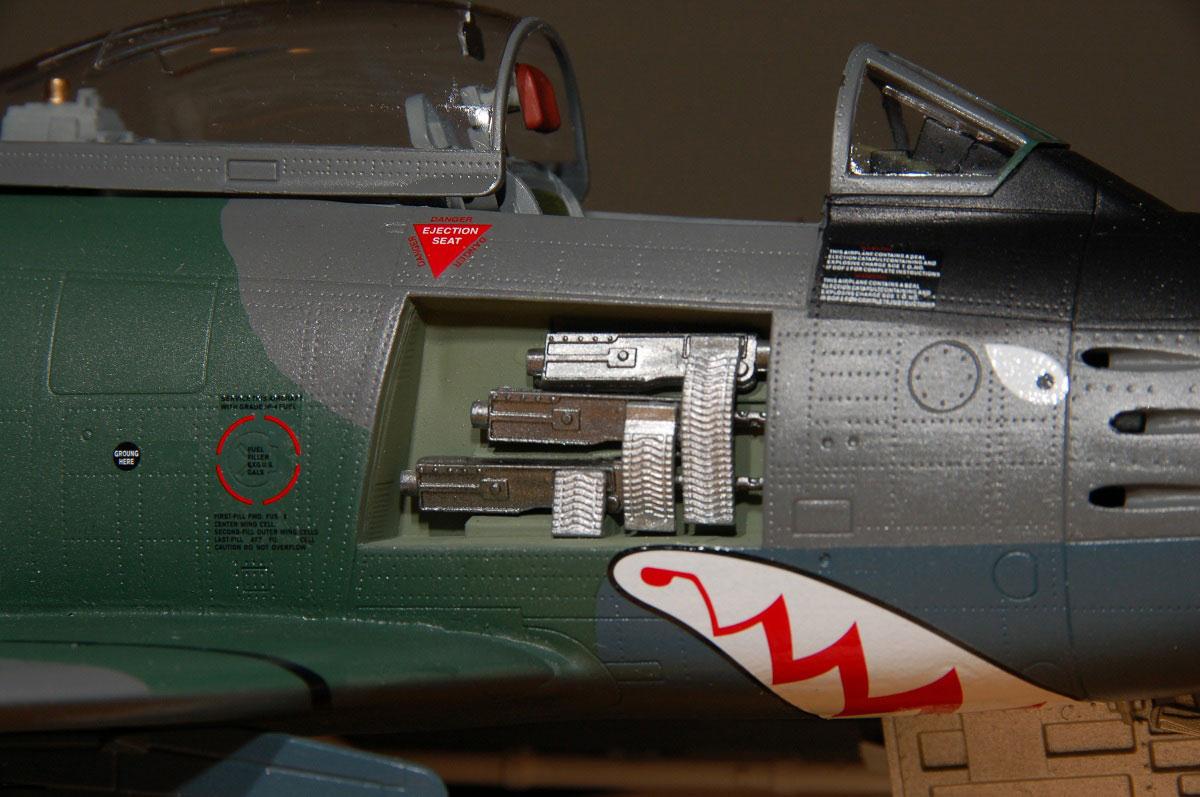
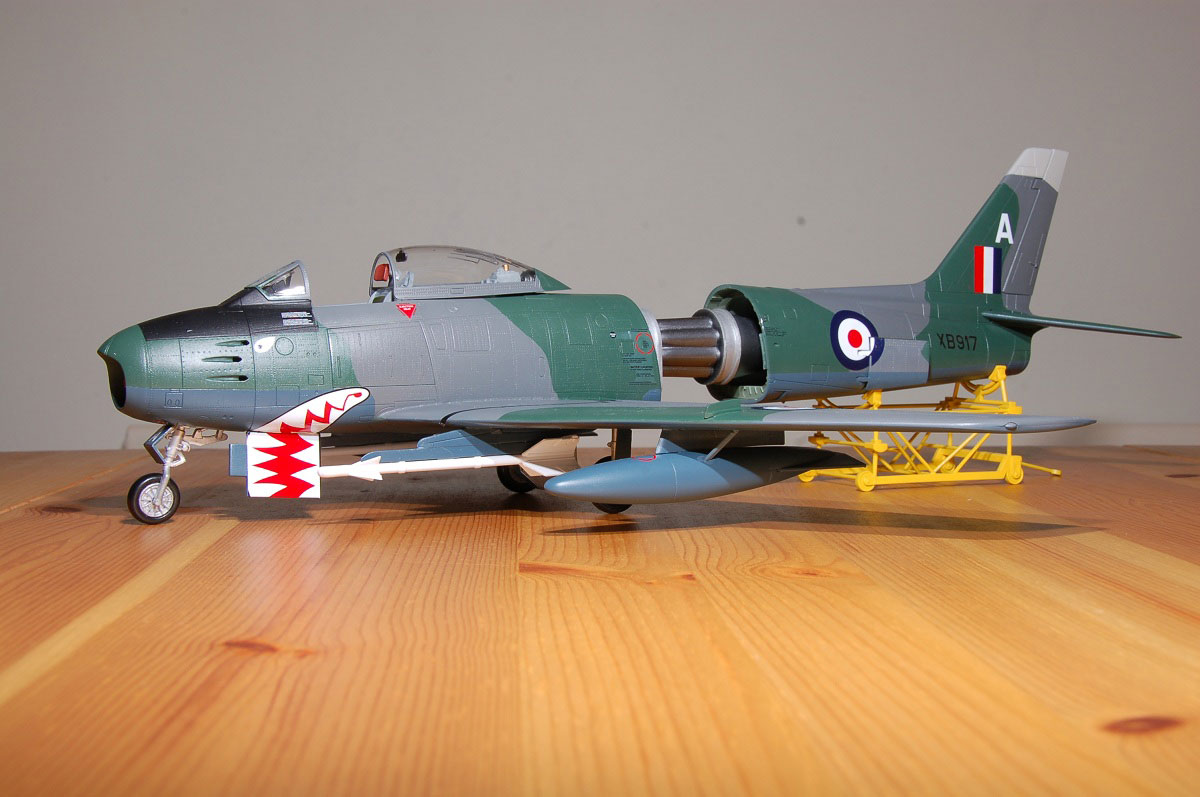
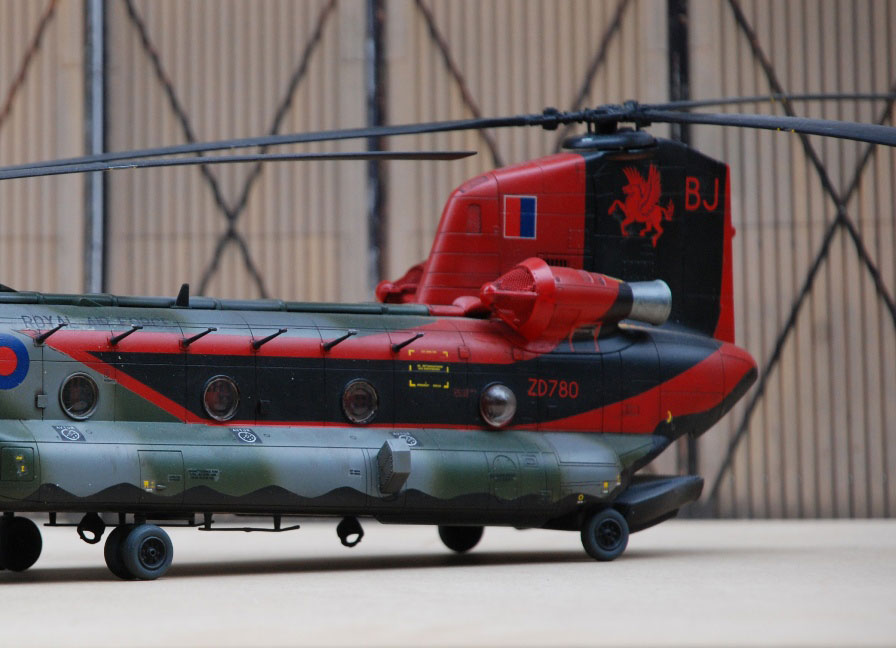
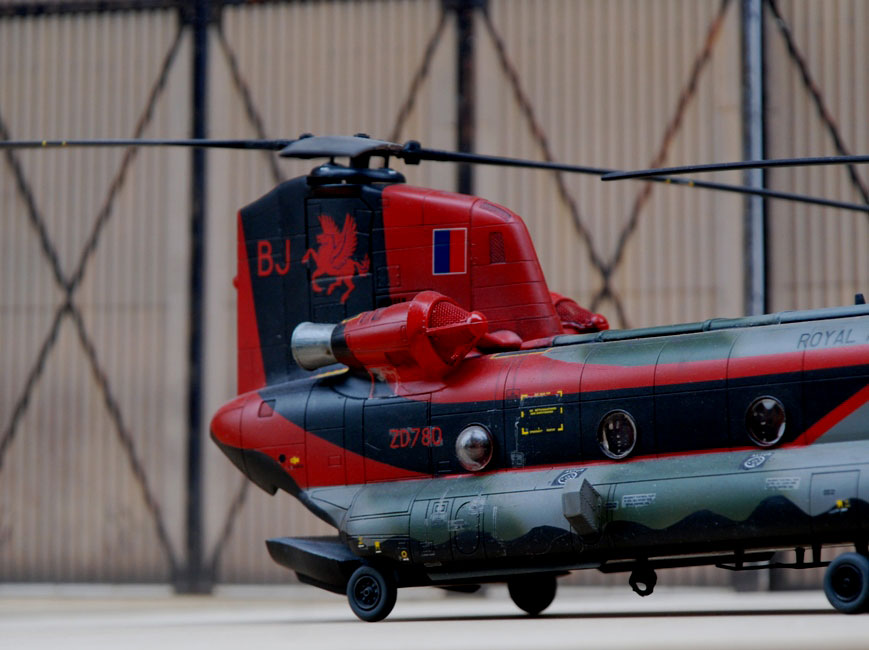
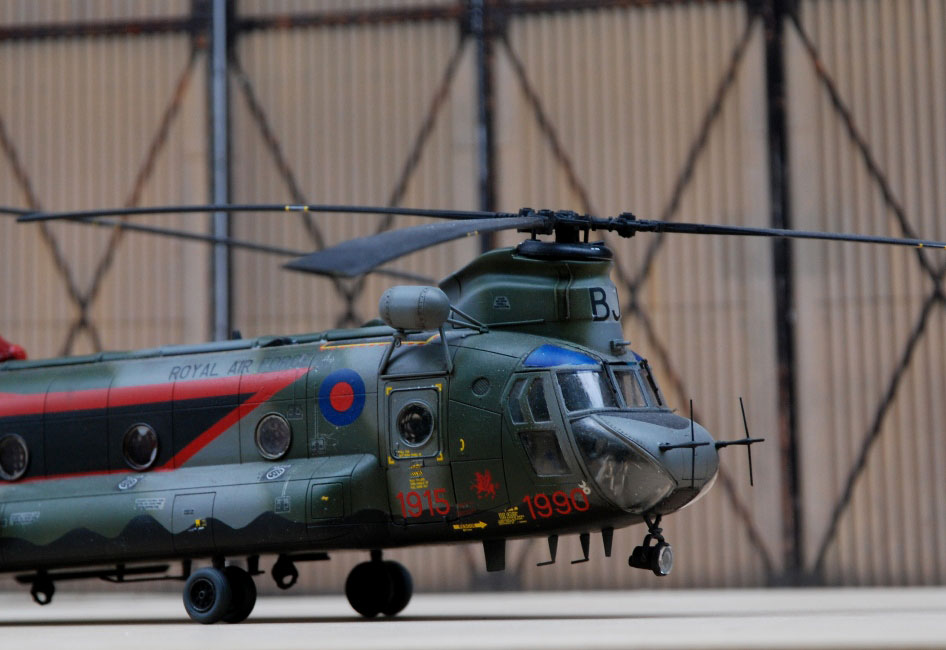
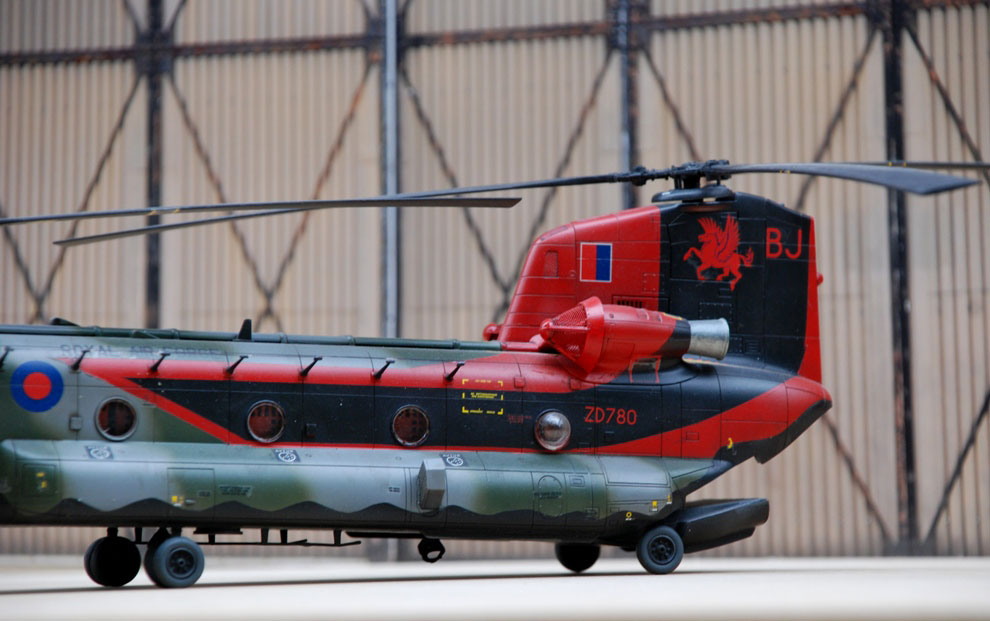
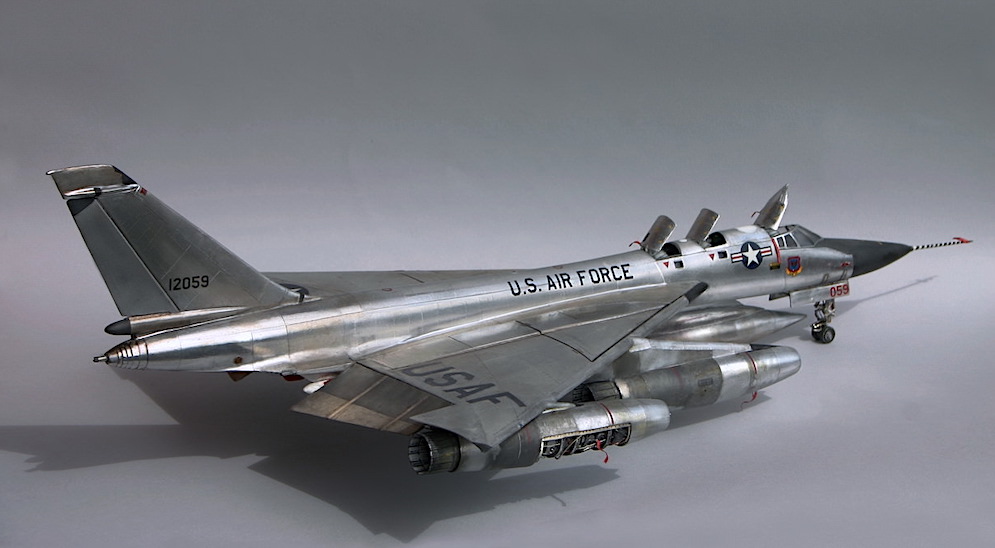
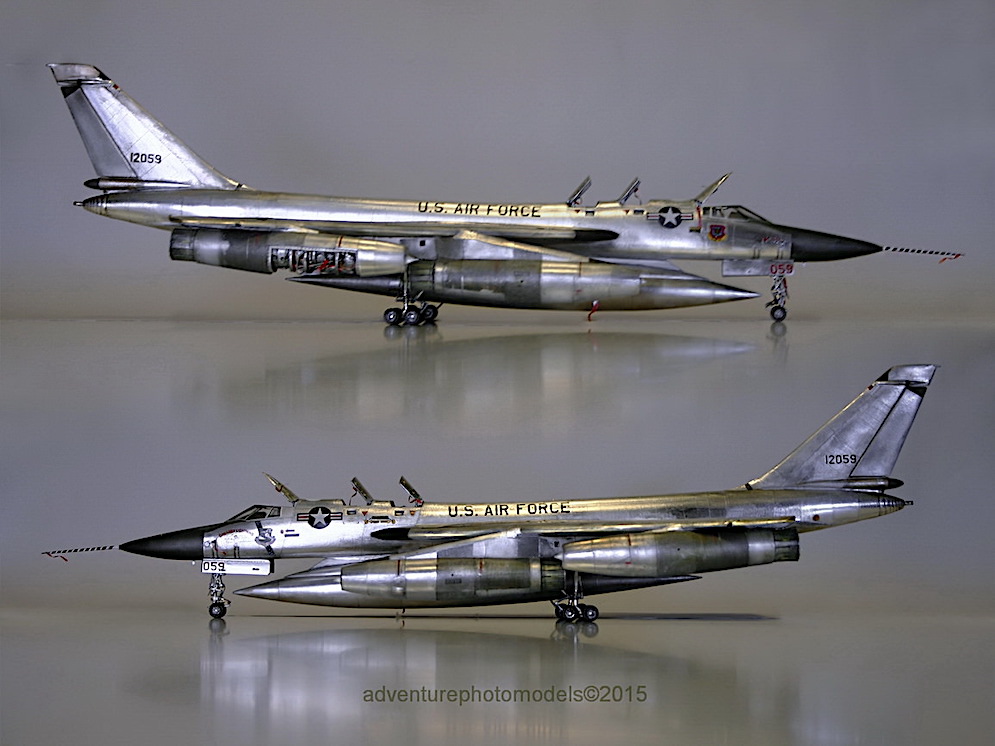
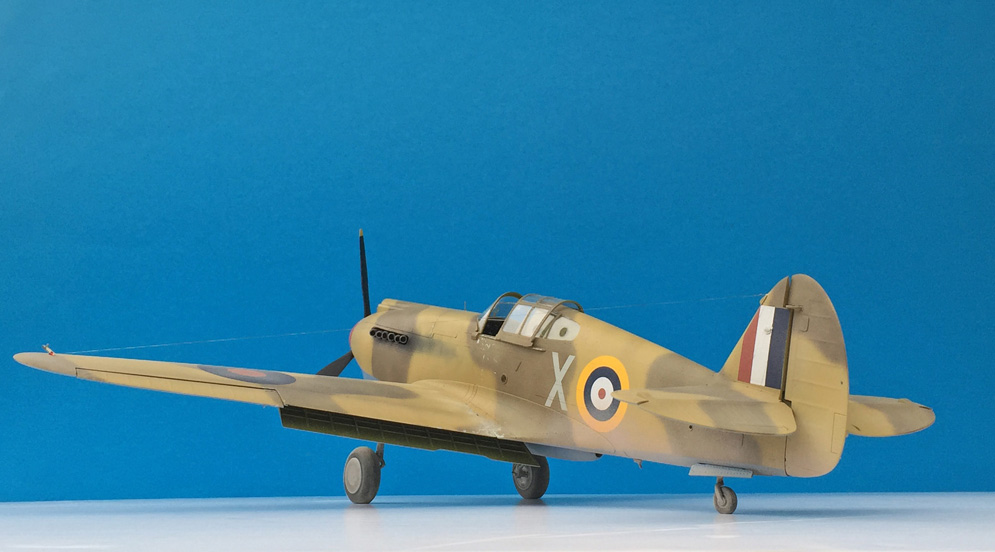
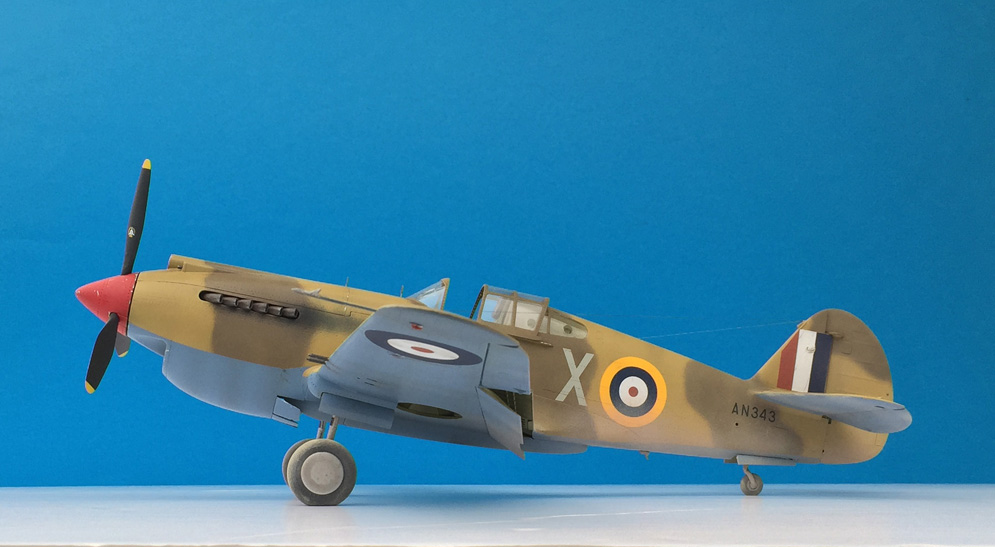
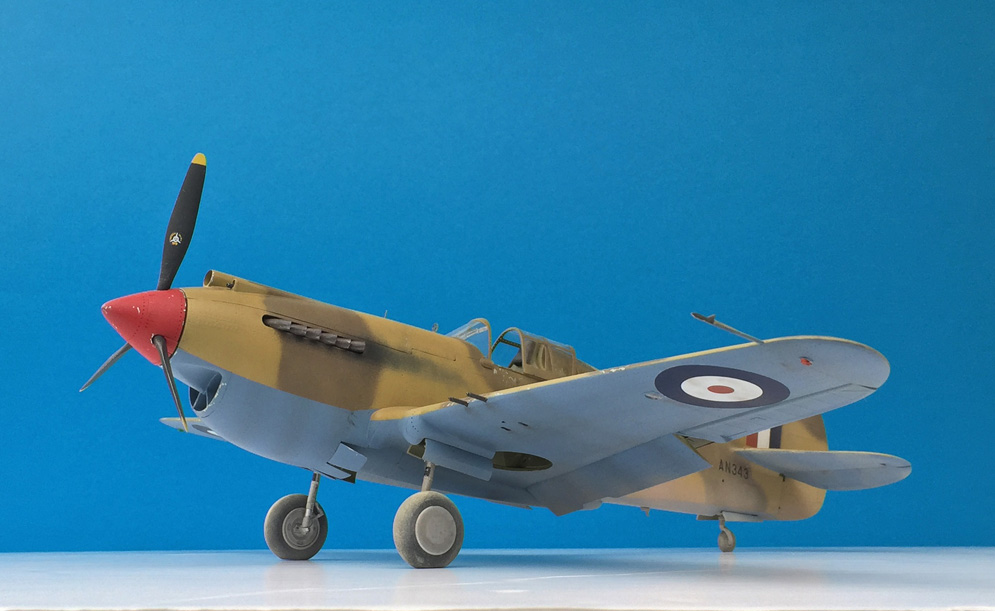
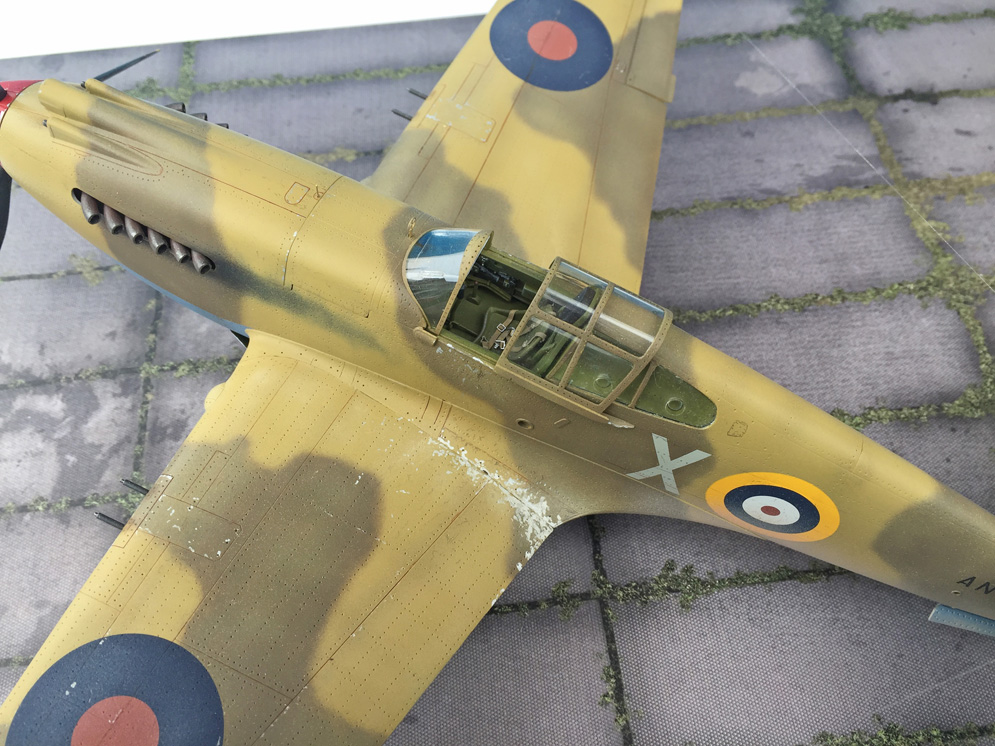
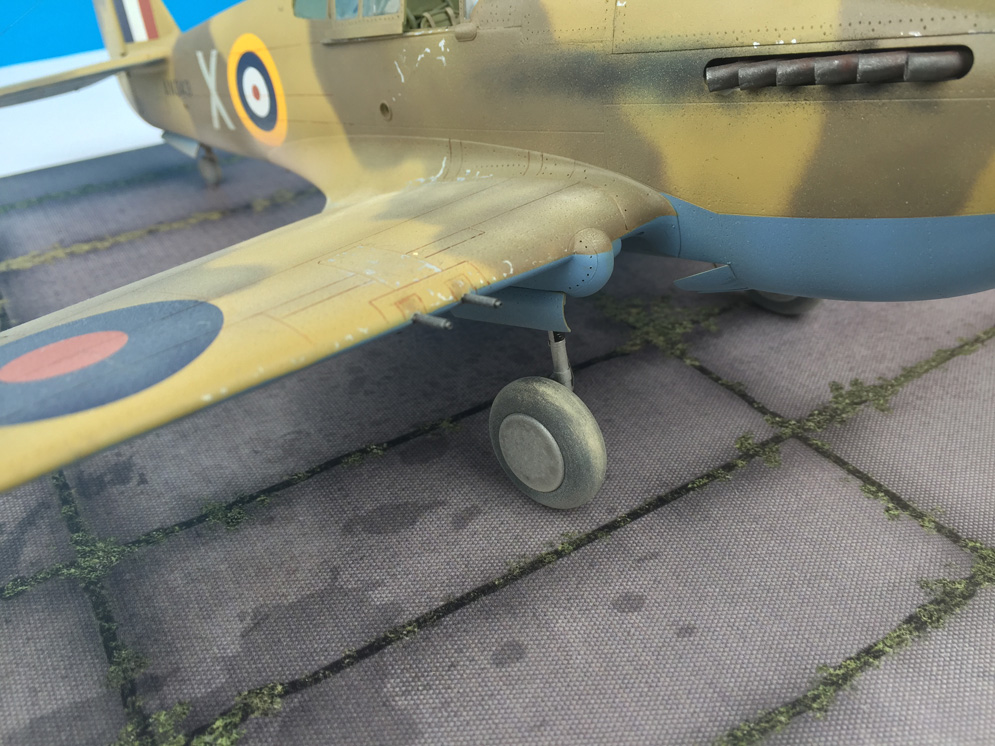
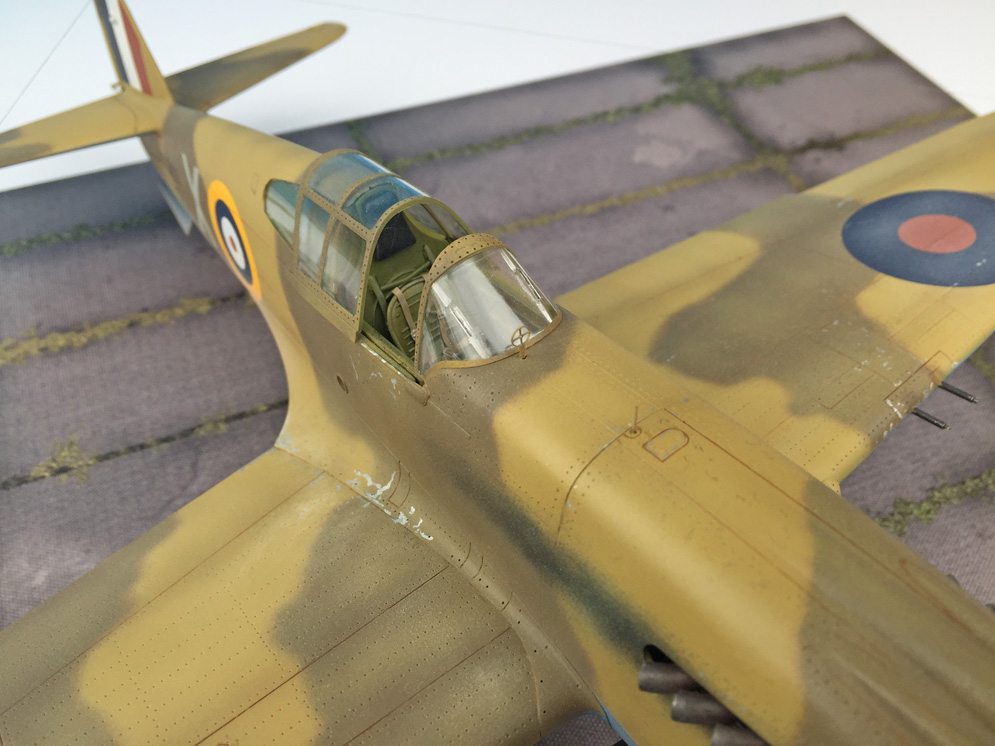
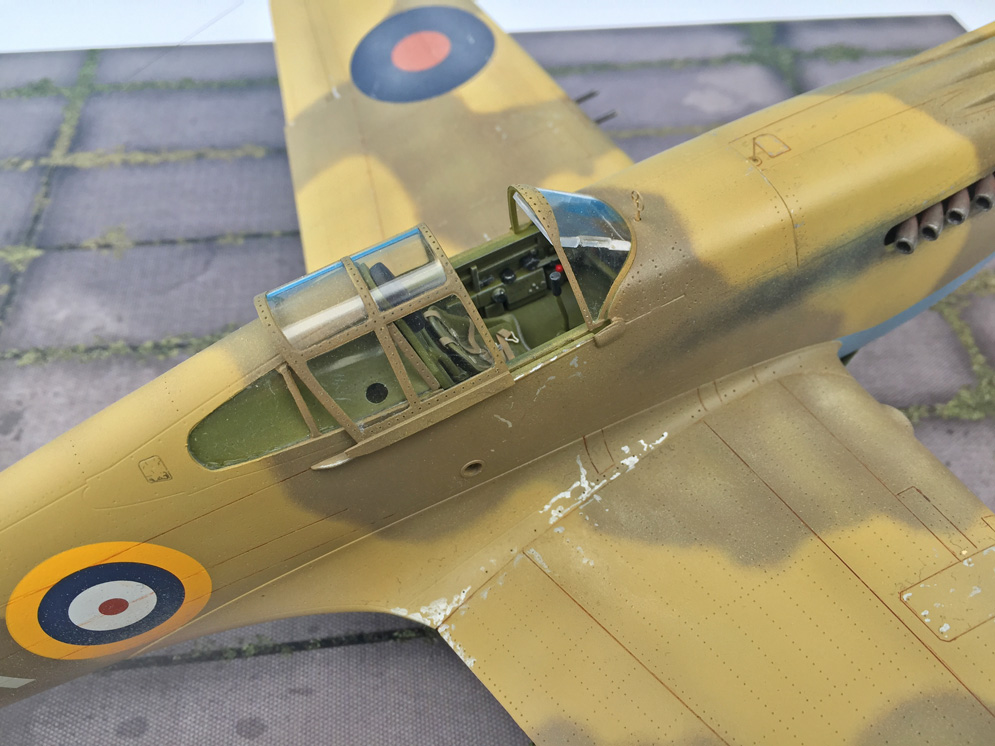
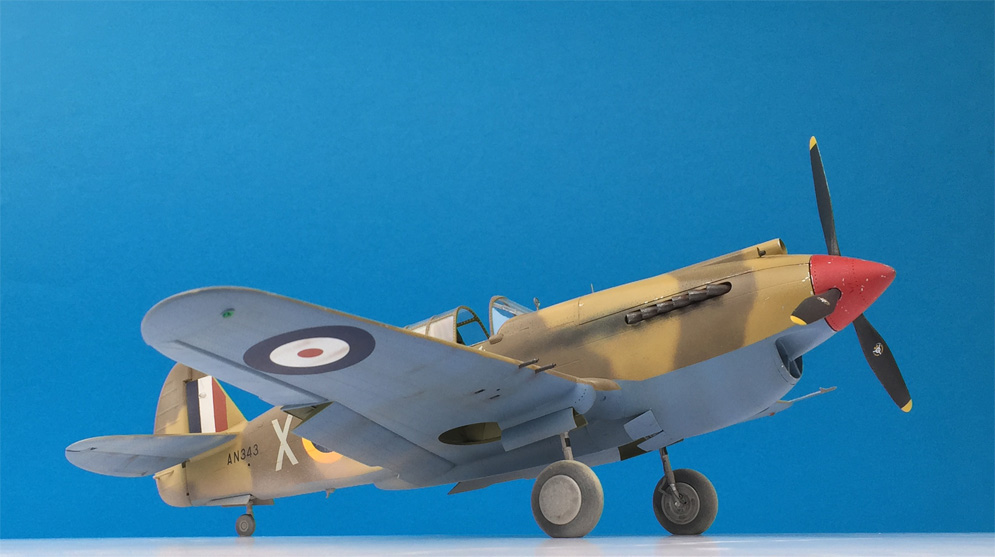
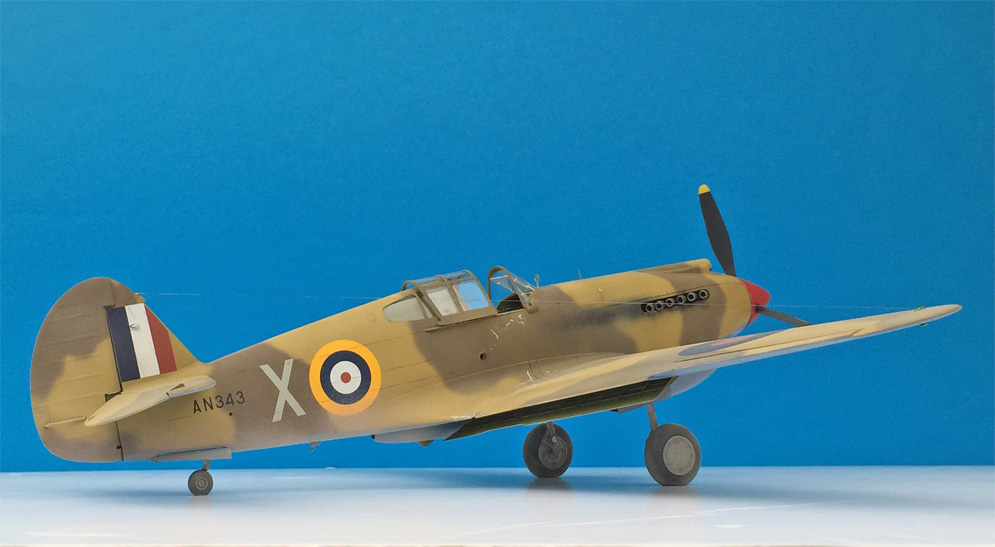
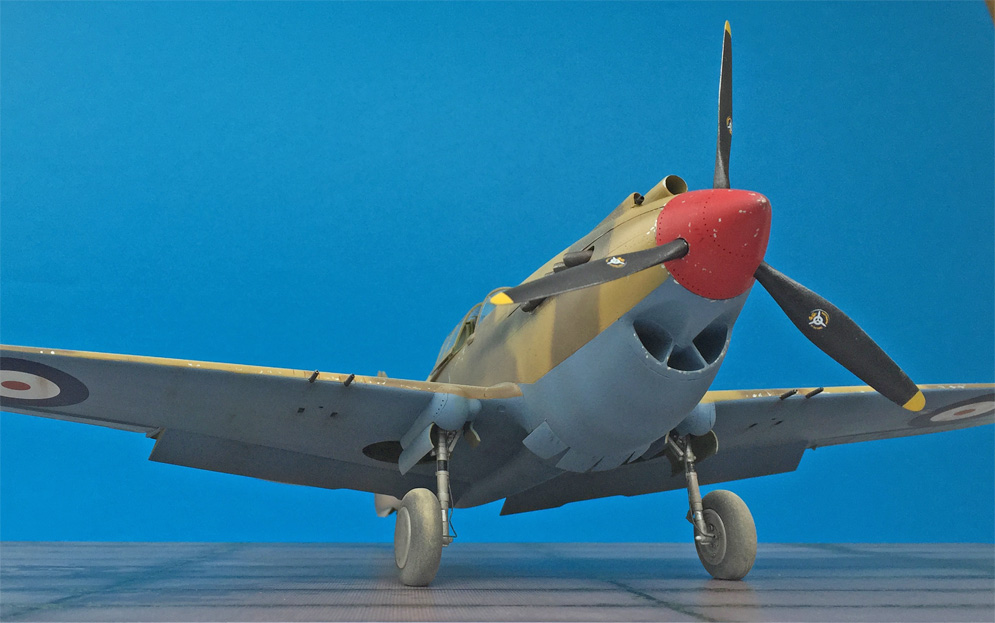
Alclad White Aluminium was used to represent the High-Speed Silver underside, which was masked off before Tamiya RAF Dark Green and Dark Sea Grey were heavily thinned with isopropyl alcohol and sprayed freehand over the top. Both colours were also mottled with very thin lightened and darkened mixes of the original base colours to suggest a weathered and interesting surface. After sealing the decals with Johnson’s Klear, Xtracolor Matt Varnish was sprayed in multiple thin coats over the top to finish things off.
Chris Jones
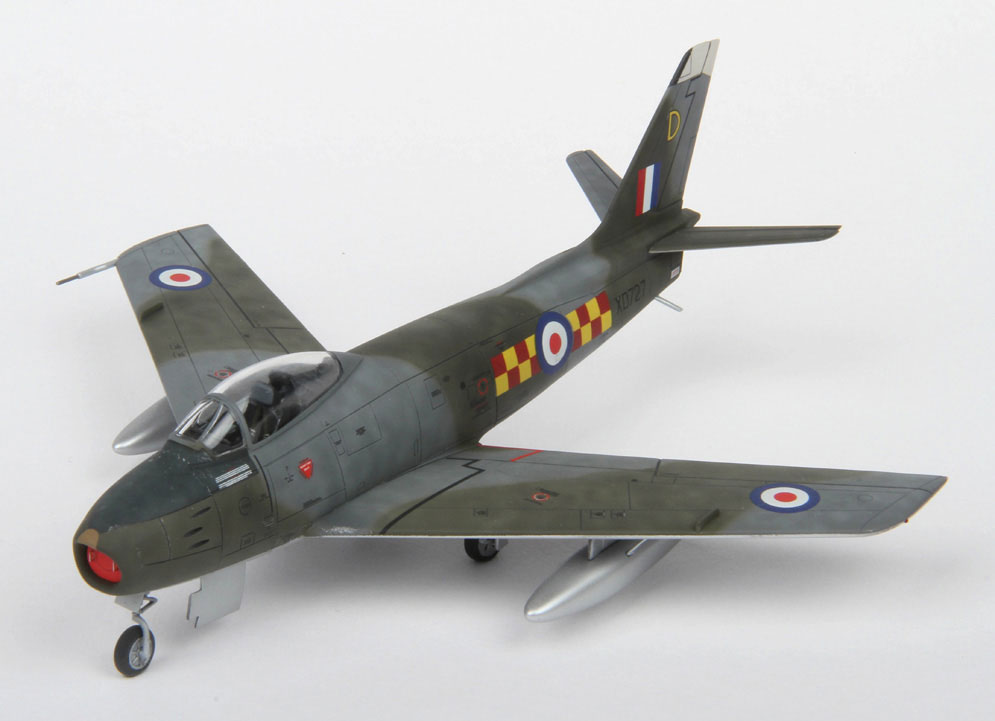
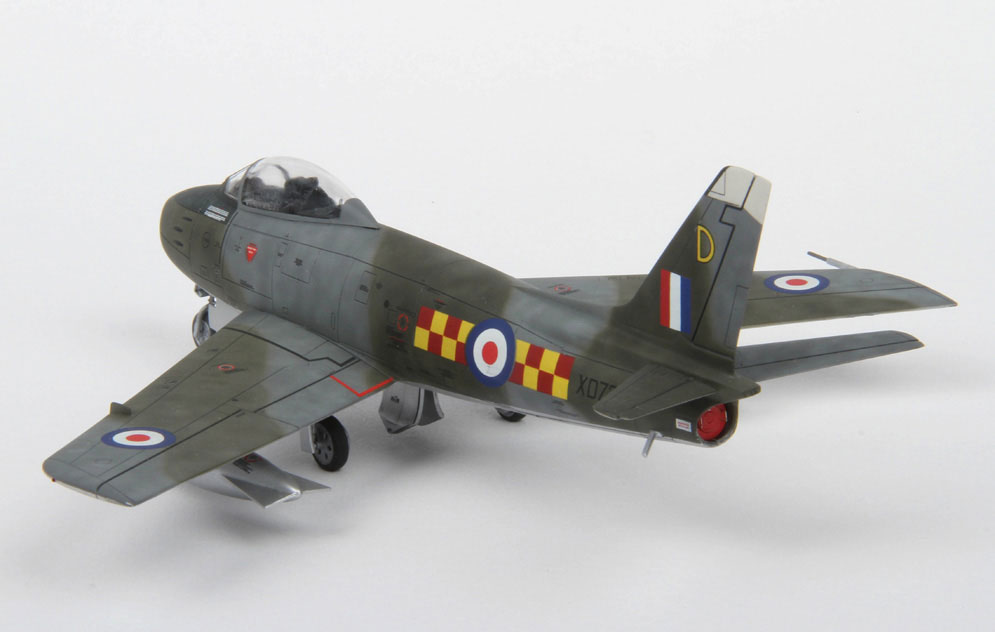

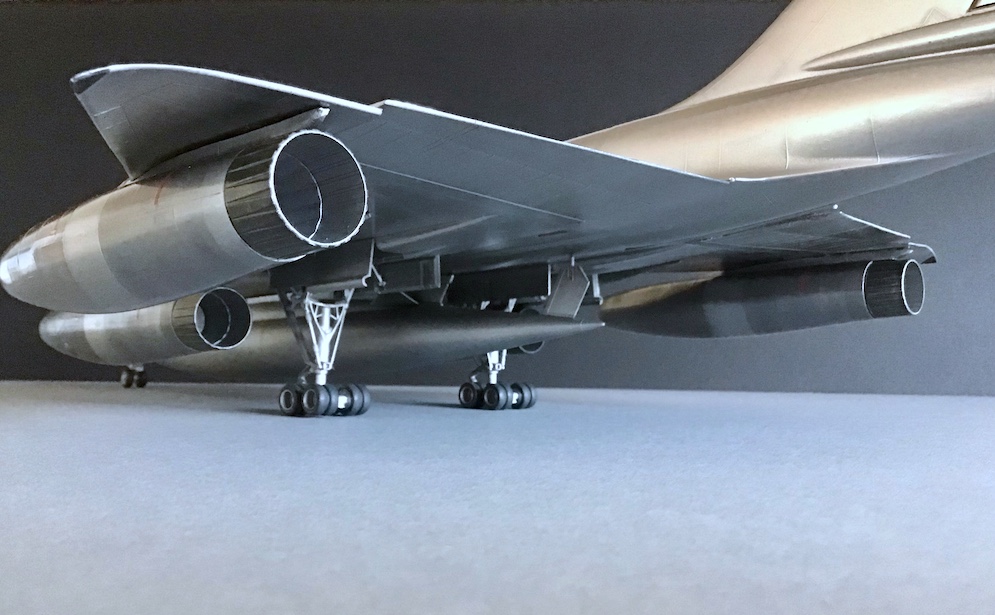
I was delighted to win this for only about £20 on eBay, good value I’d say, confirmed on opening the box. Am I alone in savouring the moment of opening up a new kit?
Anyway, there was a real solidity and weight to the mouldings in this kit, it felt somewhat more like a resin kit (not that I have tackled many of these) The parts fitted together well, without too much call for filler. But I wasn’t convinced that I would be able to hide that vertical fuselage joint behind the wings allowing the engine to be displayed (which is a bit gimmicky to my mind) … or should I just glue it shut?. After a bit of agonising over this decision I decided to go with it open. To improve the closure of this joint I decided to try some of those ‘micromagnets’ that I read about on this magazine (coincidentally in the Kinetic Sabre Build where strangely there was no mention of this join and the engine). I don’t think they were strong enough for this purpose though. In the end it just took a shim of plastic card inside the forward fuselage section to tighten up the join.

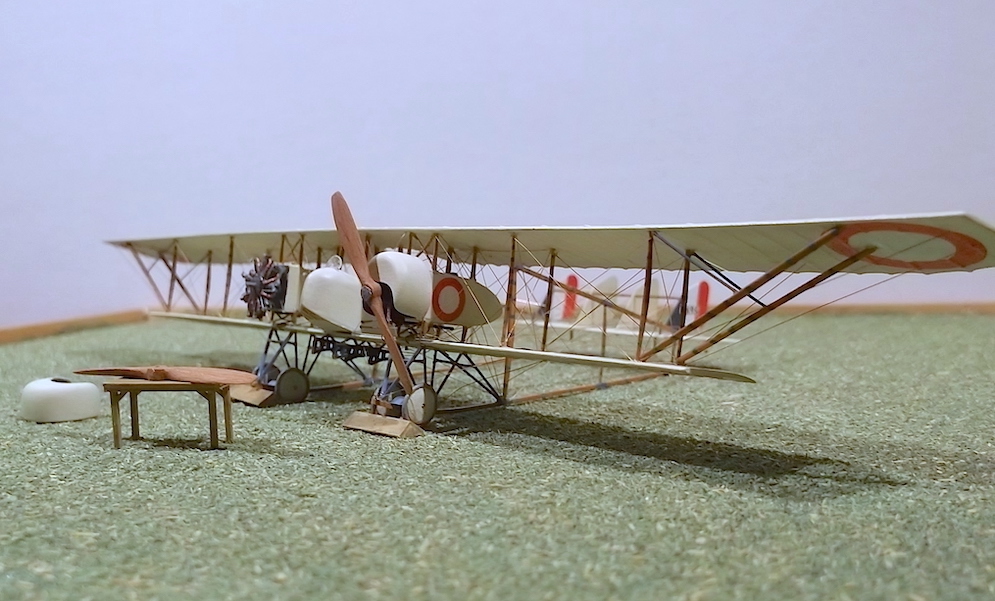
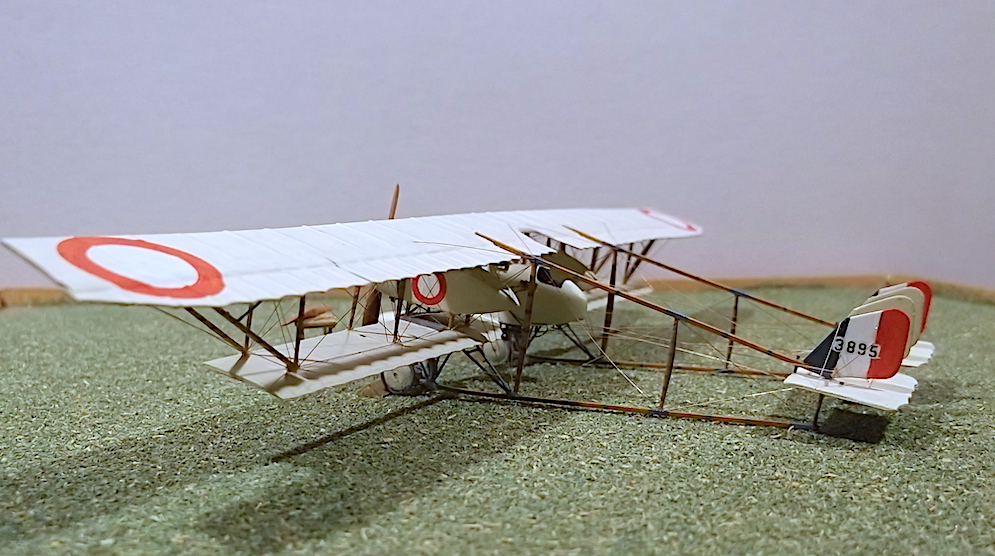
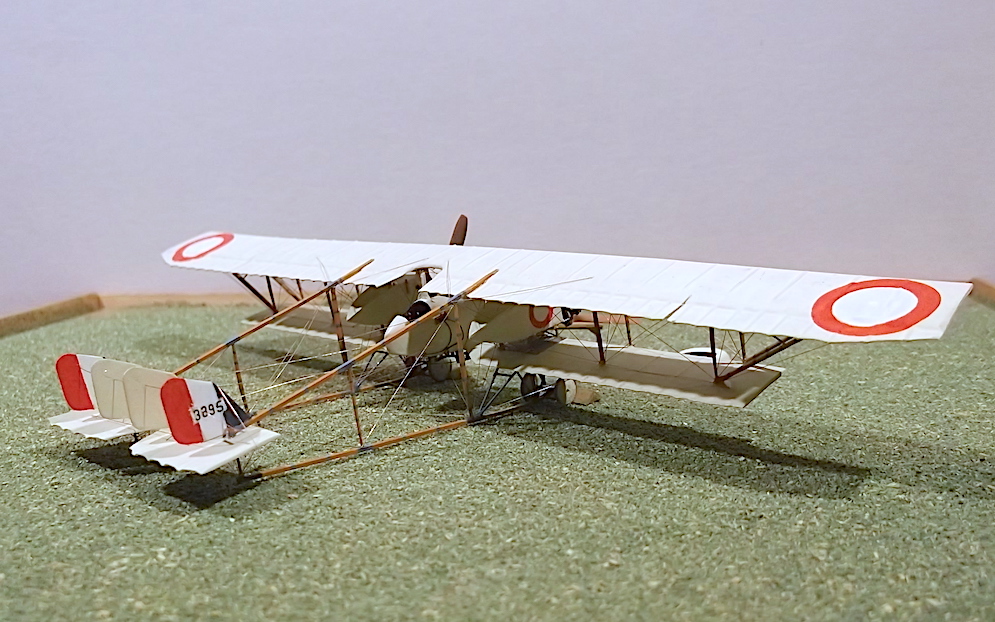
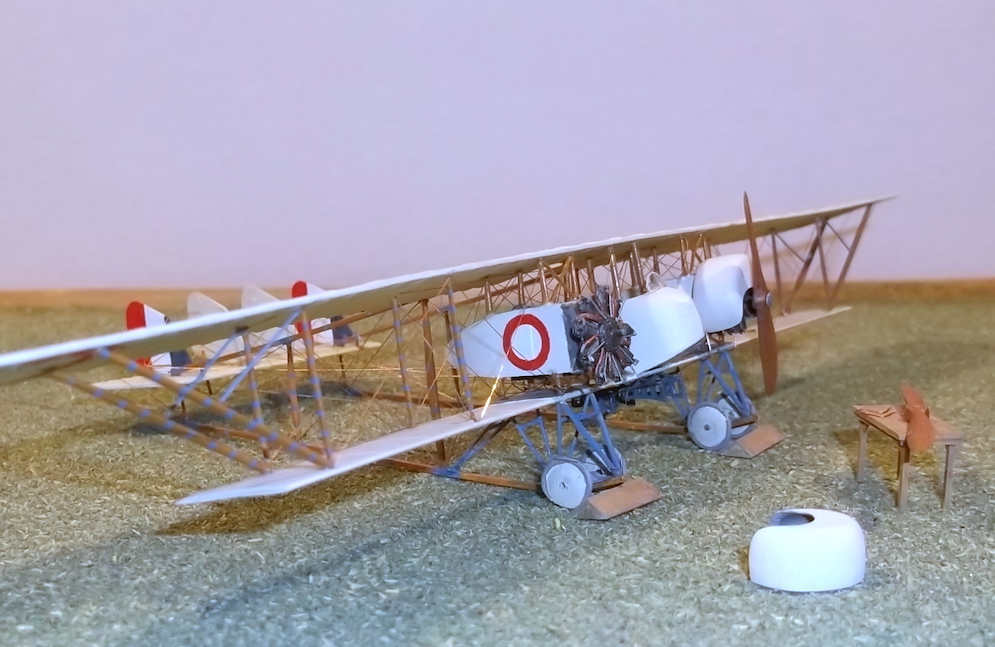
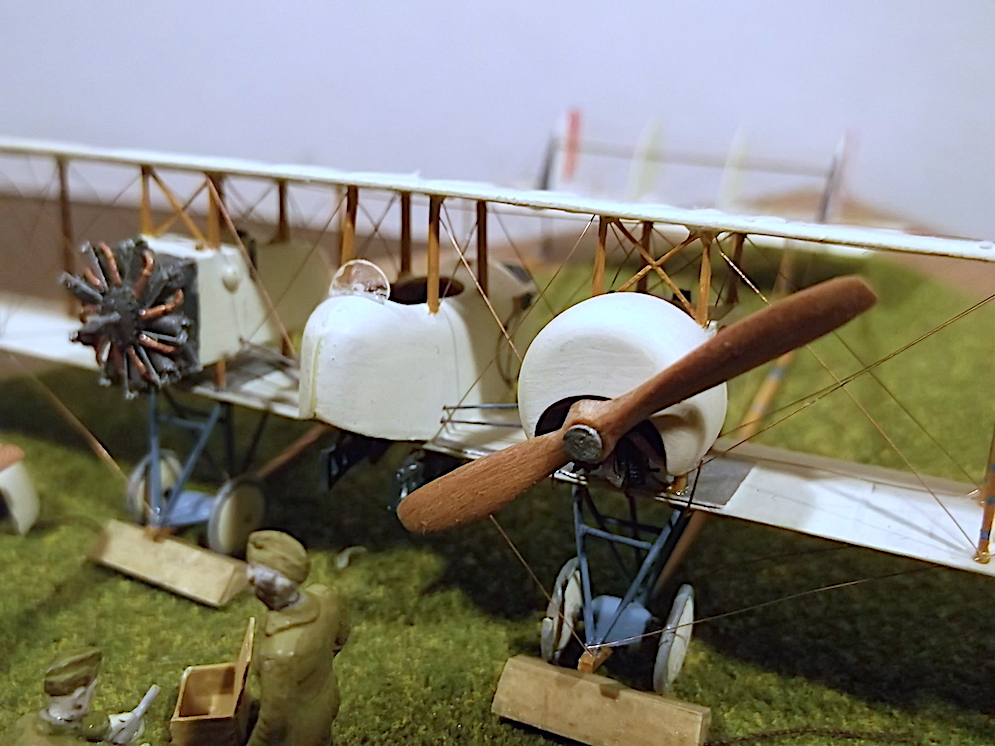
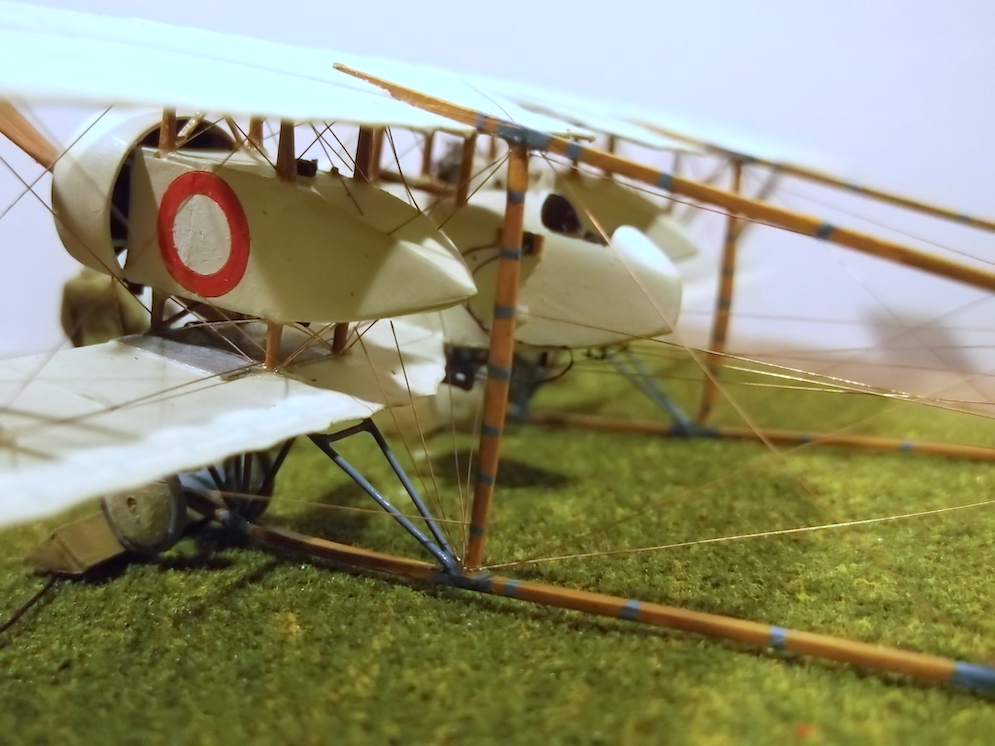
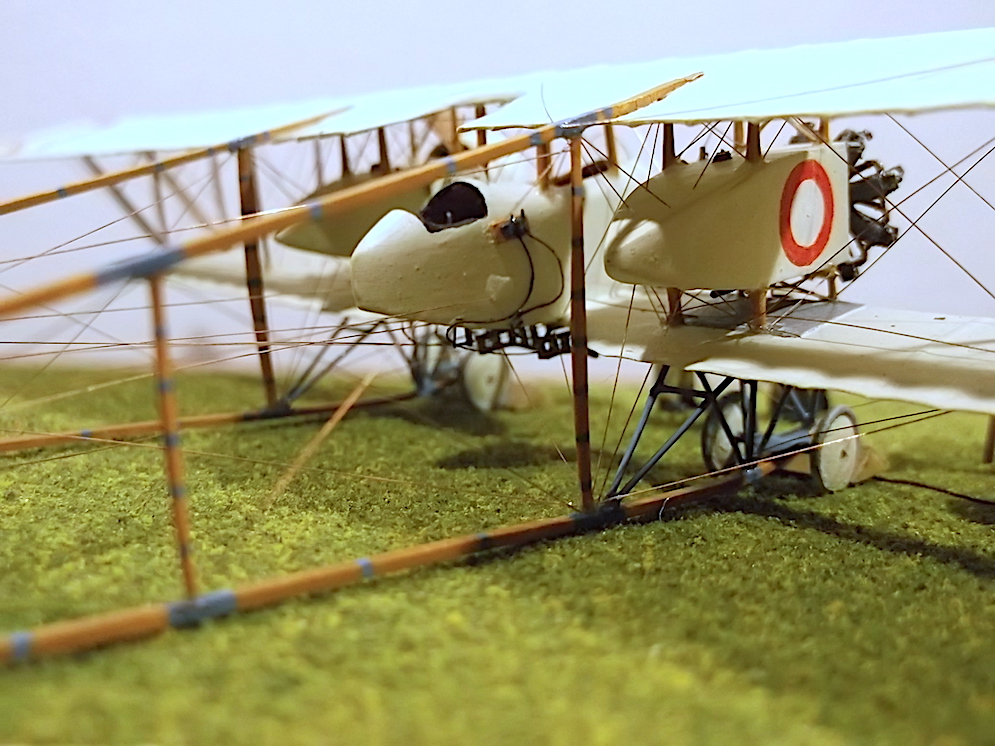
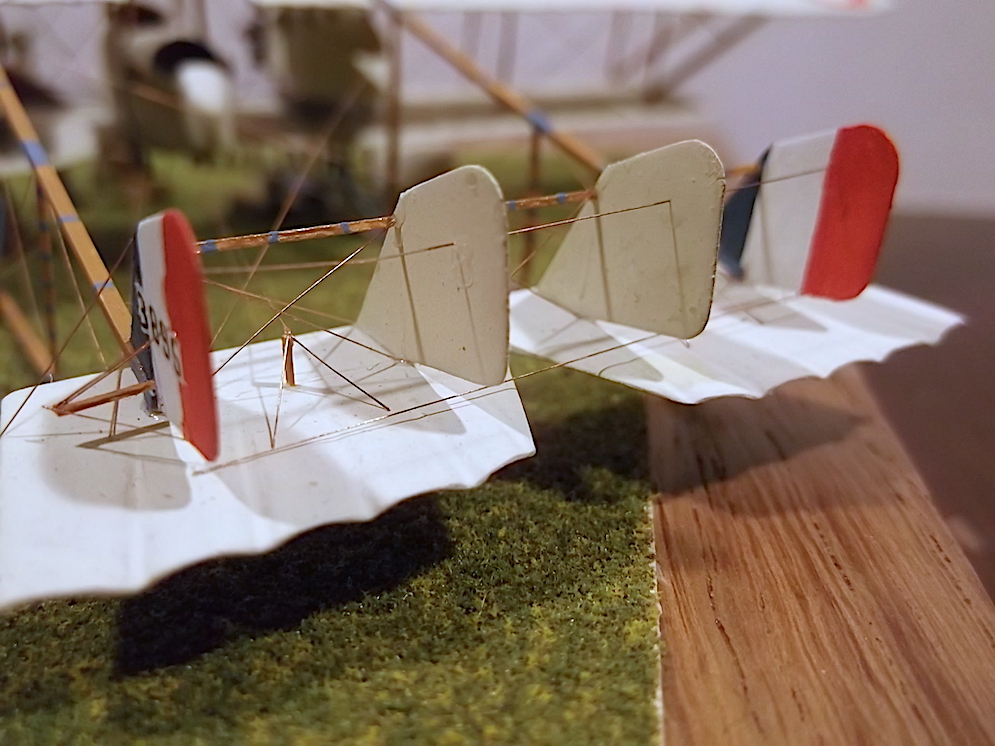

This model is 1:72 scale and was scratch built except for the exposed engine which is from Small Stuff. It is made from plastic sheet, strip and rod, the propellors were carved from wood and is rigged with rolled copper wire. The figures are W D Models RFC personnel. The plans were from the Windsock DataFile No 96.
I do not use expensive or sophisticated tools or techniques: only a craft knife, files, drills, tweezers etc, and all of my models are brush painted. In short I am a simple modeller.
Kindly yours,
Stephen F.


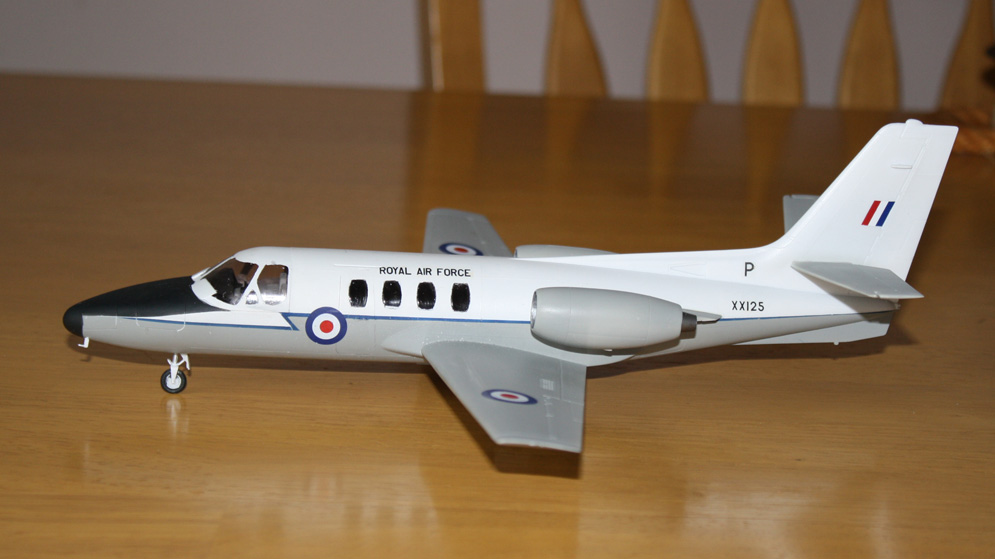
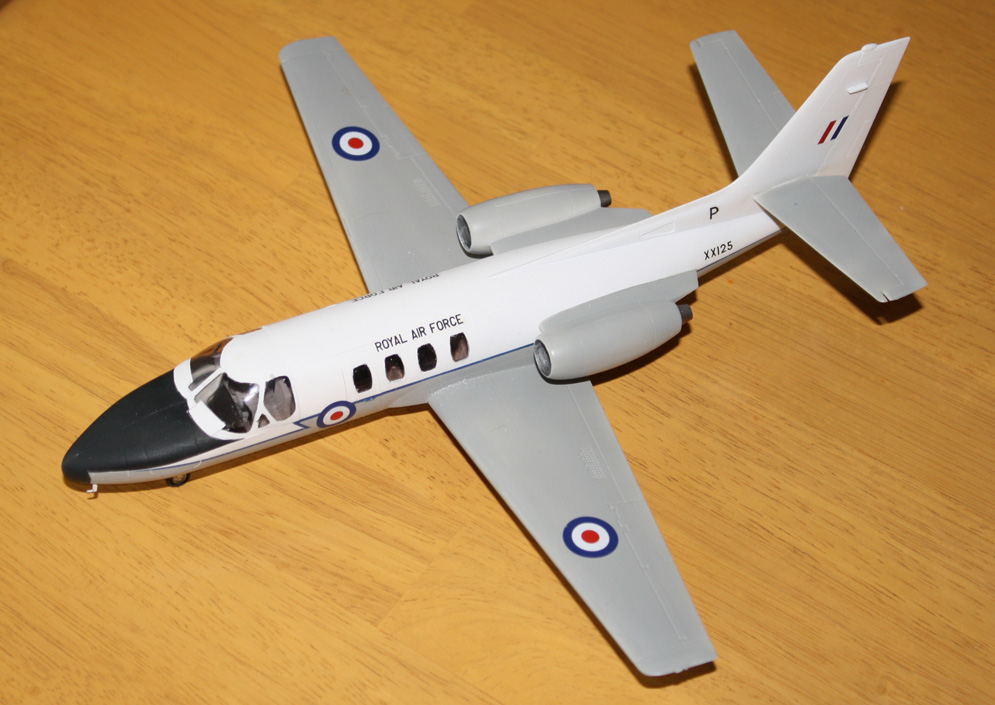
In the early 1970s 60 Squadron was the RAF Germany communications unit, providing VIP transport and other communication tasks for the Command. It came to light relatively recently that some of these aircraft were carrying out clandestine reconnaissance within the Berlin air corridor and air traffic zone – so clandestine that not even all members of the squadron knew.
By 1972 the Pembrokes – although still performing sterling service – were ageing. A more modern aircraft was sought to supplement the fleet, and two Andovers were procured and entered service with 60 Sqn.
A lighter, more economical aircraft was also required for lighter communication tasks; key requirements were a good performance and potential to be used as a camera platform. The Cessna Citation 500 met the requirement most closely, in particular it could be modified to have a camera fit. Four were purchased, and two of these were modified by Marshalls of Cambridge, with the camera equipment – lighter and smaller but just as capable as that on the Pembrokes – being supplied by Vintens.
The Citations entered service with 60 Squadron at RAF Wildenrath in 1976 and plied their trade until 1990 and the end of the Cold War, following which they were retired and scrapped. It is known that they were the favoured transport of every RAF Germany CinC from the time they entered service, and as such were used for this and other routine communications tasking as well as their less well-known role. However, in general this is a little-known aspect of RAF Germany and is in fact so obscure that it has, as far as is known, never been published before in any form.
Of course, as you may have gathered, this history is so little-known that it actually existed only in my head until I completed the model. However it is based on real history. Paras two and three are true; the more undercover role of 60 Sqn is now known to be historical fact , and in the early 1970s two Andovers supplemented the Pembroke fleet. The only bit I have added is the addition of four Citation 500s to the 60 Sqn complement.
It started off as an impulse-buy of a Revell Citation at the Cosford model show one year. I eventually came across it in the loft, and as I had recently been reading about the clandestine reconnaissance carried out by the Pembrokes an idea sprang fully-formed into my mind.
The colour scheme is based on the standard RAF communications scheme of the time. The serial is of about the right timeframe. Serials in the range XX123 to XX135 were never issued to real aircraft , and I couldn’t resist picking a serial which is a reference to another, real, aircraft type used for the communications role. It was intended as a “quick fun” build so does have a few flaws, and used some of the older decals from my spares box, including some Modeldecal sheets which must be nearly 25 years old. No modifications were needed as the mods on the “real” aircraft were designed to be concealed – a simple sliding camera hatch or two was scribed.
All in all, just a bit of fun.
Michael C.
Kit code FKM 72016
(60 USD resin kit, Oct2012)
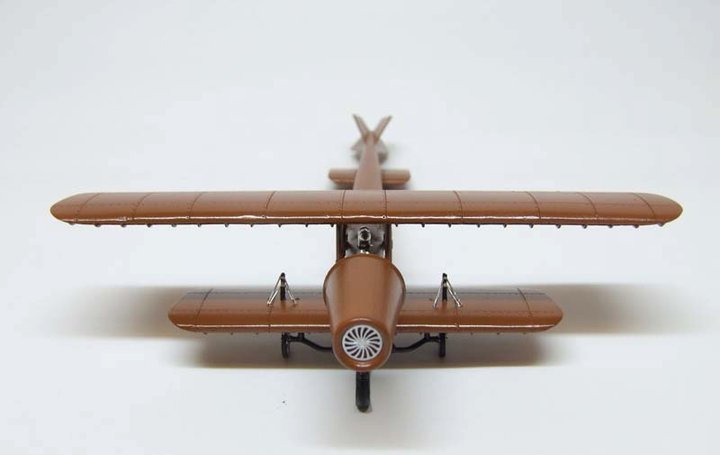
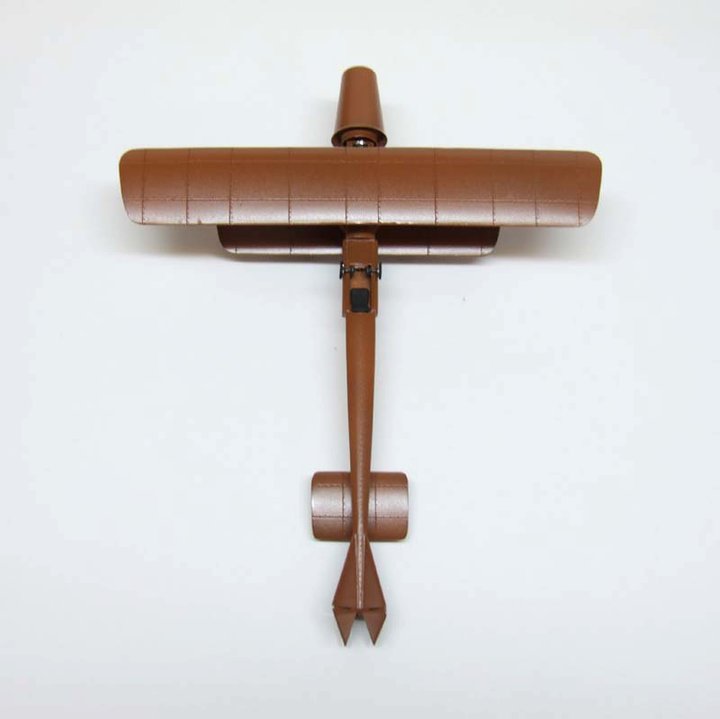

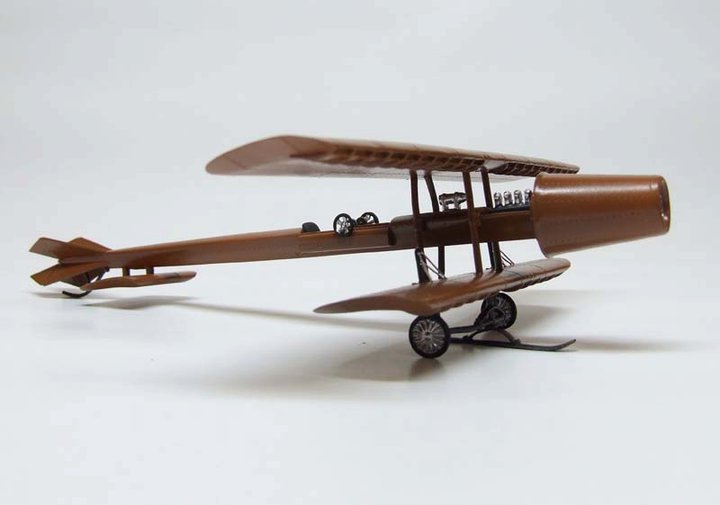
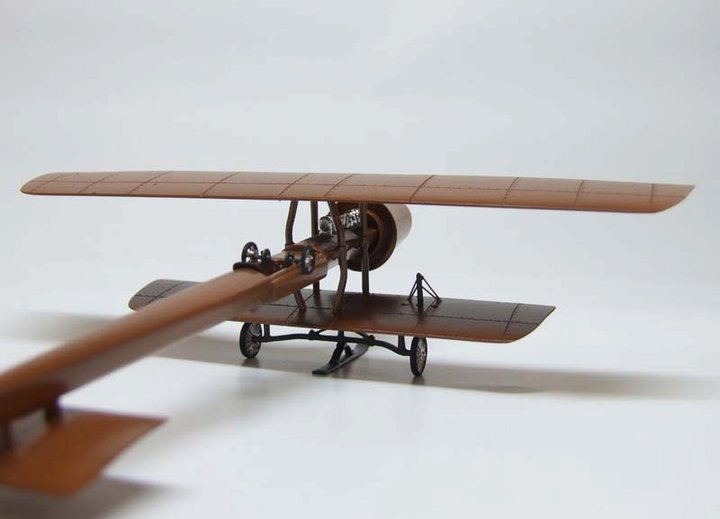
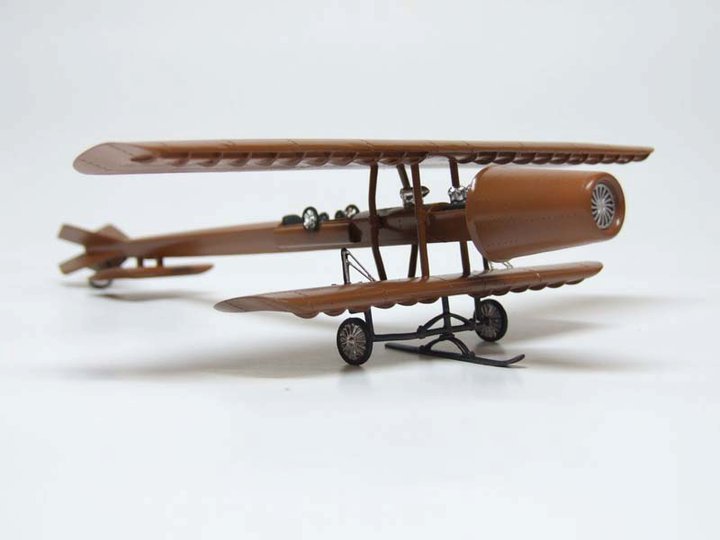
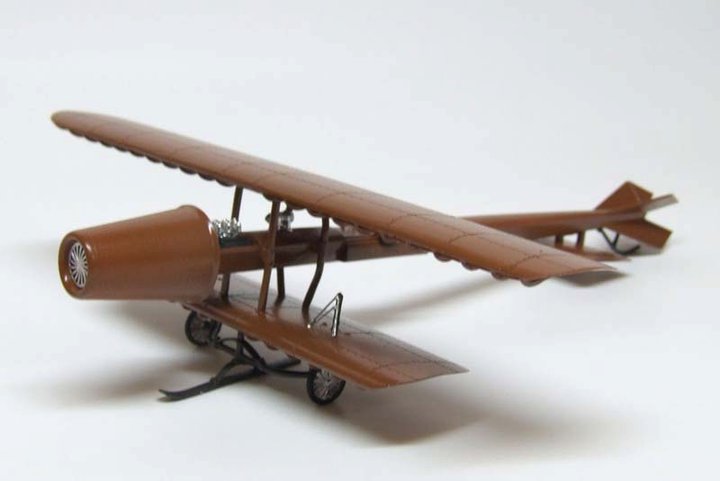

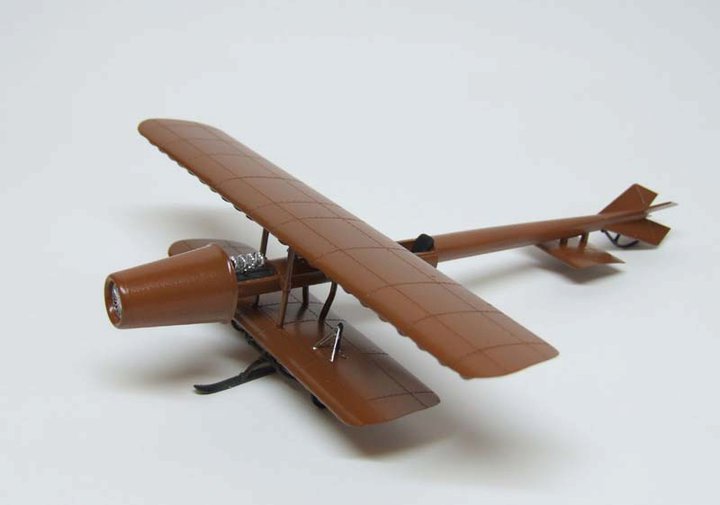
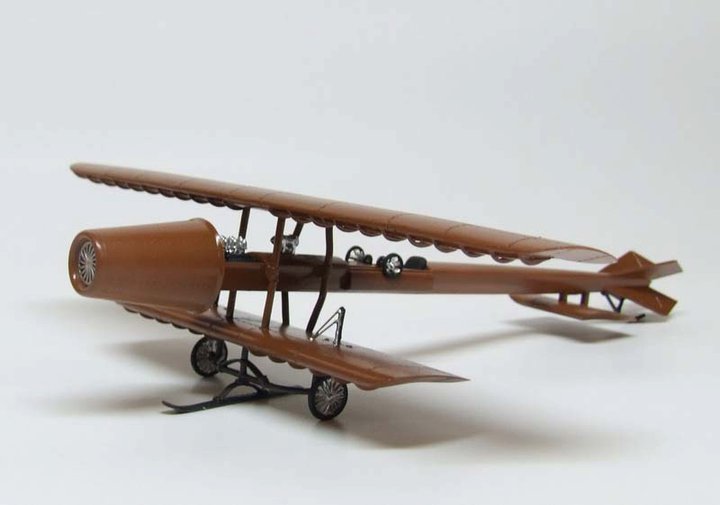
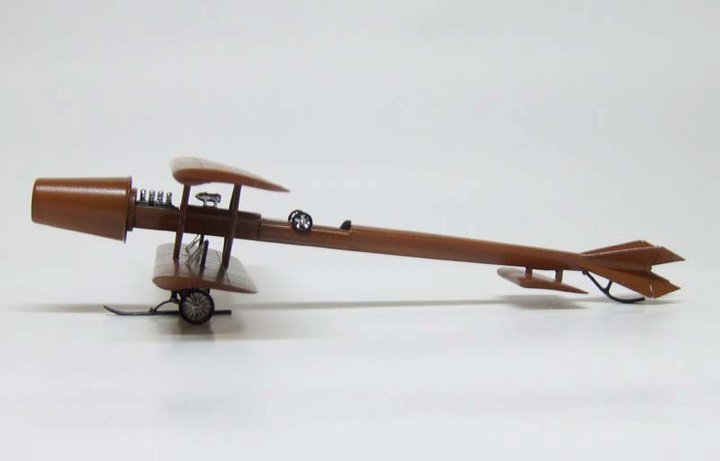
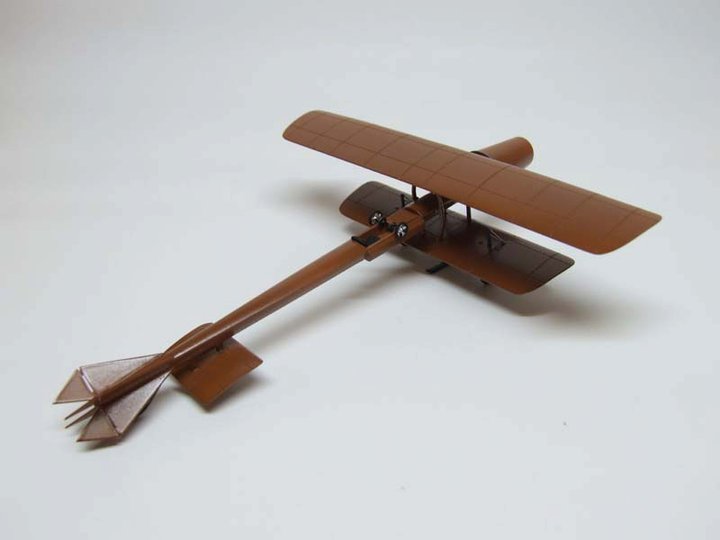
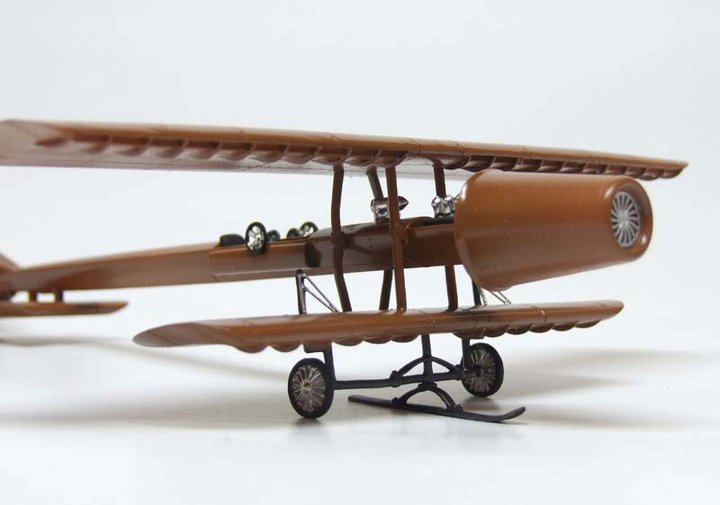
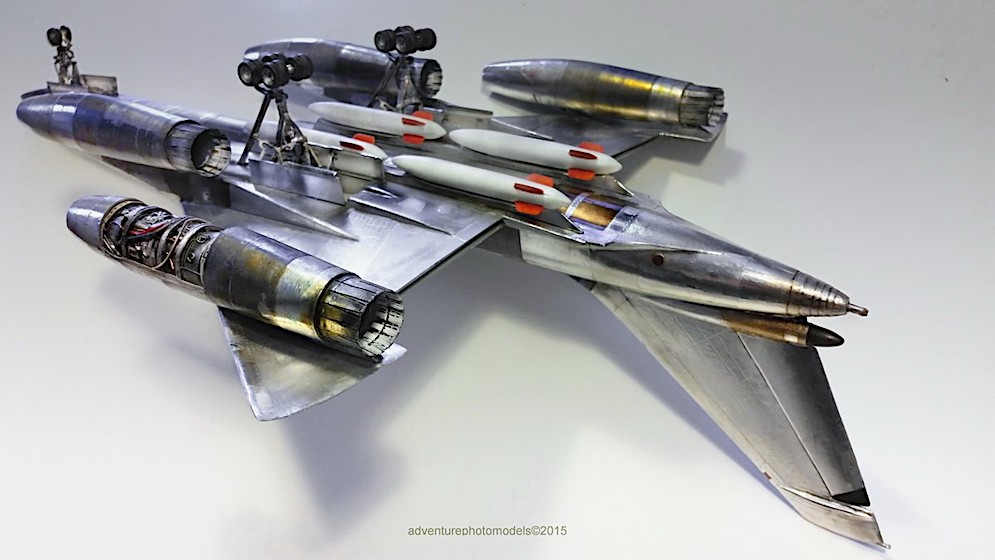
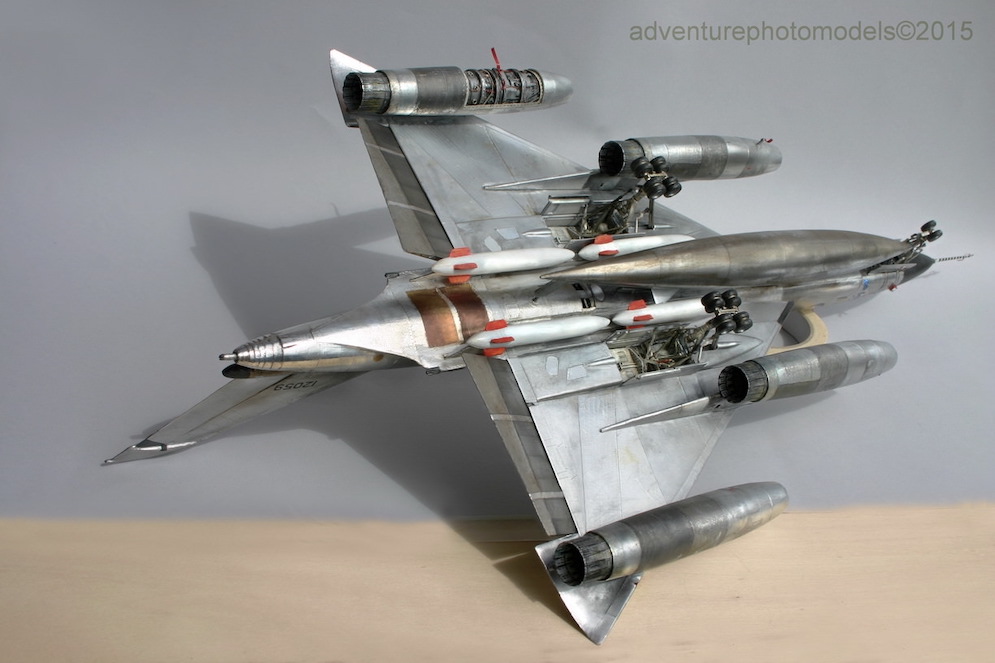
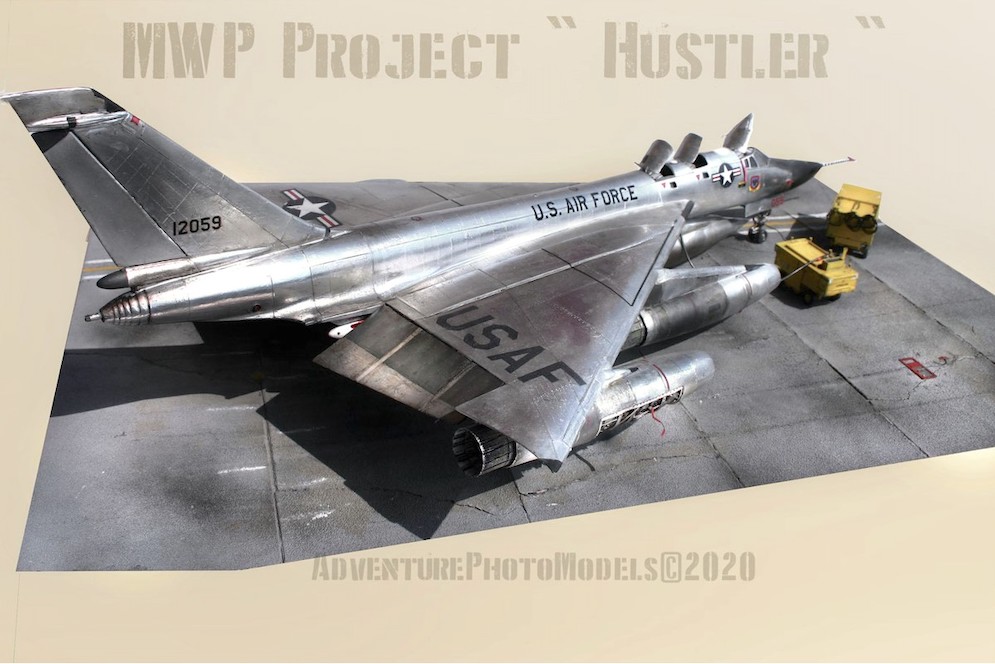
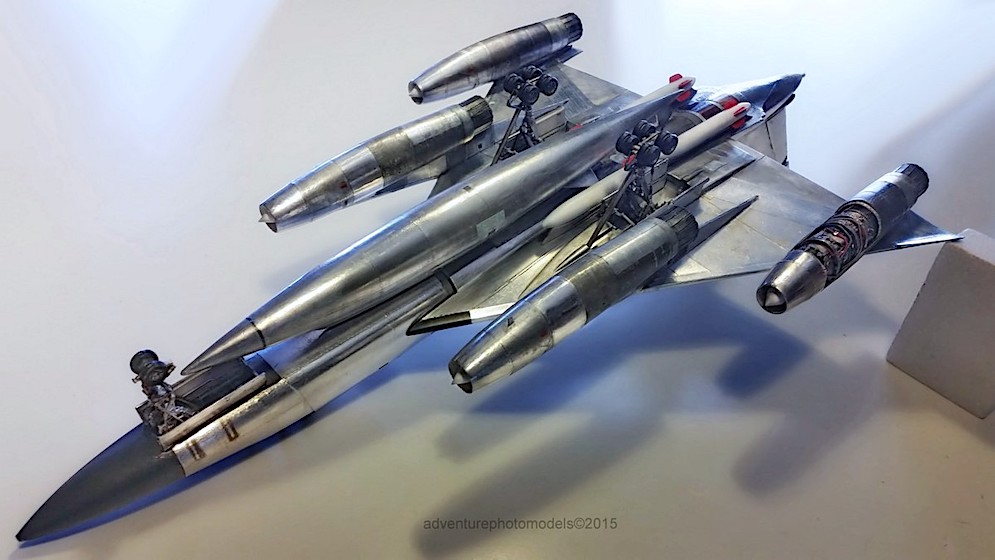
The Coandă-1910, designed by Romanian inventor Henri Coandă, was the first full-size attempt at a jet aircraft. Built as a sesquiplane, it featured an experimental aircraft engine which Coandă called the “turbo-propulseur,” a centrifugal compressor propulsion system with a multi-bladed rotary fan situated in a duct and driven by a conventional piston engine. The unusual aircraft attracted attention at the Second International Aeronautical Exhibition in Paris in October 1910, being the only exhibit without a propeller, but the aircraft was not displayed afterward and it fell from public awareness. Coandă used a similar turbo-propulseur to drive a snow sled, but he did not develop it further for aircraft.
Decades later, after the practical demonstration of motorjets and turbojets, Coandă began to tell various conflicting stories about how his early experiments were precursors to the jet, even that his turbo-propulseur was the first motorjet engine complete with fuel combustion in the air stream. He also said that he had made a single brief flight in December 1910, crashing just after take-off, the aircraft destroyed by fire. Two aviation historians countered Coandă’s version of events, saying there was no proof that the engine had combustion in the air stream, and no proof that the aircraft ever flew.
Hope you like it. Georgio G.
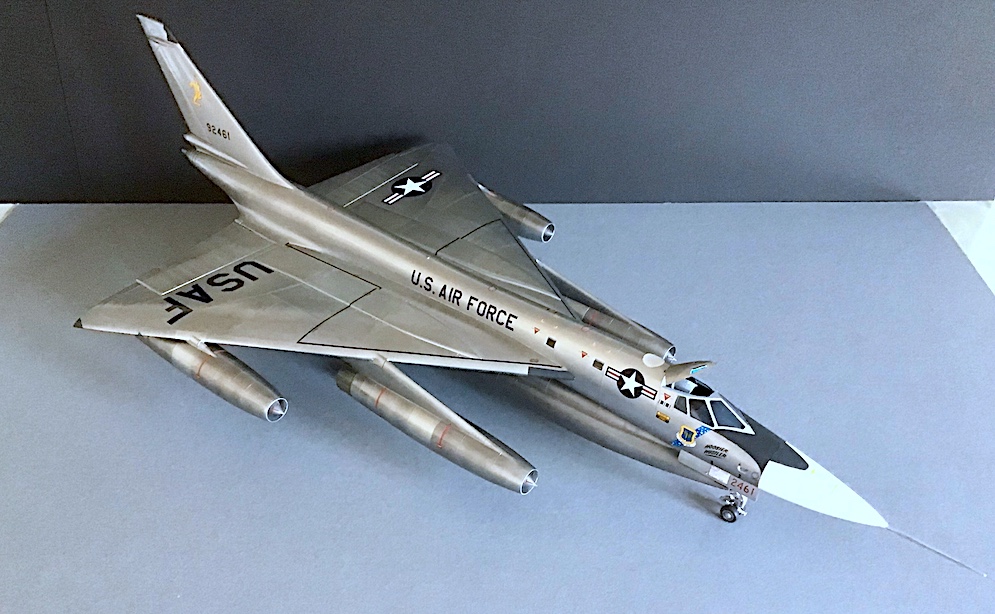
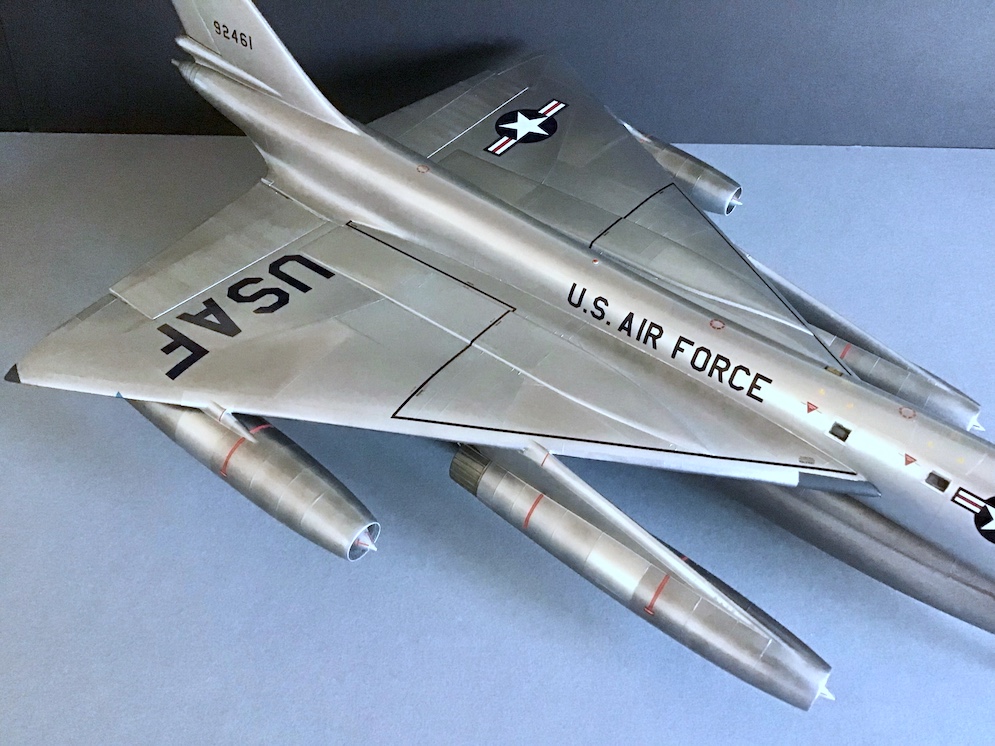
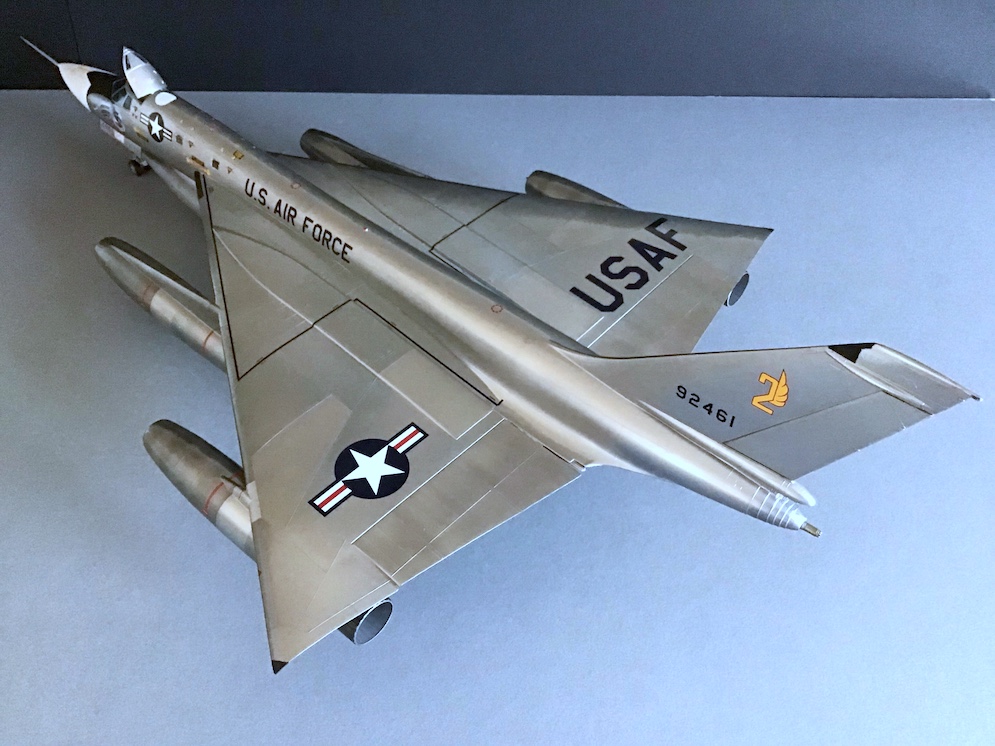
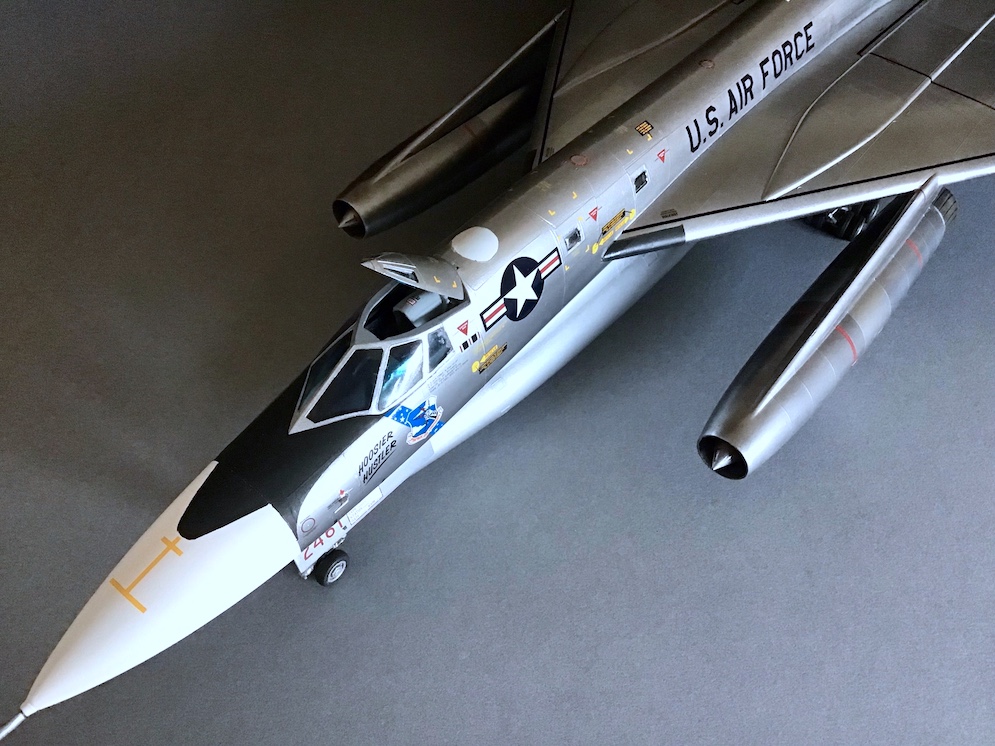
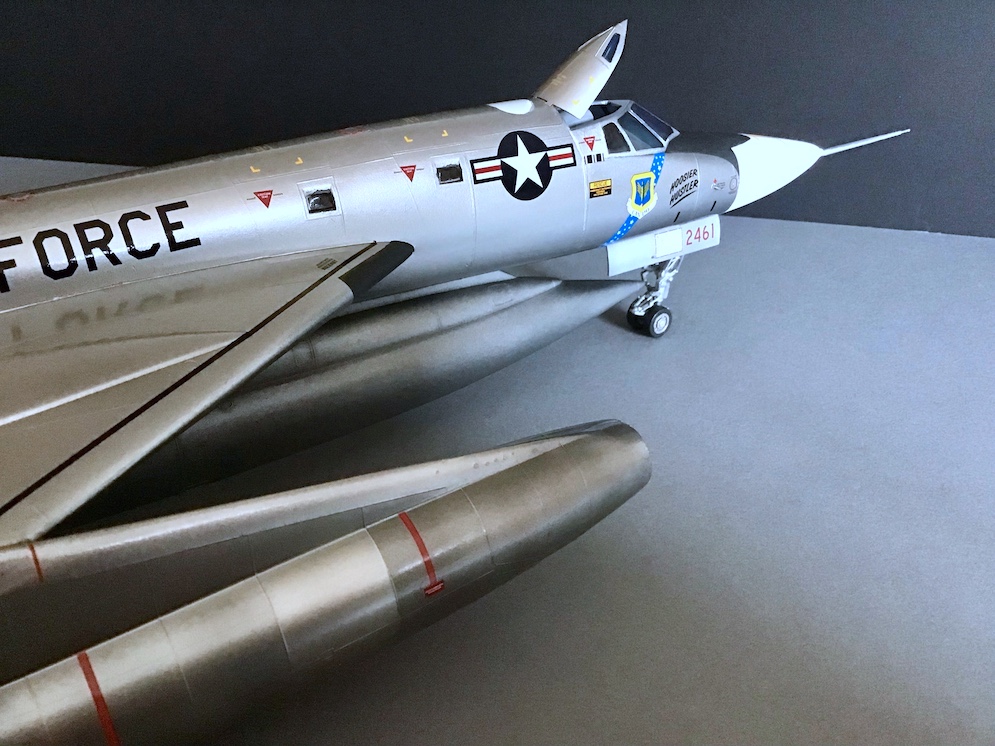
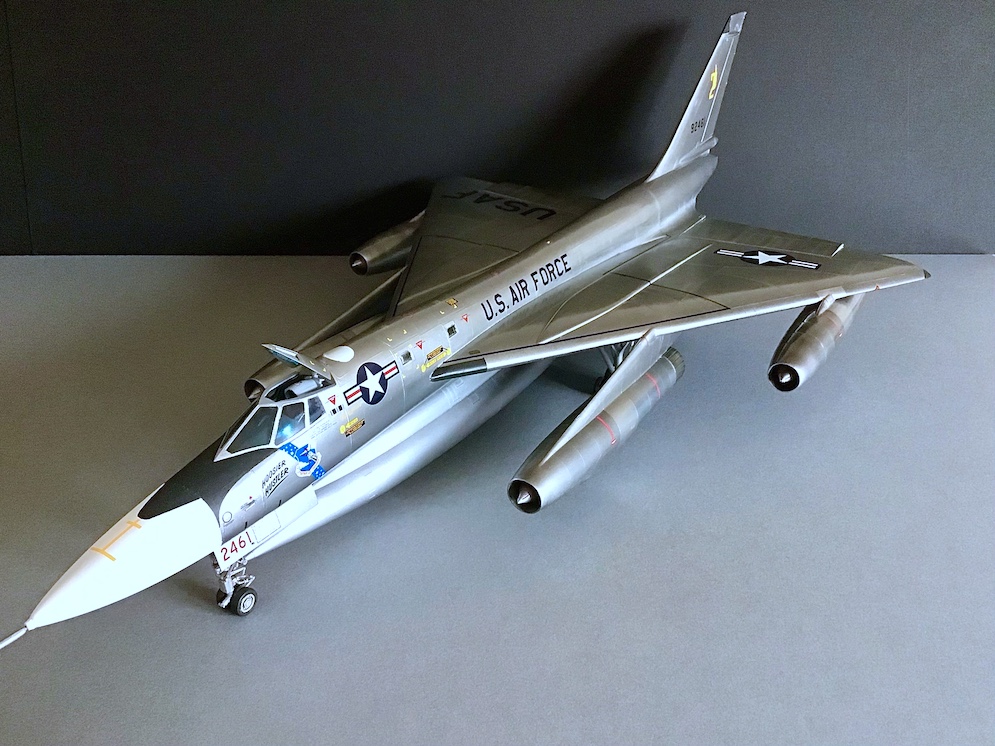
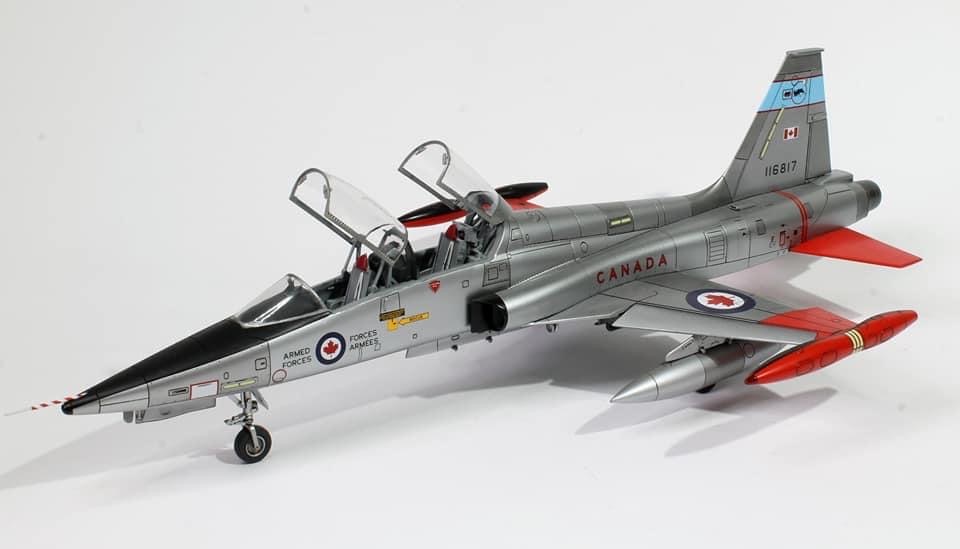
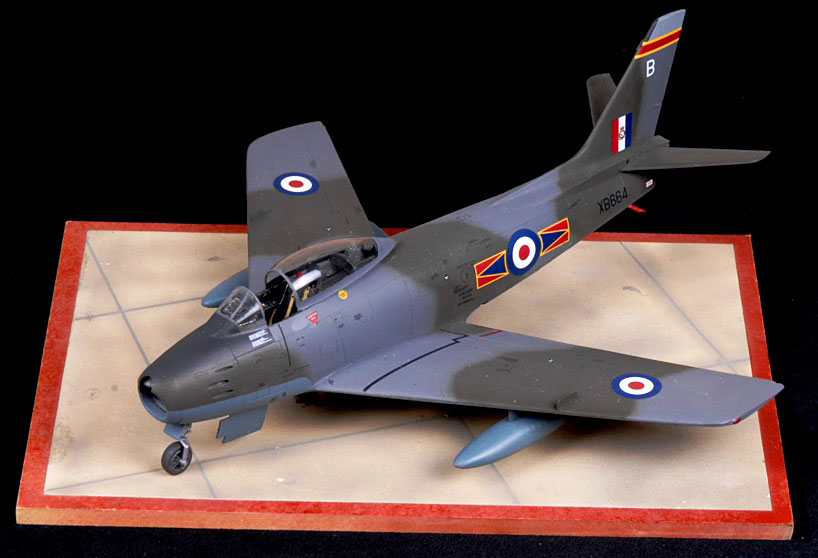
She’s an ‘out of box’ build apart from the decals. The kit-issue sheet was perfectly usable but I chose the excellent Caracal sheet purely for the scheme options.
I retained the ‘raised’ detail and restored lost areas due to the construction process.
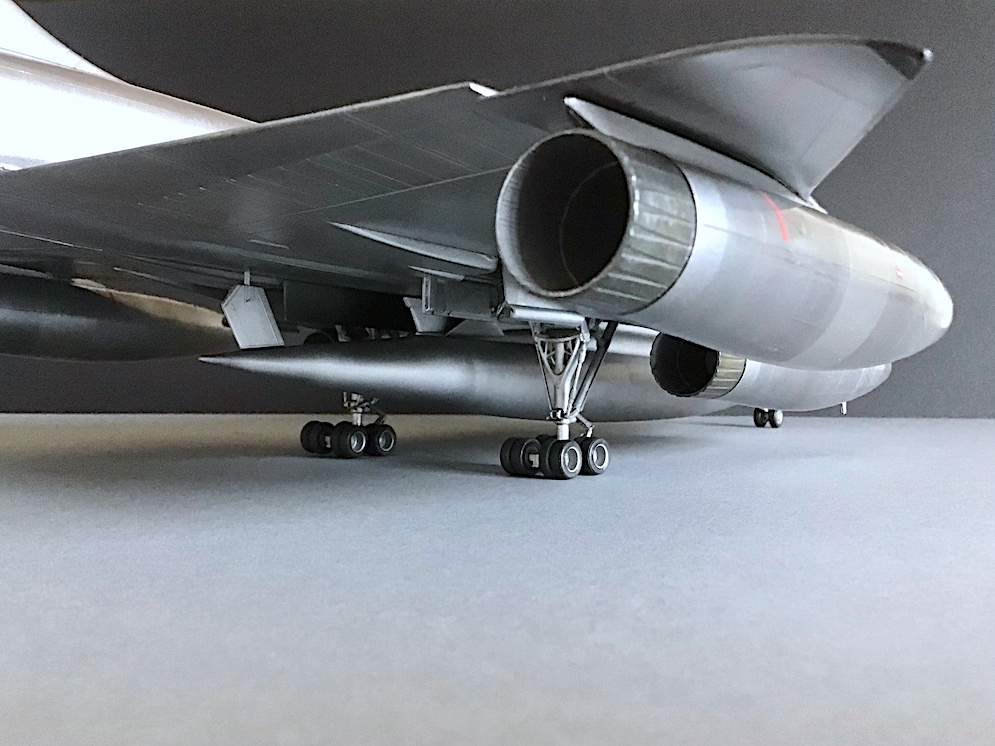
The airframe was primed in Mr.Surfacer 1500 Black. AK Extreme Metal Enamels were used for the natural metal surfaces. This was sealed with a brush-applied coat of Klear/Pledge prior to decaling and a further two coats added the same way to give the final finish.
Photos have shown the real aircraft to have very shiny and well-kept surfaces.
There is an excellent Kit Review/Build by Tim Haynes in SMN’s Build Now section (Finished Now when completed) which provides an in-depth article of the kit itself.
I hope you enjoy viewing and thank you for doing so.
My Best Regards,
Paul A.

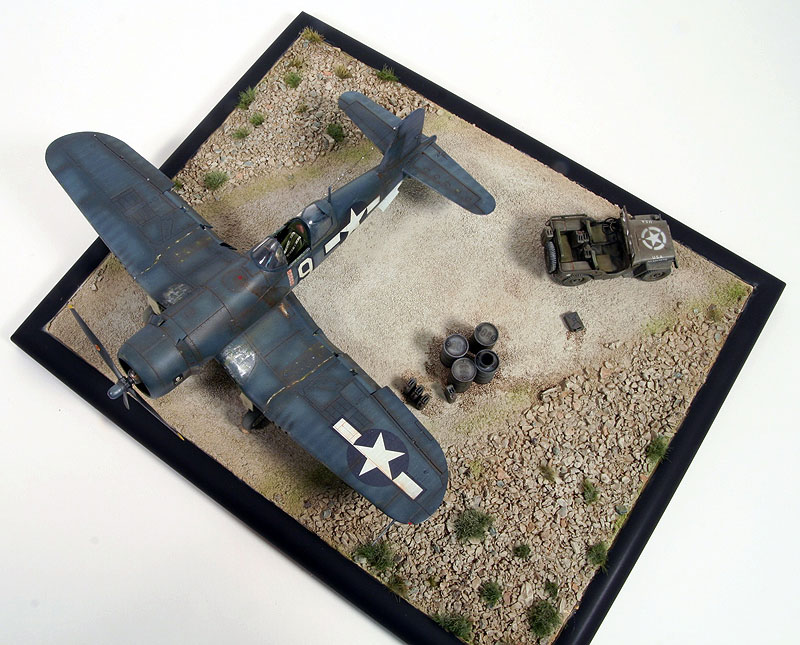


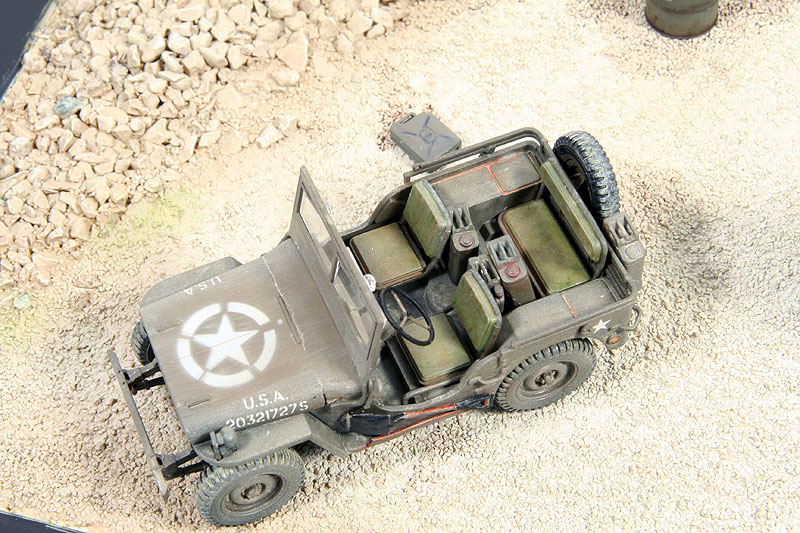
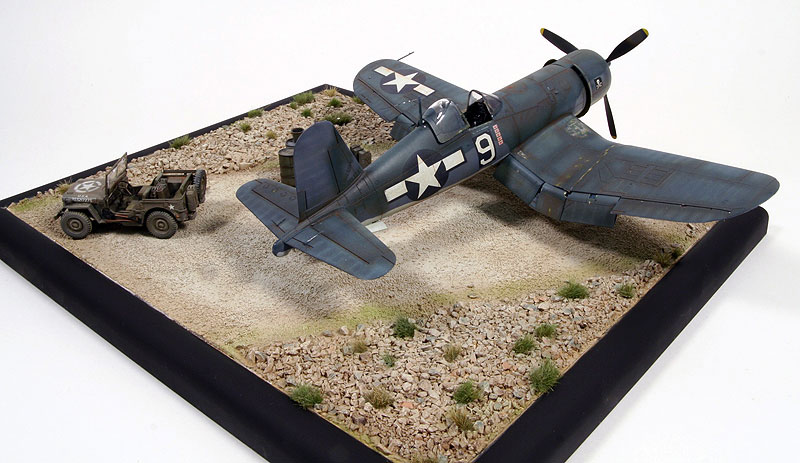
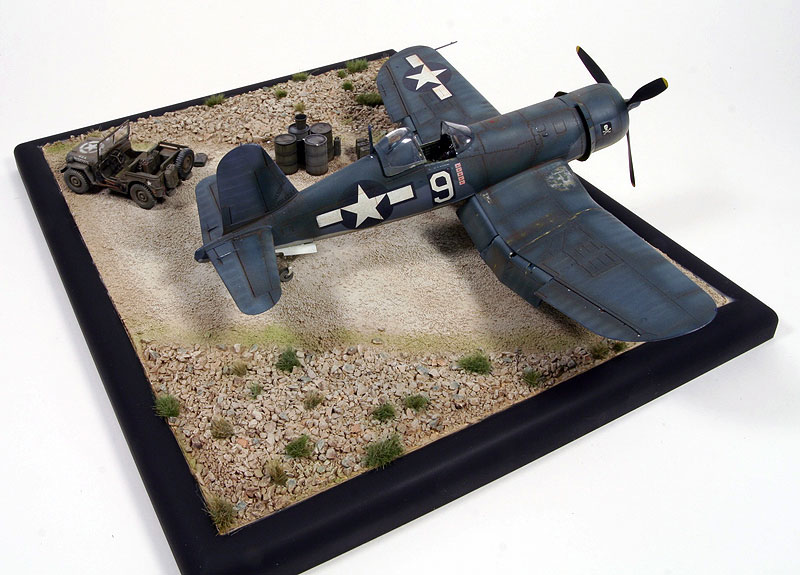
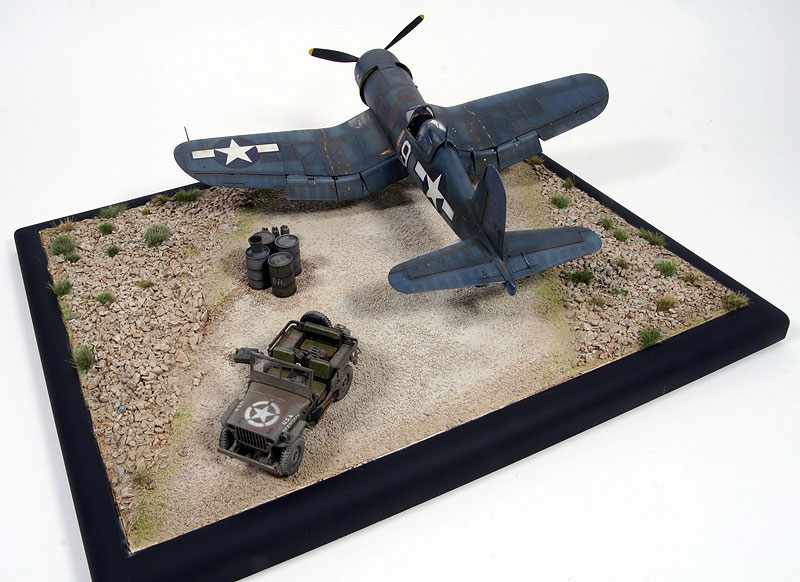
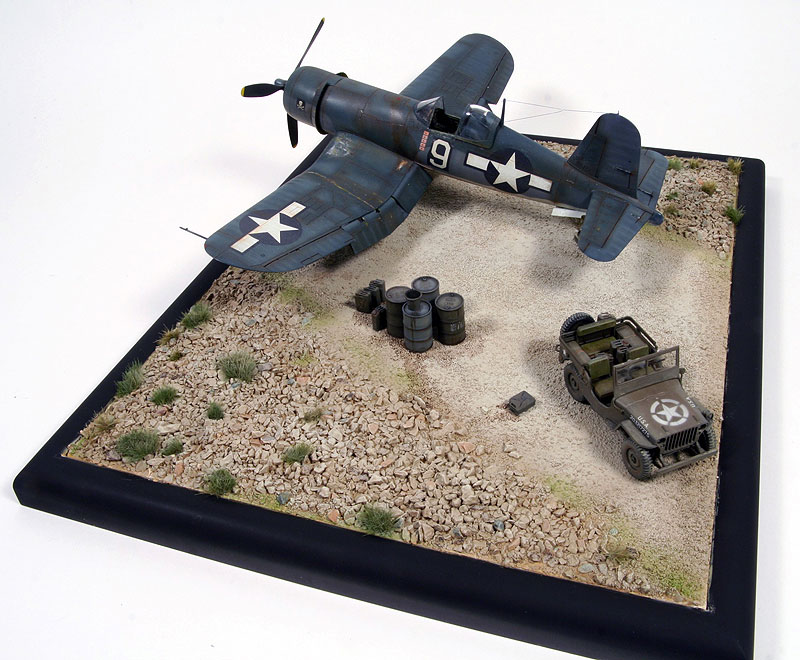
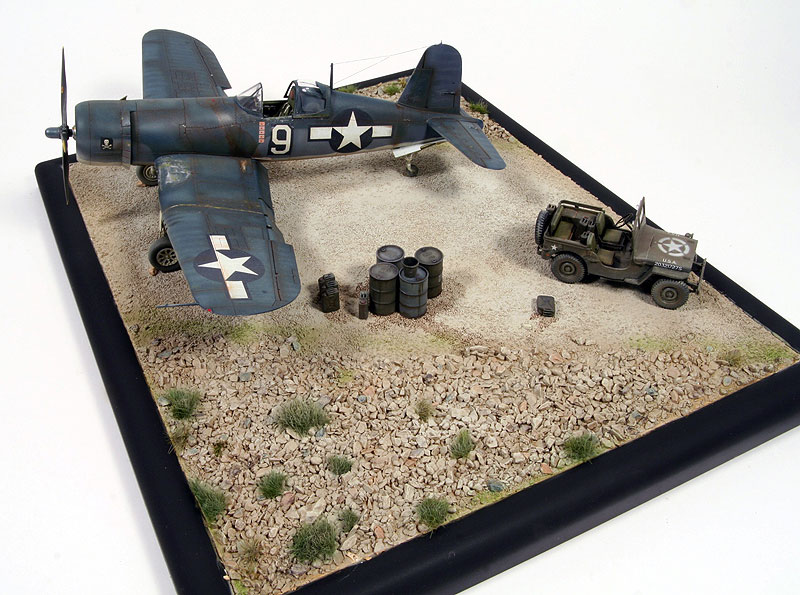
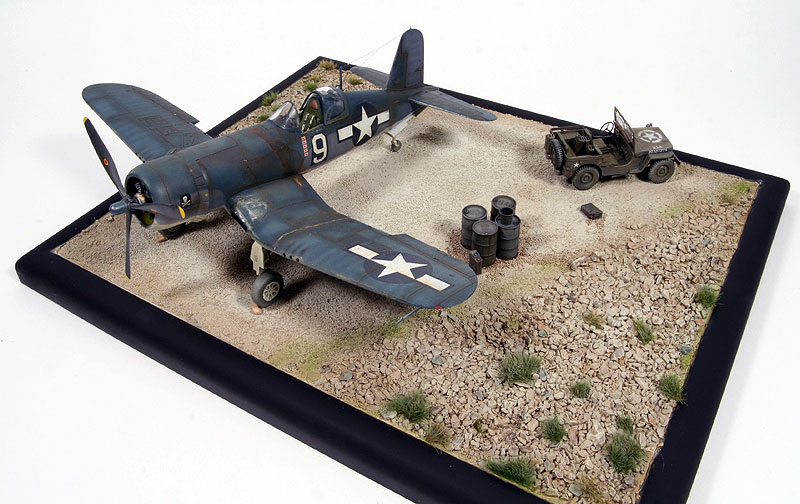
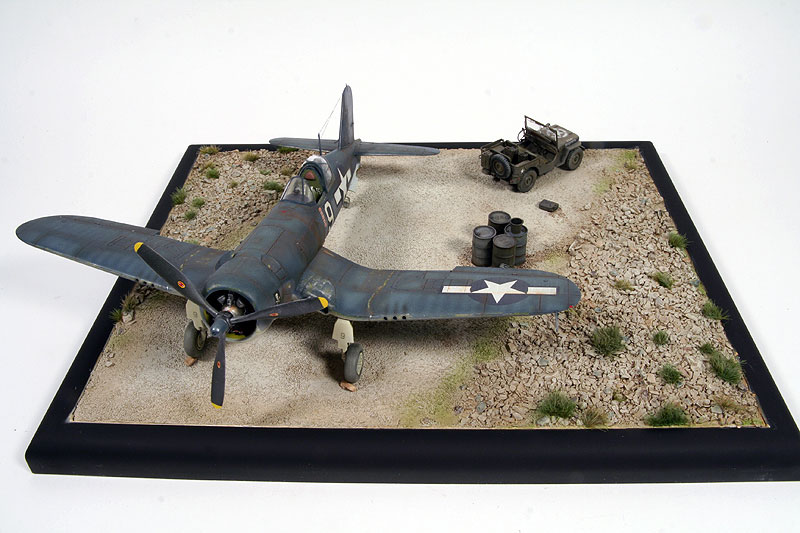
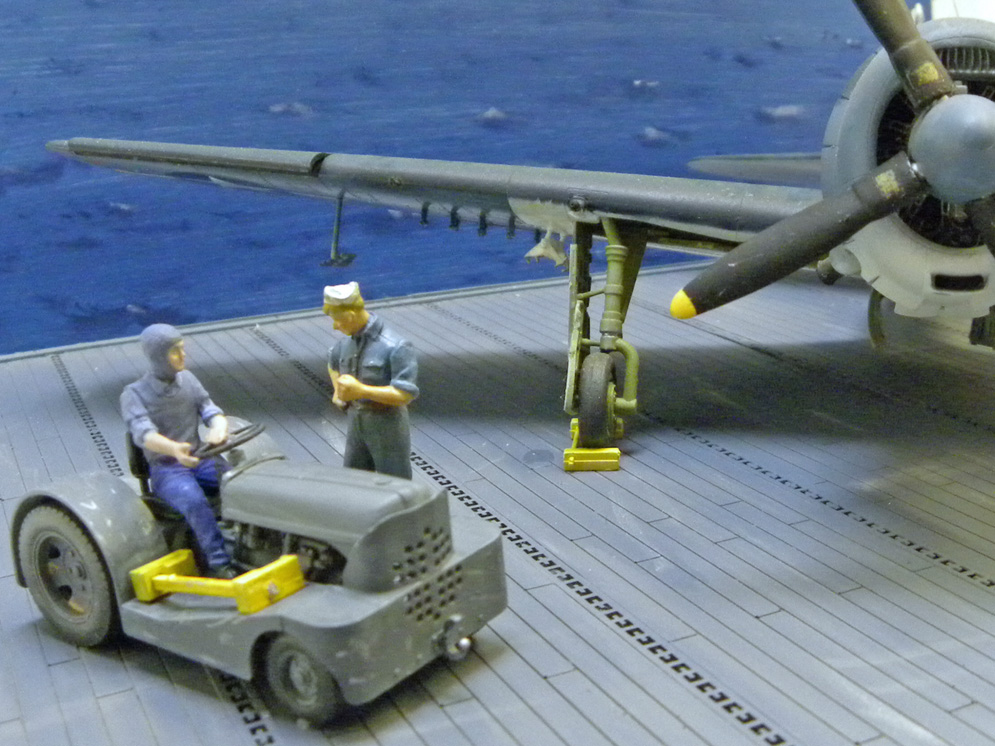
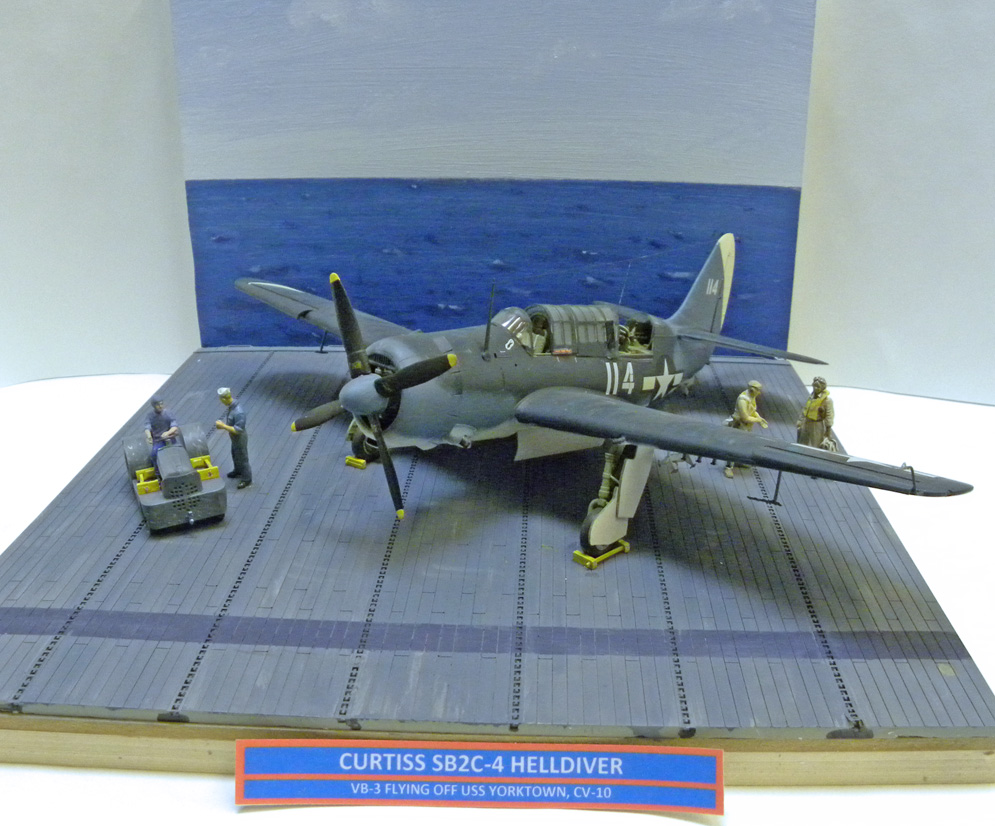
To put also a vehicle on the base plate came during the build.
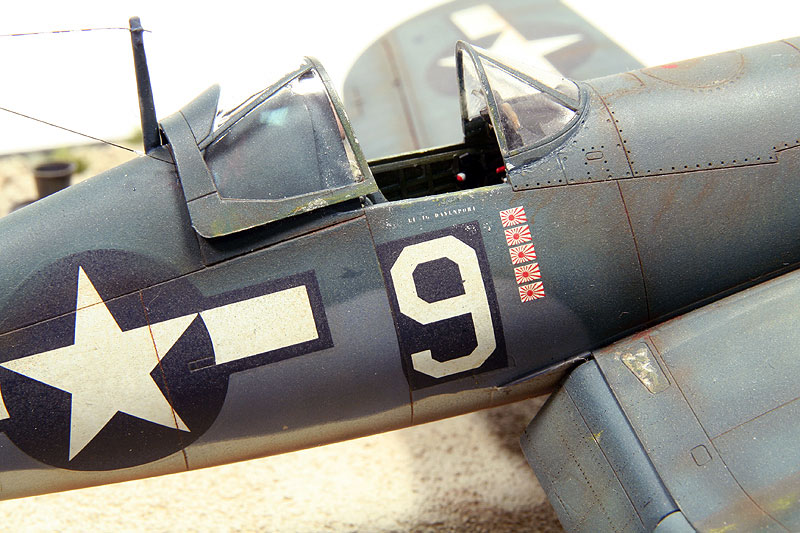
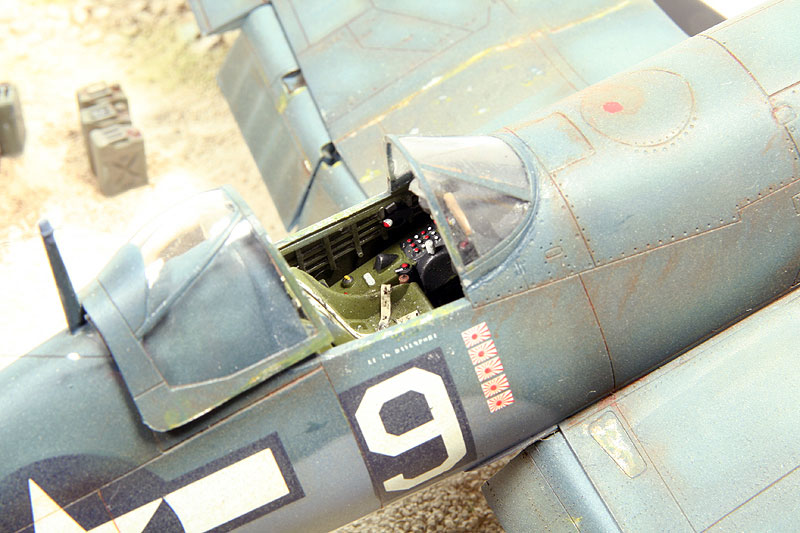
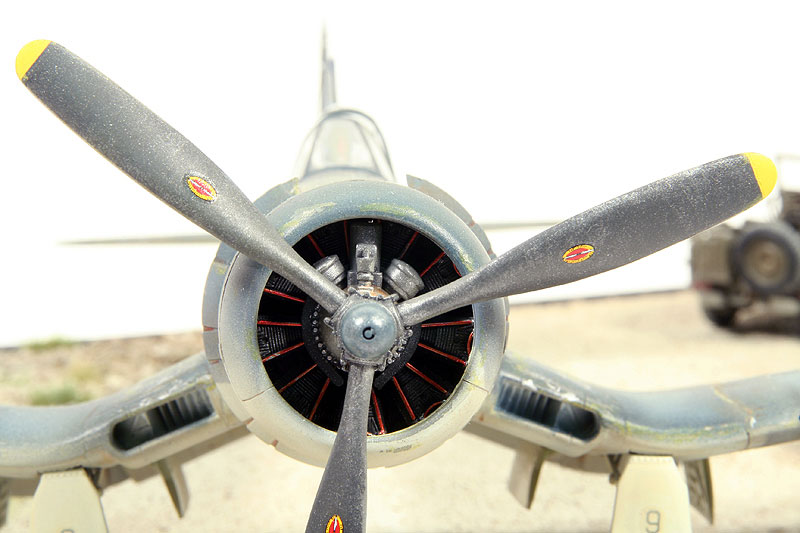
The Tamiya kit is a beauty, it was built just OOB with the addition of homemade seat belts. The only critical point during the build is that the wings attachment is not very strong, so be careful not to break that.
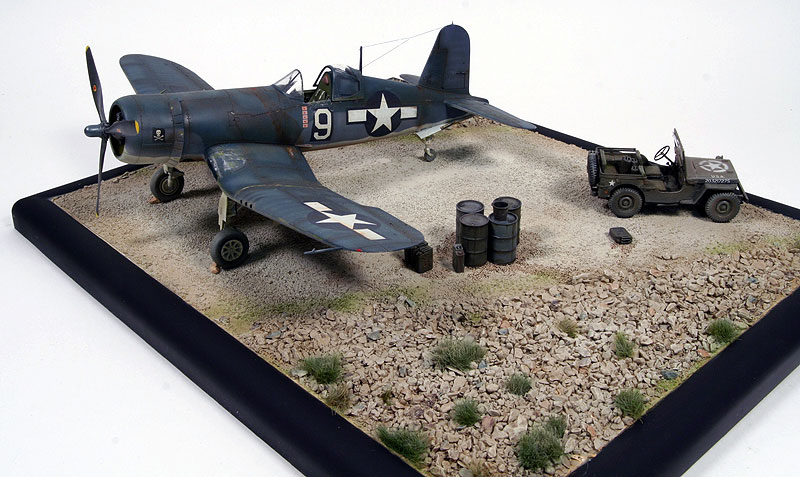
I normally use Tamiya and Gunze acrylic paints for spraying, Vallejo for brush painting. The paints I use for spraying are directly diluted in the bottle with Tamiya thinner (yellow cap) and some extra Tamiya gloss varnish.
To get some lighter and darker variations of the basic colors you have to mix them, you can use white and black but also flesh and on the bleu orange.
Then gloss varnish and the decals, sealed with another coat of varnish.
The final weathering is done with oil paints, to finish with a coat of matt varnish.
The vehicle is also Tamiya; the building and painting sequence was the same as with the Corsair.
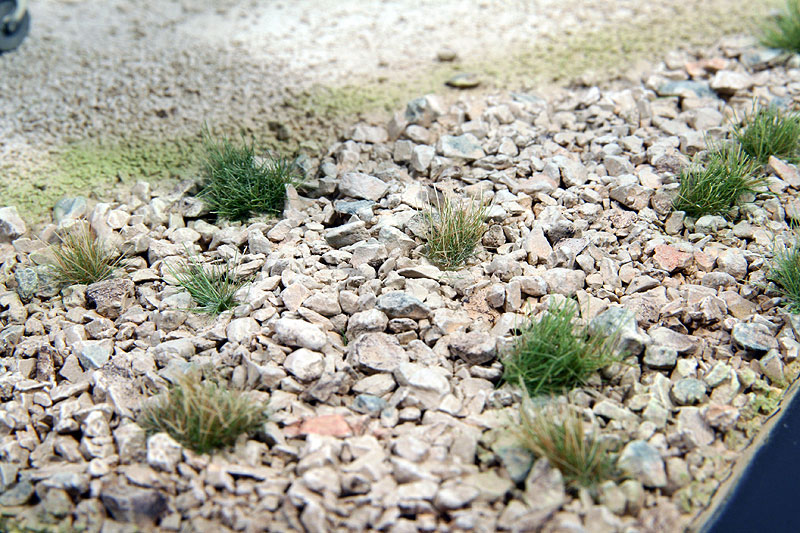
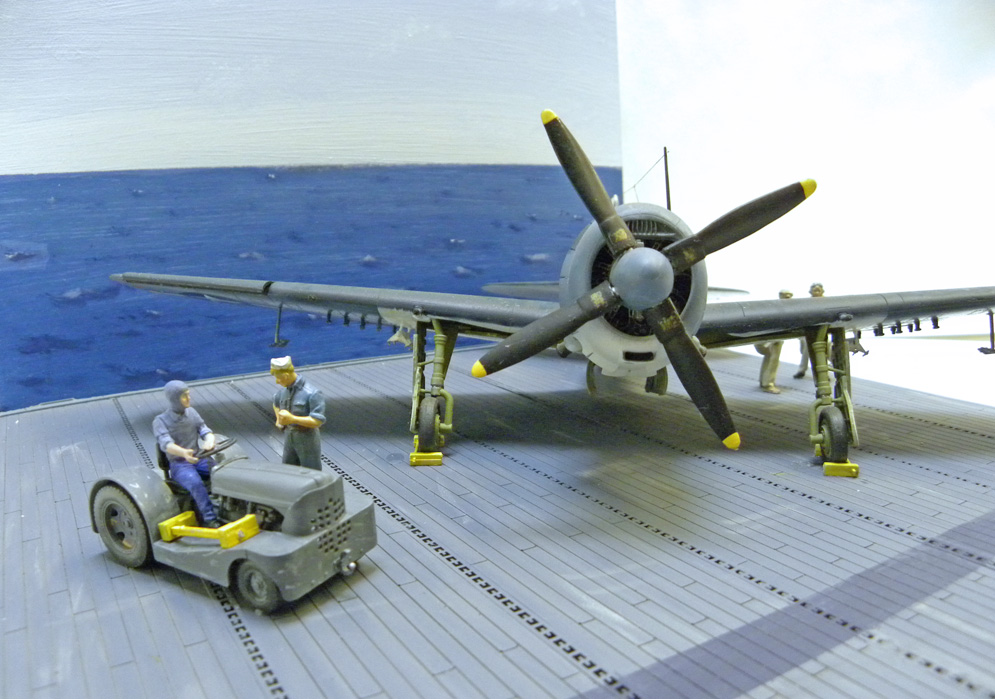
For the base I used plaster on a piece of wood, before the plaster was completely dry I added the sand, the small stones and here and there some grass. The bigger parts are pushed in and glued with white glue. Then the base was sprayed with different sand colors, later some stones are highlighted with the brush using really different tones and colors (i.e. very diluted light blue).
The last step is to bring it all together on the base plate.
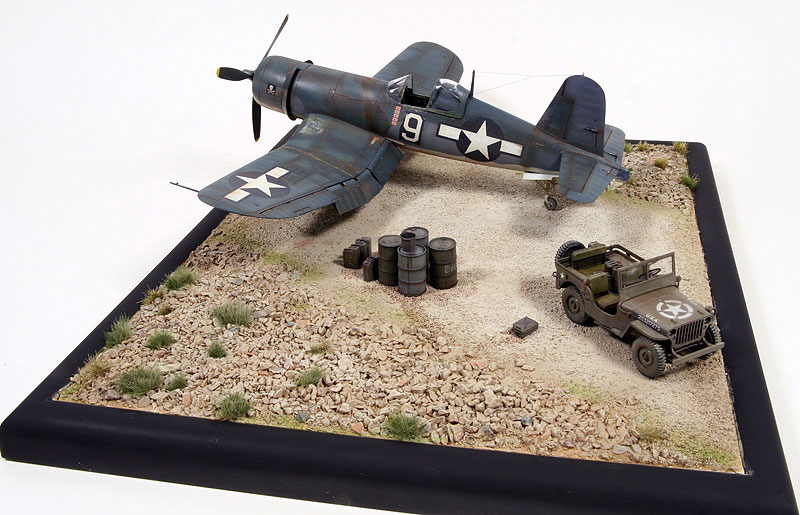

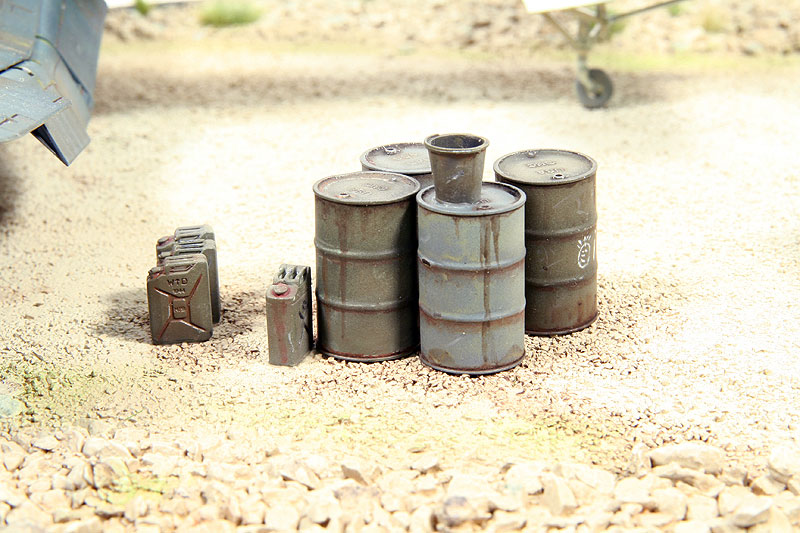
Almost all weathering is done using pastel chalks – the dust applied dry with a small flat brush.
Hope you like it?

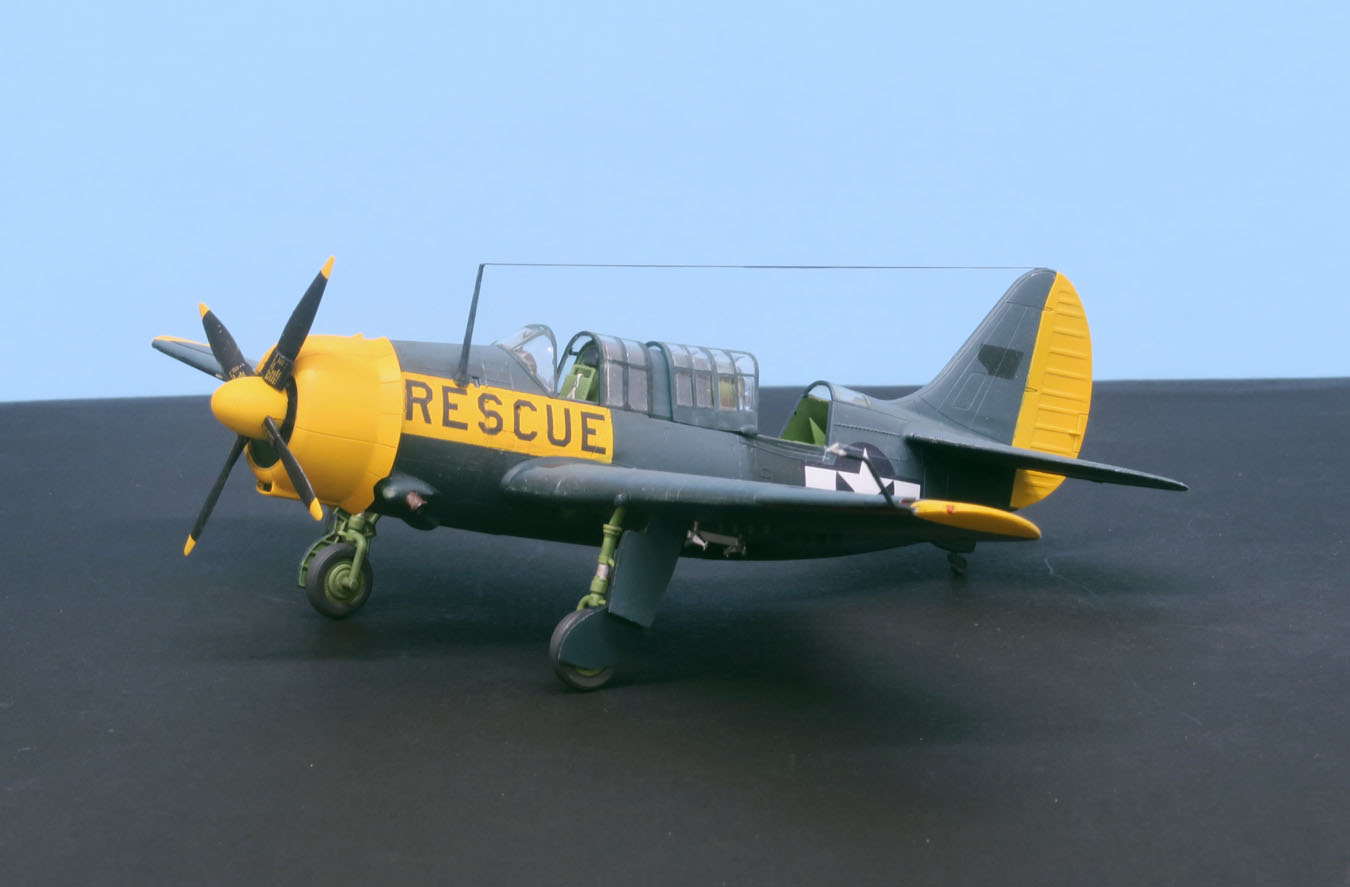
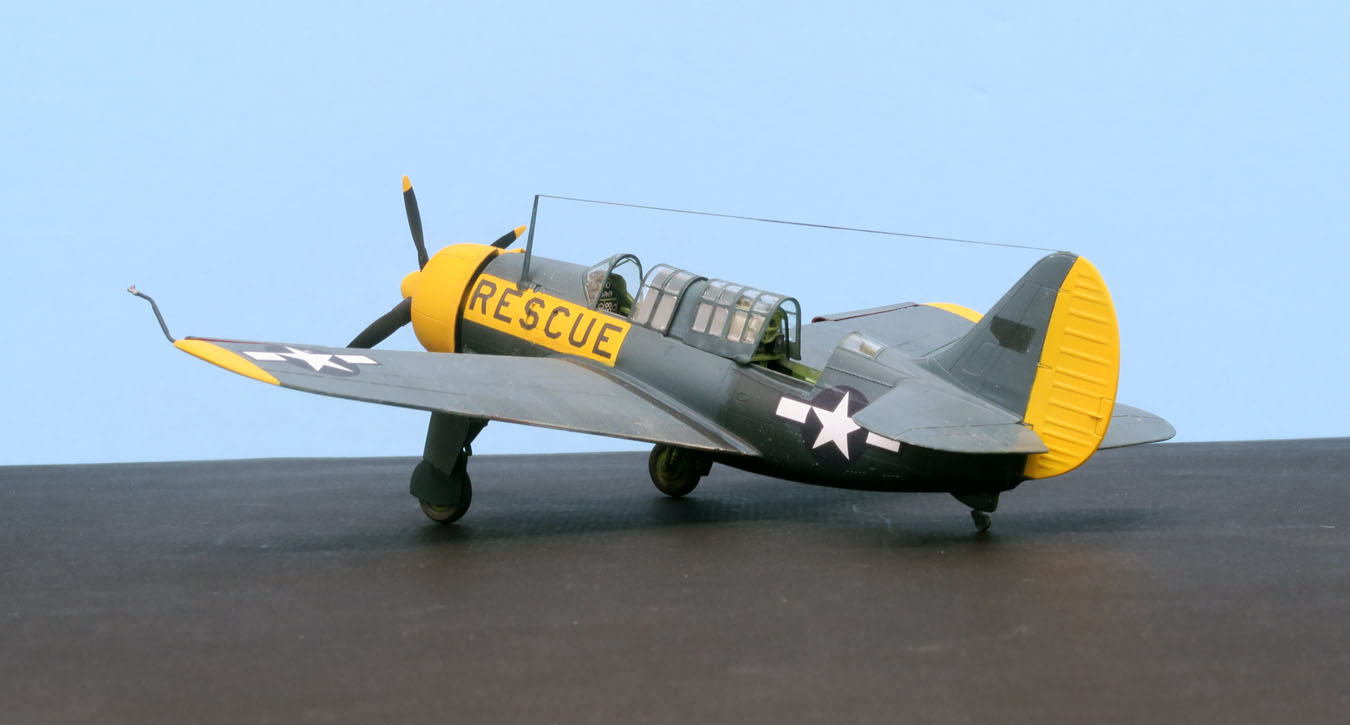
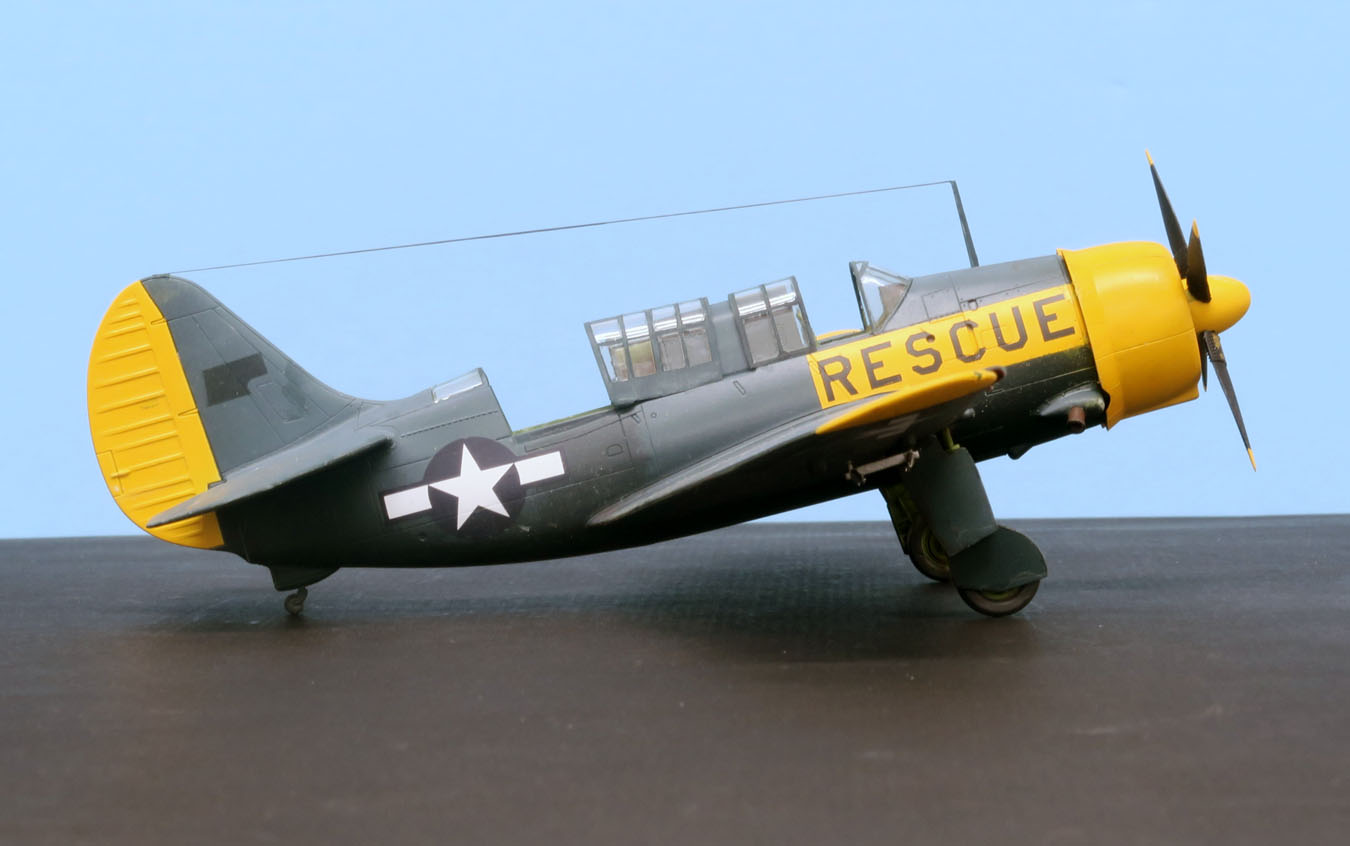
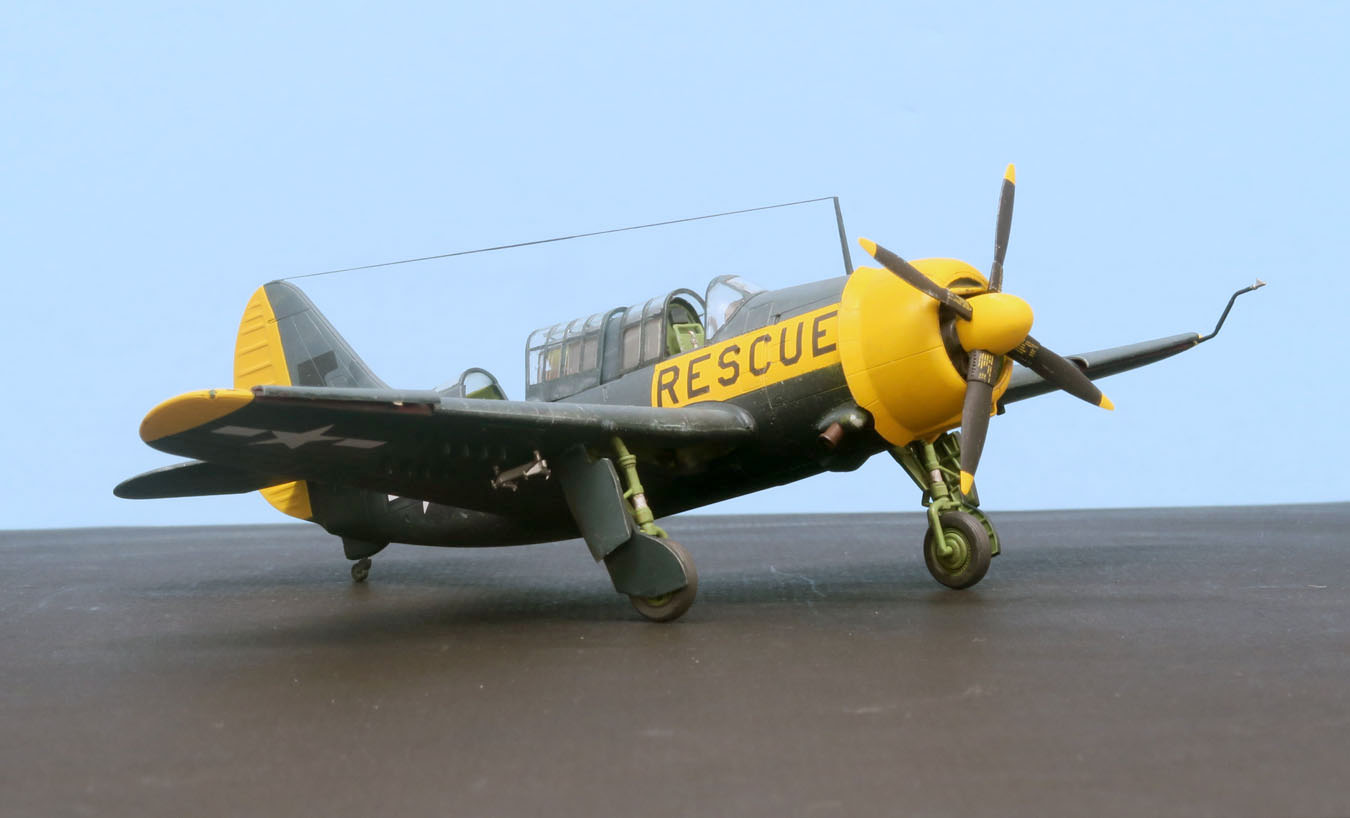
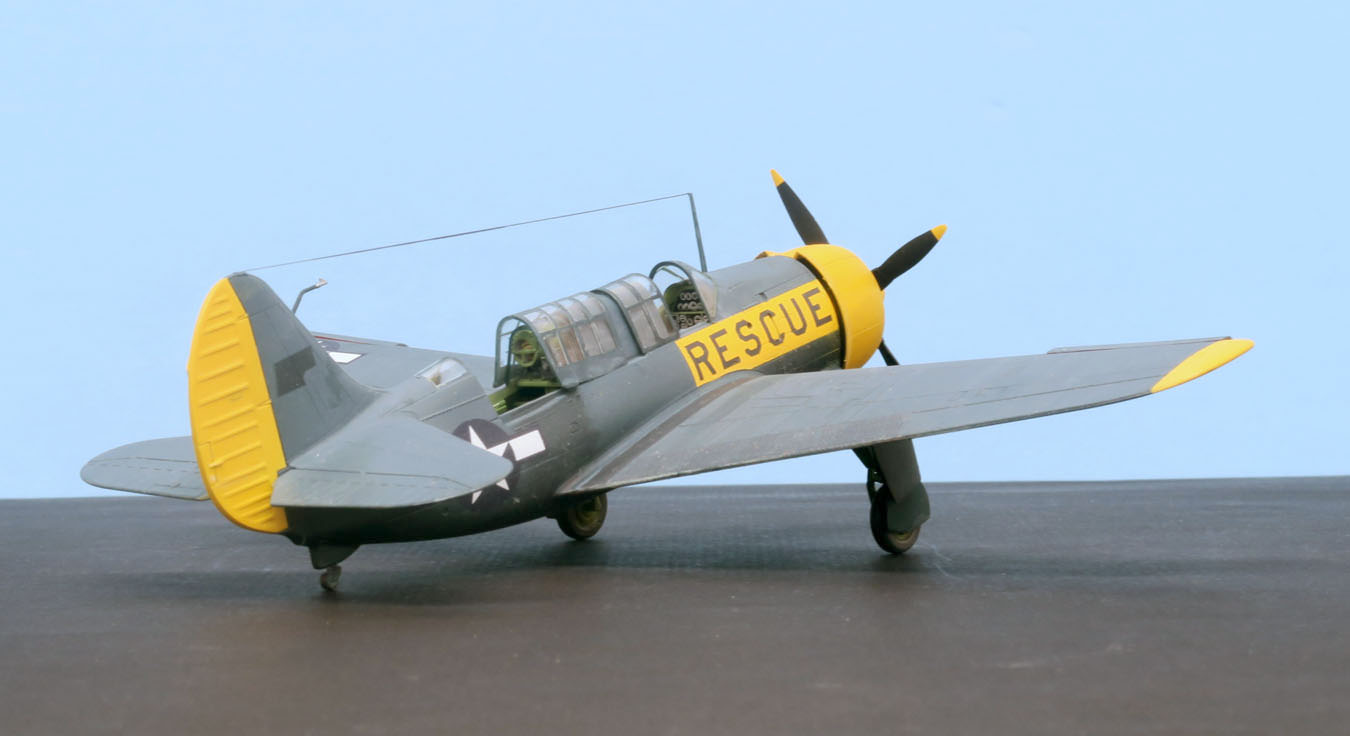
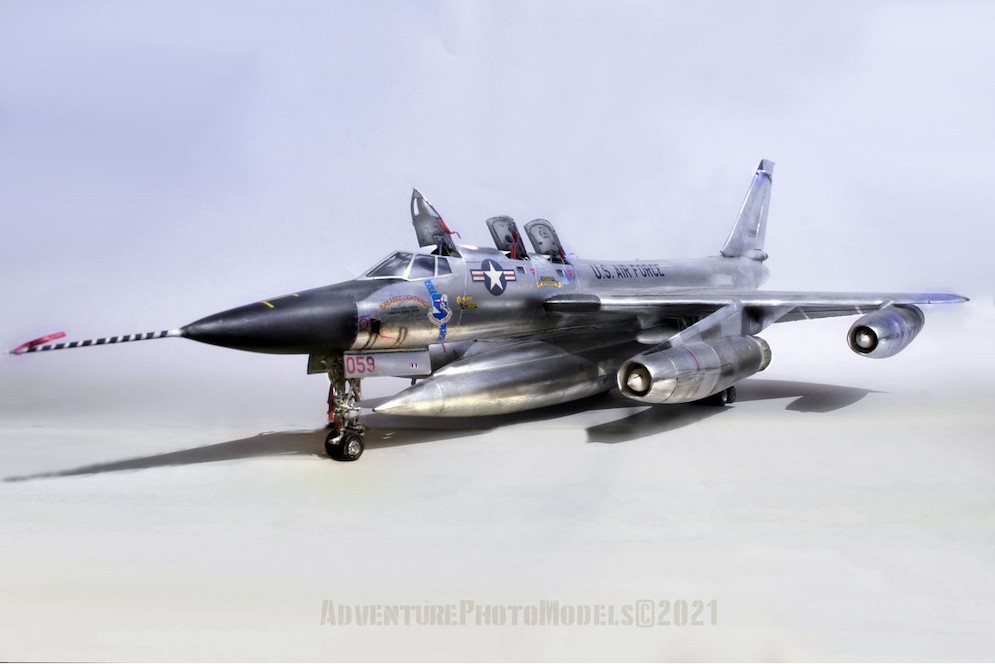
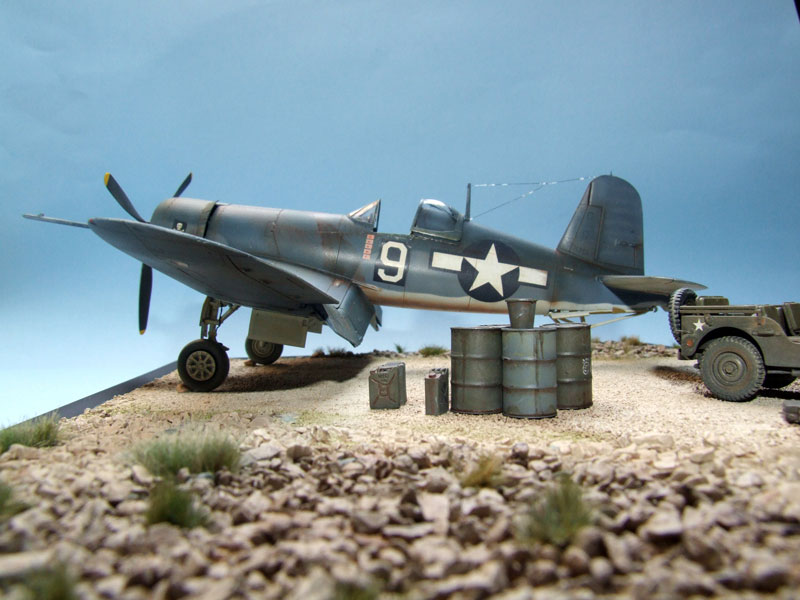
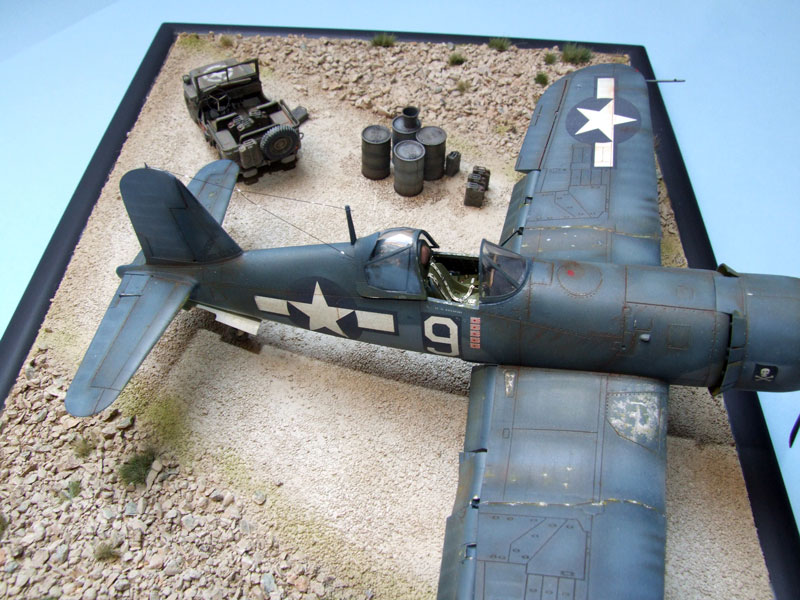
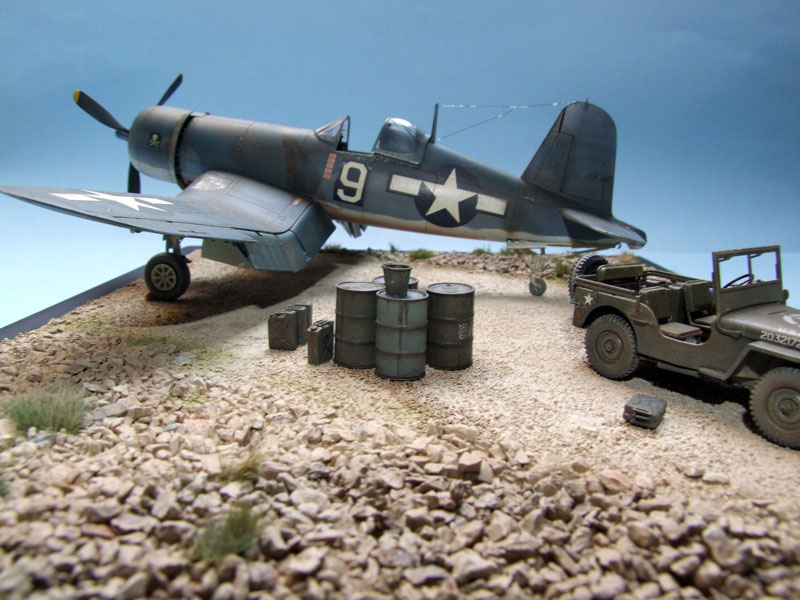
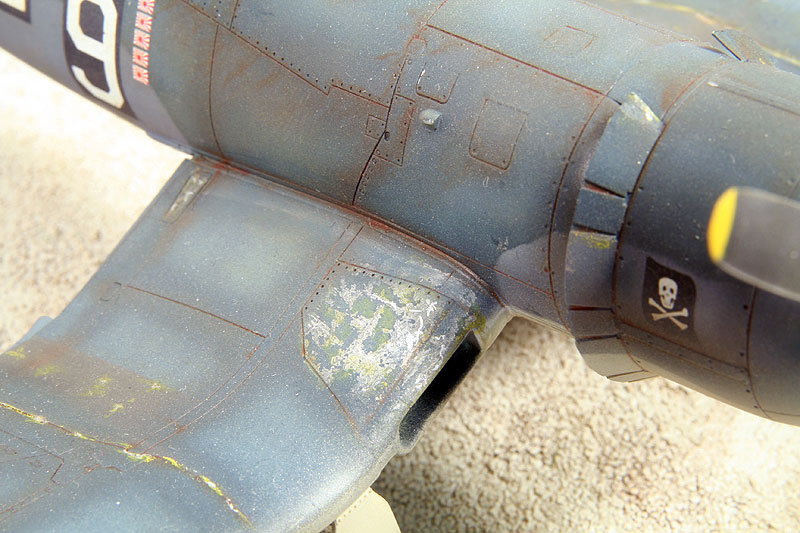
The Plane:
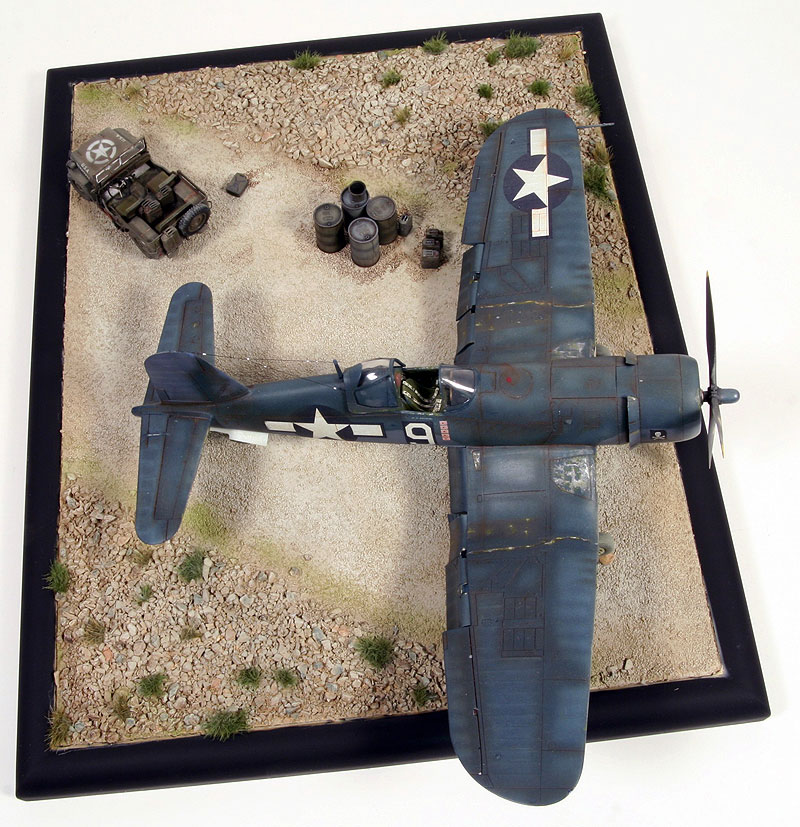
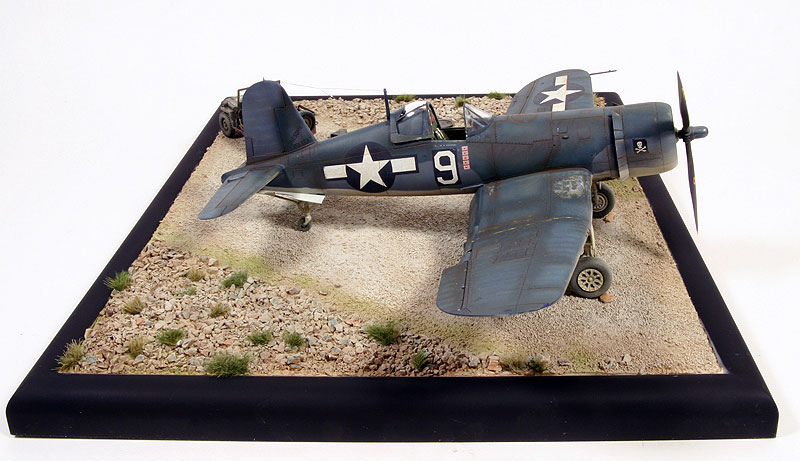
In the last year of the war, the Navy took worn out Helldivers, removed the armament, and configured them to use at rear-area bases as SAR aircraft. The idea was that the Helldiver could get a raft to men in the water in half the time, and drop them a raft to keep them alive while a vessel was en route to pick them up. The USCG AIRSTA San Diego acquired three of these in July of 1945 for evaluation. They were successful, but deemed too expensive to operate in the lean post-war years- so they were returned to the Navy in 1946.
The Model:
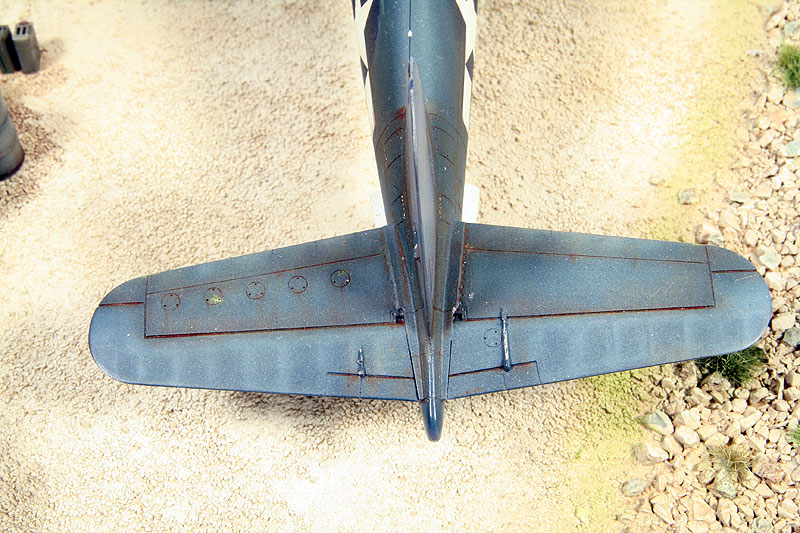
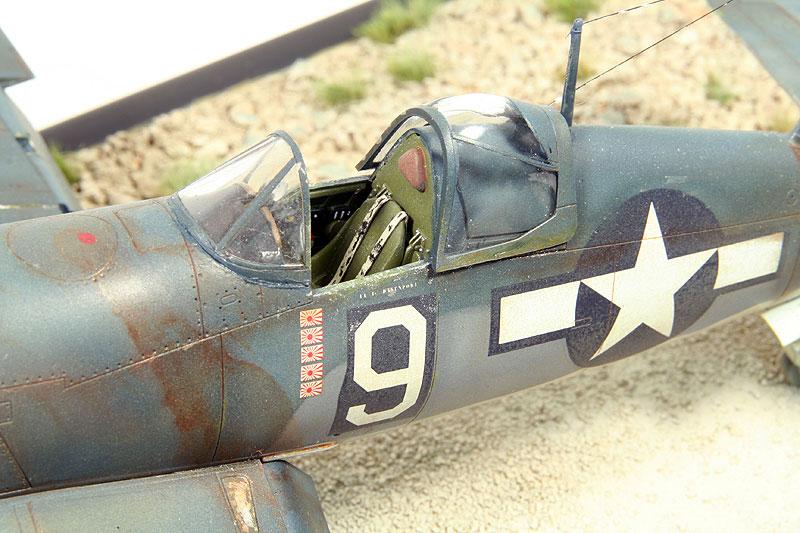
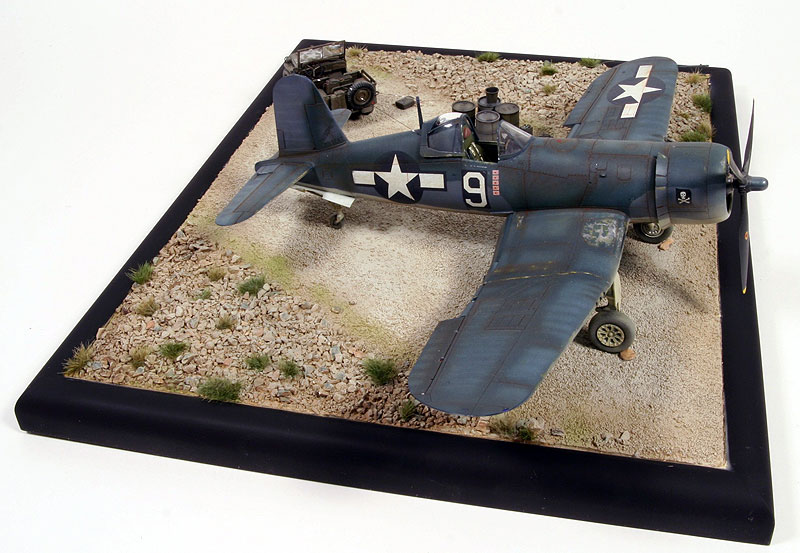
The Dark Sea Blue on these planes was well worn and faded – especially on the upper surfaces. The old squadron markings were painted out with fresh paint, and the the new markings were applied. The model was painted overall DSB, then the top sides were faded with multiple thin, lightened coats to show the fading.
The RESCUE markings were painted using a custom mask made on my Cameo4 cutting machine. I like the contrast of the bright unweathered markings on the old paint.
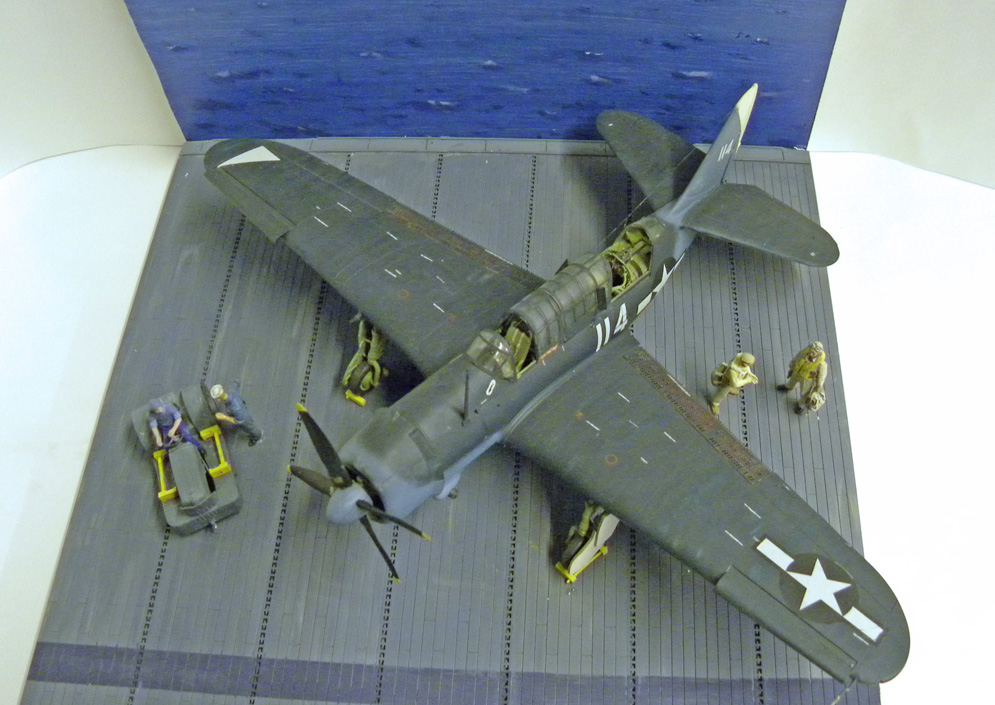
I made this kit many years ago and have just constructed the diorama to display it in.
Hope you like it, all the best .
Mike Moore

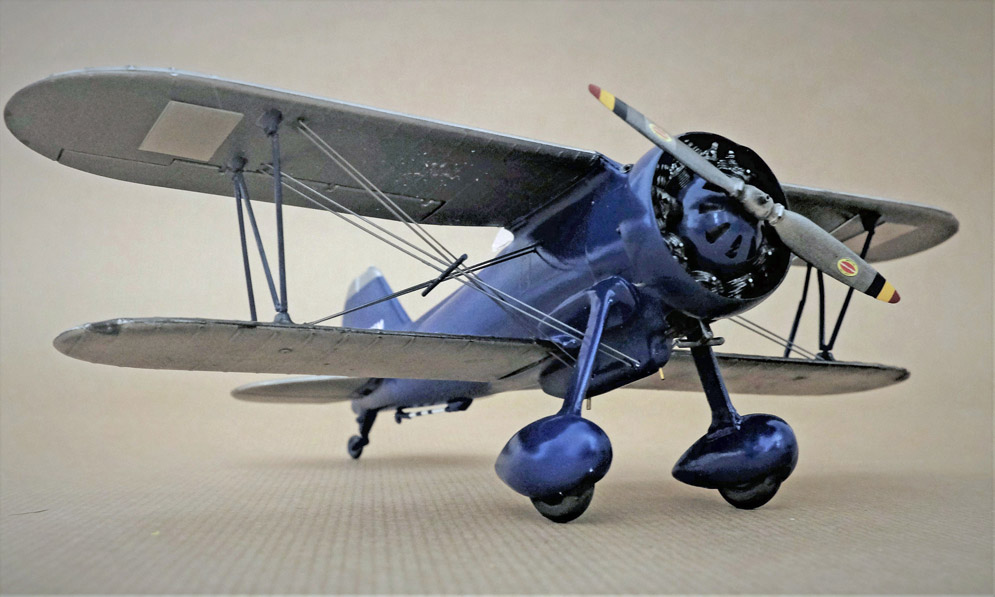
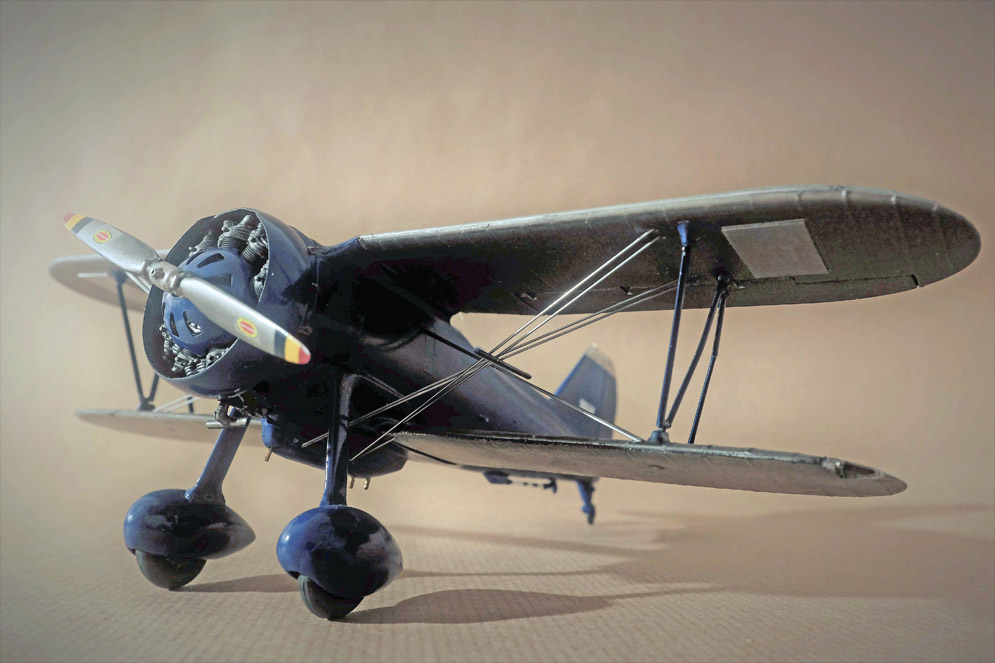
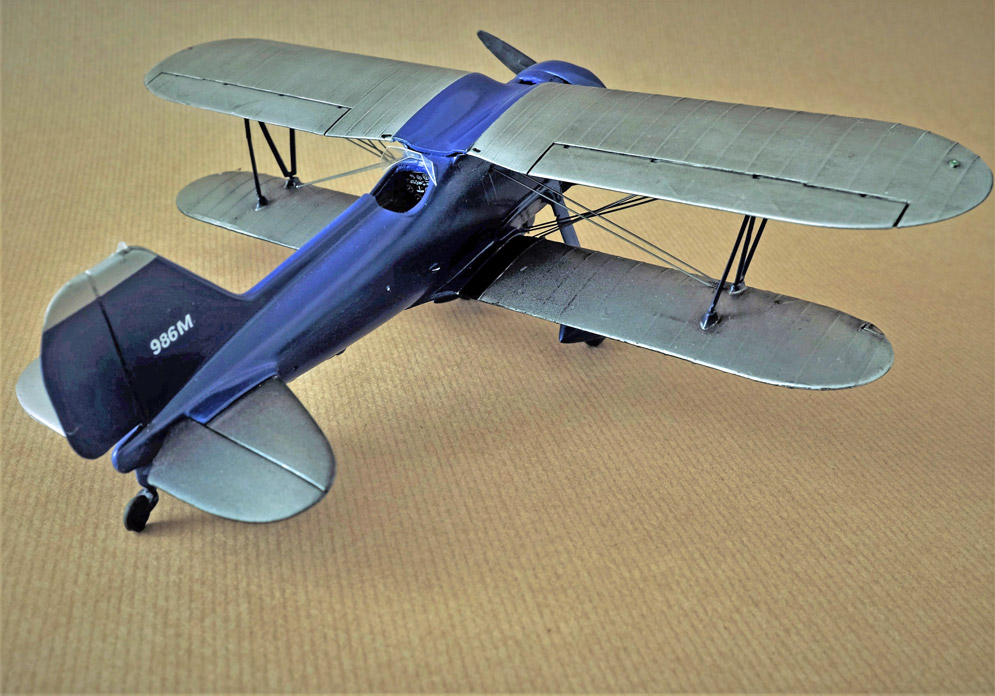
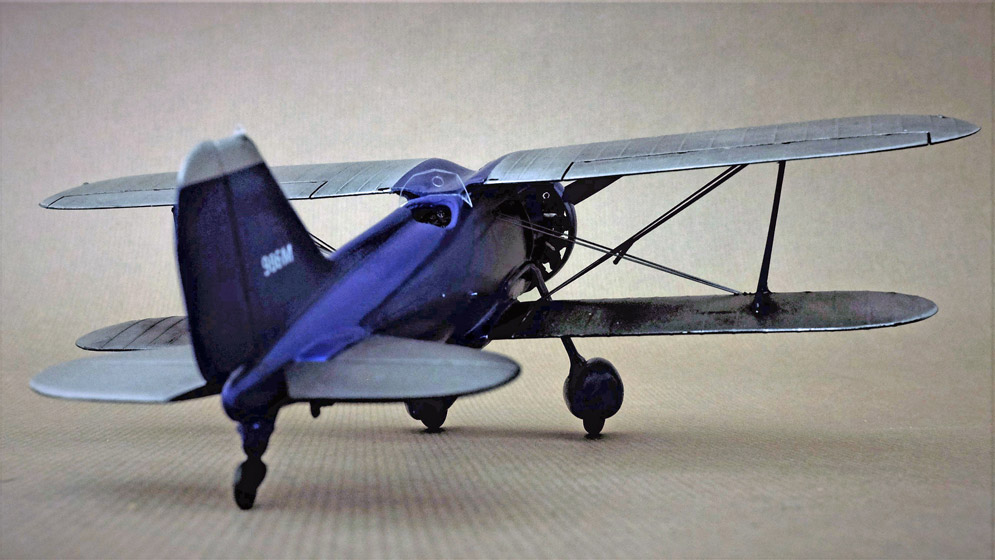
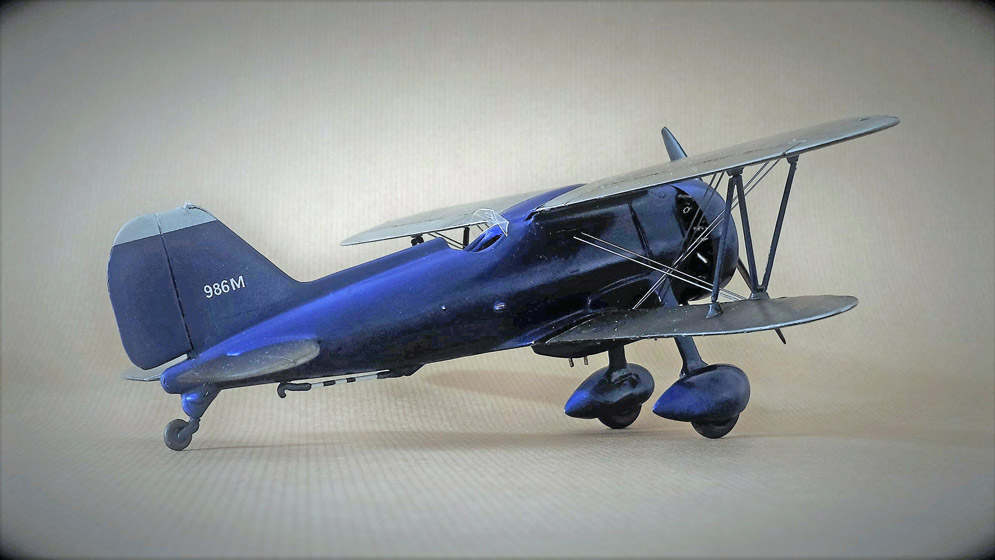
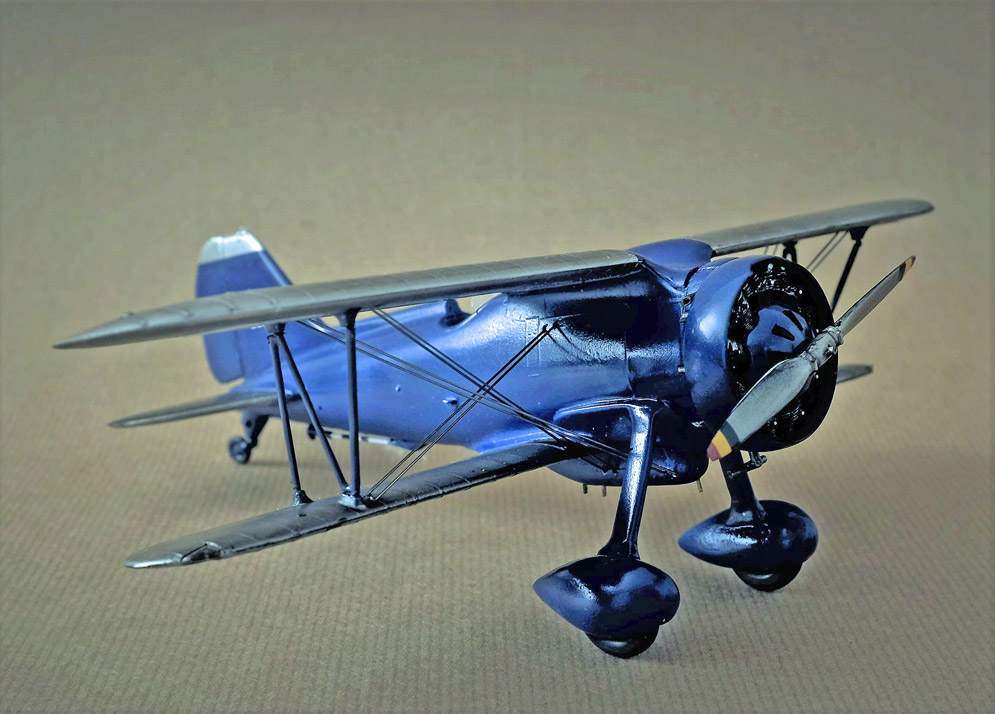
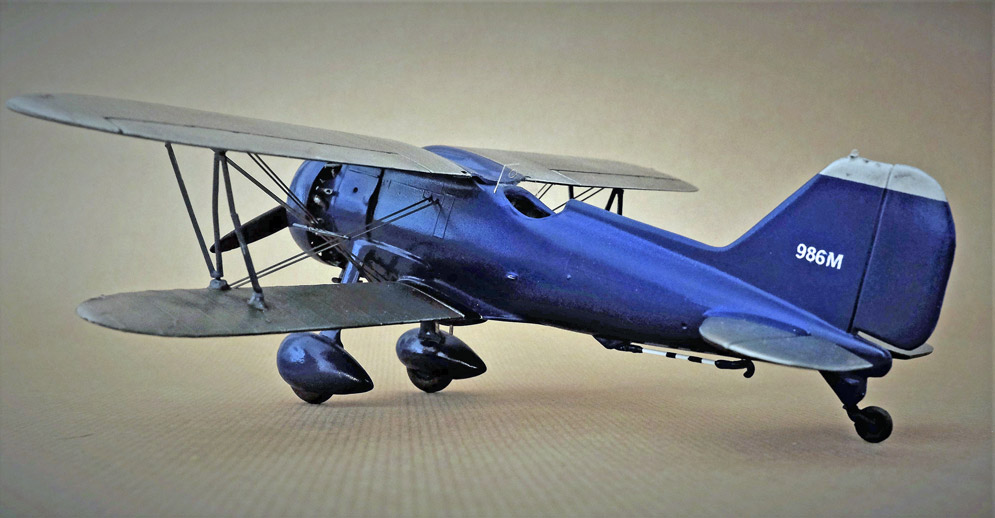
This is a Williams Bros 1:32 kit, with scratch built undercarriage and associated fuselage mods. It has Lone Star Models Resin Interior, plus some further detailing. Paints are Mr Hobby Acyrlics. Vallejo Metal Color and Daler Rowney Oils. Prop decals were found in the spares bin.
Best Regards, Alan R.
Galleries: A | B | B-2 | C | D-E | F | G | H | I-L | M | N-R | S | T-V | W-Z