• Skip to primary navigation
  • Skip to main content
  • Skip to primary sidebar

Scale Modelling Now

Scale Modelling Techniques

  • HOME
  • CONTENTS
    • What’s New
    • MODELLING WORKSHOPS
    • Techniques Bank
    • Aircraft
    • Classic Kit Builds
    • Armour
    • Podcasts
    • Sci-Fi, Fantasy, Space
    • Vehicles
    • Maritime
    • Figures
    • Dioramas
    • Gift Certificate
    • Book Reviews
  • WHAT WE OFFER
  • AREAS
    • Techniques Bank
    • Aircraft
    • Armour
    • Sci-Fi, Fantasy, Space
    • Vehicles
    • Maritime
    • Dioramas
    • Figures
  • FREE SAMPLES
  • EVENTS
  • ABOUT
  • TRADERS
  • CONTACT
  • LOGIN

Subscribers’ Gallery – Aircraft : ‘B’

January 23, 2014 By Adam Brown

Welcome to the Subscribers’ Aircraft Gallery.

Each submission has a ‘gallery’ of thumbnails which you can click on to see an enlarged image and read the short text describing the model – enjoy!

Gallery B

Galleries: A | B | B-2 | C | D-E | F | G | H | I-L | M | N-R | S | T-V | W-Z
Each submission has a ‘gallery’ of thumbnails which you can click on to see an enlarged image and read the short text describing the model – enjoy!

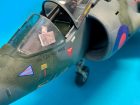
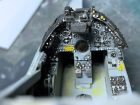
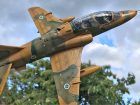
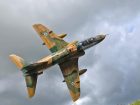
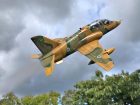
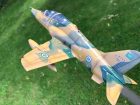
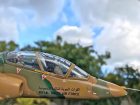
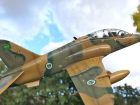
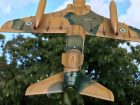
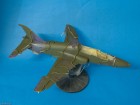
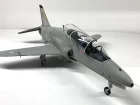
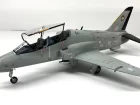
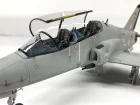
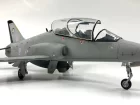
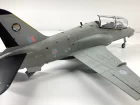
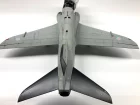
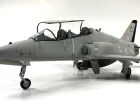
BAe Hawk RSAF by Imran Ashraf
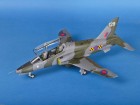
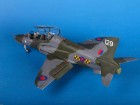
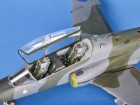
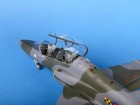
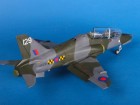
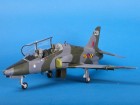
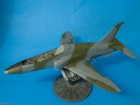
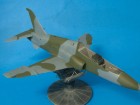
Here’s my build of a KSA (RSAF) BAe Hawk jet in 1:48 scale. Decals are homemade and I used Tamiya paints with Mr Surfacer 1200 as a primer. Hope you all like it?

Imran A.

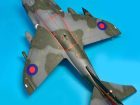
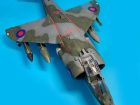
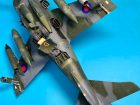
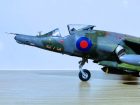
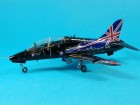
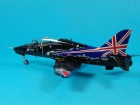
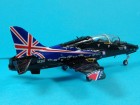
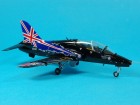
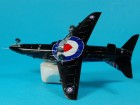
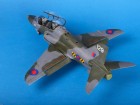
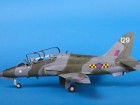
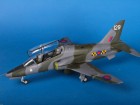
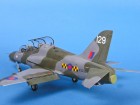
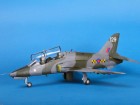
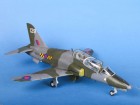
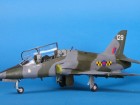
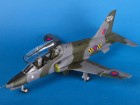
BAe Hawk T.Mk.1 by Mish Edwards
Here is my 1:72 Airfix BAe Hawk T.Mk.1 RAF Benevolent Fund Boxing XX307, No. 208 (R) Squadron, RAF Valley 2009. A lovely little kit and a superb set of decals. Finished with Tamiya X-18 and Klear.
Decals conformed and settled really well with minimal amounts of Micro Sol.
Thanks, Mish E.

BAe Hawk T Mk.1 by James Vaitkevicius
This is the 1:32 scale Revell Hawk T Mk.1
The kit uses the base model of the venerable Hawk T Mk.1 model with a few additional parts to enhance the detail. CMK flaps to represent the flaps in the blown position. These were a bit Akers to fit but look really good and with care fit with ease. A metal undercarriage set was used and fixed in place, though it is debatable if this is really required. Paragon MK 10 ejection seats were used and modified to suit the Hawk specification. A Master metal pitot tube was also fixed in place to replace the plastic kit part.

The model was finished using Gunze and Tamiya paints with the 63 Squadron decals being supplied by Xtradecal. The FOD guards were used to cover up the intakes and add a touch of realism with the straps being made from cut lengths of Tamiya tape. The model was finished with Vallejo flat varnish and weathered slightly with pastels.

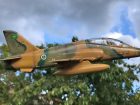
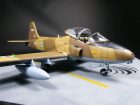
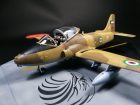
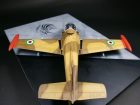
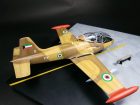
BAe Strikemaster by Freddie Rios
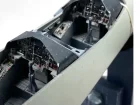
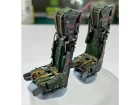
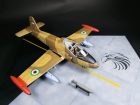
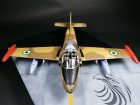
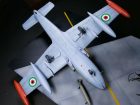
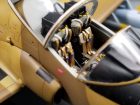
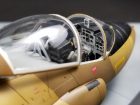
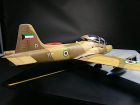
I present my latest work BAC STRIKEMASTER FUERZA AÉREA DE KUWAIT.

The model is by Fly in 1:48 scale… a very nice and simple kit .. It brings many pieces in resin and photo etch.

Hope you like it!
Freddie R.

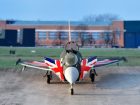
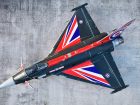
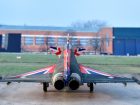
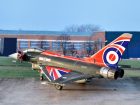
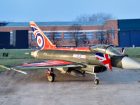
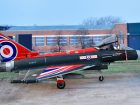
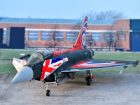
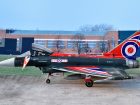
BAe Typhoon “Blackjack” 2021 RAF Display Aircraft by Stuart Mackay
Whilst at Marham Families Day in 2022 and always being impressed with the RAF Typhoon Display Team displays in 2021 and 2022, I saw the new boxing from Revell of their 1:48 Typhoon resplendent in the patriotic and in my opinion stunning 2021 “Blackjack” scheme, so not much effort was required to get the wallet out and take-home a copy of this kit!

A little while passed and at the beginning of November, I couldn’t resist any longer, so onto scalemodellingnow walk around pages to download the excellent images, as well as inspiration from Geoff’s own rendition of his review model, I was suitably inspired to mate Tamiya thin with Revell plastic!

I treated myself to the eduard Big Ed set of after-market photoetch (most obvious parts on the finished model being their seat belts and landing gear hydraulic lines) and this was incorporated at various stages of the build which progressed well and was straightforward enough for anyone with a modicum of experience. only real additions to the basic airframe were drilling various panels on the  fuselage and missile pods to simulate more prominent fasteners and filling the square fuselage panel lines with Mr Surfacer brushed into the panel recesses and rubbed back just to leave a hint of their presence.

When it came to painting, the Revell colour call outs leave a bit to be desired, (with lots of mixing of their own brand of paints) so I consulted lots of photos of the actual aircraft and settled on Tamiya Nato Black for the majority of the airframe with Tamiya flat white for the front canards. I did, however, settle on using the Revell Fire Red gloss for the spine and fin as all my other reds in stock didn’t match the red on the excellent Cartograf decal sheet. AK’s ghost grey and Have Glass Grey were used at various places too. The Jet exhausts were Alclad2 various shades of aluminium and steel plus some jet exhaust thrown i too which was also used on the fuselage APU jet efflux on the wing/fuselage joint.

The Nato Black was given a thorough buffing to produce a shine suitable for the decals which went on fine, but do check your references, as some of the stencils in the instructions (fuselage NO STEP on the wing fuselage joint for example) do not appear on the actual aircraft, but Micro Sol came in handy when removing or repositioning the small stuff.
 
I had been puzzling over how to paint the elevon leading edges which are quite prominent on the real aircraft and on the Hannants stand at Telford this year, saw some decals in strips of varying widths, they don’t do a light grey colour set, but settled on silver, which also came in handy when adding the windscreen de-icing detail and also the wing to fuselage strip at the inboard root.

A bit of dry brushing around the canopy and electronics and grey filters into the gear bays were the only weathering that was added to this immaculately maintained jet, which was finished by a coat of Johnsons Klear all over (the Union flags, spine and fin are Gloss and then a quick mask up and Alclad Flat sprayed over the black and grey areas to give a nice, even finish.

Any cock-up along the way? Yes, like forgetting to install the fuselage APU inlet, so major fishing required to install that after the fuselage was complete and finally install the main gear legs the wrong way around, which required some careful surgery to correct as you see it now!

Build another?? Too right, but give me a few weeks as I have a brace of Italeri F35s to do in the Marham schemes oh and there is that eduard Tempest 2 oh and the Border 1:32 Lanc staring at me! 

Great stuff Revell, good product, accurate and builds into a stunning model!
Stuart M.

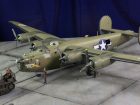
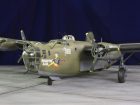
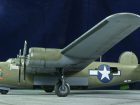
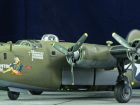
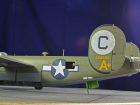
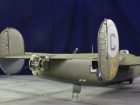
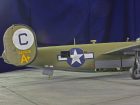
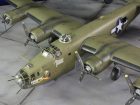
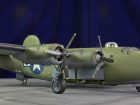
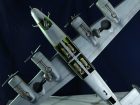
B-24D Liberator by Stuart Mackay
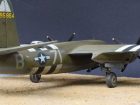
Model is a 1:48 Revell/Monogram B-24D.

A good friend of mine, who is a great B-24 enthusiast and fellow member of the “Friends of the Eighth”, Bob Dance, received this as an Eightieth Birthday present and five years on it was still unmade, so I said to Bob, let me build it for your 85th Birthday!

Luckily, the kit decals included an aircraft which flew with the 389th Bomb Group from RAF Hethel (US Station 114), where Bob still works today as Chief Mechanic with Classic Team Lotus. Bob still runs the same Lotus 25 that he built and ran for Jim Clark when they won the F1 World Championship in 1965!

This was built straight out of the box, being a kit from the mid eighties, panel line detail is raised, but not too obtrusive. The biggest single job was masking the canopy, nose transparency and rear turret glazing, but this was eased by using the excellent Eduard Mask set. Eduard seat belts were also added to the cockpit seats and Bombardier station.

Paints used were Vallejo Chromate Green for the interior, Halford matt black as a surface primer, Tamiya Neutral Grey for the underside, Rubber Black for the tyres and de-icer boots and green-yellow for the prop tips. Xtracolor enamels were used for the Olive Drab on the lower fuselage and Faded Olive Drab for the upper surfaces of wings, tail and upper fuselage blended into the standard Olive Drab.
Exhausts were painted using various shades of Alclad2 and exhaust stains on the upper and lower surfaces also were from Alclad2.

The Cletrac tractor was undercoated black and then Tamiya Khaki Drab used with Olive Drab highlights and finally a light dry brushing with a silver to highlight edges.

Figures were undercoated black and the uniforms dry brushed with khaki and browns with a flesh tone used on faces and hands followed by a brown wash to highlight features.

I made the base from a sheet of Blockboard sprayed with Halfords grey primer, a water based marked was used to highlight joints and then these were over-sprayed with a an acrylic smoke paint to give the surface a texture…this proved to be a very quick method to simulate a concrete pan and only took about 20 minutes from start to finish!

Stuart M.

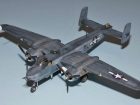
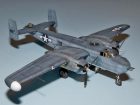
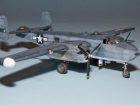
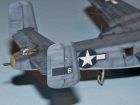
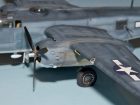
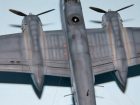
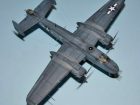
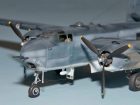
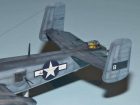
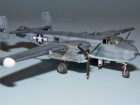
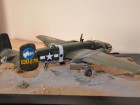
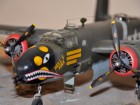
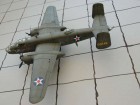
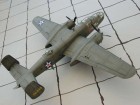
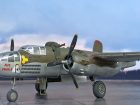
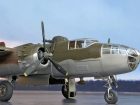
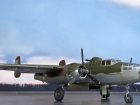
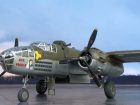
B-25H modified to PBJ-1H by Richard VanZandt
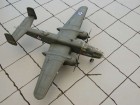
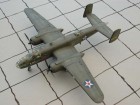
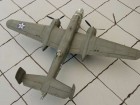
This is my 1:72 Hasegawa B-25H modified to a PBJ-1H, top turret removed and smash molded astrodome, wing tip radar from P-51 drop tank, scratch built LORAL antenna on nose relocated other antennas.

Hope you all like it!
Richard VanZ.

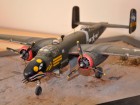
B-25 Mitchell by Frazer Clark
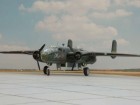
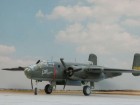
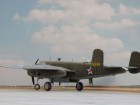
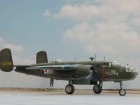
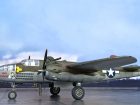
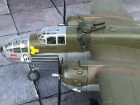
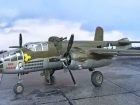
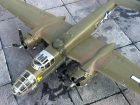
Here is my Italeri B25 Mitchell. It’s painted with Tamiya acrylics and the kit decals, OOB apart from cutting and repositioning the control surfaces. It was a reasonably straightforward build, but the 3-part nose is a bit tricky to get to shape up right.
Frazer Clark

B-25J Mitchell by Geoff Coughlin
Here’s one I did a while back made from the Monogram kit that’s been re-boxed by Revell. I much preferred this kit to the Accurate Miniatures B-25 that was pretty hateful to build for all sorts of reasons!

The Monogram kit is excellent, fits well and I just wanted to enhance it by:
• re-scribing the raised panel lines
• adding resin wheels
• adding aerial wires from fishing line
• aftermarket decals
• tarpaulin over the upper gun turret from cling film – this works really well.

Really enjoyable build!
Geoff C.

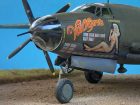
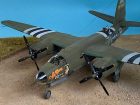
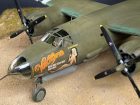
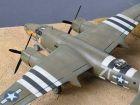
B-26 Marauder by Sung Hee Yoon
Here’s my finished model of the B-26 Maruader made from the old 1:48 scale Monogram kit – hope you all like it.
Sung Hee Y.

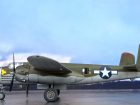
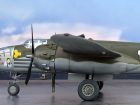
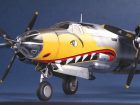
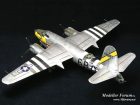
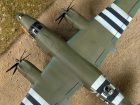
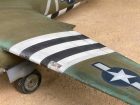
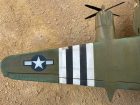
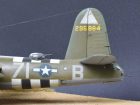
B-26B Marauder by Richard Coombe
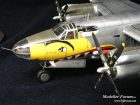
Monogram’s 1978 moulding of the handsome B-26B Marauder in 1:48 scale is the perfect kit for anyone who enjoys extended sessions of fettling, filling and sanding (on a repeat cycle). Here’s a summary of the extra work done:
• raised panel lines re-scribed and airframe riveted
• rudder cut out and offset to the left
• front bulkhead scratch built from plastic card (this is missing from the standard kit)
• engines, kit wheels and gun barrels replaced with resin after-market items
• engines detailed with wire & plastic rod
• wing tip lights made from clear plastic sprue; landing lights reworked with lenses from Little Cars
• addition of photo etched seat belts
• apart from the nose art, the yellow serial code & the propeller insignia, all markings were sprayed using Montex masks for the national insignia and home-made masks for the fuselage codes
• the biggest challenge was the fit in the tail gunner area. The work involved sawing off the over-extended ‘horn’ in the transparency and reshaping with Milliput.

Best wishes, Richard C.

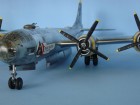
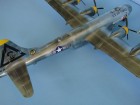
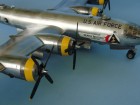
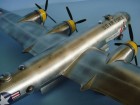
B-29A Superfortress by Mick Stephen

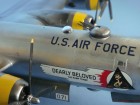
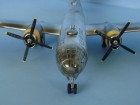
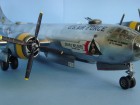
This is the Academy 1:72 Boeing B-29A built out of the box, but not without some problems. Construction is pretty straightforward for such a large kit and the interior is particularly well detailed, although you don’t get to see much in the end. The problem started when applying the gloss black undercoat for the Alclad II metal surfaces. After spraying there were some white blooming marks over the nose and up the tail, which left as they were would spoil the metal finish. I suspect this was caused by a change in humidity as I dimly recall a thunderstorm passing though and the air conditioner working overtime, the joys of living in the tropics I suppose?

After an initial attempt at re-sanding the affected areas it soon became apparent that the whole model would have to be tackled again, a daunting prospect, so back into the stash it went to lie there untouched for over a year. Clearing the bench of my last project it was time to clean out the stash (to make room in the cupboard for more recent purchases) and finally deal with this problem. Three days and a multitude of sanding grade papers later it was ready to try again with the gloss black. This time it worked and the Alclad went on a treat.

The base is Alclad II Chrome, followed by Alclad II Polished Aluminium post-shaded across the main panel lines and along the flaps. A final buff with a fine lint free cloth brought out the surfaces and blended everything in. As my first attempt at metal surfaces on such a large project, this was a learning experience.

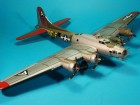
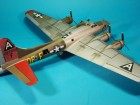
B-17G Flying Fortress by Mish Edwards
Loving the site, here’s another one for the Gallery …

  • Revell 1:72 B-17G ‘Little Miss Mischief’
  • Paint: Tamiya, Gunze, Model Air, Citadel, Lifecolor
  • No Extras, straight out of the box

Thanks, Mish

B-25B Mitchell Doolittle Raider by Jürgen Jaacks
The model is a B-25B Mitchell from Accurate Miniatures in scale 1:48 scale. I built it out of the box as a Doolittle Raider; after all it is still a very good kit with more than sufficient detail on the surfaces and also in the cockpit.

Building it was fun also because of the good fit.
The only minus was the too small opening in front of the engine cowlings, which was corrected.

I tried to make the boring camouflage a little more interesting by adding some wear and tear; however these birds did not serve very long as all of them crashed purposely after the raid on Japan!
Jürgen Jaacks

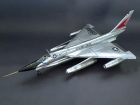
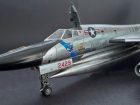
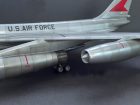
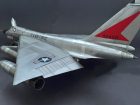
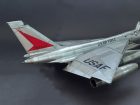
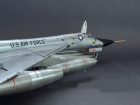
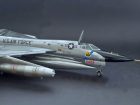
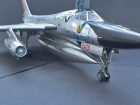
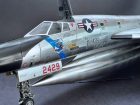
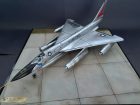
B-58A Hustler by Luiz Fernando Martini
Finally the model is finished – after 1 month waiting for some detailing sets.

Sets used:
• turbines from Aires
• pitot tube from Master
• landing gear from Scale Aircraft Conversions and
• atomic bombs B-43A from Brassin.

Painting made with special chrome automotive paint.

Model made to order.
Fernando M.

Bf 109E-4 by Andrew Johnson
Please find enclosed my Airfix 1:72 Emil. It has been dressed up with an Aires cockpit, Master brass gun barrels, SBS exhausts and wheels. The decals came from a range of sources.

I wanted to do a I/JG52 aircraft whose markings you don’t see so often for 1940’s 109s. This is how I believe their aircraft looked before the yellow paint arrived in mid-August 1940. I was inspired by the memoirs of the pilot in this Gruppe Ulrich Steinhilper, translated into English as ‘Spitfire on my tail’. He was shot down towards the end of the Battle by which time only around 1/3 of their original pilots who started the battle remained, much like their English counterparts.

I did struggle somewhat with getting the nose cowling to fit and the propeller cone to come together but am pleased with the overall look.

Hope you like it?
Andrew Johnson

Bf 109E-7 by Andrea Baldi
She’s finished! 😊 Airfix Bf 109 E-7 1:72 scale, Eduard photo-etched parts, Barracuda Studios wheels, Master gun barrels.

Cheers!
Andrea B.

Bf 109E by Michael Chilestone
I thought you might like one of my favourite models for the Subscribers’ Gallery. It’s not my best model, it’s not the latest I’ve completed, but I think it’s different.

There are several well-known photos of this aircraft to be found on the net. It’s a Bf 109E, of course, built by Erla Mascinenwerke as W/Nr. 4101 in September 1940. It became Yellow 8 of 6./JG52, then Black 12 of 2./JG51. Shot down and force-landed at Manston 27/11/1940, it was extensively tested, then went to 1426 (Enemy Aircraft) Flt. It’s now back as “Black 12” in the RAFM. The canopy is missing because it was removed to accommodate a very tall test pilot while the aircraft was being tested at Rolls-Royce: I don’t know how one mislays a Bf 109 canopy, but it went missing apparently.
http://www.kenthistoryforum.co.uk/index.php?topic=18922.0

The kit was an old Hasegawa 1:32 – dating from the 1970s I think – that I picked up cheap at a show. All I added was a set of HGW fabric seat belts and some Airscale instrument decals – the rest of the markings were made up from generics. Weathering was done with pastels, although I fear I may have overdone the streaking. I’ve also included some monochrome photos as well as the colour ones.

Hope you like it. Regards,
Michael Chilestone

Bf-109E-4/B by Ian Ruscoe
This is one of Eduard’s 1:32nd scale Bf109’s, to represent the aircraft flown by Fw. Erhardt Pankratz of 6.(Schlacht)/LG 2. The aircraft was lost when it was “bounced” on the 5th October 1940 by Spitfires from 603 Sqd. RAF and forced to belly-land near Peasmarsh, Sussex.

I used the Eduard “Brassin” updates for the engine and gun bays, and an Aires radio compartment (small access panel removed on fuselage where cross marking is located on port side of fuselage). The “plumbing” around engine and sections of gun bay’s were applied myself made from stretched sprue.

Hope you all like it!
Ian R.

Bf109E-4, 1.24 by Andrew Popenstien Pope
Here’s my Airfix 1:24 Bf109E 9/JG 26 August 1940 – a growing collection along with my 1:24 hawker Hurricane recently added to the SMN Gallery.

Hope you all like it.
Andrew PP.

Bf109F-2 JG2 by Stuart Mackay
Here’s my 1:48 Revell Bf109 F-2 modelled on Assi Hahn’s machine from JG2 in France 1941.

This is Revell’s boxing of the ICM sprues with Cartograf decals.

My first ever WW2 Luftwaffe aircraft, so stocked up on the Vallejo Model Air RLM set for the camouflage and using some Tamiya X20A, they airbrushed very well and was please with the effect.

Built out of the box, just adding some brake lines to the gear legs, some home made belts and lycra thread radio antenna.

Glossed using Alclads gloss varnish, the Cartograf decals are great and all went on well with Micro Sol/Set. Matt finish is Alclad2 Matt varnish.

Although my first Luftwaffe aircraft, unlikely to be the last….Hope you like?

Stuart M.

Bf109G-5 by Rick Goodenough
1:48 Eduard Bf109G-5. So much fun it should be illegal!

Built this one a while back. Just a joy of a kit to build. I love Tamiya kits as much as the next guy but with everything they throw in an Eduard Profipack 109 kit, I don’t feel the need to go elsewhere.

I bevelled the panel join line on top and bottom of the fuselage, replaced the wing cannon and pitot with hollow aluminium tube and also the under-fuselage aerial with a fresh acupuncture needle (ouch).

I also flatted the tyres which on a 109 is particularly difficult to get the angle right!

Colours are Mr Hobby and Tamiya. Hopefully the colour variation comes out. Maybe should have gone heavier with it but I like subtle. I think this is a quite an eye catching scheme and the spinner decal is just amazing.

I was pleased with how this came out.
Rick G.

Bf 109G-6 by Adam Brown
It’s great to be able to show you another of the builds from the recent SMN Modelling in a Day workshops that Adam attended. He seems to have had a great day with Jamie Haggo working through all the weathering processes to generate a realistic winter camouflage scheme all based round the Revell Bf 109G-6 1:32 kit.

Nice work Adam!

Bf 109G-6 by Adam Brown
Bf109G-6 by Chris Corbishley
1:32 Revell Bf-109G-6 (04665). The model is totally an out of the box build and was built, painted and decaled in 4 weeks, using kit decals. I chose Hauptmann Franz Dörr, Gruppenkommandeur of III./JG 5 which was operating out of Gossen Norway. Humbrol Acrylics for the RLM colours and in my opinion I didn’t find them the easiest to get along with and so will probably not be using them in the future.

My 109 depicted here was my first ever WW2 aircraft build and was specifically built to take to SMN weathering workshop with Jamie Haggo. The winter wash was achieved by using hairspray on top of the sealed in decals and with a mix of Tamiya flat white and x-22a thinners and then gently rubbed back with a damp stiff paintbrush once dried to give a battle weathered finish. I had learned a whole load of techniques on this aircraft and my favourite was learning how to use oils over the finished to produce localised filters. Pigments were used over the wheels and the bottoms of the undercarriage doors. Exhaust staining was achieved with a thinned mix of black and brown paints and airbrushed. An array of Mig ammo products were also utilised for panel liners and oil staining and oil leaks.

My base hand-crafted using Polyfilla to contour the ground followed by a snow mixture on top. The snow was made using a watered down PVA glue mixed with Bicarbonate of soda to achieve a thick paste. Muddy puddles and sodden ground were made using Mig Ammo Heavy Mud enamel in particular Heavy Earth & Wet Mud. Bits of grass I had were left from previous projects and stuck into place in the mud prior to it drying and the areas of slush and dirty snow were achieved with thinned down Heavy mud product and just touched in with a paintbrush.
Anyway, just a brief incite into how excellent the Scale Modelling Now Workshops are and the end results of being on one.
Hope you like it. Chris C.

Bf 109G-6 by Chris Corbishley
Bf 109E by Tom Barták
Have you ever played with LEGO? Well, building this kit reminded me of my childhood when I played with the famous Danish toy. Everything in this Tamiya kit is simply perfect. As all parts fits nicely, basically all you need is glue. No putty, no filling, no sanding at all. To make it a little bit more difficult I used the Eduard Zoom PE set to enhance mostly the cockpit area (instrument panel, seatbelts).
The model is airbrushed with Gunze Sangyo Hobby Color paints. To accentuate the panel lines I mixed and applied three different washes made from Mig Productions “red” thinner and Abteilung 502 oil paints. I chose one of the decal options provided with the kit.

Bf 109E-3 by Roger Brown
They all said it was about time I made a 109, so here he is!
This is my Airfix 1:48 Messerschmitt Bf 109E-3 of JG51. The kit is one of their more recent releases and very nicely detailed and finished.
I just added Eduard seatbelts and made up a brass tube prop shaft assembly; used the Blu-Tack string method for the soft edge camo demarcation. I sprayed the RLM 02 and RLM 71 top side camo first, masked up and then sprayed the RLM 65 lower colour. This was followed by some mottling on the fuselage sides with a mix of 71 and 02.
I used Xtracolor gloss paints and the kit decals which are of good quality and go down very well.
The model was finished off with a coat of Humbrol Matt Cote.
All the very best Roger

Bf 109G-4/Trop Black 1 by Ralph Riese
1:32 Hasegawa Bf 109 G-6 kit modelled as Bf 109 G-4/Trop “Black 1”, Obt.Franz Schiess, 8./JG 52, San Pietro, Sicily, February 1943…

32nd scale Hasegawa kit enhanced with Roy’s (Barracuda Cals) F-4 to G-14 prop and spinner set, and G underwing cannon gunboats set. The “punctured tyres” look is courtesy of some 1993 True Details wheels. Time for a proper set of E/F hubs fitted with the 160 X 660 mm tyres from the Barracuda Studios for the G-4’s!

Hope you like it?
Ralph R.

Bf 109G-6 by Kent Strickland
I present my 1/32 Hasegawa Bf109G-6 flown by Lt E Hartmann whilst serving in 9/JG52 on the Eastern Front 1942-43. The kit is the Hasegawa ST21 boxing with a number of aftermarket details listed below:
MDC: Bf109G-6 cockpit; Bf109G-K corrected spinner; Bf109G corrected wheels, BF109G Mk131 ejector ports
RB Productions: German Seat Belts; Bf109G Radiator faces, BF109G canopy
Aires: Bf109G (late) Radio interior compartment.
EagleCals: The Blond Knight EC036.
EagleParts: Bf109G oil cooler; BF109 Supercharger.
Quickboost: Bf109G gun barrels; Bf109G exhausts
Paints were a combination of Aeromaster “warbirds” RLM02, RLM66, RLM74, RLM75, RLM76 enamels; Model Master, Tamiya and Gunze additional colours. MM Clear flat and gloss lacquers.
The antenna is invisible mending thread with wire “springs” from second hand electrical wire wrapped around a small drill bit. Lead wire, Tamiya weathering pastels.
The build tested me at times but I persisted and whilst there are some flaws, none are fatal and I am happy with the end result. Total build time was about six months. To all those that encouraged, advised and put up with my WIP, I say thank you.
Kent Strickland

Bf 109G-6 by Roger Brown
Here is my Revell 1:32 Messerschmitt Bf 109G-6 of JG51 made up as the early version, with some notes.

The kit is a new-tool and can be built as an early or late version, I chose the early version.
The fit of the parts is good with just some filler used on the engine cowl and wing/fuselage underside joint.
I just added MDC seatbelts and hydraulic lines from wire for the main undercarriage legs. I used the Blu-Tac string method for the soft edge camo demarcation. I first sprayed the yellow underside cowl and masked up. I then sprayed the RLM74 and RLM75 top side camo, masked up and sprayed the RLM76 lower colour. This was followed by some mottling on the fuselage sides with RLM74. The Fuselage was then masked up for the RLM74 band.
The underside of the wing tips and separate rudder were sprayed white. The three piece canopy was masked and sprayed RLM74. I used Xtracolor gloss paints and the kit decals which are of good quality and go down well. The airframe was then sprayed with a coat of Klear to protect the enamel paint for a wash of raw umber oil paint. The airframe and other assemblies were finished off with a coat of Humbrol Matt Cote before the final assembly.
Cheers for now! Roger

More Aircraft B….

Galleries: A | B | B-2 | C | D-E | F | G | H | I-L | M | N-R | S | T-V | W-Z
Primary Sidebar

LOGIN/LOGOUT

Lost your Password?


gallery-aircraft

BACK TO AIRCRAFT MAIN PAGE


Send Us Your Images

If you have some pictures or two of your best, favourite or most recently completed scale models, then this is your opportunity to celebrate your work and show them to a worldwide audience...

Just a few pointers to help you though:

  1. Images need to be digital and sent via e-mail or you can Drop Box them to me at: geoff.coughlin@btinternet.com
  2. Images should be sent in a ‘medium’ size, JPEG format. If you are using Microsoft Windows, simply right-click on the image in ‘My Pictures’ or wherever it is stored and you should be prompted with the option to ‘send to’ and select ‘mail-recipient. A box opens asking what size you want to send the image. ‘Medium’ is fine (approx: 1024 X 768)
  3. I might not publish your pics if the image quality isn’t there or for any other given reason
  4. Please also include a few words with your pics to explain a little about: what your model is; kit; scale; any extras added; painting, weathering and finishing your model – maybe around 100-200 words will be fine. Thanks Geoff

So... please do send in your images. Contact-us now

Aircraft Areas

Aircraft Home
Build Now
Finished Now
Techniques Bank
Photo Reference Library
Subscriber Gallery
Here Now
Book Reviews

Copyright © 2023 · Scale Modelling Now · Online Scale Modelling Magazine · Scale Modelling Techniques and Tips · Privacy Policy