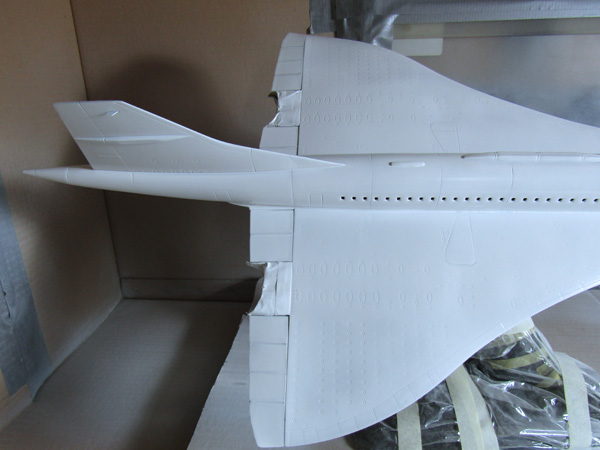
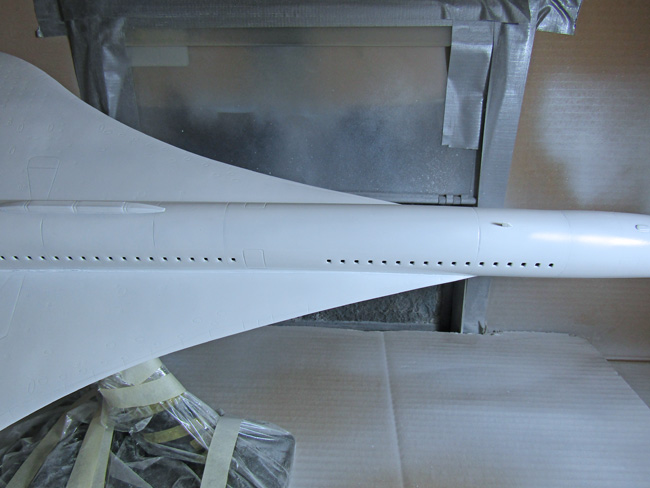
Next task is to apply a self-levelling primer over all surfaces to maintain a consistent tone, in this case from my preferred range of Mr Hobby products.
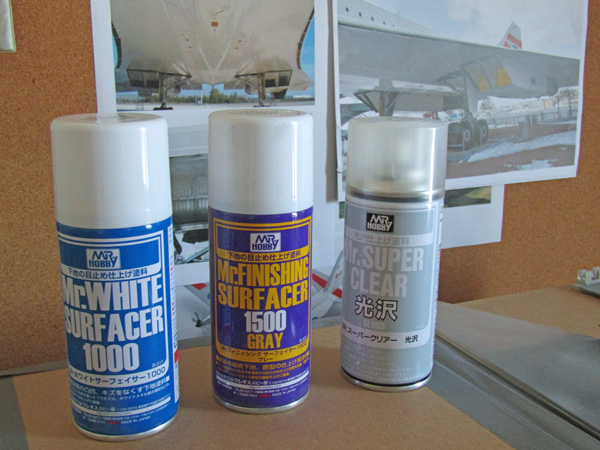
Mr Finishing Surfacer Gray 1500 from a rattle can, this has a great self-levelling characteristic.
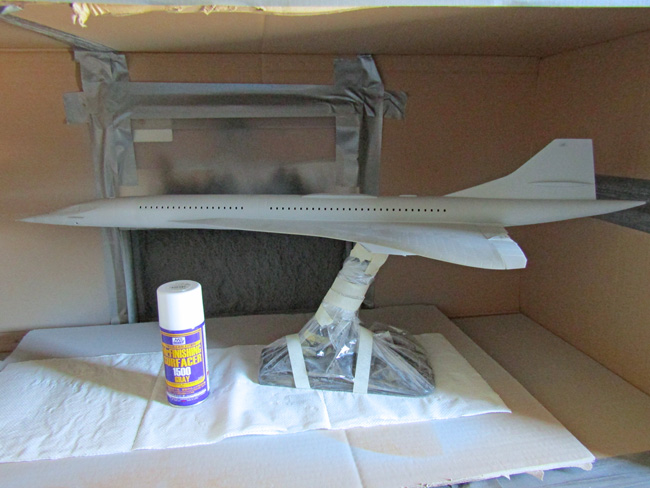
As preparation and a clean surface is the key to a smooth finish, this coat is gently rubbed back with Tamiya 3000 grade sanding sponge, any high spots and surface imperfections are rectified and recoated.
At every stage a good dusting with a soft brush and stealing the hoover for 2 minutes ensures my greatest enemy, dust won’t affect the next coat.
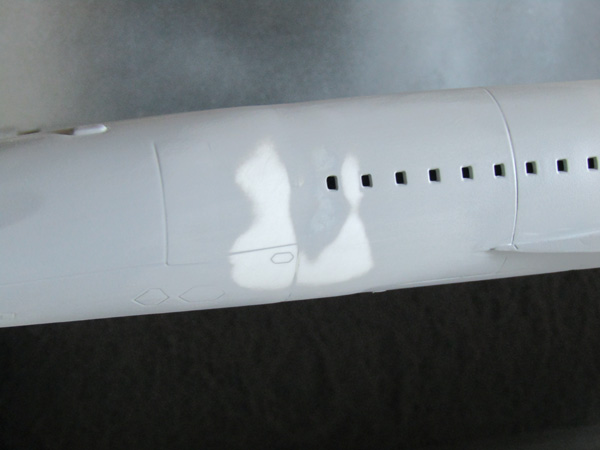
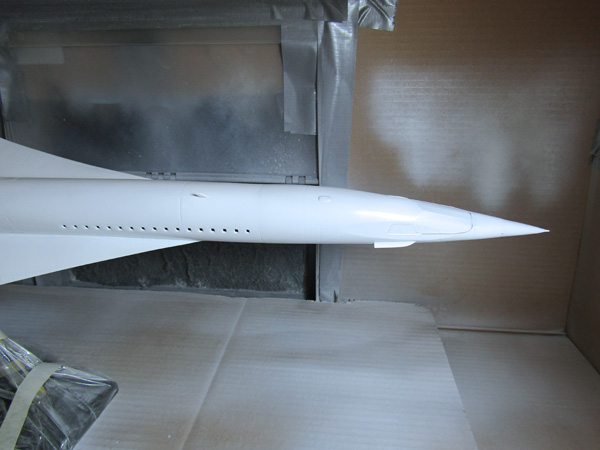
Some pre-shading of panel lines and recessed areas will help deepen the white tones before we overshoot with Mr Surfacer White 1000, again from a rattle can and it also has a self levelling characteristic that leaves a very nice surface for top coats.
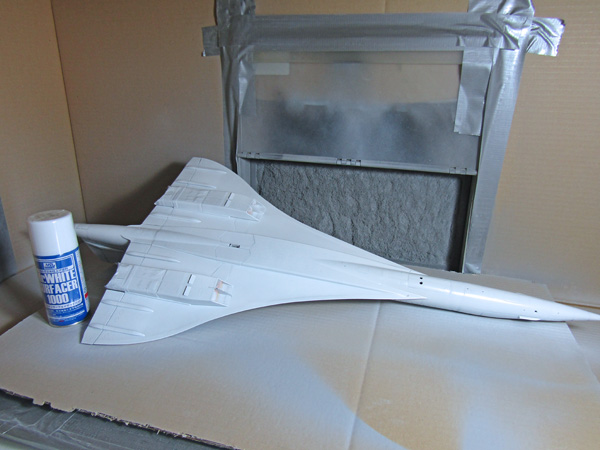
Between coats I once again sanded back with 3000 grade sponge and a final polish with 8000 grade Micromesh, before abusing the hoover yet again.
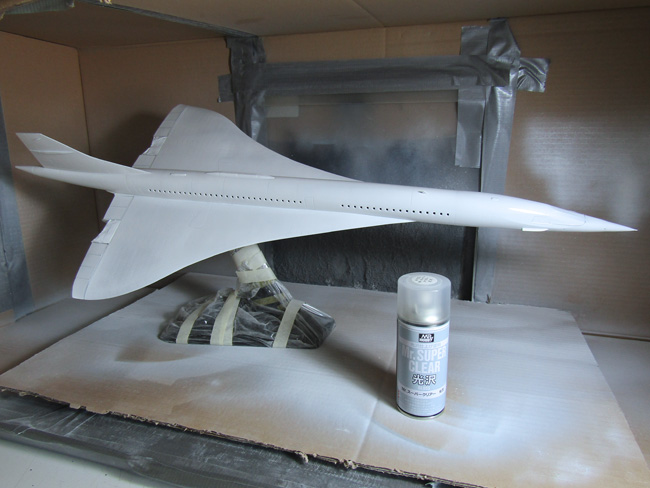
My intent was to top coat with bog standard Appliance White Enamel from the local hardware store, however when I gave this a try I found the can had too high a pressure and the unique nozzle created an inconsistent spray pattern. This quite simply turned the paint to dust before it hit the surface, with the nozzle not being changeable it’s back to the drawing board there.
Considering my reference photos, the white we need is pretty bright, not too far away from the surface primer coat we already have. A quick test piece later, using Mr Super Clear Gloss from the same Mr Hobby range proved worthwhile, two coats all over and we are ready for decals.
Paul Ainsworth says
“Hello,Mick” – That’s an epic build of a very-challenging kit but your results speak for themselves in those photos.
I’ve seen this kit (unmade) and saw how daunting a prospect it is to build.
You’ve made a fantastic job of it and she’s a magnificent tribute to the legendary ‘Concorde’. Superb modelling.🏆
Best Regards,
Paul.😉👍