Another conundrum solved
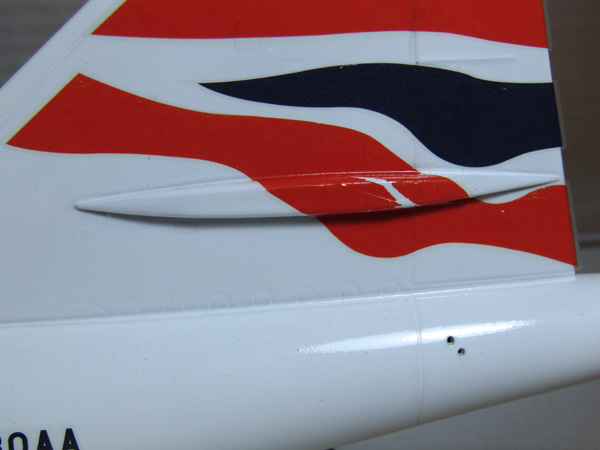
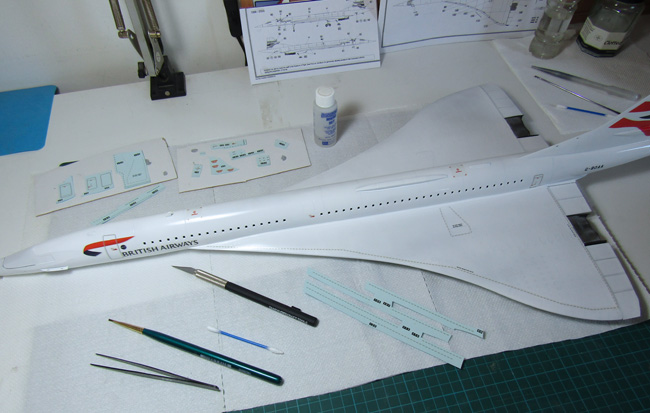
In some other builds I have seen it mentioned that the British Airways flags on the tail are wrongly positioned. Both sides have rudder actuator fairings over which the flag should flow, on the port side Airfix have allowed for this, however on the starboard side they seem to have opted out. This may mean we have to adapt this side somehow, time to check references again and low and behold, both ways are correct, so the choice is yours, however if you feel brave there is plenty spare decal material to match from the other two BA schemes.
A final coat of gloss seals everything up and for good measure I allow to dry for at least 24 hours, so that the coat hardens enough to resist fingerprints during further handling.
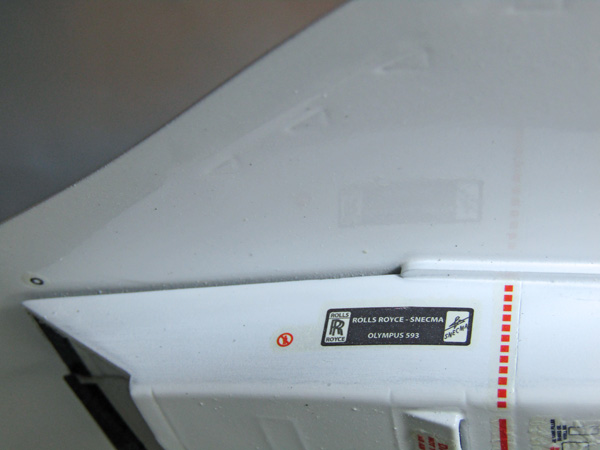
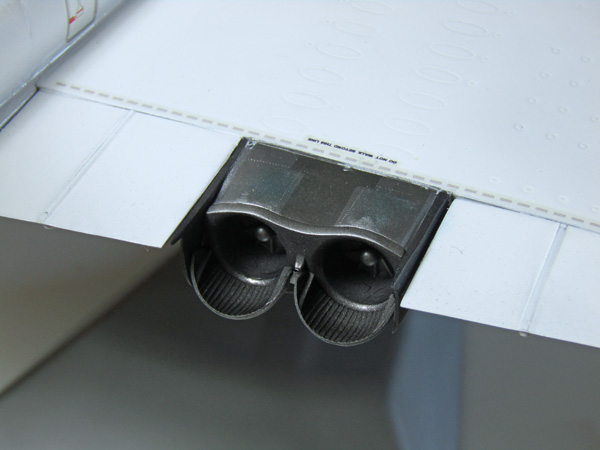
To give you an idea of the depth of gloss finish I am looking for, look at the reflection of the Rolls Royce manufacturing plates on the engine cowls.
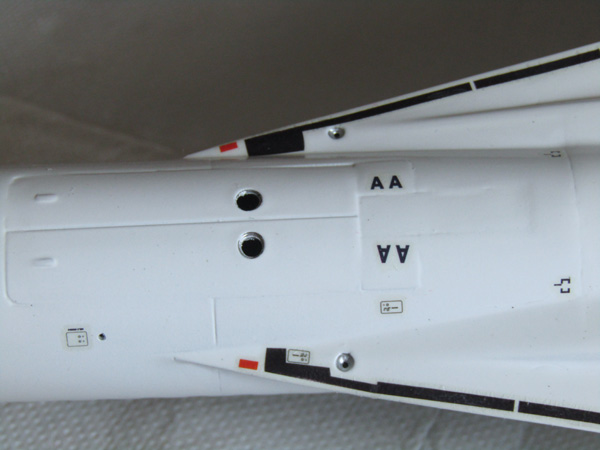
To complete the undersides, the various landing lamps have bright silver reflectors painted in and using Mikro Krystal Clear to create the lenses.
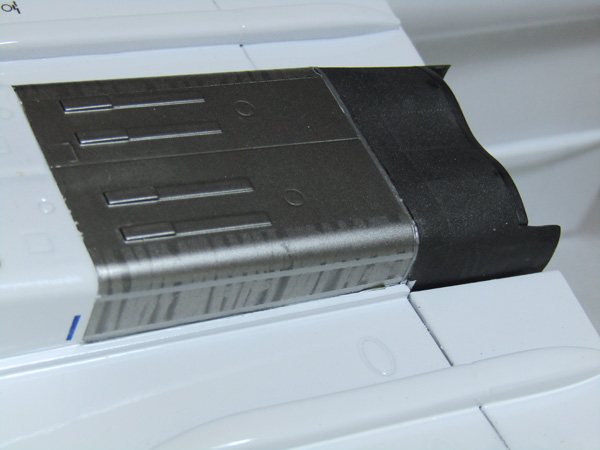
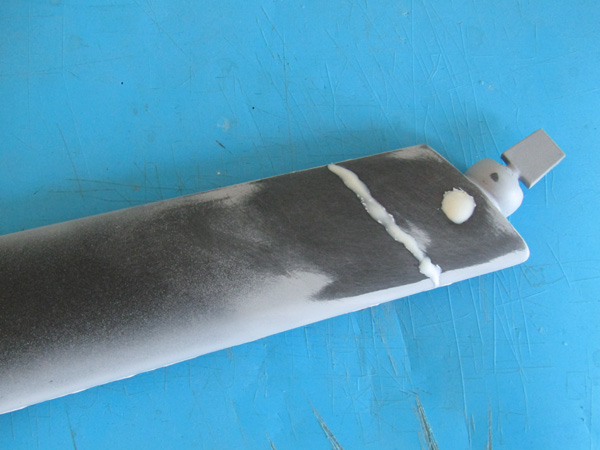
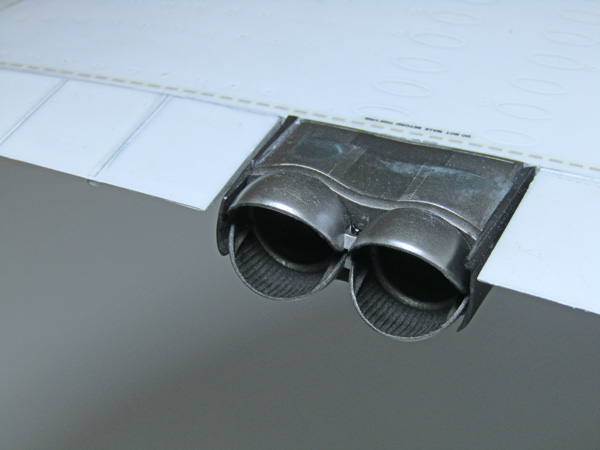
Unwrapping the engines exposes our previously painted nacelles with the characteristic heat effects we created with rubber bands, these can now be finished with some hot metal weathering.
We are pretty much finished underneath…
Continuing with the decals on the upper surfaces and fuselage, it’s a similar story to the undersides and the escape hatches in particular were resistant to any further cleaning and some yellowing remained, but again I have no choice but to live with it.
Another issue due to the age of the decals is some slight breakup, nothing too onerous but by making use of the alternative schemes it can be covered up successfully, as long as you don’t look too closely.

The wing leading edge ‘do not cross’ decals will not match the wing contour correctly if you follow the instructions – what I suggest is fit the longest ones in place and then trim the others into the gaps.
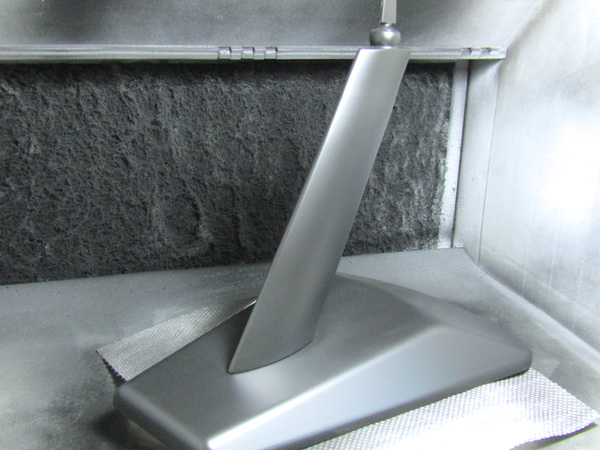
That substantial stand which has proved so useful during the build so far, is unwrapped and reassembled with permanent glue. The screw tightened ball joint really isn’t up to the job in my opinion, so that gets a little epoxy and fixed in place. You will need some filler, but after sanding all seams smooth and filling the screw hole it can be undercoated and finished in your choice of appearance, for me this has to me metallic.
Fitted on the stand and now resplendent in flight mode, we enter the final act of this story by first applying MKK for the cabin windows, just a little tidy up first with a sharp scalpel to get rid of any paint build up round the edges.
The nose pitot tube is painted in Chrome then fitted and the tail cone navigation light is replaced with a more accurate shape and the lens again made from MKK.
Next is to fit the pre-painted thrust reverser buckets to the engine exhausts, align the lower one first as this gives you a more stable attachment for the upper one.
Our last step is fitting the ariels underneath, angle of attack probes around the nose and the two pitot horns on the nose cone. Now my favourite part, removing the canopy window masks, this always brings a model too life.
This epic journey is at an end.
Paul Ainsworth says
“Hello,Mick” – That’s an epic build of a very-challenging kit but your results speak for themselves in those photos.
I’ve seen this kit (unmade) and saw how daunting a prospect it is to build.
You’ve made a fantastic job of it and she’s a magnificent tribute to the legendary ‘Concorde’. Superb modelling.🏆
Best Regards,
Paul.😉👍