With the upper wing joints looking pretty flush, we can prepare to add the lower inner wing. Again in the interests of a strong join with more contact area for glue, a small card insert is placed at the forward end.
As you can see, once again minimal filler and sanding required for both front and rear joints.

Note, I have added the nose wheel bay doors (albeit they are in the wrong position and should be 5mm further forward), but I am not going to bother with that detail.
The doors are in 5 parts and need supporting from behind as well as along the fuselage edges of the bay, styrene strip sorts that out and they will stay flush to the undersurfaces.
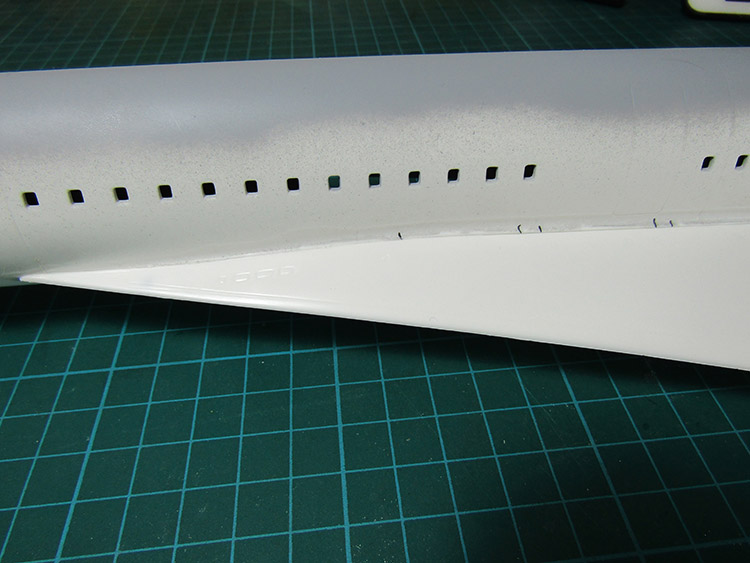
With any change to how you construct a kit there is usually a price to pay somewhere else and with this large wing area, aligning the upper wings first has created a small issue with the joint to the lower wing sections, but it’s mostly all along the leading edges so easily rectified and accessible.
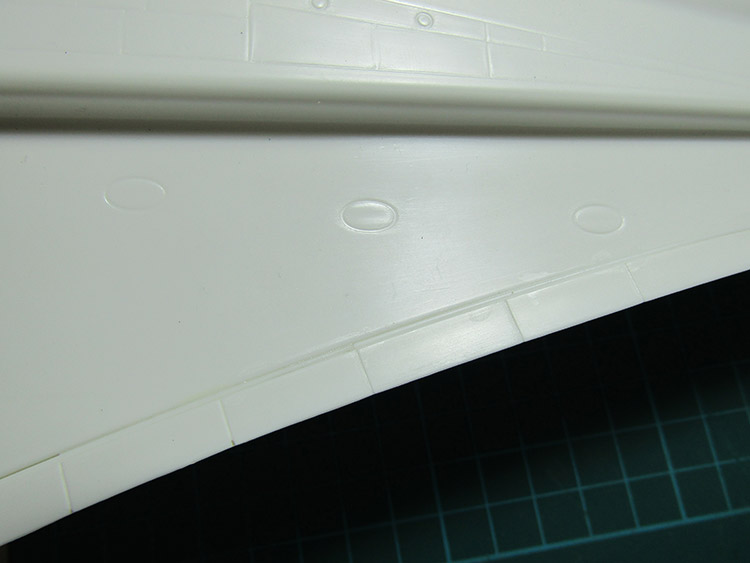
That slight gap runs the length of each wing inboard of the leading edges, but at varying depth. To fix it I used thin styrene rod.
The forward chines of the wing where they meet the fuselage are also a bit off, especially with the landing lights mount moulded in the wrong position and far too large.
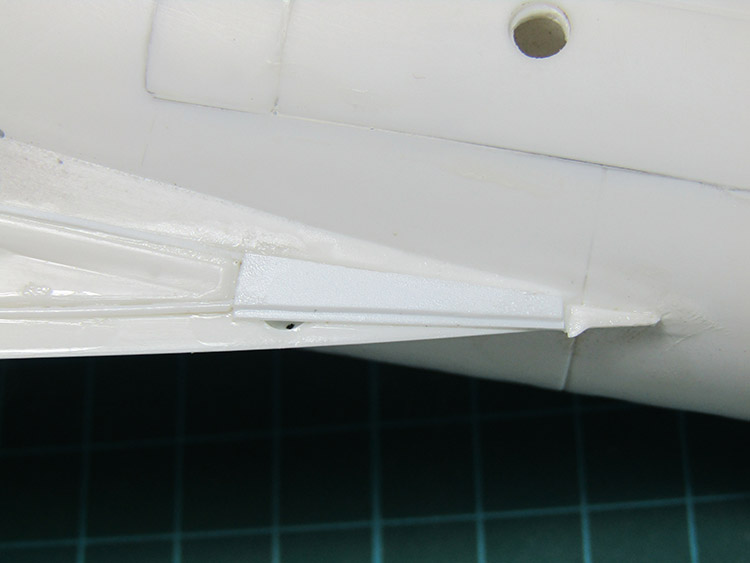
These I build up with styrene card and then sanded to the correct profile flush with the wing, new landing light mounts can then be countersunk drilled into place ready for the lenses at a later stage.
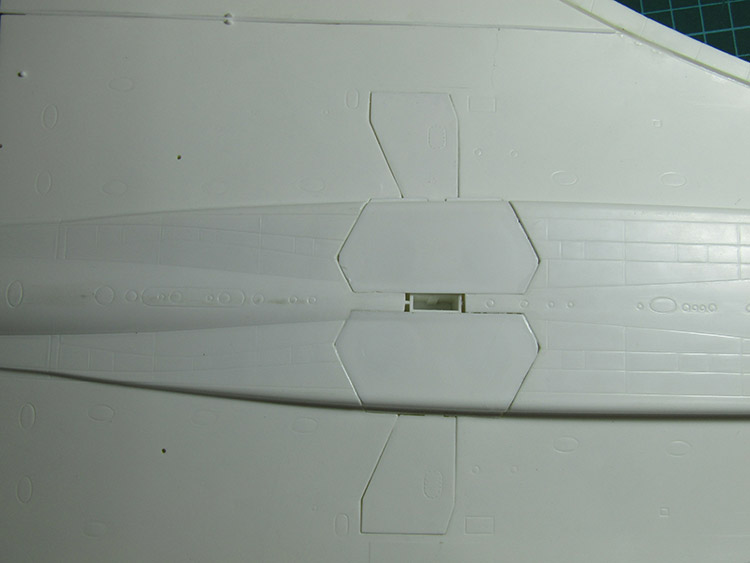
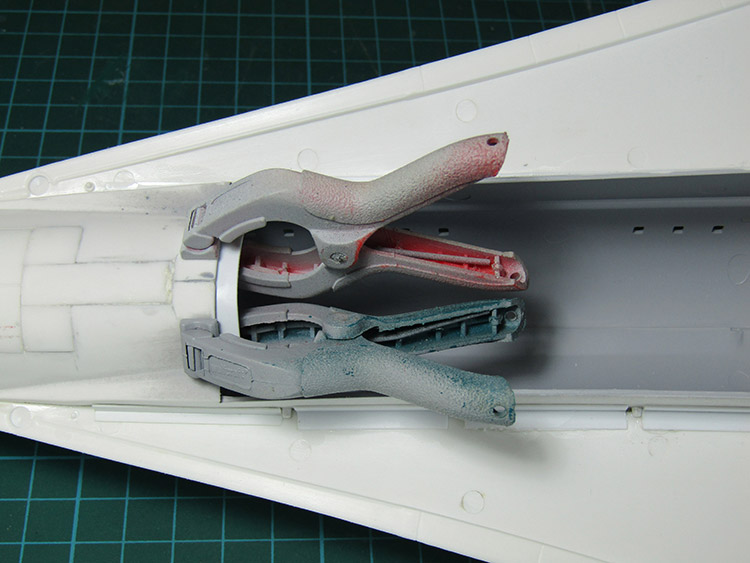
The main wheel bay doors are fitted, again with support to maintain the flush fitting, filler is then used to take up any slight depressions here and along the inner and outer lower wing joins, although don’t waste time fixing this under the engine nacelles as it won’t be seen shortly.
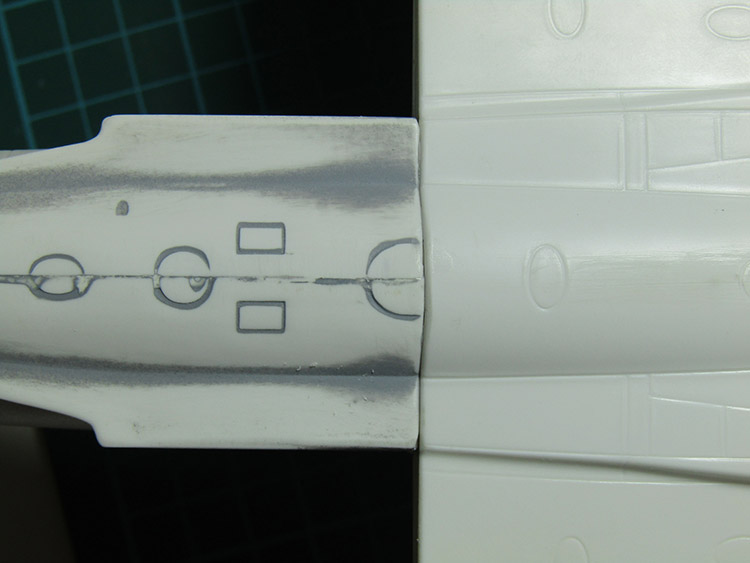
All these areas can now be filled and sanded smooth. To be honest this is the only substantial sanding job so far and much less than I expected for a kit with such a fearsome reputation.
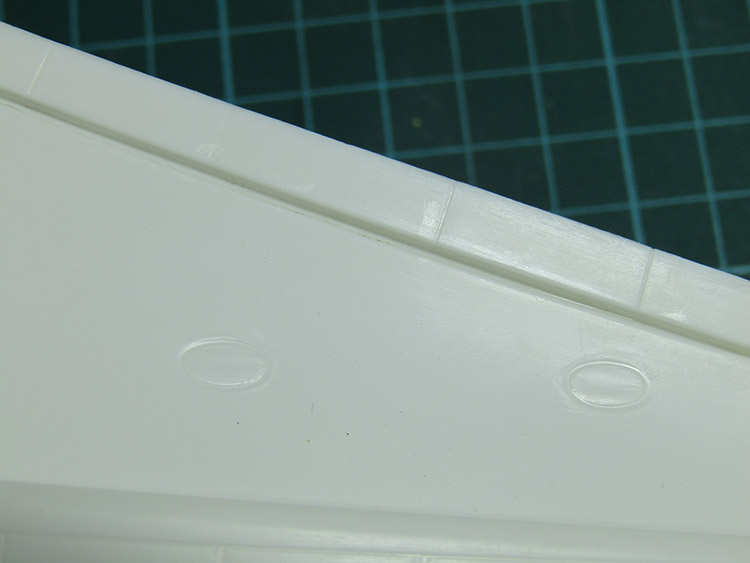
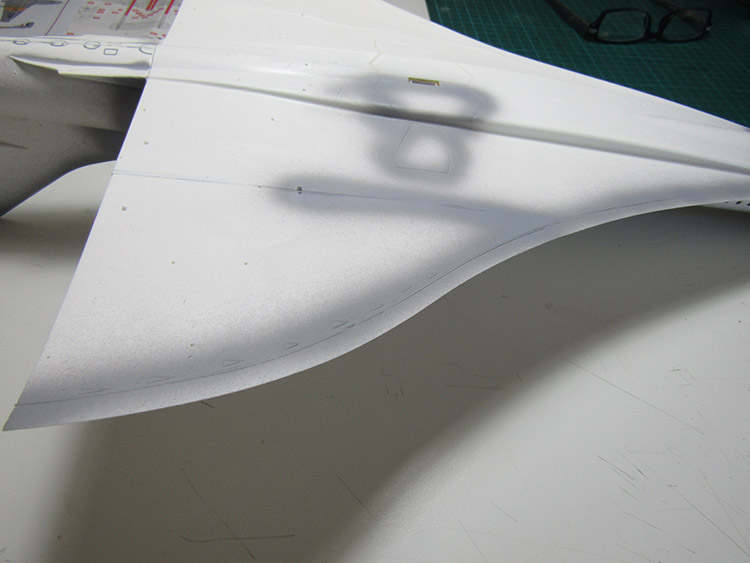
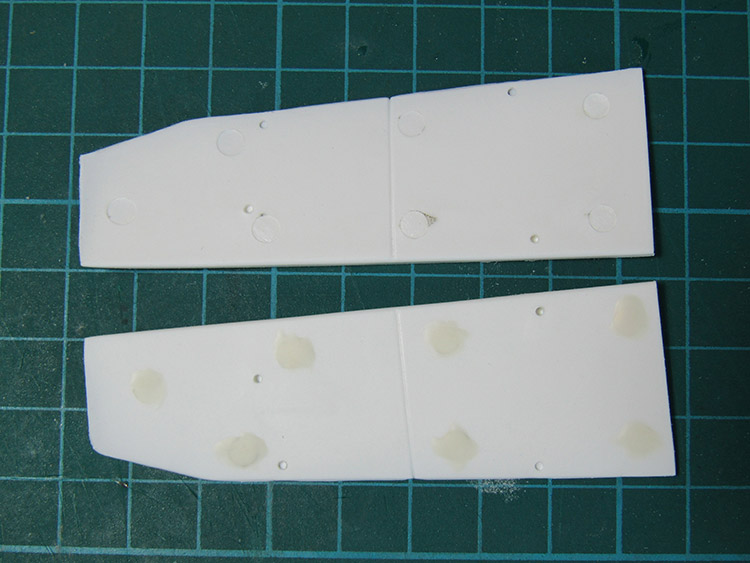
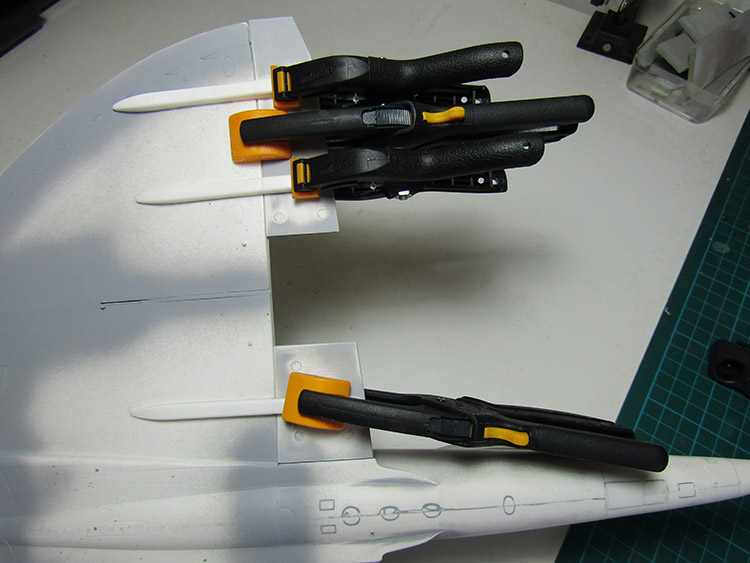
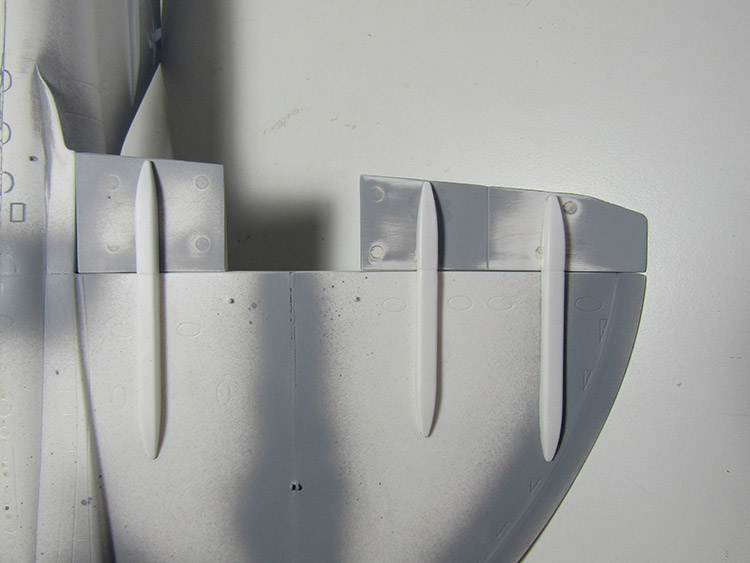
To finish off the wings we prepare and add the trailing edge flaps and elevons, only some injection pin marks to fill here first. The actuator fairings are handed so you can’t get them in the wrong position, easily clamped and glued securely to the wing underside then the control surfaces in turn.
Paul Ainsworth says
“Hello,Mick” – That’s an epic build of a very-challenging kit but your results speak for themselves in those photos.
I’ve seen this kit (unmade) and saw how daunting a prospect it is to build.
You’ve made a fantastic job of it and she’s a magnificent tribute to the legendary ‘Concorde’. Superb modelling.🏆
Best Regards,
Paul.😉👍