Interior of the cockpit can be painted in medium grey before fitting the simple and pretty inaccurate floor and instrument assembly. One point to note here, the engineer’s instrument panel will impinge over the starboard windows if left in its locating slot, however in any case you need to remove the floor locating tab and move the whole cockpit assembly back around 2mm, or the windscreen won’t fit, so problem with instrument panel gets solved anyway.
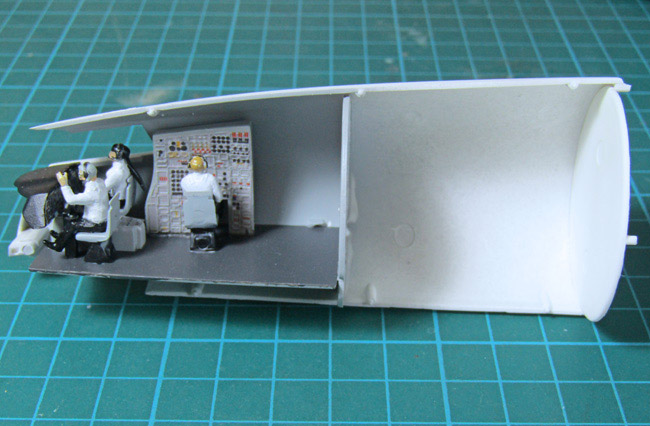
The instrument panel decals are more than sufficient for this scale and for what little will be visible.
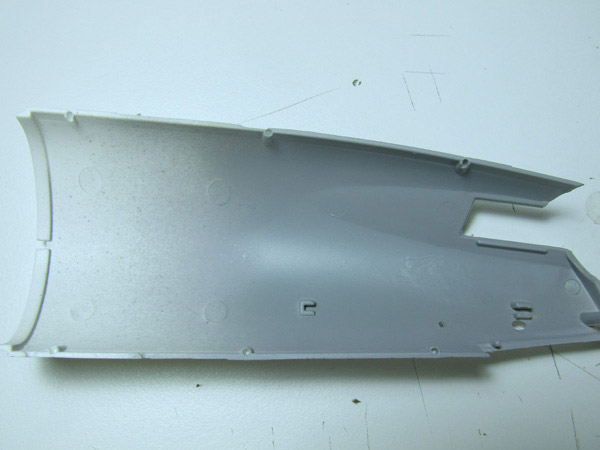
Before closing up the forward section of fuselage, ensure the rear bulkhead is aligned correctly as the instructions indicate it the wrong way round. Tabs to the rear please, as these help align the join to the main fuselage.
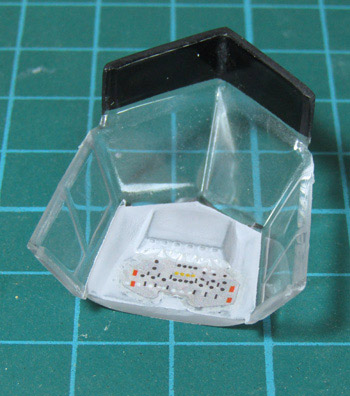
Pre-paint the front and rear of the cockpit bulkhead below the windscreen and the roof section. I have used white for the roof here, as it won’t be seen but that will add some reflected light.
A well identified issue with the kit windscreen is it is too narrow, that being said it’s not very much either side, perhaps less than 0.5mm. If you can’t live with that and want your side windows truly flush fitting to the fuselage sides, then the only solution I can offer is cut the piece in half and add a 1mm strip. You could get away with that, as the centre of the windscreen is a pretty sturdy frame that after masking is going to be painted white in any case.
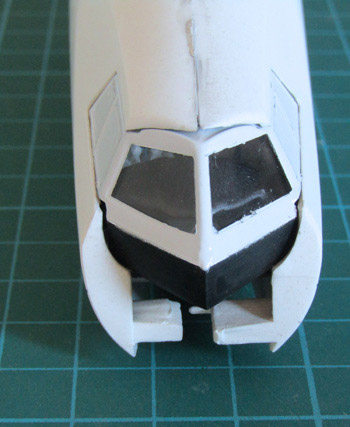
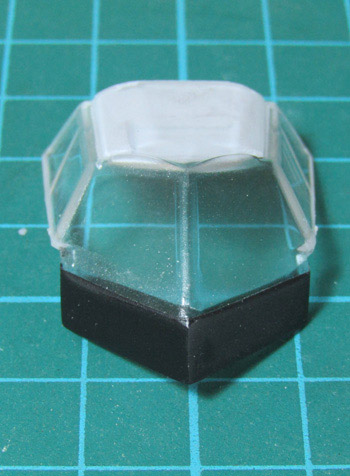
However for me, chopping the only piece I have, with little chance of a replacement if it all went horribly pear-shaped, was more than I could accept. It doesn’t look so bad does it?
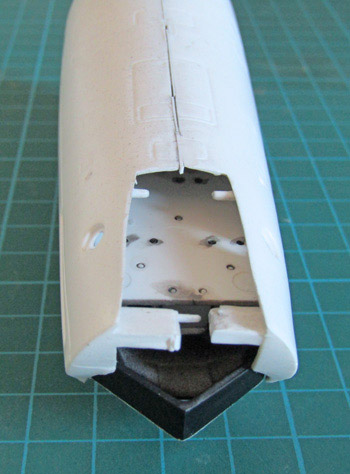
We have seen weak joints at every section of this build and the nose cone is no exception. Given the kit was designed to have the movable droop snoot, it is not a surprise there is a lack of attachment area here.
My solution to support the nose is to make use of the unused mounting for the droop mechanism and fit a solid rod of styrene through the nose cone.

Centralised in place with Blu-Tac until the epoxy sets, ensures the nose alignment is straight. The rod is extended by 10mm to further strengthen the joint to the nose tip.
Paul Ainsworth says
“Hello,Mick” – That’s an epic build of a very-challenging kit but your results speak for themselves in those photos.
I’ve seen this kit (unmade) and saw how daunting a prospect it is to build.
You’ve made a fantastic job of it and she’s a magnificent tribute to the legendary ‘Concorde’. Superb modelling.🏆
Best Regards,
Paul.😉👍