Construction
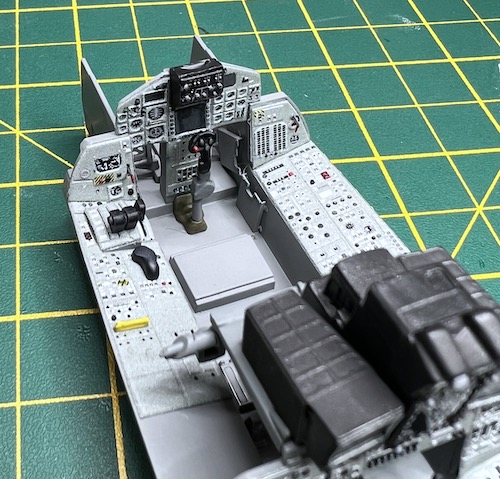
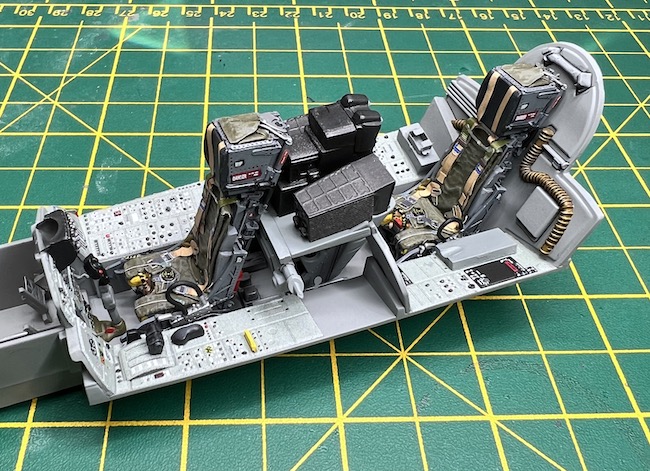
So, with my choice of subject decided it was on with the build and the starting point as with most aircraft models is the cockpit. From the box this is very nice and the kit has decals for some of the instruments but you will have to paint some of the details especially on the side consoles. Given the size of the subject and the fact that I was going to pose the cockpit open I decided to go down the aftermarket route for some extra detail and finesse.
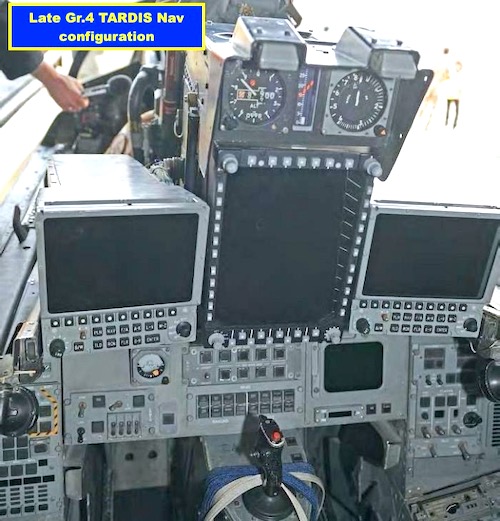
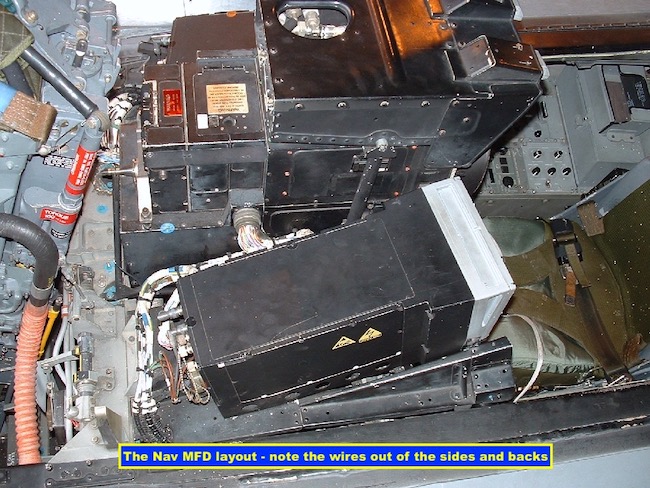
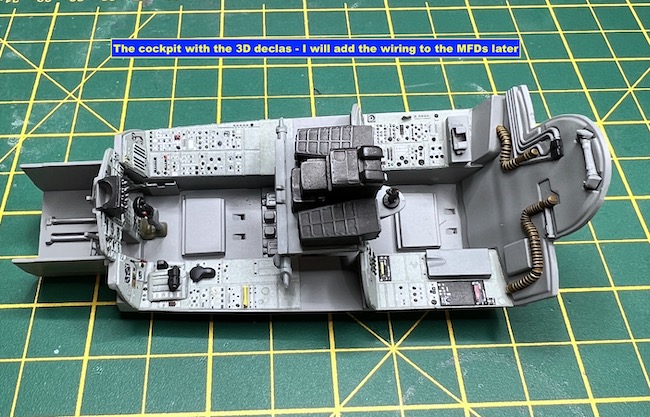
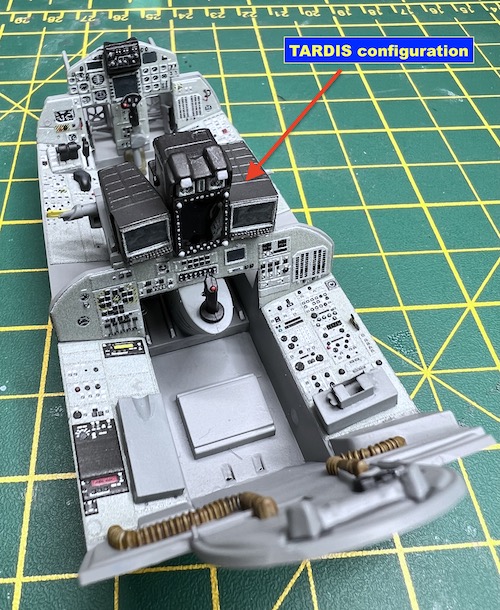
The first thing was a set of eduard 3D Space decals for instrument panels and consoles. These are nice and in this scale I think they work quite well. The eduard set is good but I do think that the Qunita 3D decals are a little more refined; additionally, the eduard set only covers the earlier non-TARDIS Nav configuration but fortunately this omission was only for the central main MFD which is included in the base kit.
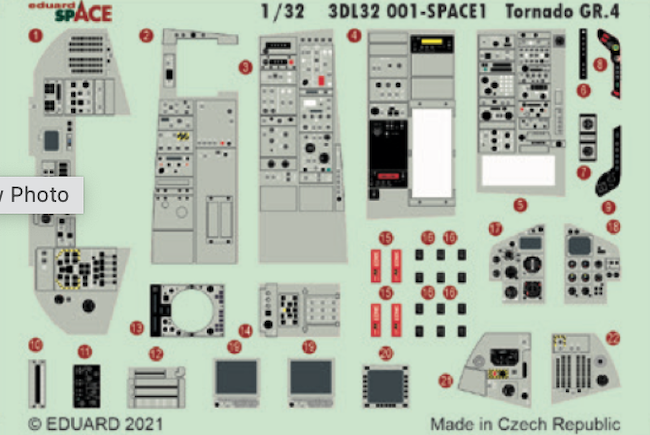
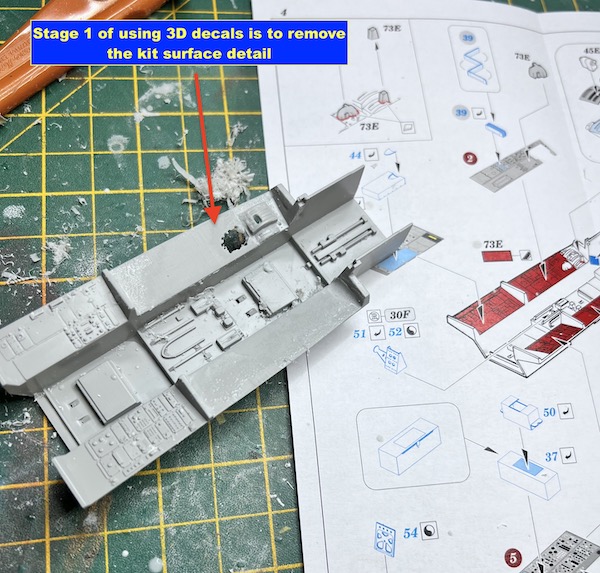
The first stage of using these 3D decals is to remove the kit surface detail and then spray the cockpit tub in a colour that matches the decal grey – you will need to experiment here until you get a grey that matches (or nearly matches!). The decals can then be attached using white glue (Gorilla White glue or Ammo Canopy glue in my case). It was then just a case of adding some weathering to bring out the surface detail and some paint for the detailed parts.
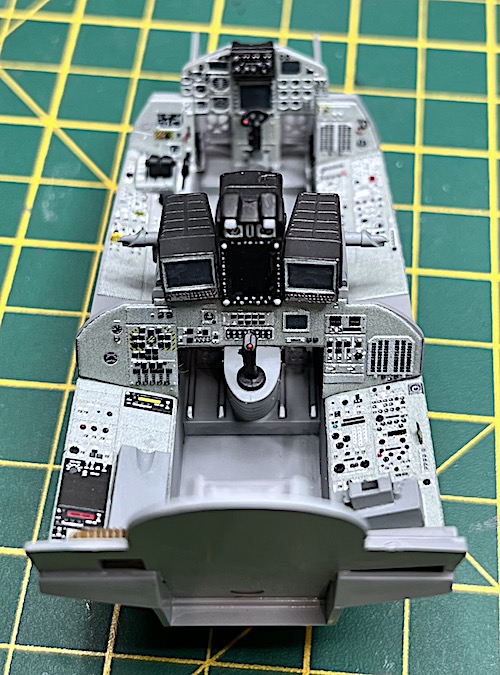
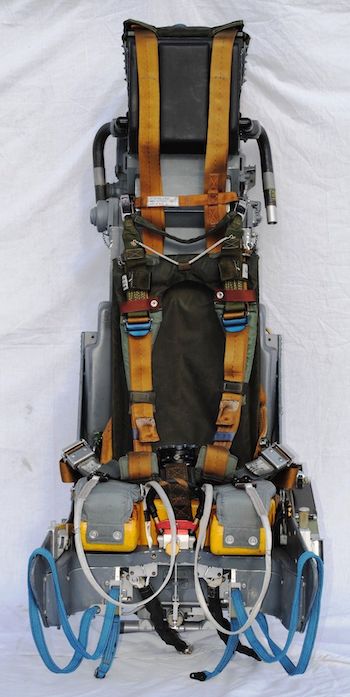
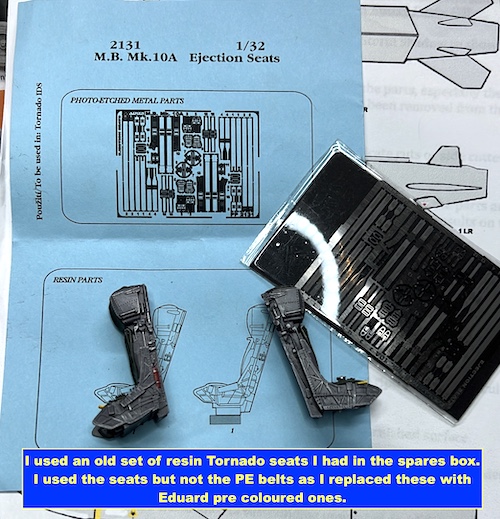
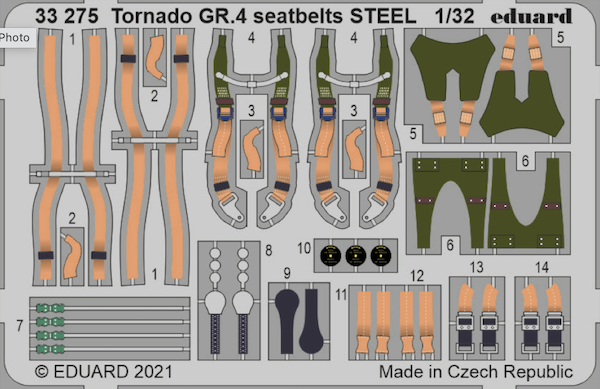
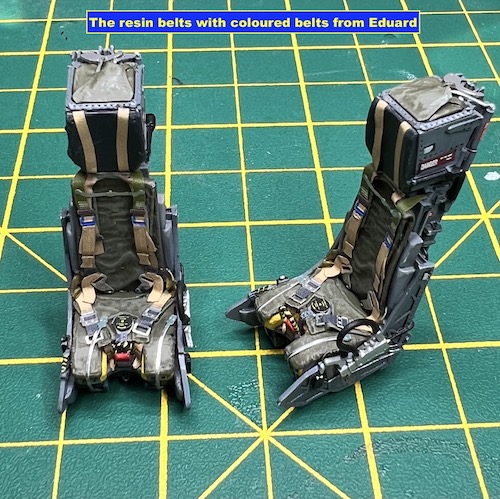
The kit seats are again quite nice and to see how they turn out from the box have a look at Chris’s build. I did originally plan on using these but I found a set of resin seats in the spares box that I had bought for the Revell kit so I decided to use these but rather than use the PE seatbelts I opted to use eduard’s new coloured Steel PE belts. I’m reasonably happy with the end result here.

Kevin Rowbotham says
Outstanding job on the GR4 Dave…..I’ve never built a Tornado but yours has certainly inspired me!
I really enjoyed your write up, thanks for sharing,
Kevin
Paul Ainsworth says
Hello,Dave – Magnificent work as always.
This Tornado kit is absolutely superb and you’ve done great justice to both it and the Tornado aircraft,
Another fantastic aircraft that’s disappeared from our skies.
Seeing ‘scale replicas’ like this easily remind us of the real aircraft we love and miss.
A fantastic aspect of our wonderful hobby.
All The Best,
Paul.😉👍
Christopher Woolford says
Terrific build Dave. You have got her right – beautifully photographed too.