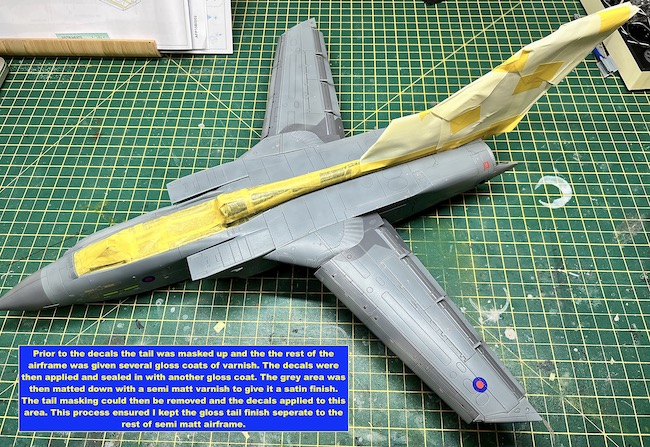
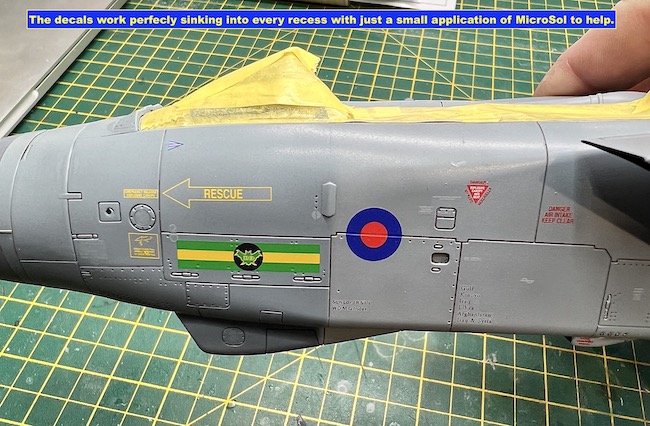
Prior to the decals the grey airframe (the tail remained masked off) was given a gloss coat. The decals were then applied to the grey areas. They are made by Cartograf and perform flawlessly. Once all on they were sealed in with a second gloss coat and a satin coat was applied to the grey to dull everything down. The tail masking was then removed as this needed to remain gloss and the decals added to this area. What I wanted from this was the grey main airframe and decals to be finished as matt/satin and the black tail and spine to be gloss with the decals added with no varnish to sealing them in. On the real airframe the tail and spine marking are vinyl stickers that were applied directly onto the gloss black paint, hence this process.
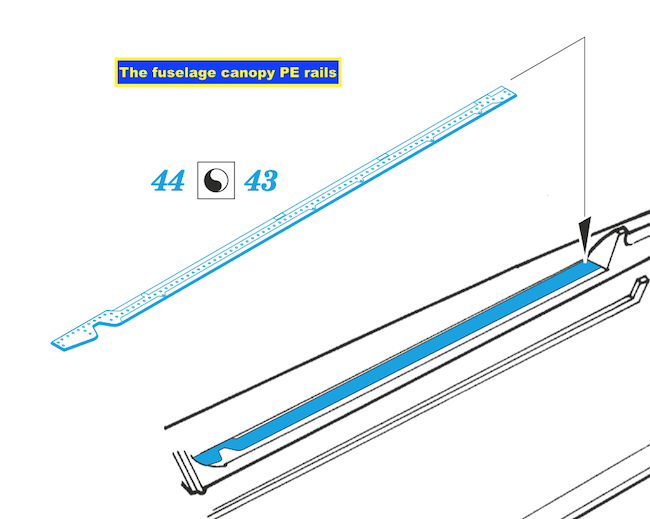
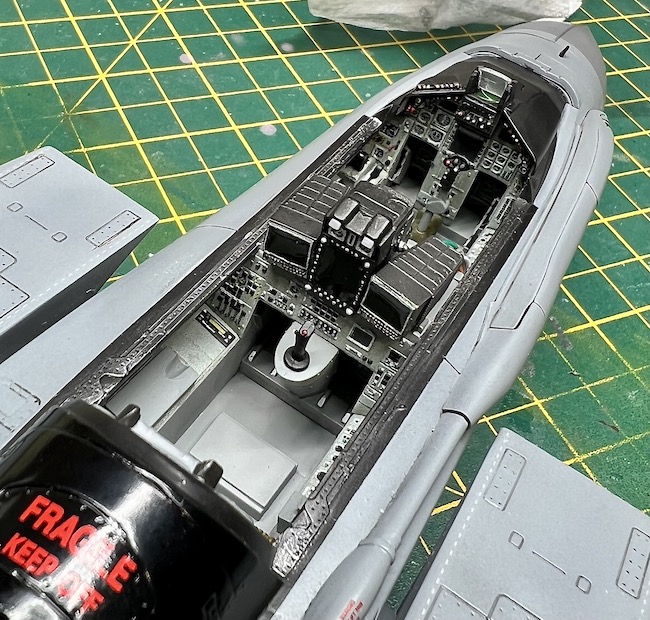
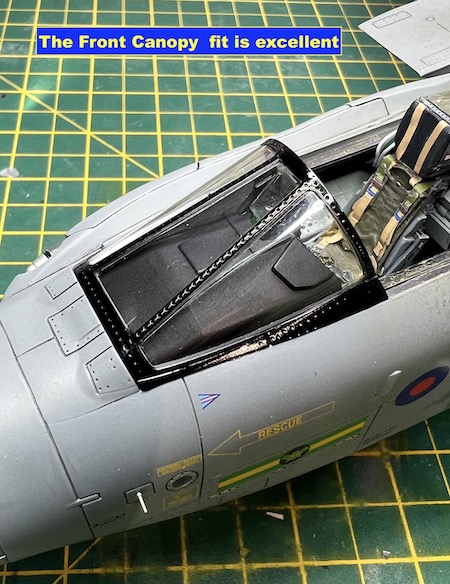
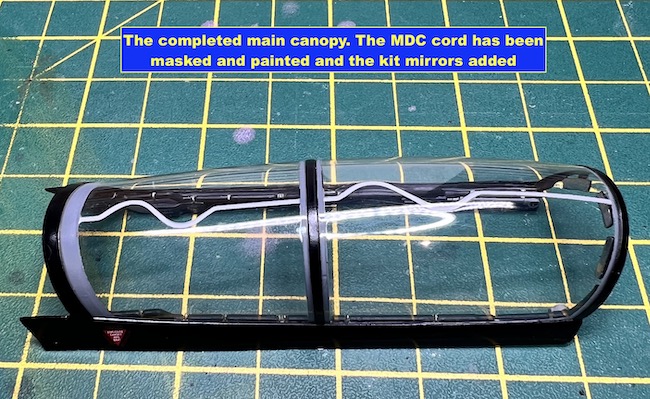
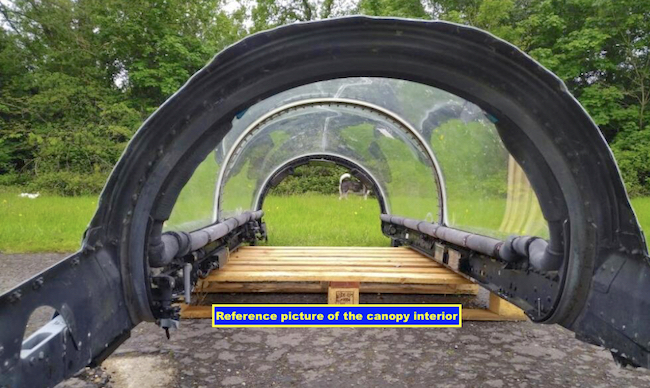
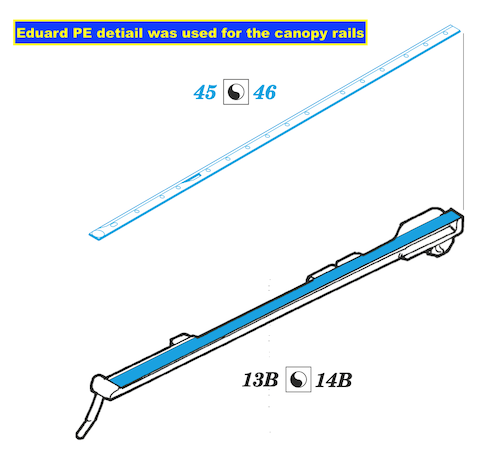
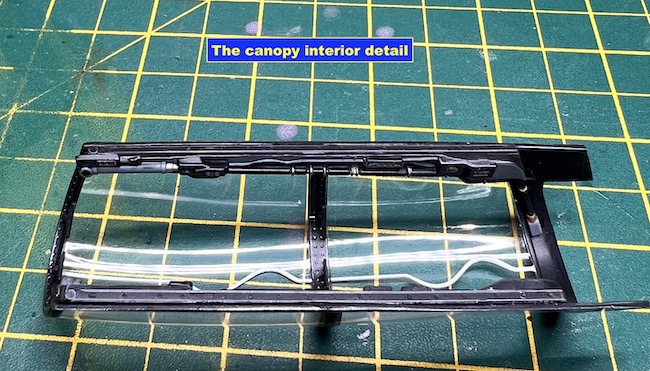
I used eduard’s PE for the cockpit rails as in this scale this area is very obvious if you have the canopy open as I was going to.
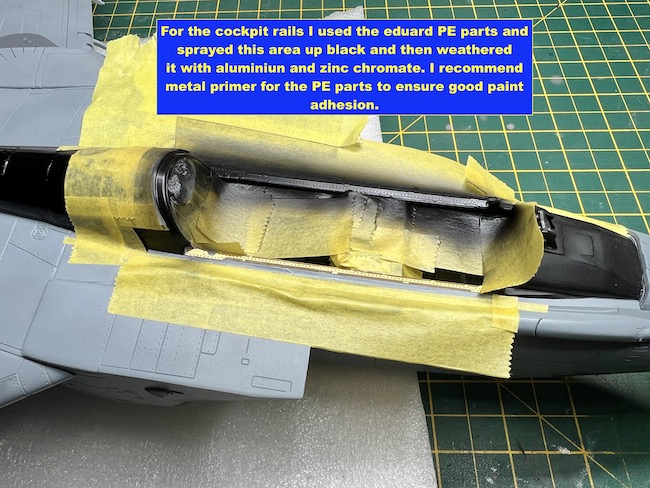
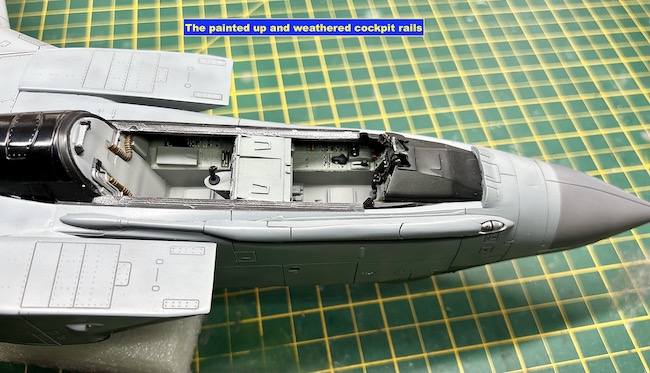
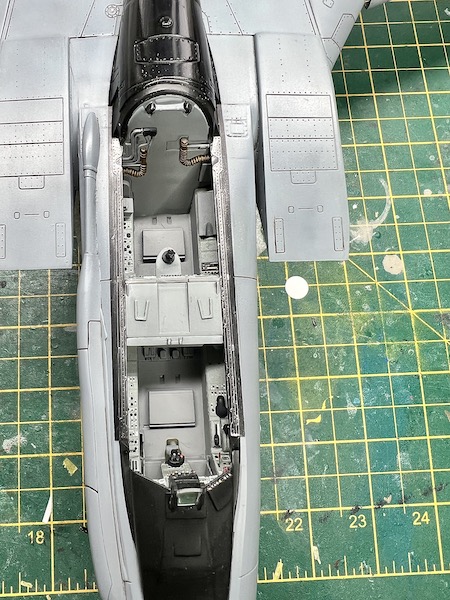
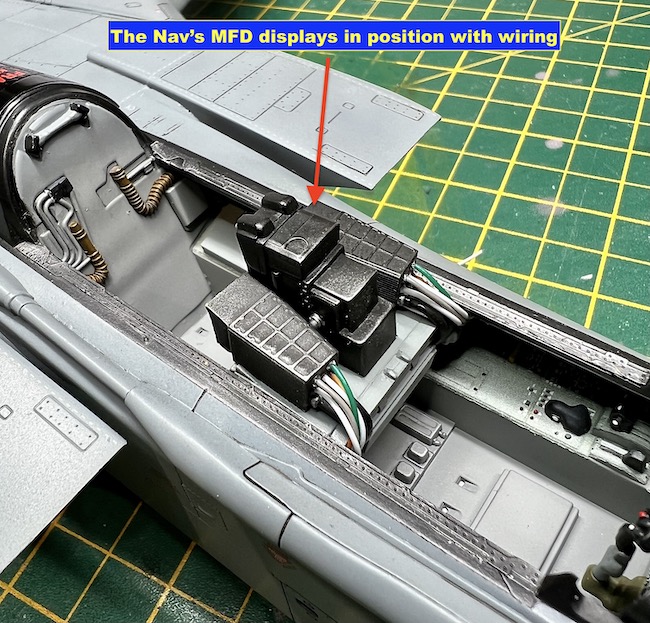
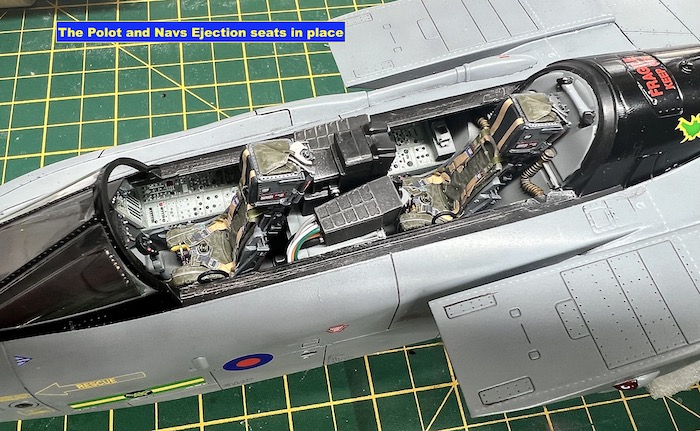
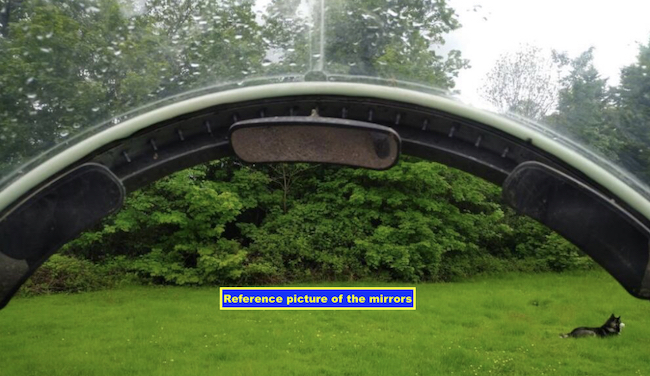
Now it was time to start adding all the ‘bits and pieces’ starting with the cockpit and canopy. The canopy has some great internal rail detail but I did add some eduard PE just because I now had it. The seats were also added at this stage along with the NAV’s MFDs with some wiring from the back of these LRUs.
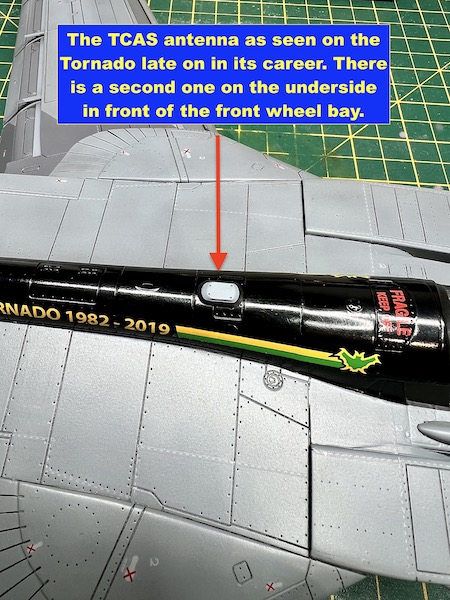
On these later aircraft TCAS was added so check your references, its easy to spot this addition as the two spine antennas have been replaced with a single flat antenna and the two in front of the nose gear bay have also been replaced with a similar antenna.
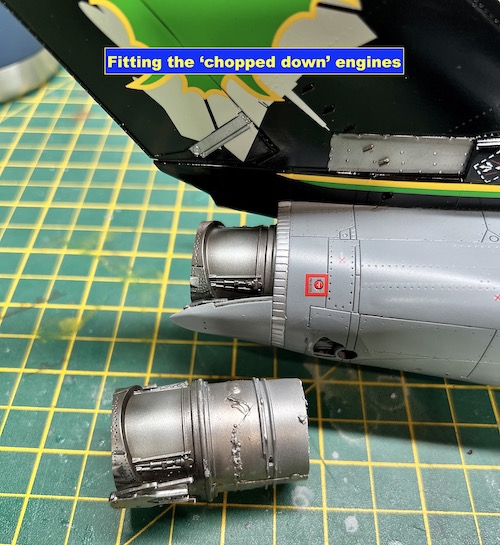
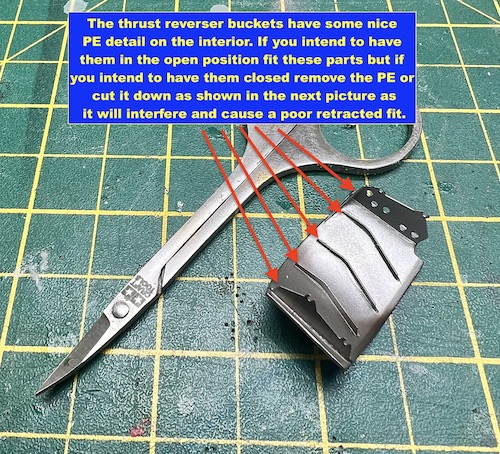
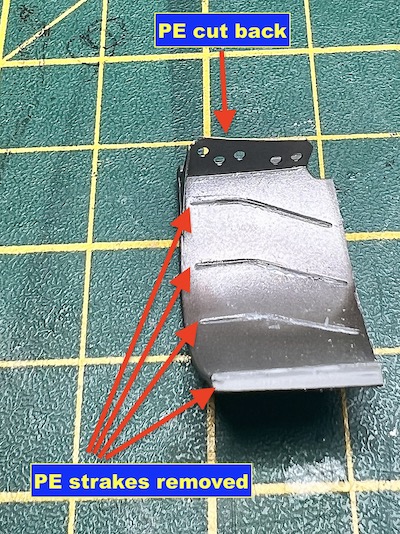
Now back to those engines that I ‘chopped up’. The rear section can now be slotted into the rear fuselage and it’s now a lot easier as you don’t have to worry about trying to line up the front of the engines with the intakes. With the engines in place I tried to fit the thrust reverser buckets that I had attached the PE to on the internal surfaces. These look great but all that PE leads to real fit problems if you have the reversers in the closed position. The easy solution is don’t fit the central PE strakes and cut back the outer ones as I have done in the pictures. The loss of the PE is not an issue as you can’t see this detail anyway when the buckets are in the closed position.
Kevin Rowbotham says
Outstanding job on the GR4 Dave…..I’ve never built a Tornado but yours has certainly inspired me!
I really enjoyed your write up, thanks for sharing,
Kevin
Paul Ainsworth says
Hello,Dave – Magnificent work as always.
This Tornado kit is absolutely superb and you’ve done great justice to both it and the Tornado aircraft,
Another fantastic aircraft that’s disappeared from our skies.
Seeing ‘scale replicas’ like this easily remind us of the real aircraft we love and miss.
A fantastic aspect of our wonderful hobby.
All The Best,
Paul.😉👍
Christopher Woolford says
Terrific build Dave. You have got her right – beautifully photographed too.