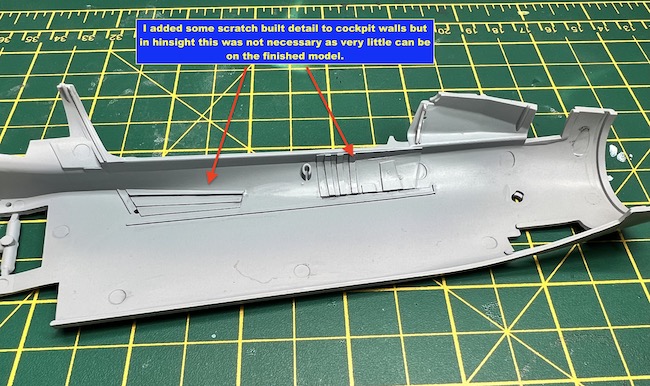
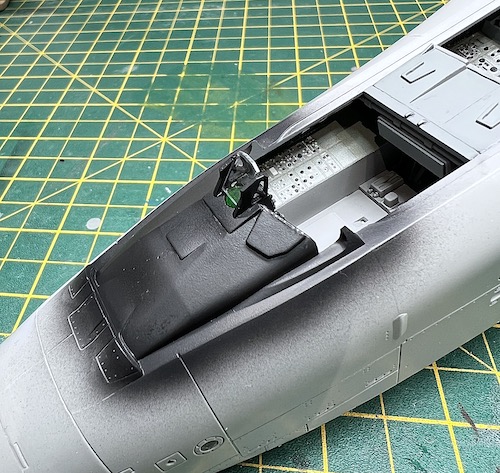
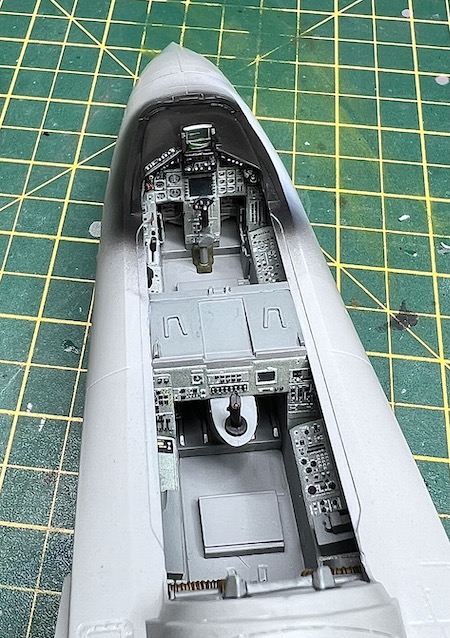
The interior walls of the cockpit are plain so I decided to add some evergreen plastic to give some detail to these areas with the cockpit being open. In hindsight this wasn’t needed as you can barely see any of this detail on the finished model.
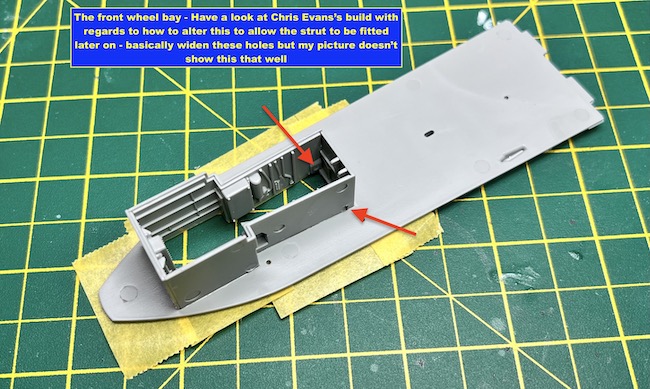
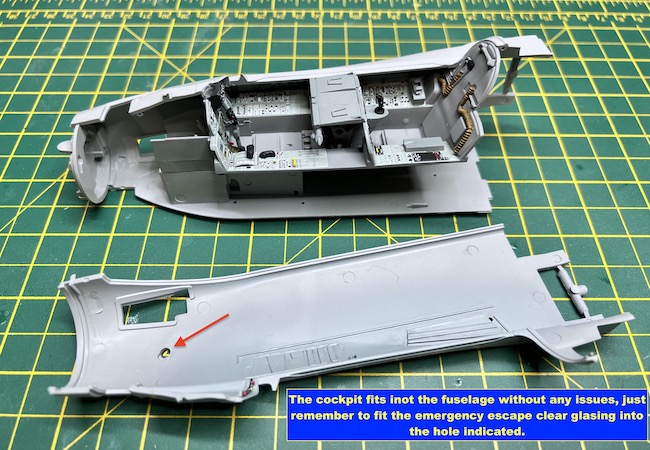
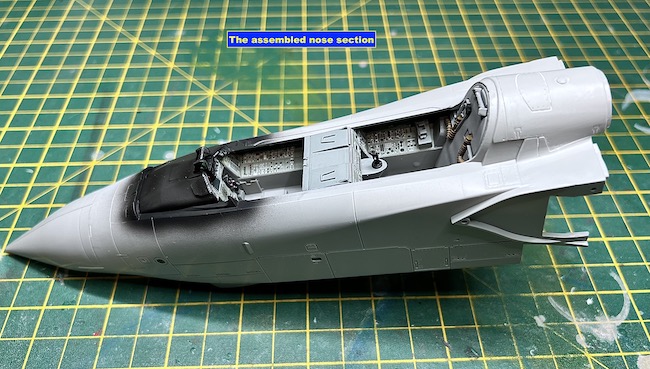
The nose wheel bay can then be assembled. The instructions tell you to fit the nose wheel strut at this point but if you do it is liable to get damaged so if you enlarge the holes for the struts to fit into you fit them later (See Chris Evans’s build for a better description / picture of this process). The cockpit can then be fitted in the front fuselage.
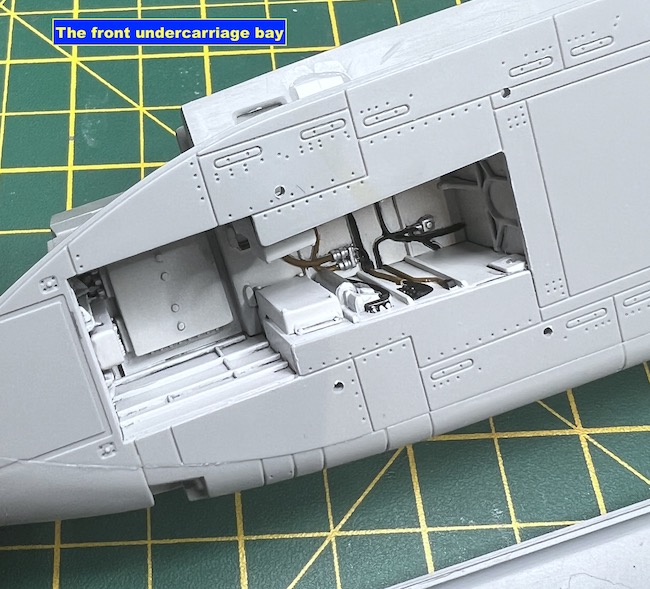
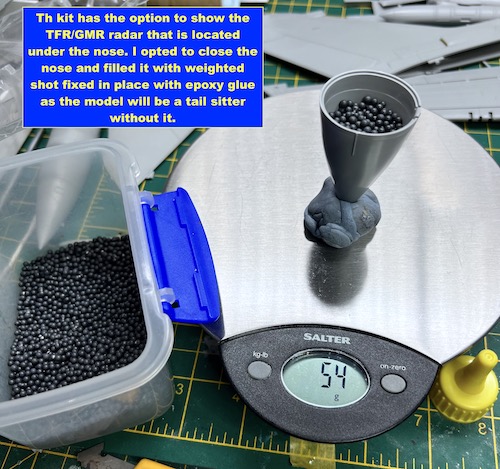
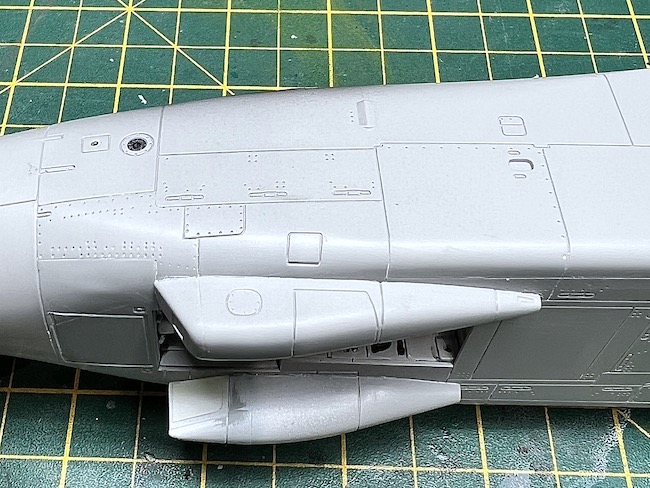
If you plan to have to model with its undercarriage down (the only way shown in the instructions) you will have to add weight to the nose to stop it being a tail sitter. The kit has the option to display the nose radar with the nose cone open. If you take this option you will have to put the weight around the cockpit or if you have the nose closed like me you can just seal the weight in the nose cone itself. I also fitted the two under nose sensors (IR and Laser) at this stage – just be careful how close these fit to the front undercarriage doors as there needs to be a small gap for the doors to fit correctly.
Kevin Rowbotham says
Outstanding job on the GR4 Dave…..I’ve never built a Tornado but yours has certainly inspired me!
I really enjoyed your write up, thanks for sharing,
Kevin
Paul Ainsworth says
Hello,Dave – Magnificent work as always.
This Tornado kit is absolutely superb and you’ve done great justice to both it and the Tornado aircraft,
Another fantastic aircraft that’s disappeared from our skies.
Seeing ‘scale replicas’ like this easily remind us of the real aircraft we love and miss.
A fantastic aspect of our wonderful hobby.
All The Best,
Paul.😉👍
Christopher Woolford says
Terrific build Dave. You have got her right – beautifully photographed too.