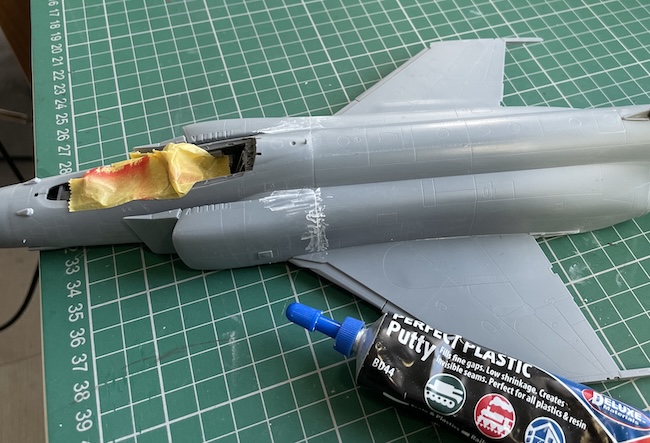
Being struck with some nasty lurgi this past week so just a short update and onto preparing the airframe assembly for priming. Only small joins to fill and I use the very good Deluxe Perfect Plastic Putty that has minimal shrinkage and is easily sanded.
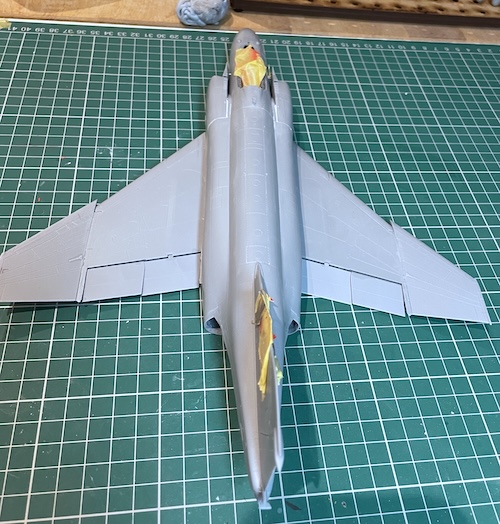
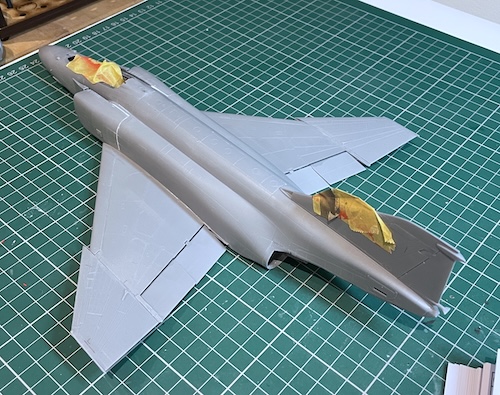
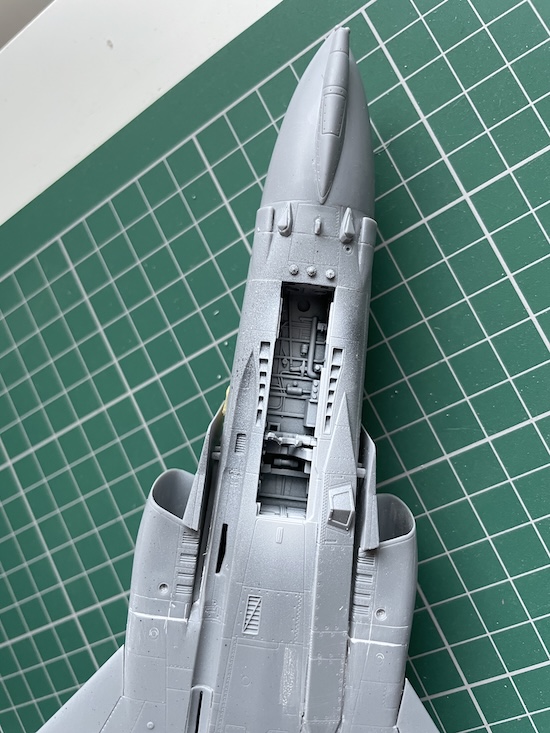
While the putty dried I added some of the smaller antennae around the nose…

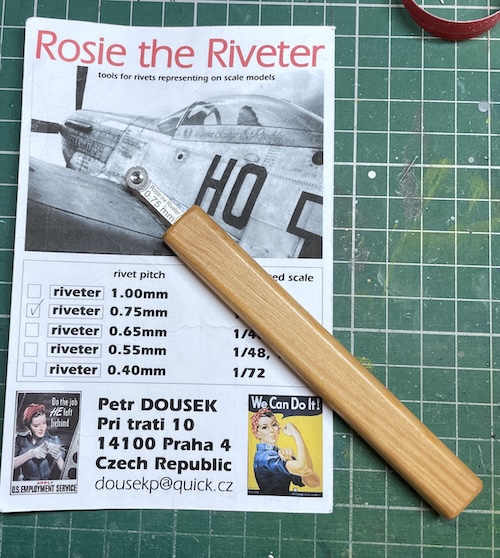
When the sanding and a bit of polishing with a clean tissue is done, onto a bit or panel re-scribing and replacing some of the fine rivets lost in the previous process. All very quick though and fun to do, especially with the excellent Rosie The Riveter tool…

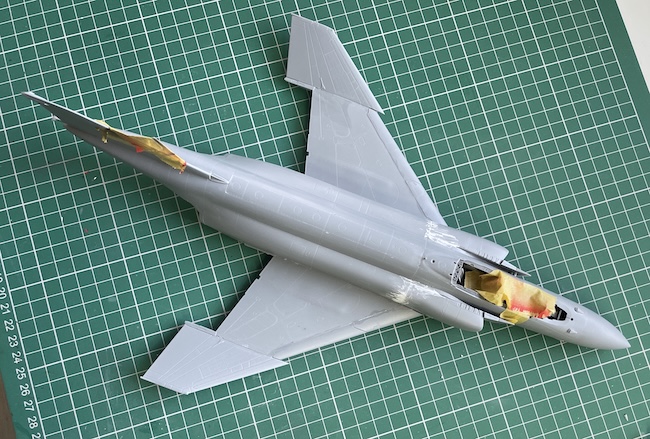
The flaps are added and I wanted to just offset these for a bit of added interest. Having said that I might remove and relocate the rudder, I have decided not to now – should have been more decisive earlier in the build. It is much easier to achieve that task when the fuselage halves are separate so that they can be laid flat on the bench – next time then.
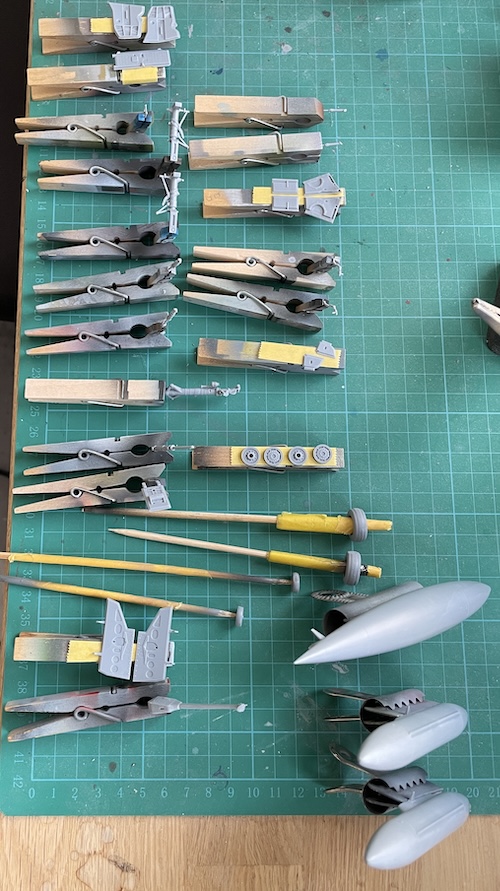
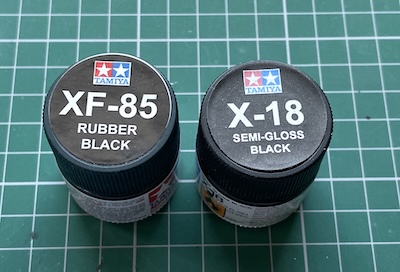
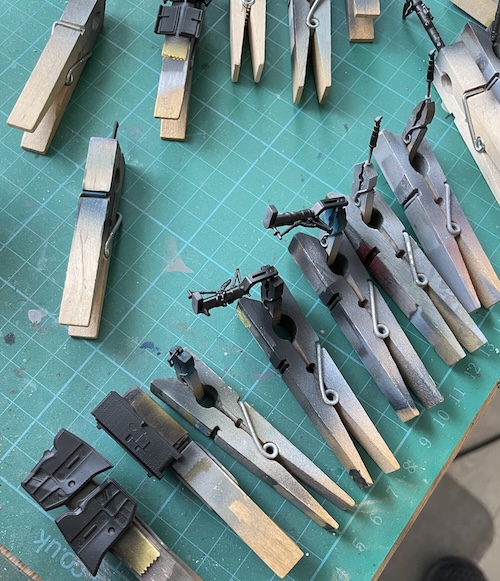
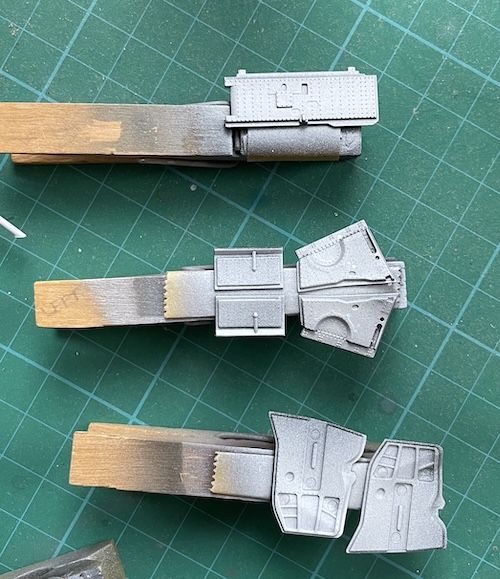
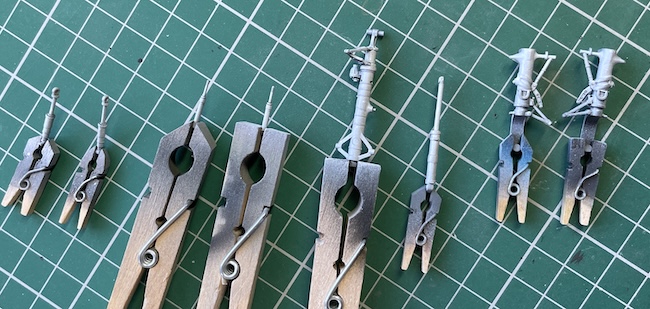
Lots of prep now for all the add-ons like the centreline and wing tanks, undercarriage units etc and after the mould seam lines are removed from all the parts (they are minimal so it doesn’t take too long, just lots of small parts) they’re mounted on clothes pegs awaiting a dark grey (Tamiya Rubber Black XF-85). Tamiya Semi-Gloss Black is good for the undercarriage units and areas that will be white – more on this next time
VIDEO DEMO
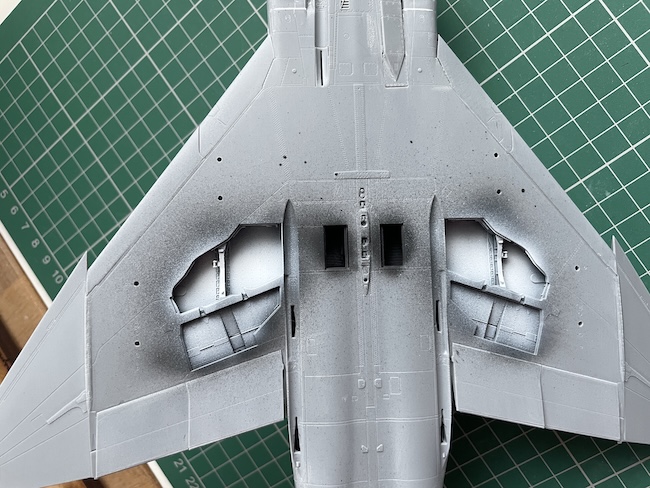
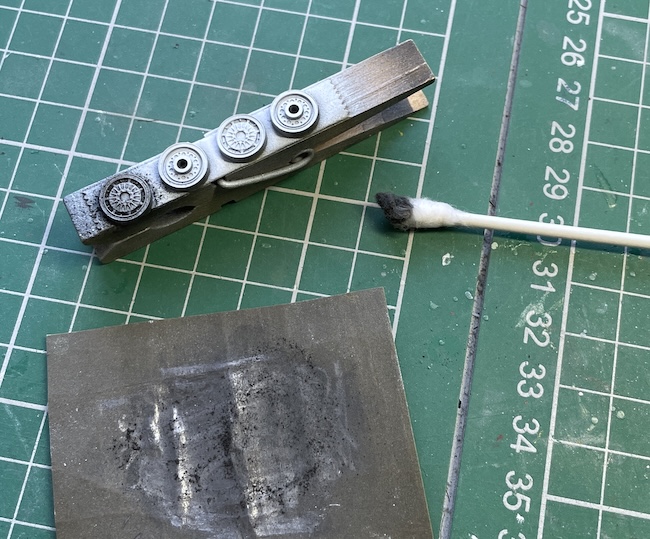
Using Tamiya X-1 Gloss White over the dark base creates some nice shadows and depth to the wheel wells…
When dry a good worn look can be created with a light application of ordinary graphite pencil dust worked into the wheel hubs with a cotton bud…
VIDEO DEMO

A lighter application of the same process adds some wear and tear to the rest of the gear unit parts (that also await detail painting)…
Howard Kilburn says
Looking forward to seeing this come together Geoff particularly in SEAC camo… just about my favourite camo scheme ever
Paul Ainsworth says
“Hello,Geoff” – I’m following this project with great interest.
Your previous two Zukei-Mura Phantom builds are testaments to what a great product they are.The level of detail is fantastic.
Digits-crossed for a British version at some point!
As Always,
Paul.😉👍
Geoff Coughlin says
Nice one Howard – yes, looking forward to getting to the panting stages :) G
Steve Piggott says
Hi Geoff , good to see another Zoukei Mura Phantom on the bench,
Hope you’re enjoying the build as much as I do,I’ve just finished My 5th ZM Phantom , also a F-4C. Ioved Your method of painting the cockpit tub ,definitely try that on the next one. Looking forward to the build and especially the classic paint scheme .
best wishes as ever, Steve.
Geoff Coughlin says
Excellent Steve and thanks for your interest and comments – soon will be at the painting stage :) Cheers, G
Howard Kilburn says
Loving this build Geoff, can’t wait to see it in camo, also enjoying seeing yr use of Perfect Plastic Putty…. certainly useful on my Spit XIV laminar flow designs conversion… I, m an absolute tyro with conversions but nice to push the boundaries occasionally
Regards H
Steve Piggott says
Hi Geoff, great job with the colour scheme ,and I’m really impressed with the results You get with the Hataka paints, great stuff.
If You do suffer with the Blu-tack marking the paint, try using a very slightly damp microfibre cloth ,and wipe over the affected area, the marks usually come straight off.
Look forward to the next update,
All the best, Steve
Howard Kilburn says
Beautiful camo work Geoff
Geoff Coughlin says
Great tip! Thanks Steve
G
Geoff Coughlin says
Thanks Howard! Cheers, G
Steve Piggott says
Hi Geoff ,great job on another Phabulous Phantom ,really like Your method of detailing and painting the cockpit, and the overall finish and weathering ,great stuff. If I may be so bold,I think the ZM F-4’s are the most complete models out of the box, and quite possibly the
best Phantoms on the market. Look forward to Your next project ,and of course Your next F-4 ,
All the best, Steve
Geoff Coughlin says
Hi Steve,
Many thanks for that and I agree – really love the ZM F-4s – their whole approach to the build and detail is very enjoyable and that’s what it’s all about for me – having fun and enjoying the process as well as developing skills.
Cheers for now
Geoff
PS – love to see your work in SMN Steve – do drop me a message via the contact form if interested… G
David Muscroft says
And the pictures……. Excellent to say the least, with an interesting twist. The ‘dusk’ shot, I’m guessing that the sky background was a different shot to the previous ones ? And the warm light on the aircraft, maybe late evening sunlight adding the golden glow? Thats my best guess anyway, and I’ll be adding these thoughts to my photo-techniques bank !
I reckon theres some helpful hints here for the ‘how to photgraph your models’ techniques pages !
Geoff Coughlin says
Hi David
Yes very perceptive – the evening sunset worked well I think to create a different look. 👍
And thanks for your great TB entry on photographing your models! Part 1 is in and Parts 2&3 coming in the next few weeks.
GC
Geoff Coughlin says
A nice comment from Roberto – very helpful :)GC
Hello,
Over the last few days I’ve read the post on the construction of the Zoukei Mura 1/48 F-4C Wild Weasel IV. A very interesting post, by the way, because of the use of Hakata paint, which I also own. The Zoukei model is an absolute must for any Phantom II enthusiast.
One of your sentences caught my attention: I am still trying to research the nose art Super Cocks etc and will update when I have found out more. It does look good though…
After a search, I found an image of the nose of the “Super Cocks Swiss Salmar” aircraft on the following site: https://wildweasels.org/f-4c-3/
In the middle of the page you will find a partial picture of the nose art.
Greetings from Central Switzerland
Roberto Alessandro Cattelan
Stephen Poole says
Hi Geoff,
Looking at the sprue shots of this kit on Scalemates am I right in thinking that a standard C or D can be built from the boxing as well with the exception of the decals?
Steve (IPMS Wakefield)
Geoff Coughlin says
Hi Steve,
I haven’t looked at that possibility although it is probably correct. Do check with ZM from their web page? Probably the quickest way to be sure. See link on Contents page in SMN. Best wishes, Geoff