Part 1 – Phone or Tablet with David Muscroft
A note from Geoff C…
Many of you have asked me about the possibility of adding some help to the SMN Techniques Bank with how to photograph their models. How to go about this has perplexed me and I am so happy that David has very kindly offered some great insights and practical help.
David has been incredibly generous with his time and put together a very helpful guide as you’ll see and, for convenience, I have split it into 3 parts:
Part 1: Scale Plastic Modelling Photography – Phone or Tablet
Part 2: Scale Plastic Modelling Photography – Different Backgrounds
Part 3: Scale Plastic Modelling Photography – Photo Technique
Over to you David…
Really simple pictures using your phone (or tablet)…
Getting more out of pictures with your phone or iPad seems to me to be by far the most accessible method of recording your modelling efforts.
Photographing our models, I think, is where diorama building, general modelling techniques and imagination all come together to create the end result. I realised this as I was writing about my modelling (for the first time in SMN Subscribers Gallery). Some items of diorama building and finishing came about as a result of thinking, or experiencing how my camera ‘saw’ the diorama and then how best to get the end result.
For all you competent device users (phone or Tablet) out there, my following advice is mainly for our modeller friends who do not know their devices quite so well…..which included myself until fairly recently. In the following I have used an Apple iPhone or iPad. For some years previously I had been processing my hand-held device (phone) generated pictures in a professional image programme (Lightroom) along with my camera shots but as time passed and my confidence in the results from my iPhone developed I would rely on my phone more and more when out and about. Handily, the shots from my phone automatically transfer to my iPad when wifi is available.
This makes it really easy to ‘share’ (or show off) your models on social media without the trouble of downloading them to a computer and an image editing programme.
Where to take our pictures
Window light
The easiest available light source is also free! I used a kitchen table on a reasonably bright day. Getting the subject even closer to the window than you see in the picture isn’t really necessary, and would be a bit more effort. The model here is actually at right angles to the light source, and that seems to work OK. I wouldn’t recommend putting the model in bright sunlight near a window, because you then have to deal with harsh shadows, and this just complicates things. I did not know how my phone would handle this window light, but was very impressed by the result.
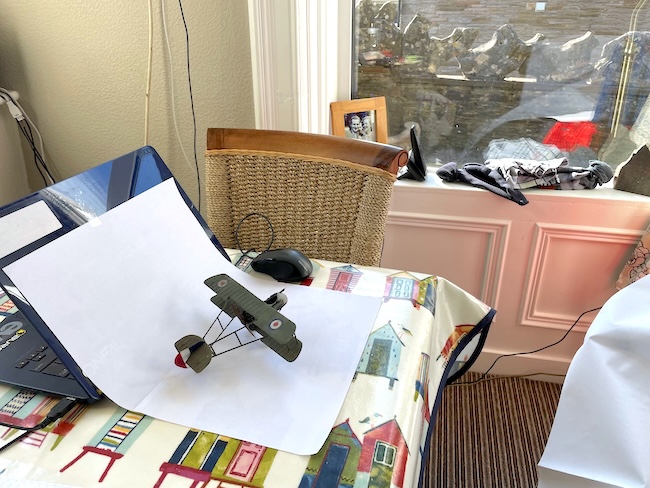
Plain background-1. ‘Double A4’ paper…
Photographing your model on anything but a plain, or diorama (more of that later) background distracts from seeing it shine in all its glory. And my suggestion for an easy way of producing a plain white background, for an easy example, is to get two ordinary sheets of white printer paper. I sellotaped one to the sloping back of my laptop, and placed the other on the kitchen table in front of it, thereby producing an A3 size background. There is a join, of course, where the two sheets meet, but this doesn’t intrude too much in the end result. If you want a bigger background, see my later tips on bought backgrounds.
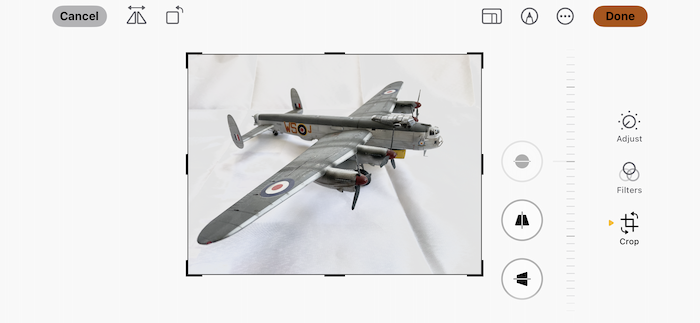
‘Cropping’
One of the simplest enhancements you can make to your phone shots is to ‘crop’ the shot. This means removing any unwanted area from around the edge of the subject proper. You sometimes need to do this, for instance, if the phone is not in the best position or at the right angle, or you want to take off some excess background off one or all of the sides of the picture. Also, most phone cameras are ‘wide angle’, that is they have a wide angle of view. So if you fill the screen with your (relatively) small model you have to get the lens really close to the subject, and this causes distortion. Just try it for yourself and you will quickly see what I mean. The perspective is startling! You can get round this by pulling back, and not filling the screen with the subject. This of course leaves a lot of spare space around the model, which is not desirable. Here is where cropping comes in again.


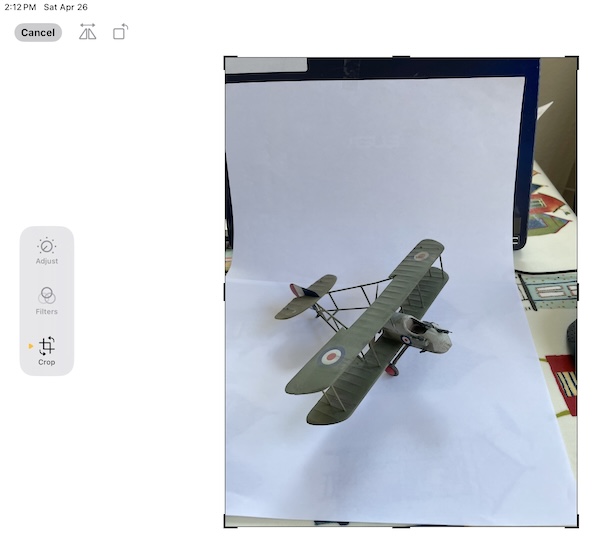

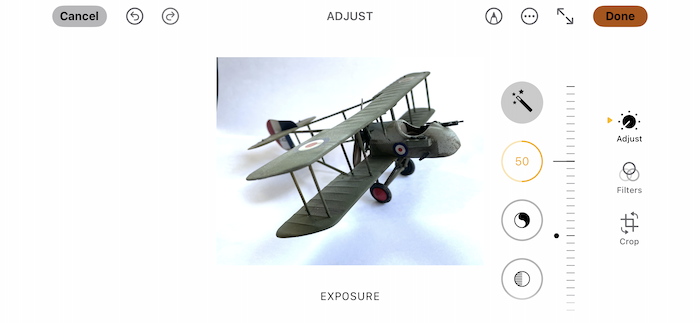
Looking at the central trio of icons under the picture, these appear once you click on the shot you want in ‘Photos’. Press the right hand one (three horizontal lines )and more icons will appear on either side of the picture. The ‘crop’ icon is on the bottom left. Click on it, and it puts a black line round the shot, then drag the corner tabs into the shot to crop off any unwanted image. It also allows you to correct any skewing of the shot by or in my language ‘wonkiness’ with the sliding scale on one side. The screen can vary from (in my case) iPhone to iPad, and of course on different brands of device….. but I hope my prompts get you close enough to working with your device.
Adjustments and filters
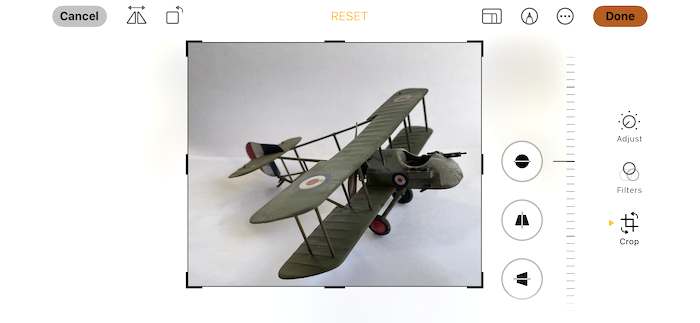
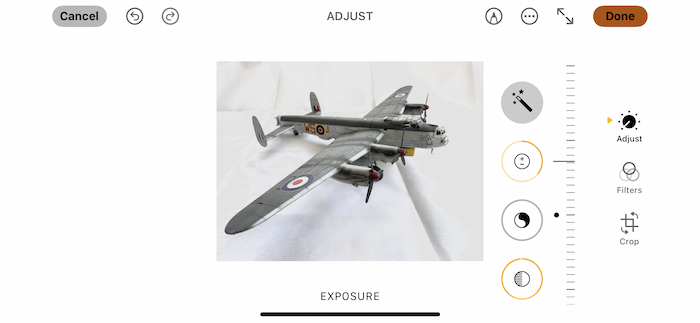
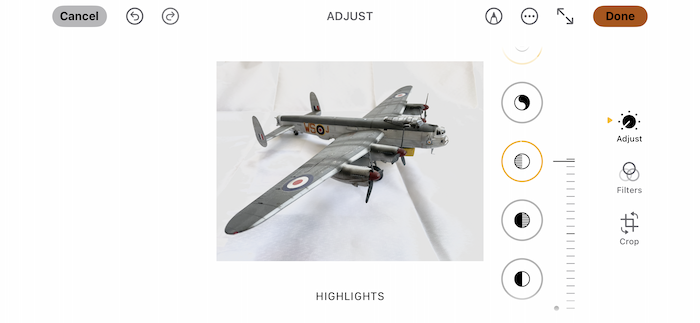
Again to the left of the picture, in the middle, is ‘Filters’ and ‘adjustments’. A favourite of mine here is one of the black and white options at the bottom of the filters menu (which then appears on the right of the picture). A recent approach of mine has been to present my camera shots as b&w to give them a more ‘period’ feel. I have to say that you can use the effects to a greater degree on a desktop computer or laptop, but simple b&w on your phone or iPad isn’t a bad option for very little effort! To add to the period feel of a picture, maybe also try the ‘Adjust’ button, then the options for ‘vignette’. This puts a variable dark edge round the picture and in my view, again, replicates to an extent a vintage feel to the shot.
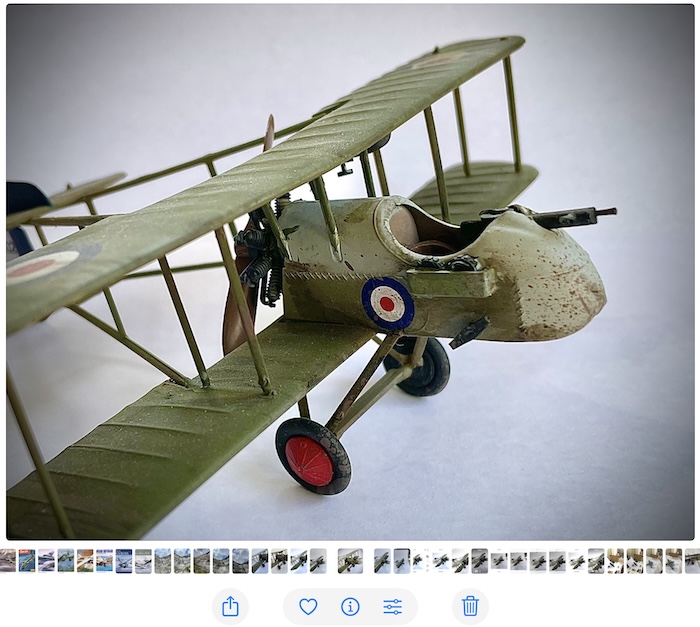
If you click on ‘adjust’, slide through the list of options, you get lots of adjustments for exposure, contrast, brightness, saturation, definition. These are my favourites as I know them to be easily effective, and there are more to play with. These are all really optional, and it is a matter of personal judgment which ones you use and to what degree. My picture here…

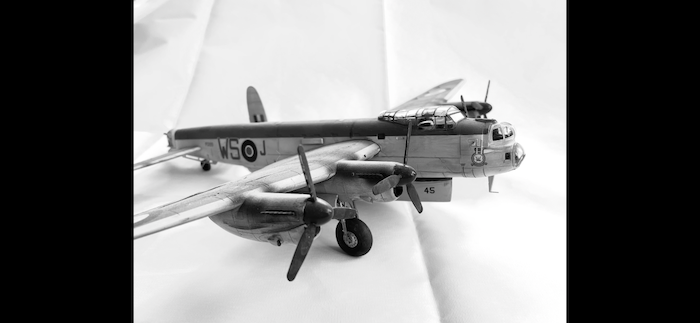
…is a fairly extreme amount of adjustments, plus some added sharpness……. Photo purists would counsel against so much adjustment, but the choice is yours. A last thought is that the very first adjustment, ‘auto’, can often produce an improvement with no further input from ourselves.
You will find that using a plain white background fools the usually superb phone camera exposure. This is because the light meter in the phone (or indeed any camera) is calibrated to correctly read a mid-tone and the stark white throws it out. A black background fools it in the opposite way. So you will always need to correct the exposure when you have used a plain white or black background (see above).


Plain background-2
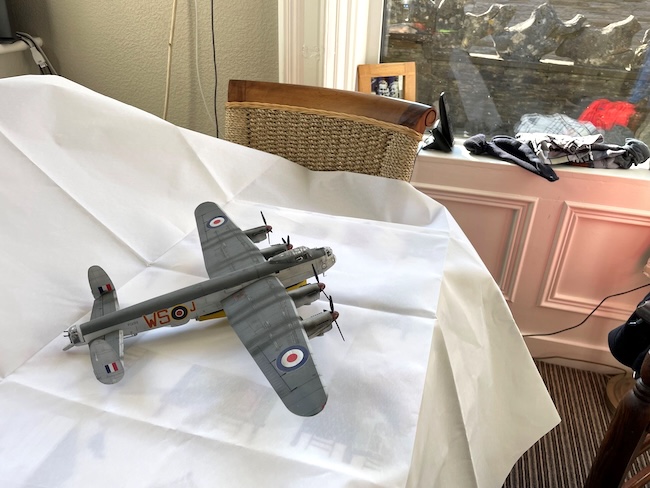
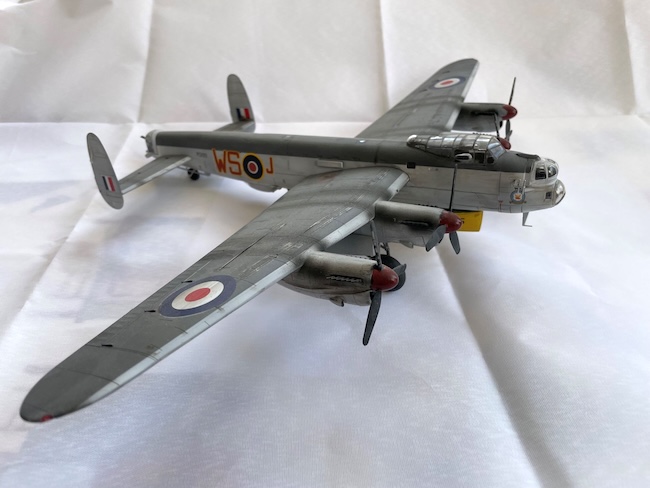
Here’s my 1/72 Lancaster, which is too big for my double A4 background, so I have bought a cheap and cheerful ‘drape’ studio background from a famous auction site for under a tenner. You will notice that its really, really creased! I’ve ignored that for the sake of getting on with the important stuff here, I hope you understand and it will make a real difference to iron your cloth, otherwise the creases will detract significantly from your finished model. Again, you see the underexposure produced by all that white, which I have corrected, then gone to a b&w end result.
Set up in garage door with diorama base and board background
Using a desert diorama base this time, and a painted board ‘sky’ background, I explored another alternative to a kitchen table using a space just inside a garage door, on this occasion lit by strong sunlight. I know I warned against strong sunlight coming through a window, but on this occasion it just looked too good to ignore! And it worked just dandy. The harsh shadow in front of the Hurricane is from my head, by the way. But I got away with it.

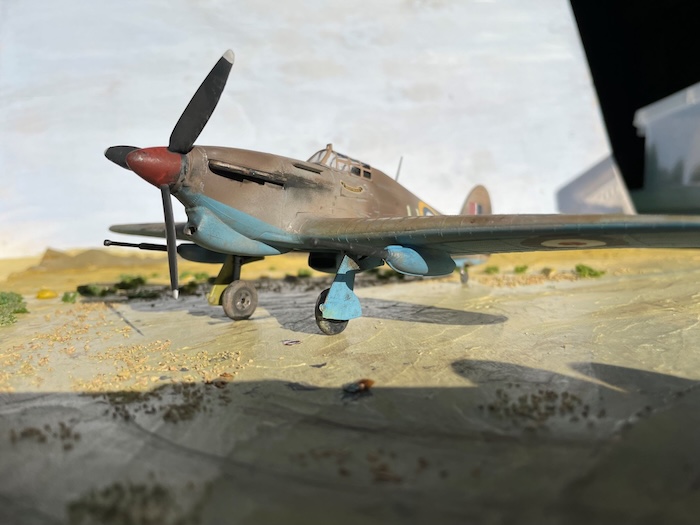
Generally, though, a slightly cloudy day is ideal. Again, I left lots of space around the model. I chose a low angle for dramatic effect, cropped away the edge of the background plus the surplus space around the model (getting a more reasonable perspective). I then played around with exposure, contrast, and went to the Silvertone b&w filter (to the maximum degree) and finally added the vignette adjustment to the maximum degree available.

Looking closely at the multitude of superb images on SMN Subscribers Gallery, with a view to evaluating why they are so good, is a valuable exercise in training your minds eye to see your own photographs of your models in a different and more critical light. And, let’s be frank, picking up tips from seeing other peoples efforts is what we all do.
Please don’t be put off by all my waffle here ! As Geoff so often says, “If it stops being fun don’t do it!” Just take any or all of this as far as you want to get the results you are happy with! Personal taste and what makes you happy with the end result is all you need.
In my experience, though, phone cameras are so very good at producing great images that you will need to do very little to get a usable and shareable picture of your models.
By the way…
Zooming in on the screen on a device at time of shooting produces a smaller file size (that is the amount of pixels, which record information, which you then see as varying amounts of ‘clarity’ on the screen) than if you crop the image later on your device using cropping as above.
The point is you’re always better off keeping as much file size as you can!
These methods allow you to go straight from your hand-held device to web and social media quickly and seamlessly. I tend to take plenty of ‘original’ shots so that I can keep multiple versions of the pictures as well a ‘straight’ version.