Feature Article with Dave Smith
Initially, I had no thought of building this kit. I had admired it ‘from afar’, but it hadn’t tugged my sleeve. Until one Sunday afternoon, doing a search for something else, saw that TK Maxx were advertising this kit at half price! The juices began to flow, and I decided to get one.
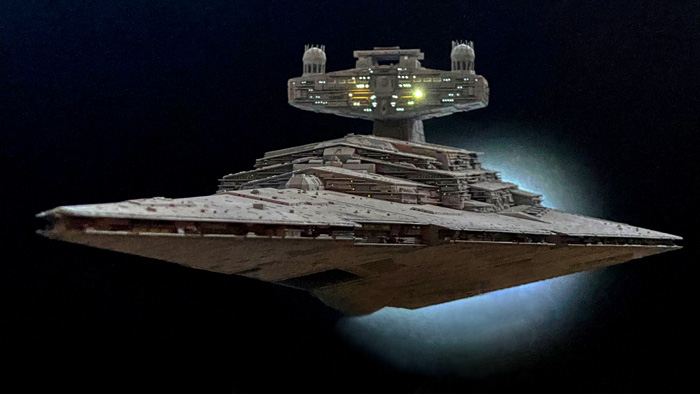
Just before I go on I thought you’d like to see how it all turned out…
Here’s the story of my project…
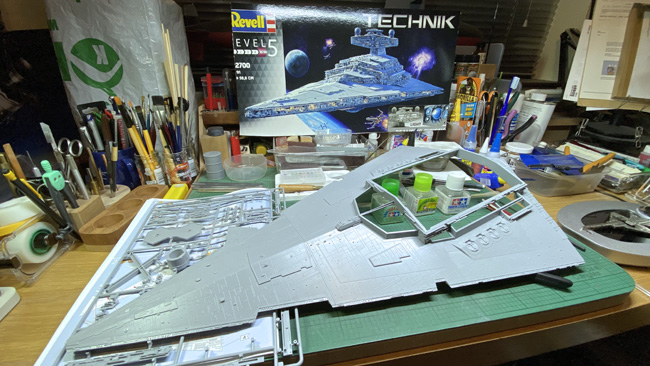
When it turned up, on looking through the well partitioned box, it became apparent what a gem this is, all of a sudden, I couldn’t wait to start it.
I broadly intended to follow the instructions, except for not wanting the battery pack for the electronics to be outside the kit, so I commenced the build, as per. with this in mind.
The instructions are very clear, leaving you in no doubt where each cable / LED, part, should be, and also a very good paint guide, showing recommended paint mixes in percentages. Very precise. Layout of the very good quality, (3M self-adhesive strip ) lighting strip locations is all very comprehensive.
On taking a break for a walk (our exercise during Covid) around our local garden centre, I noticed things that on a previous visit had passed me by. There is a large shopping section, which had all sort of ‘nik-naks’, amongst these were a small chopping board, all I saw was a solid base for Star Destroyer (SD), then some glass ‘cocktail straws’ about 4ins long, these were support rods for SD, and on it went, until I had, in my mind, constructed the base for the Destroyer. A good afternoon’s work.
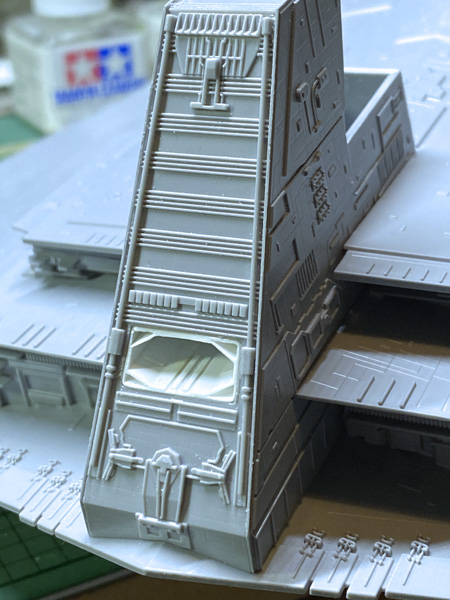
On starting the assembly, what looked as if it could have been a ‘plod’ through attaching pieces of outer bulkheads to the main body of the ship turned out to be more of a pleasure, as the intricately detailed parts fitted so well, that ultra thin cement was used on them because they fitted so well. A large inner bulkhead ensured that there would be no collapsing of the weighty upper shell.
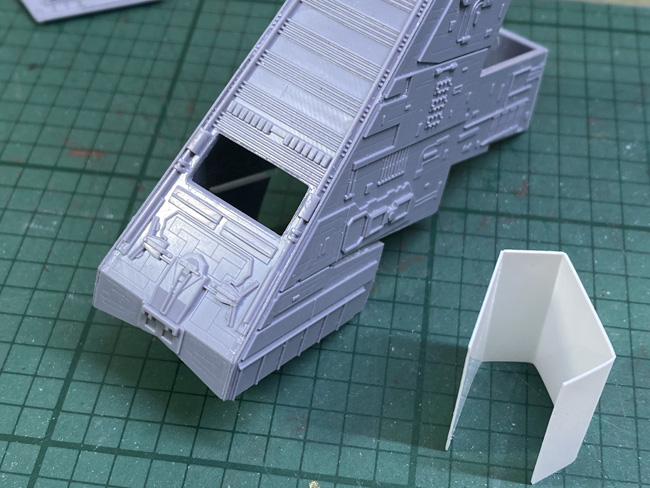
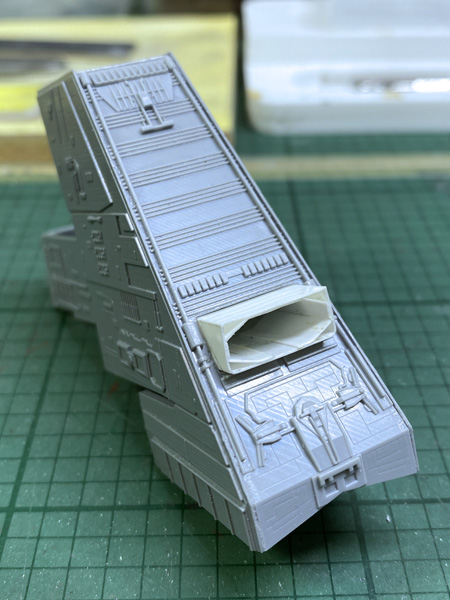
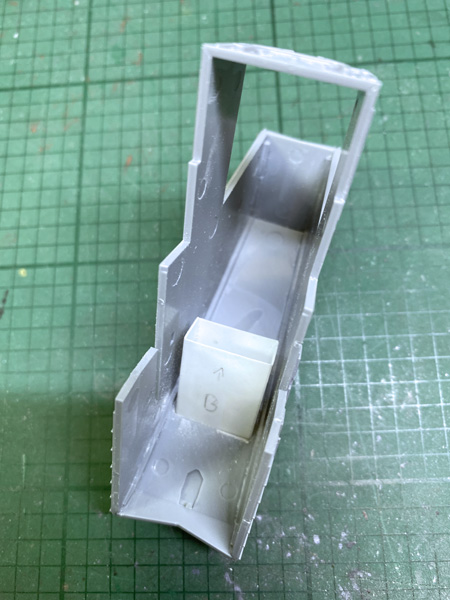
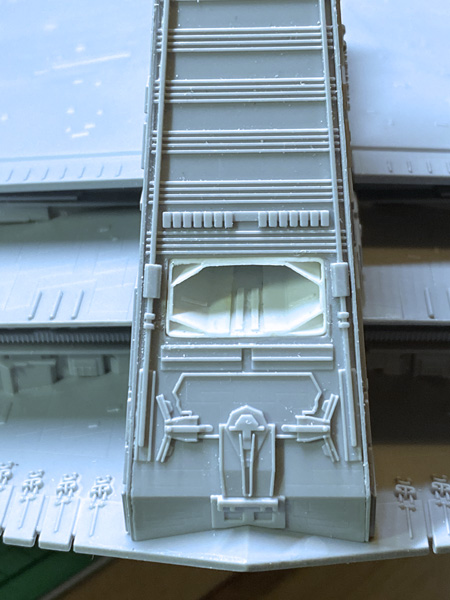
From minute one I had intended to put the missing details onto the ship, I wanted to make the 2-D hanger bays into 3-D ones, make the ‘Ion deflectors’ vanes (?) on the engine bells, the aerials on the tractor beam globes, and the ‘garbage chute on the back of the Bridge.